Tag Archives: Sizzix

Be Mine Crafty – MineCraft Valentine’s

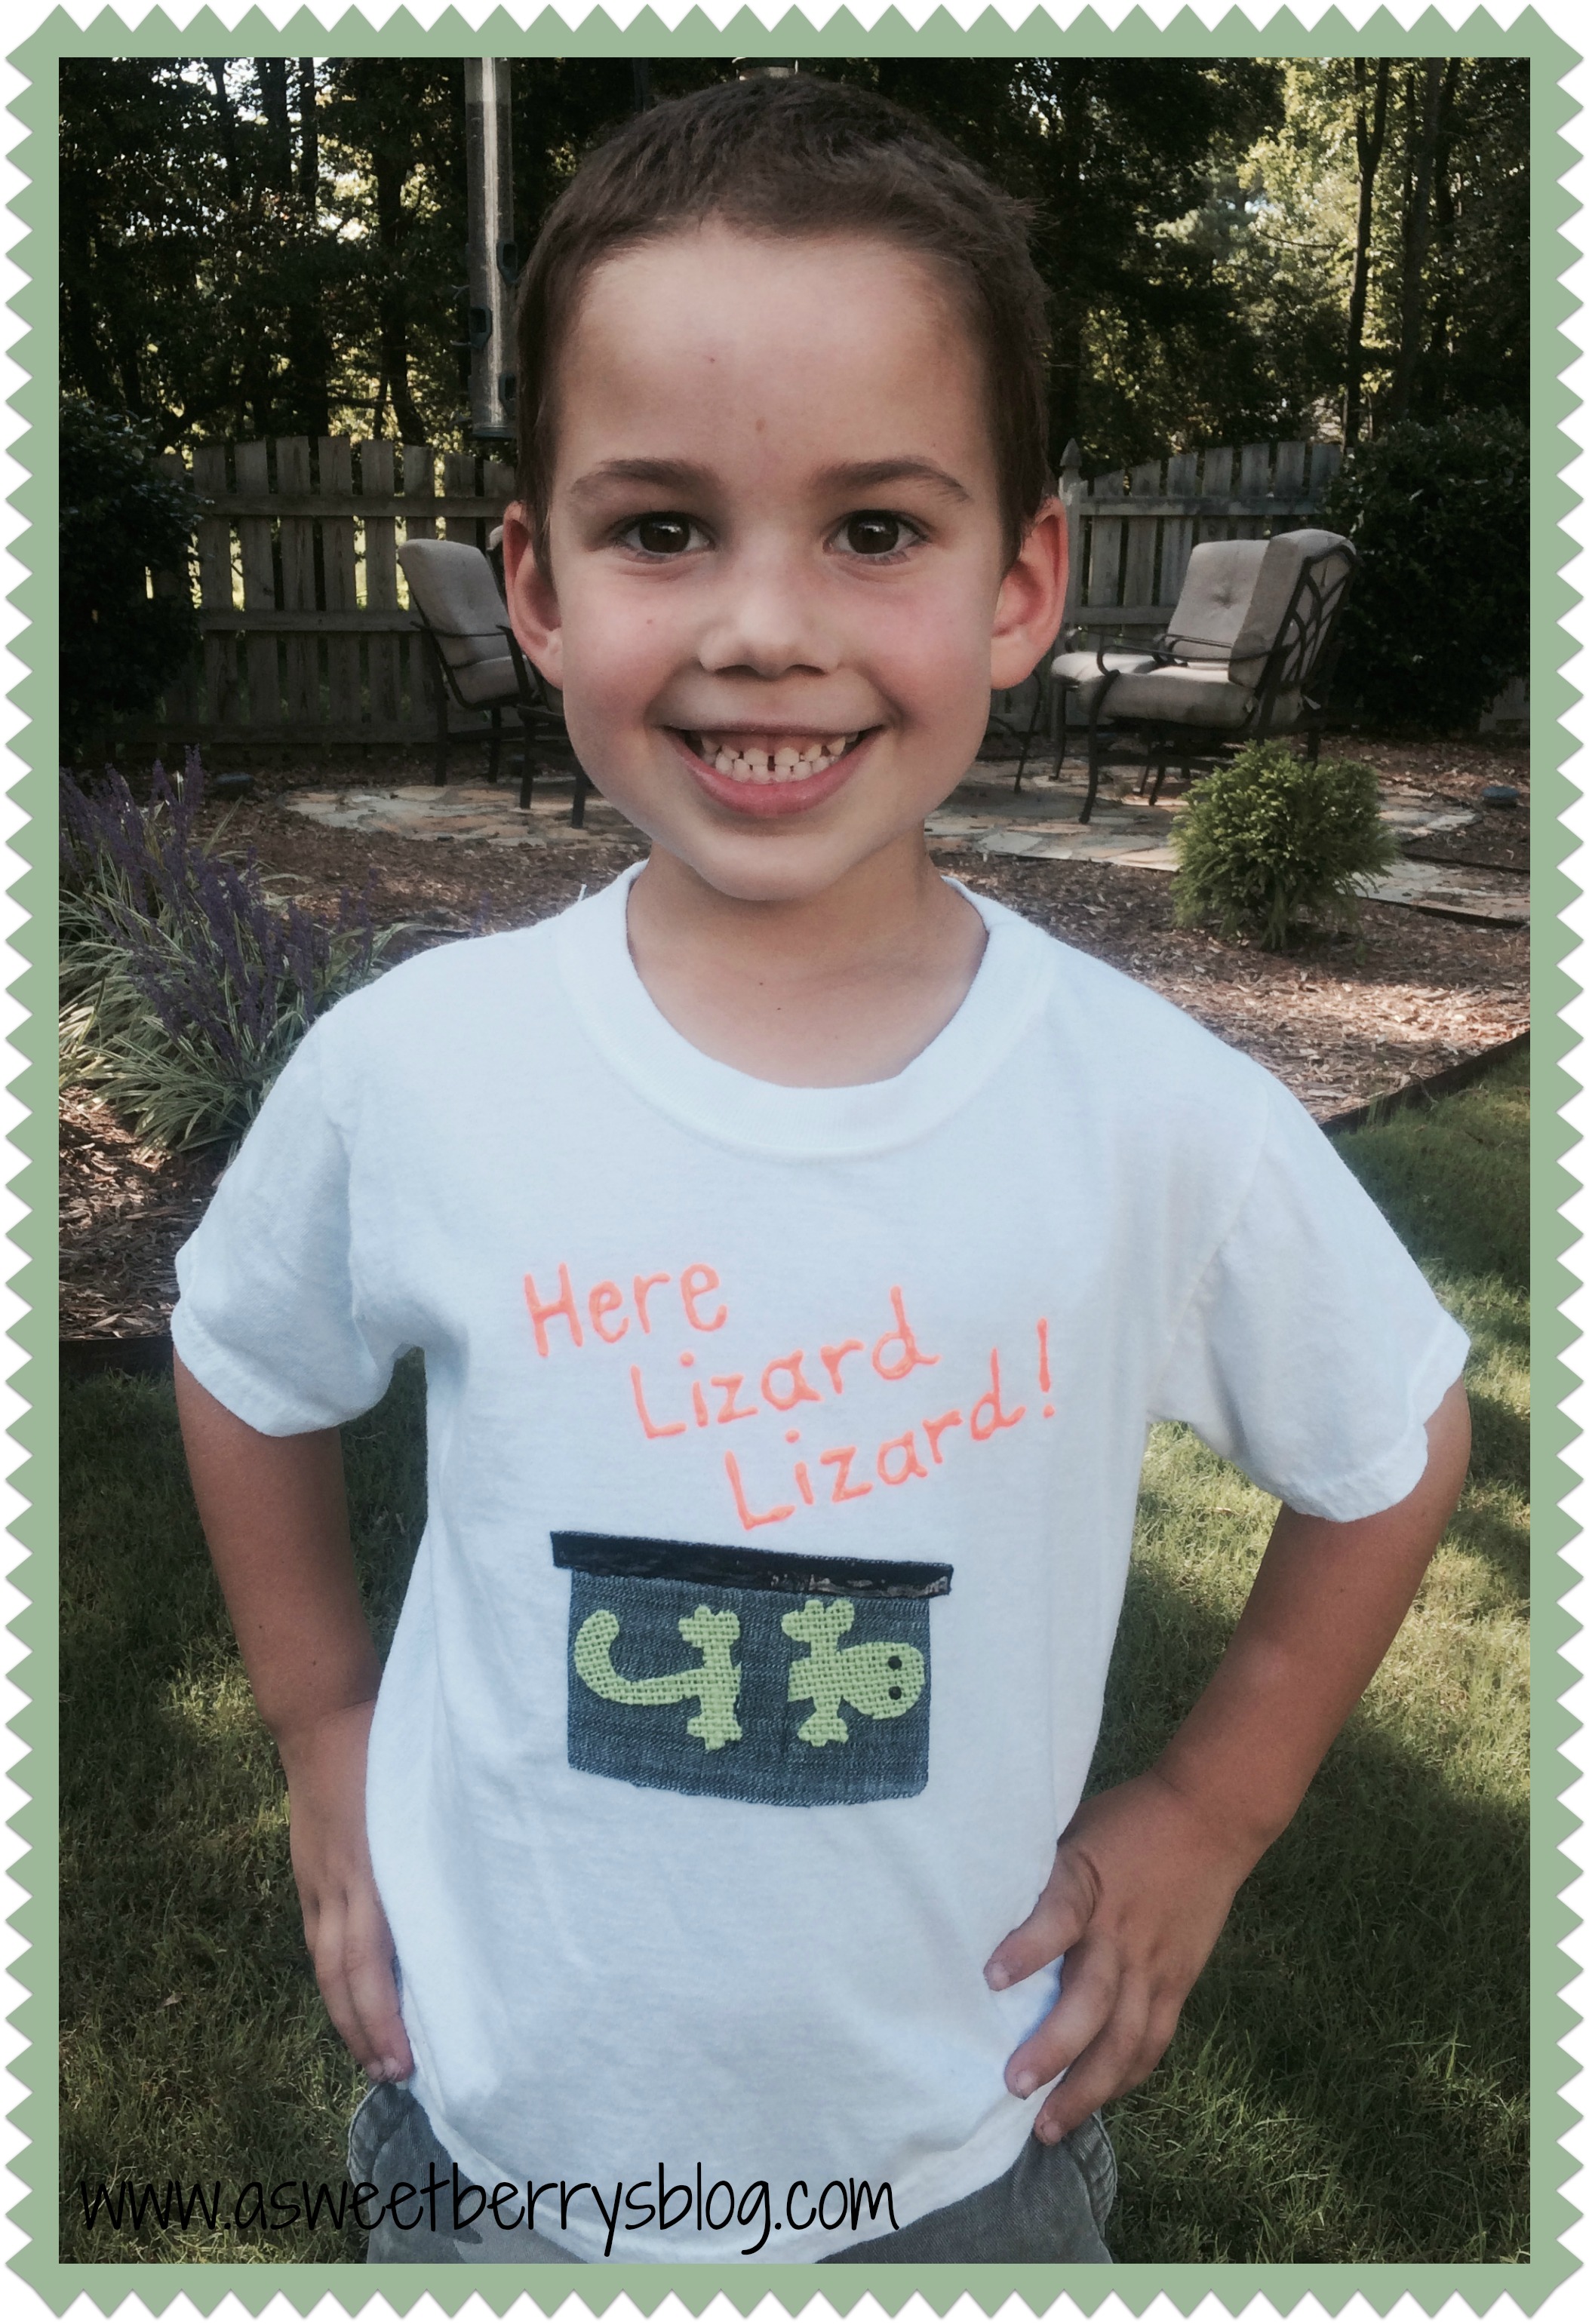
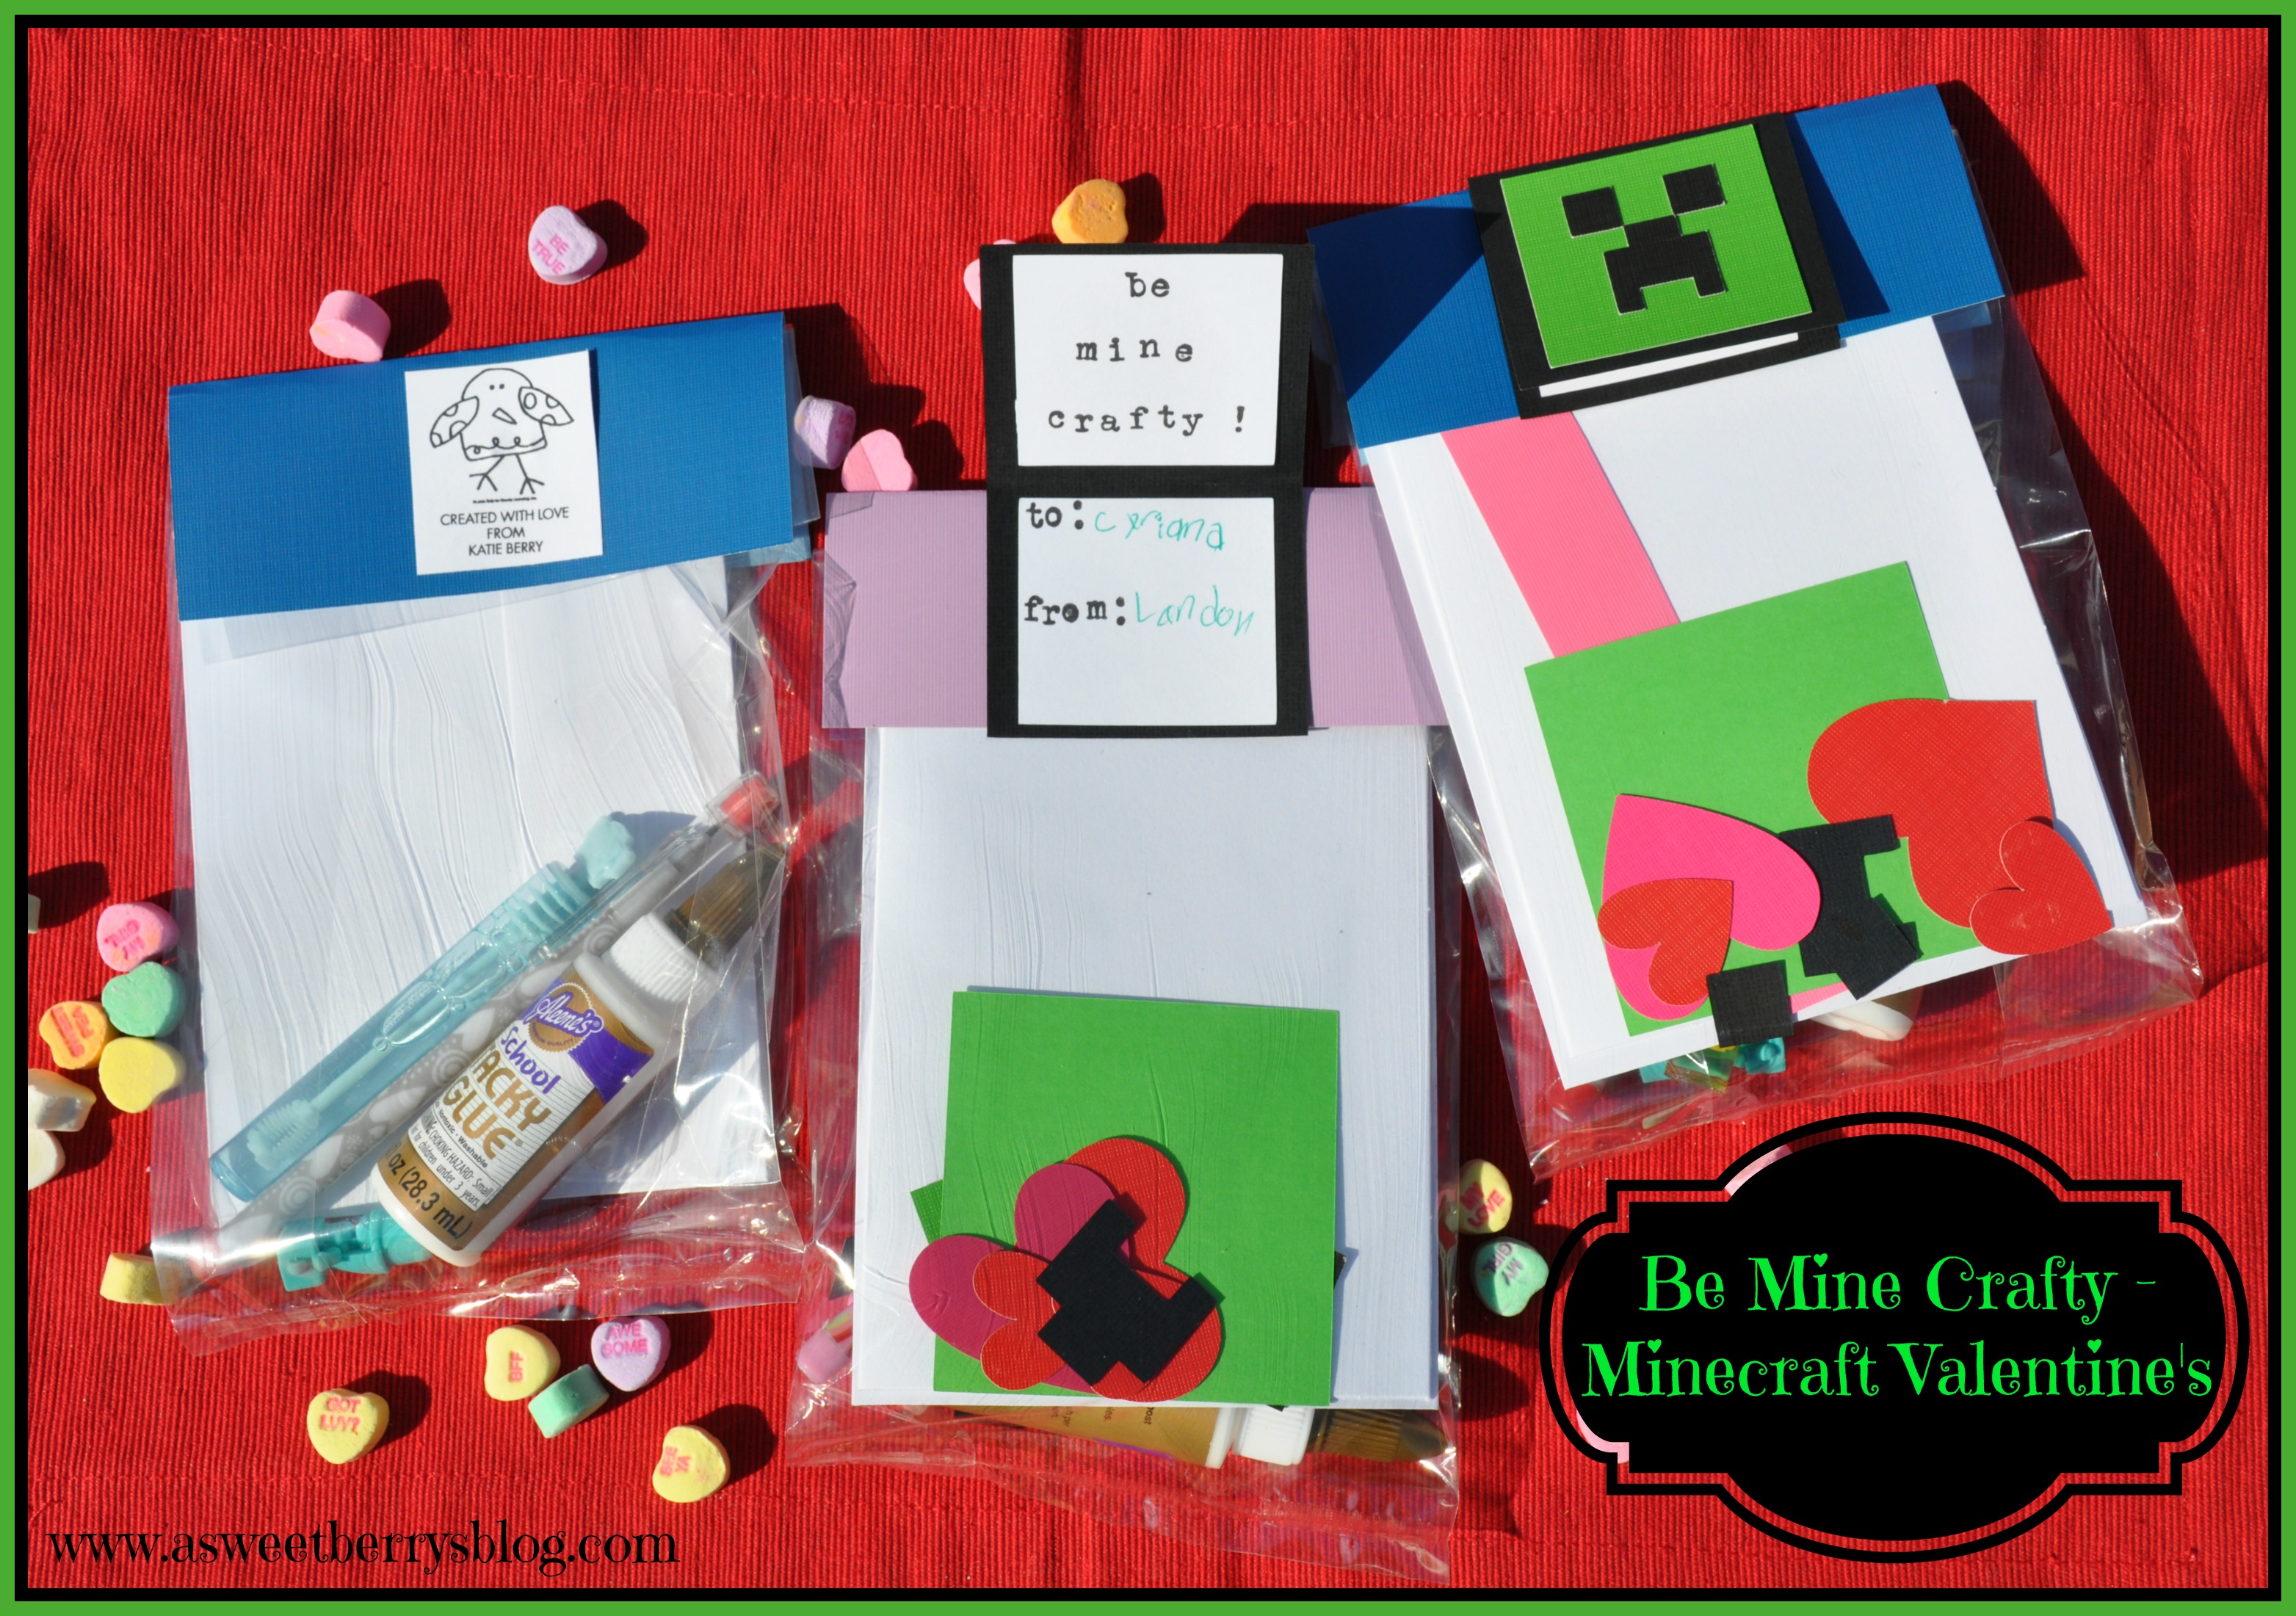
It’s finally the week of Valentine’s Day!  And my boys are super obsessed with Minecraft, so this year they wanted Minecraft Valentine’s!  Well, after looking, homemade Minecarft Valentine’s were the only ones that could be found.  No stores sold them!  So, I decided to make them!   Final
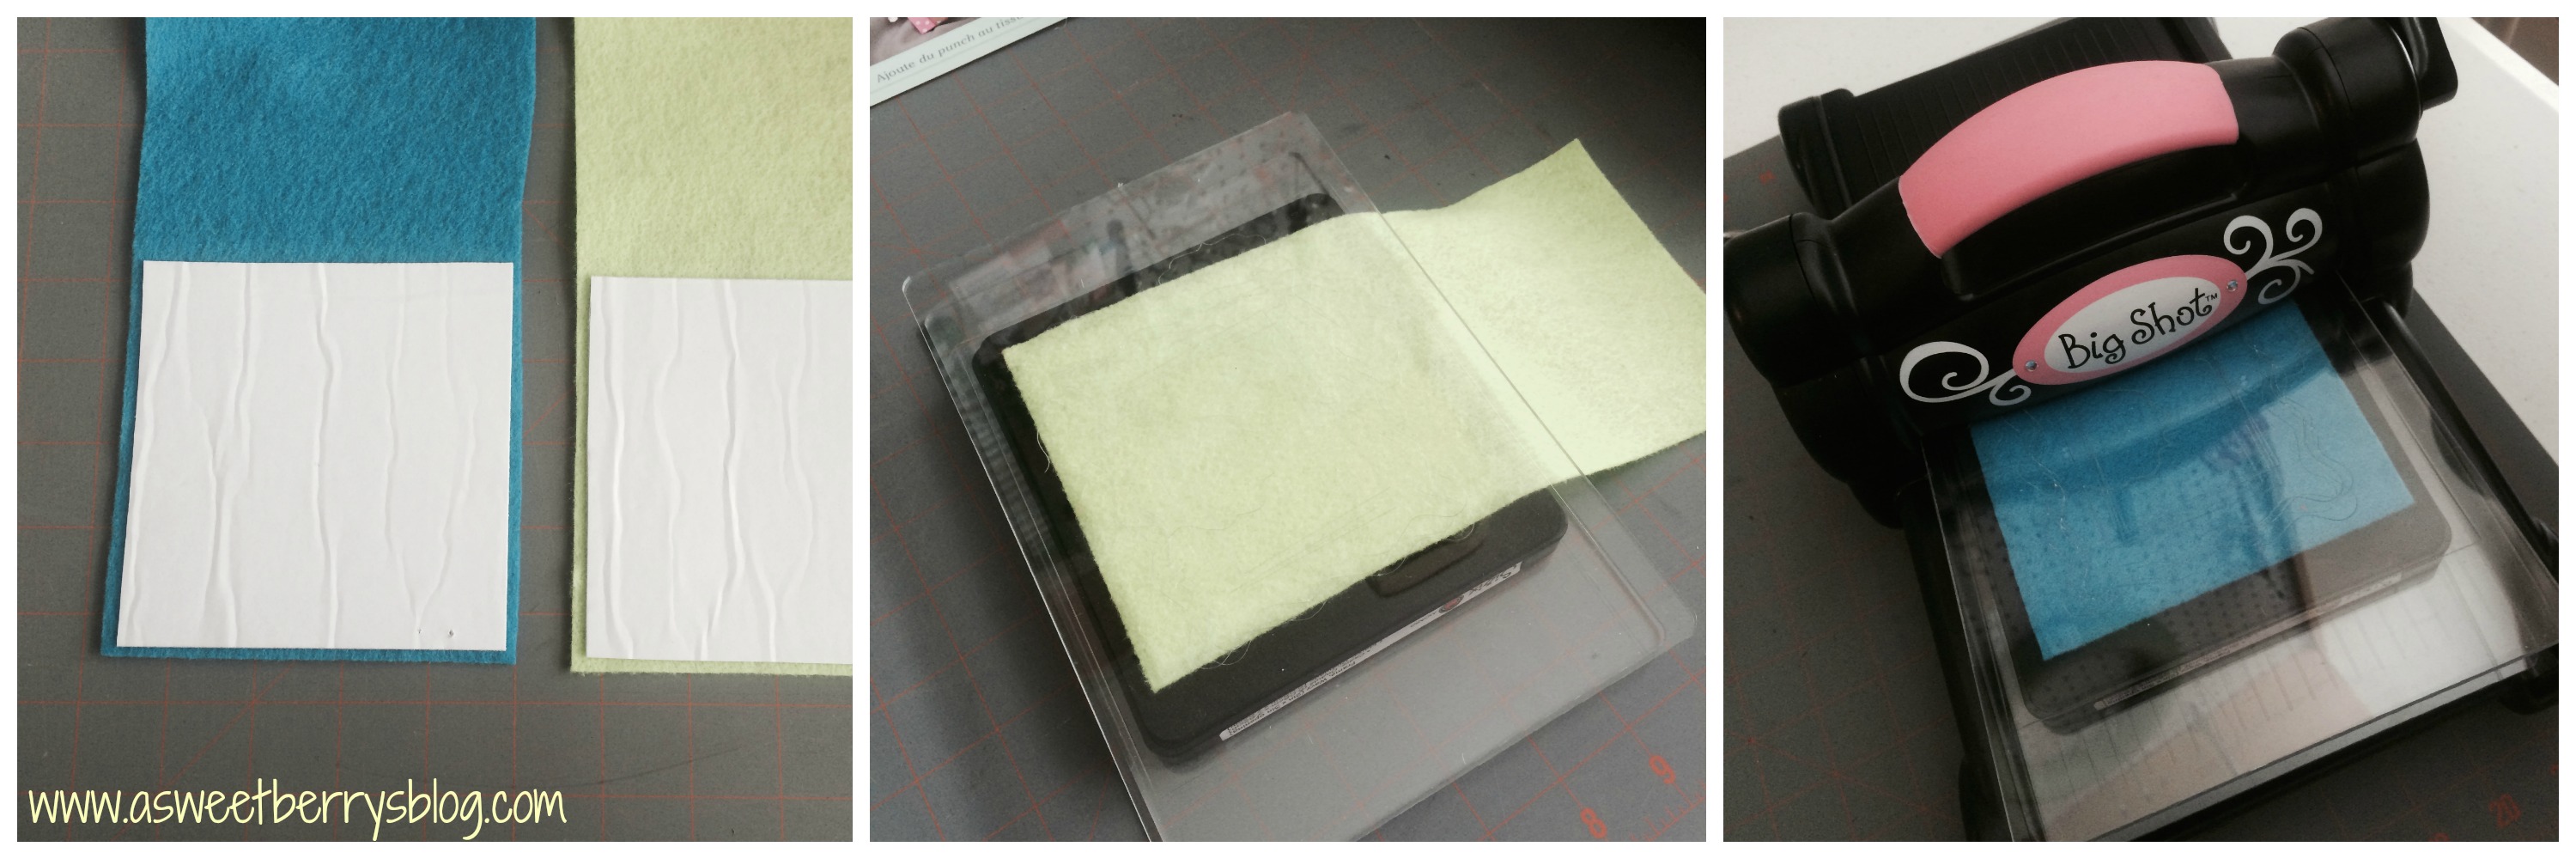
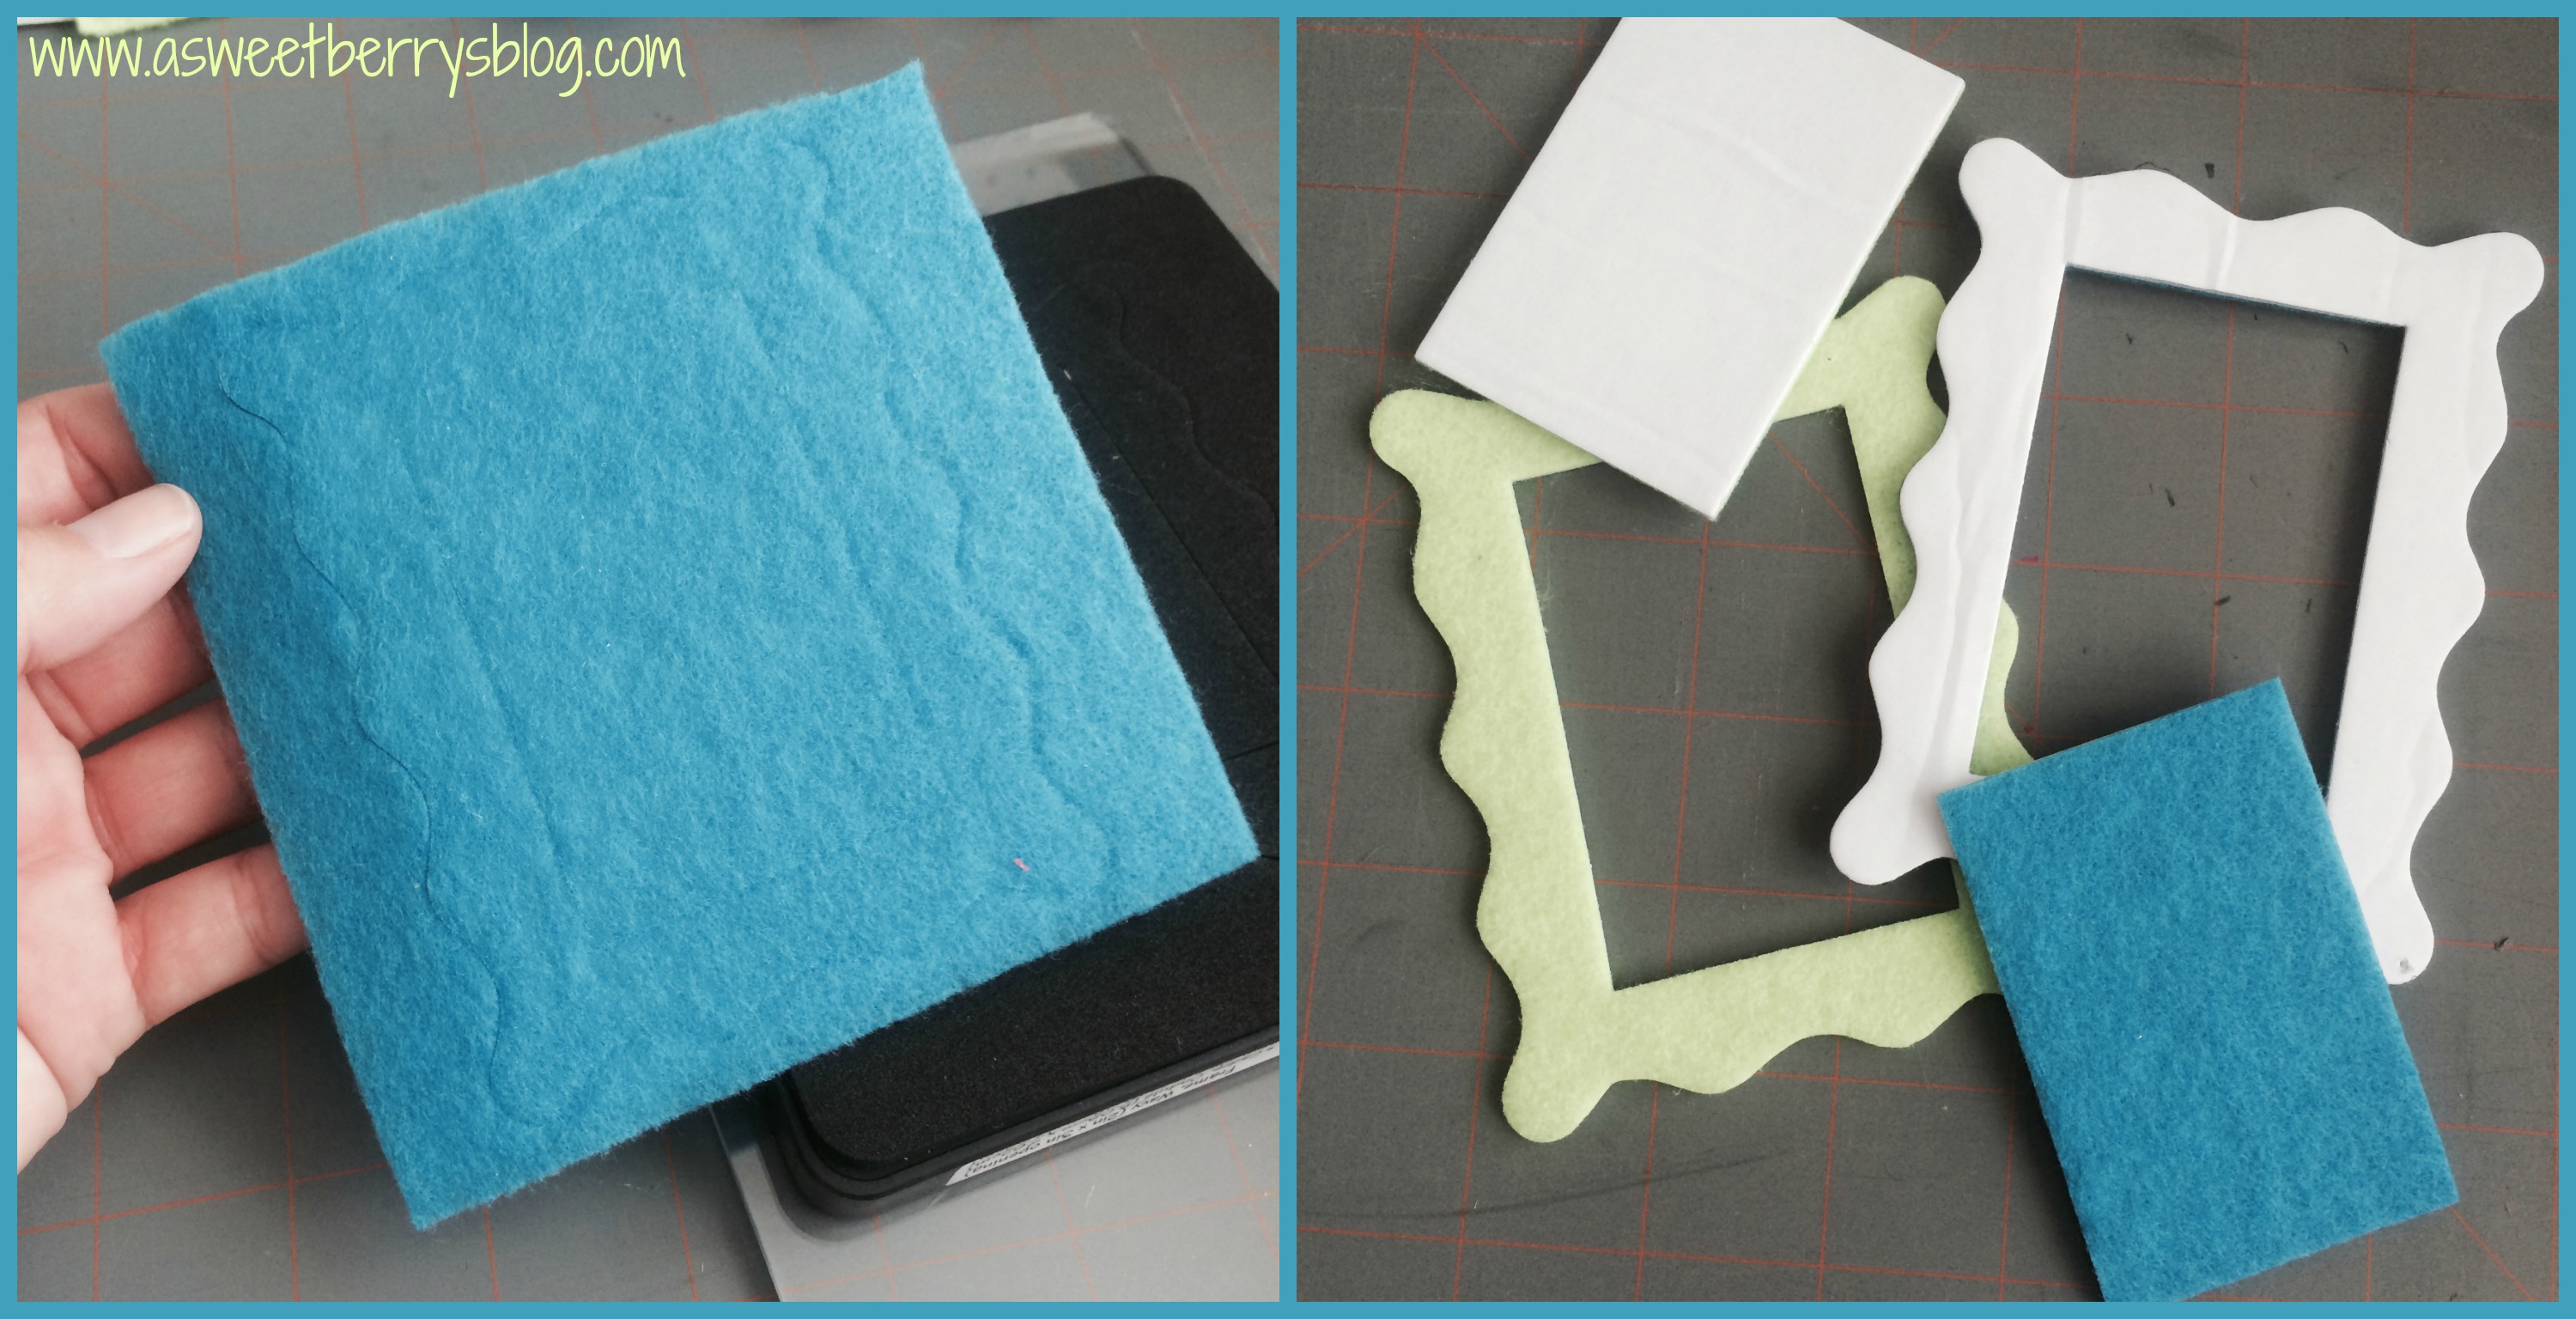
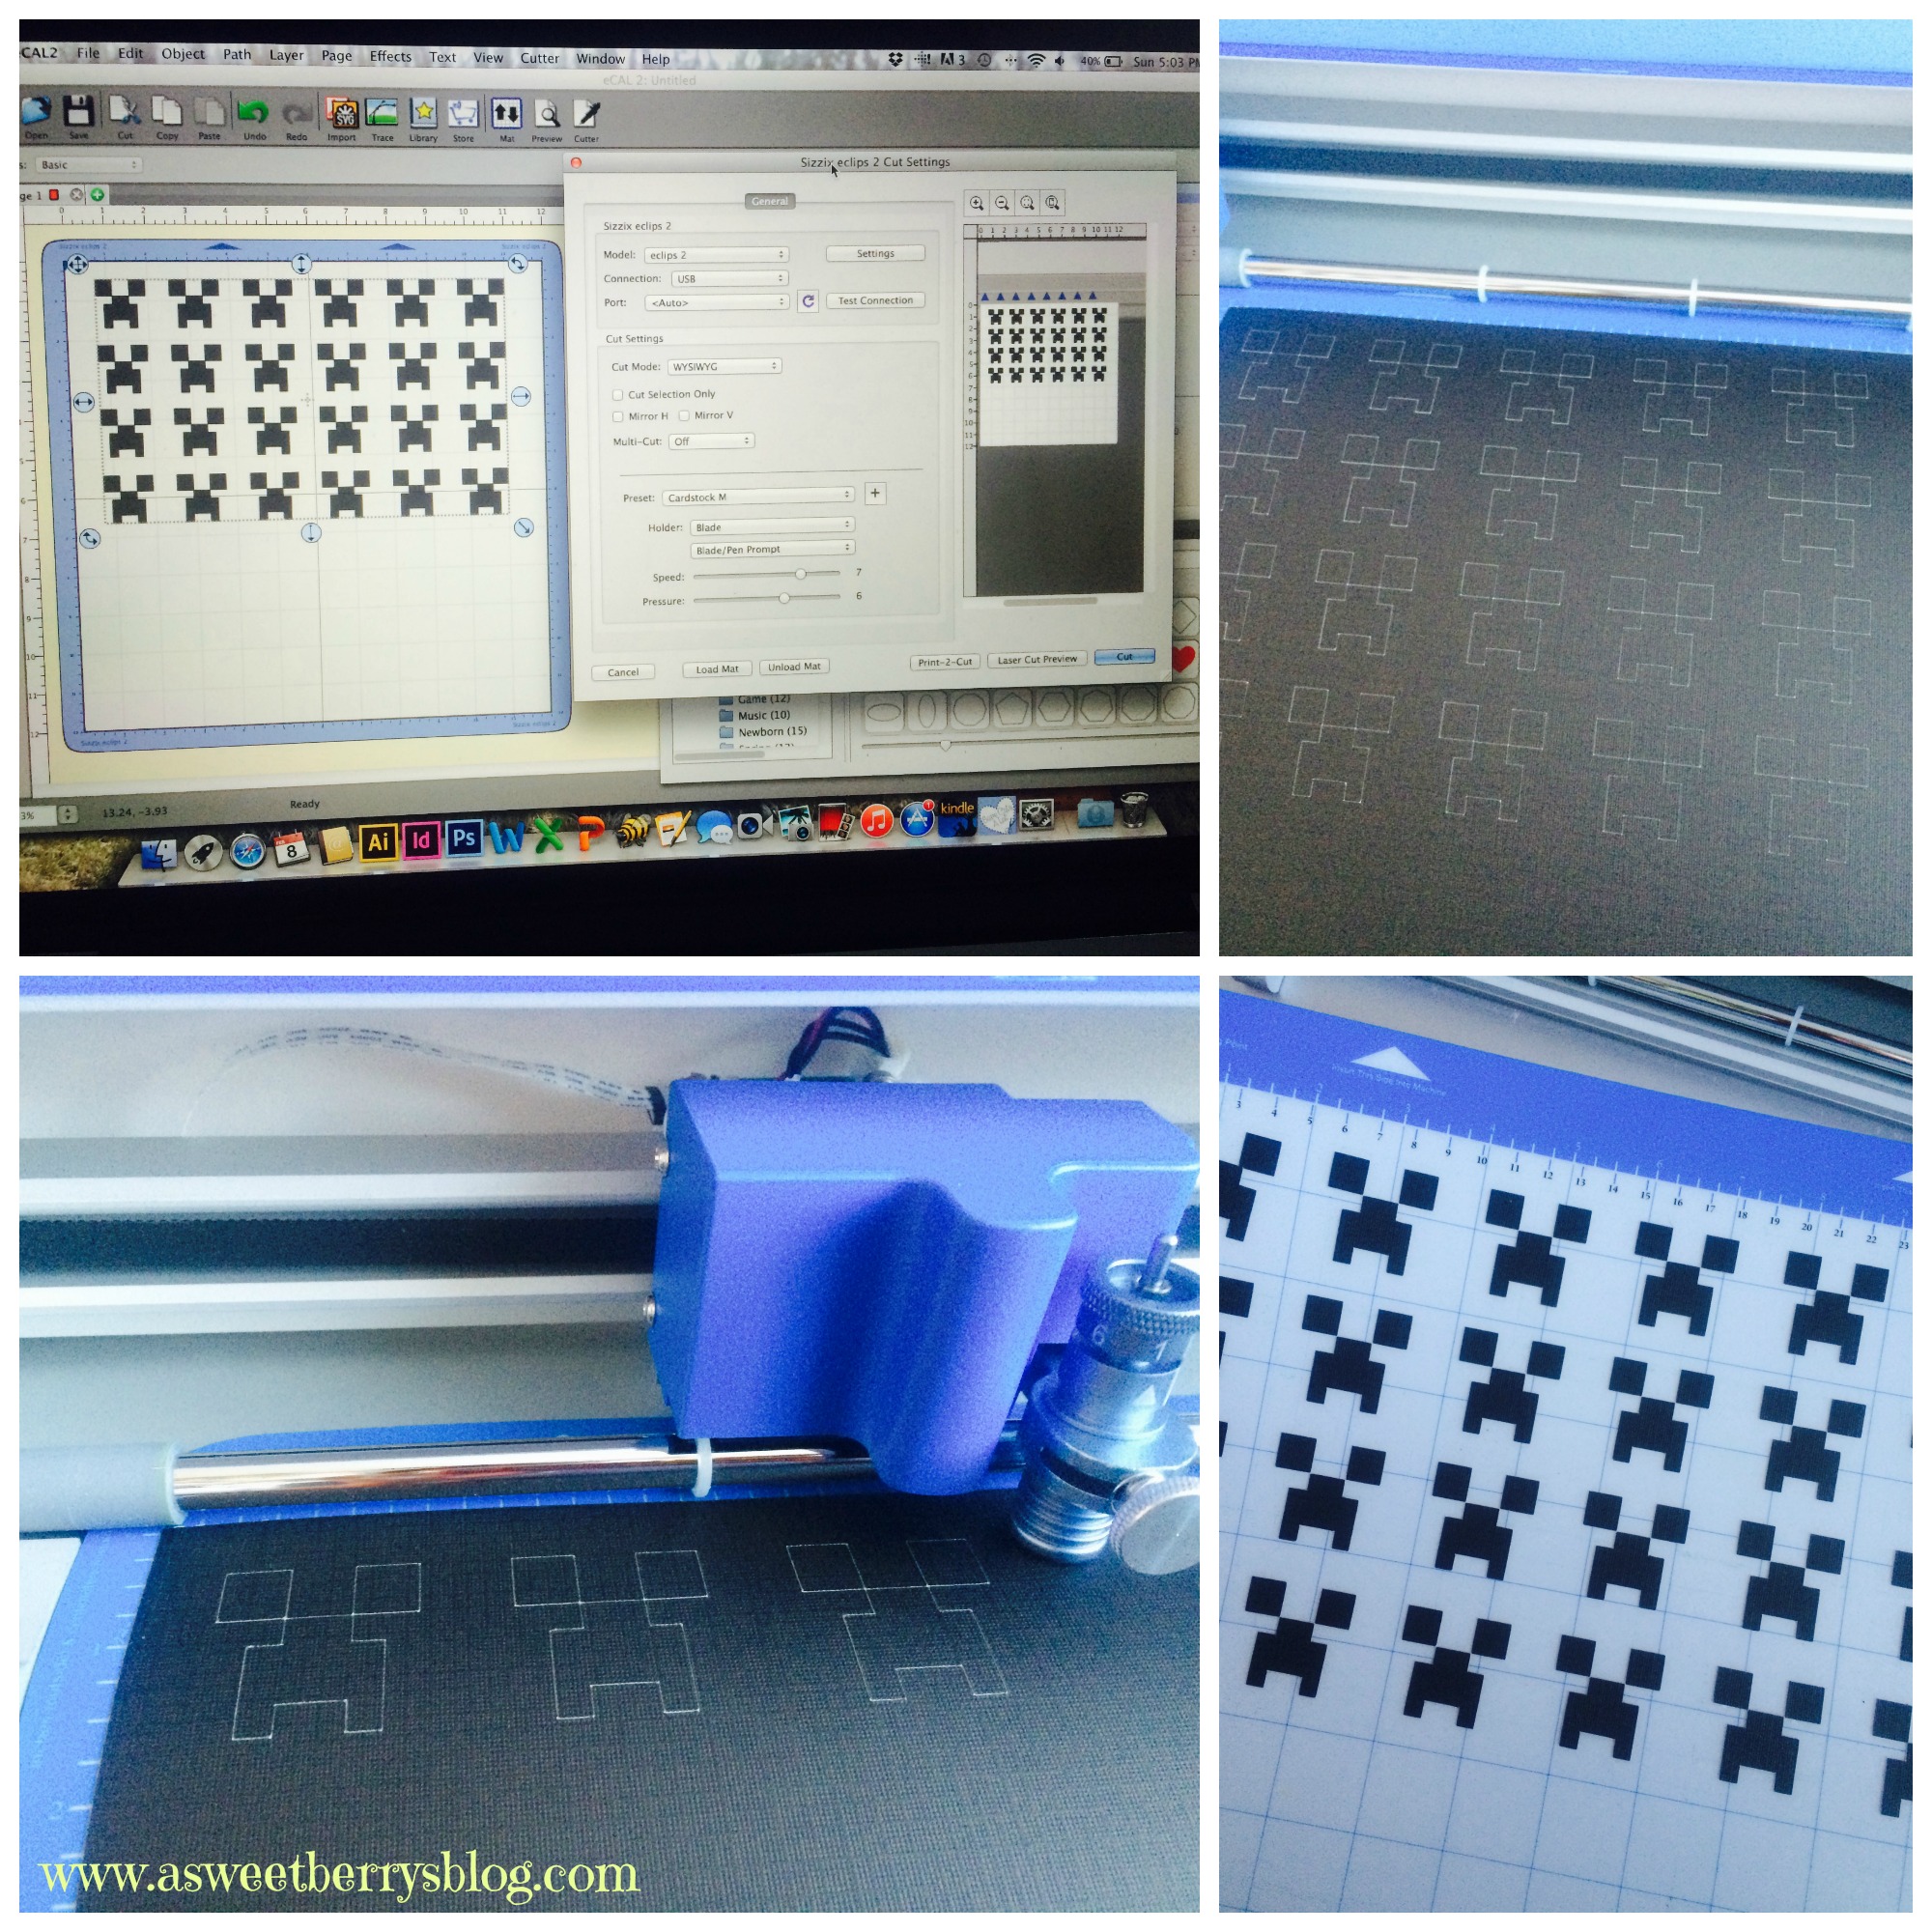
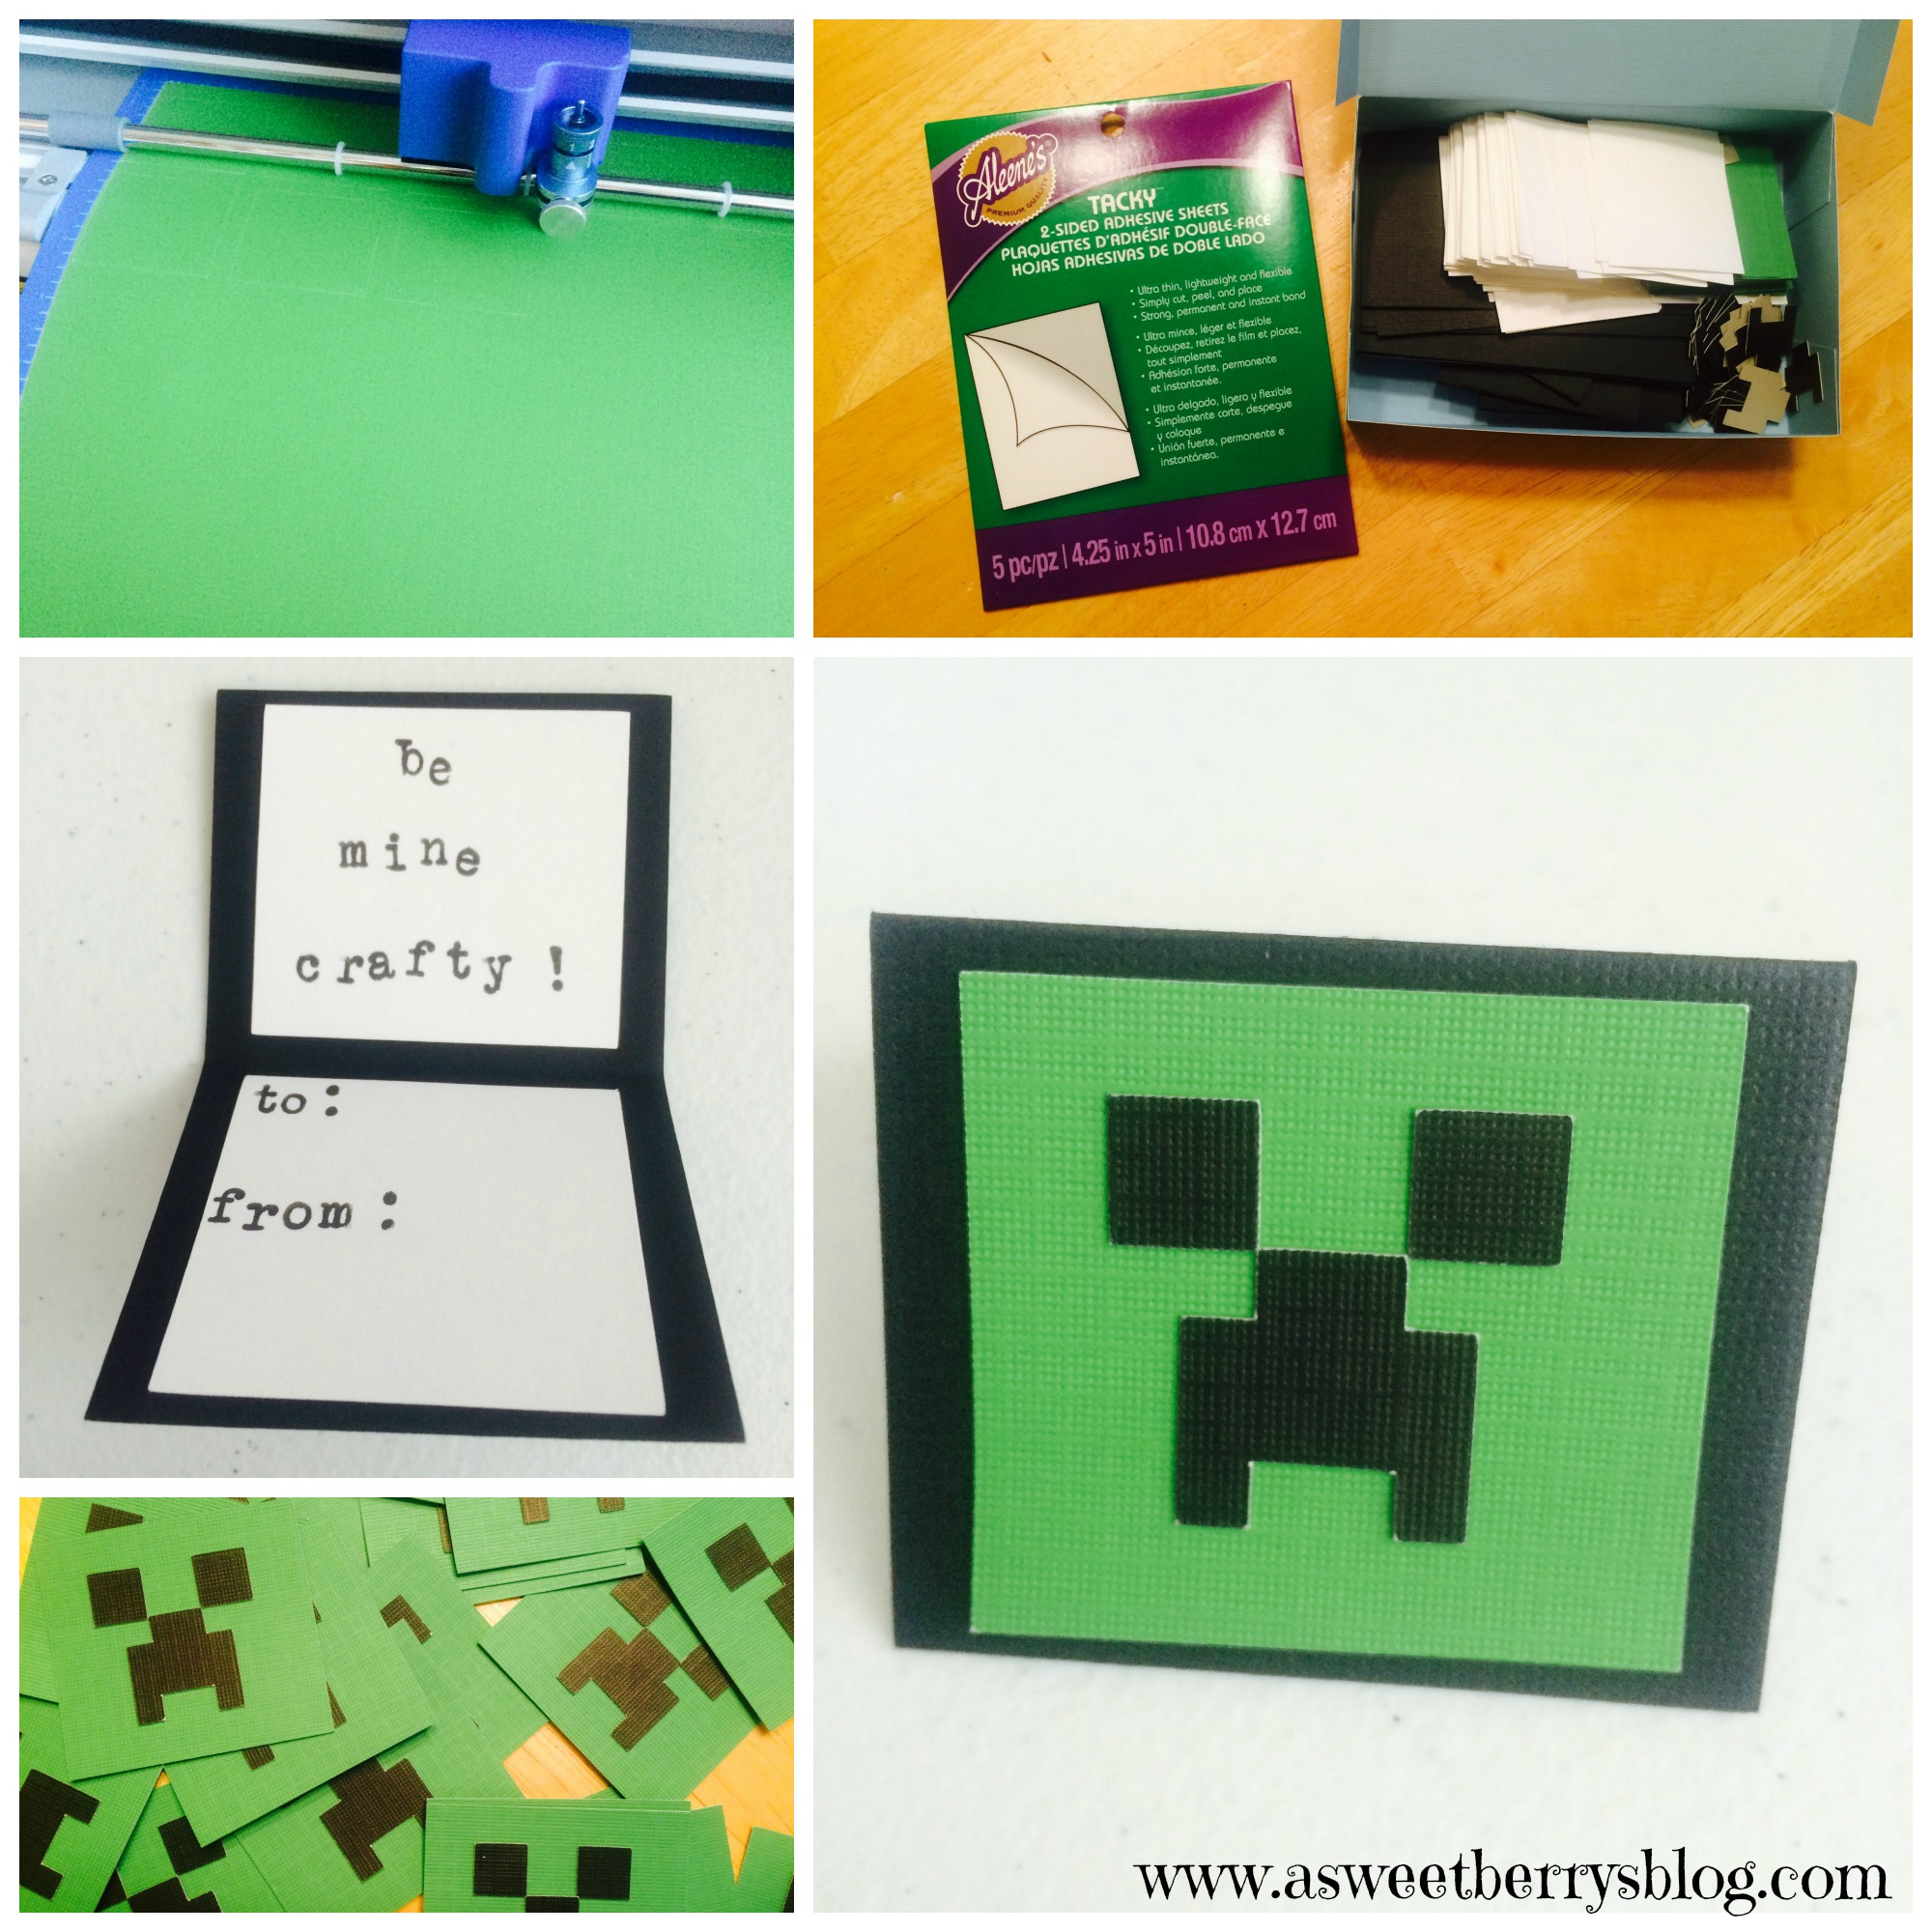
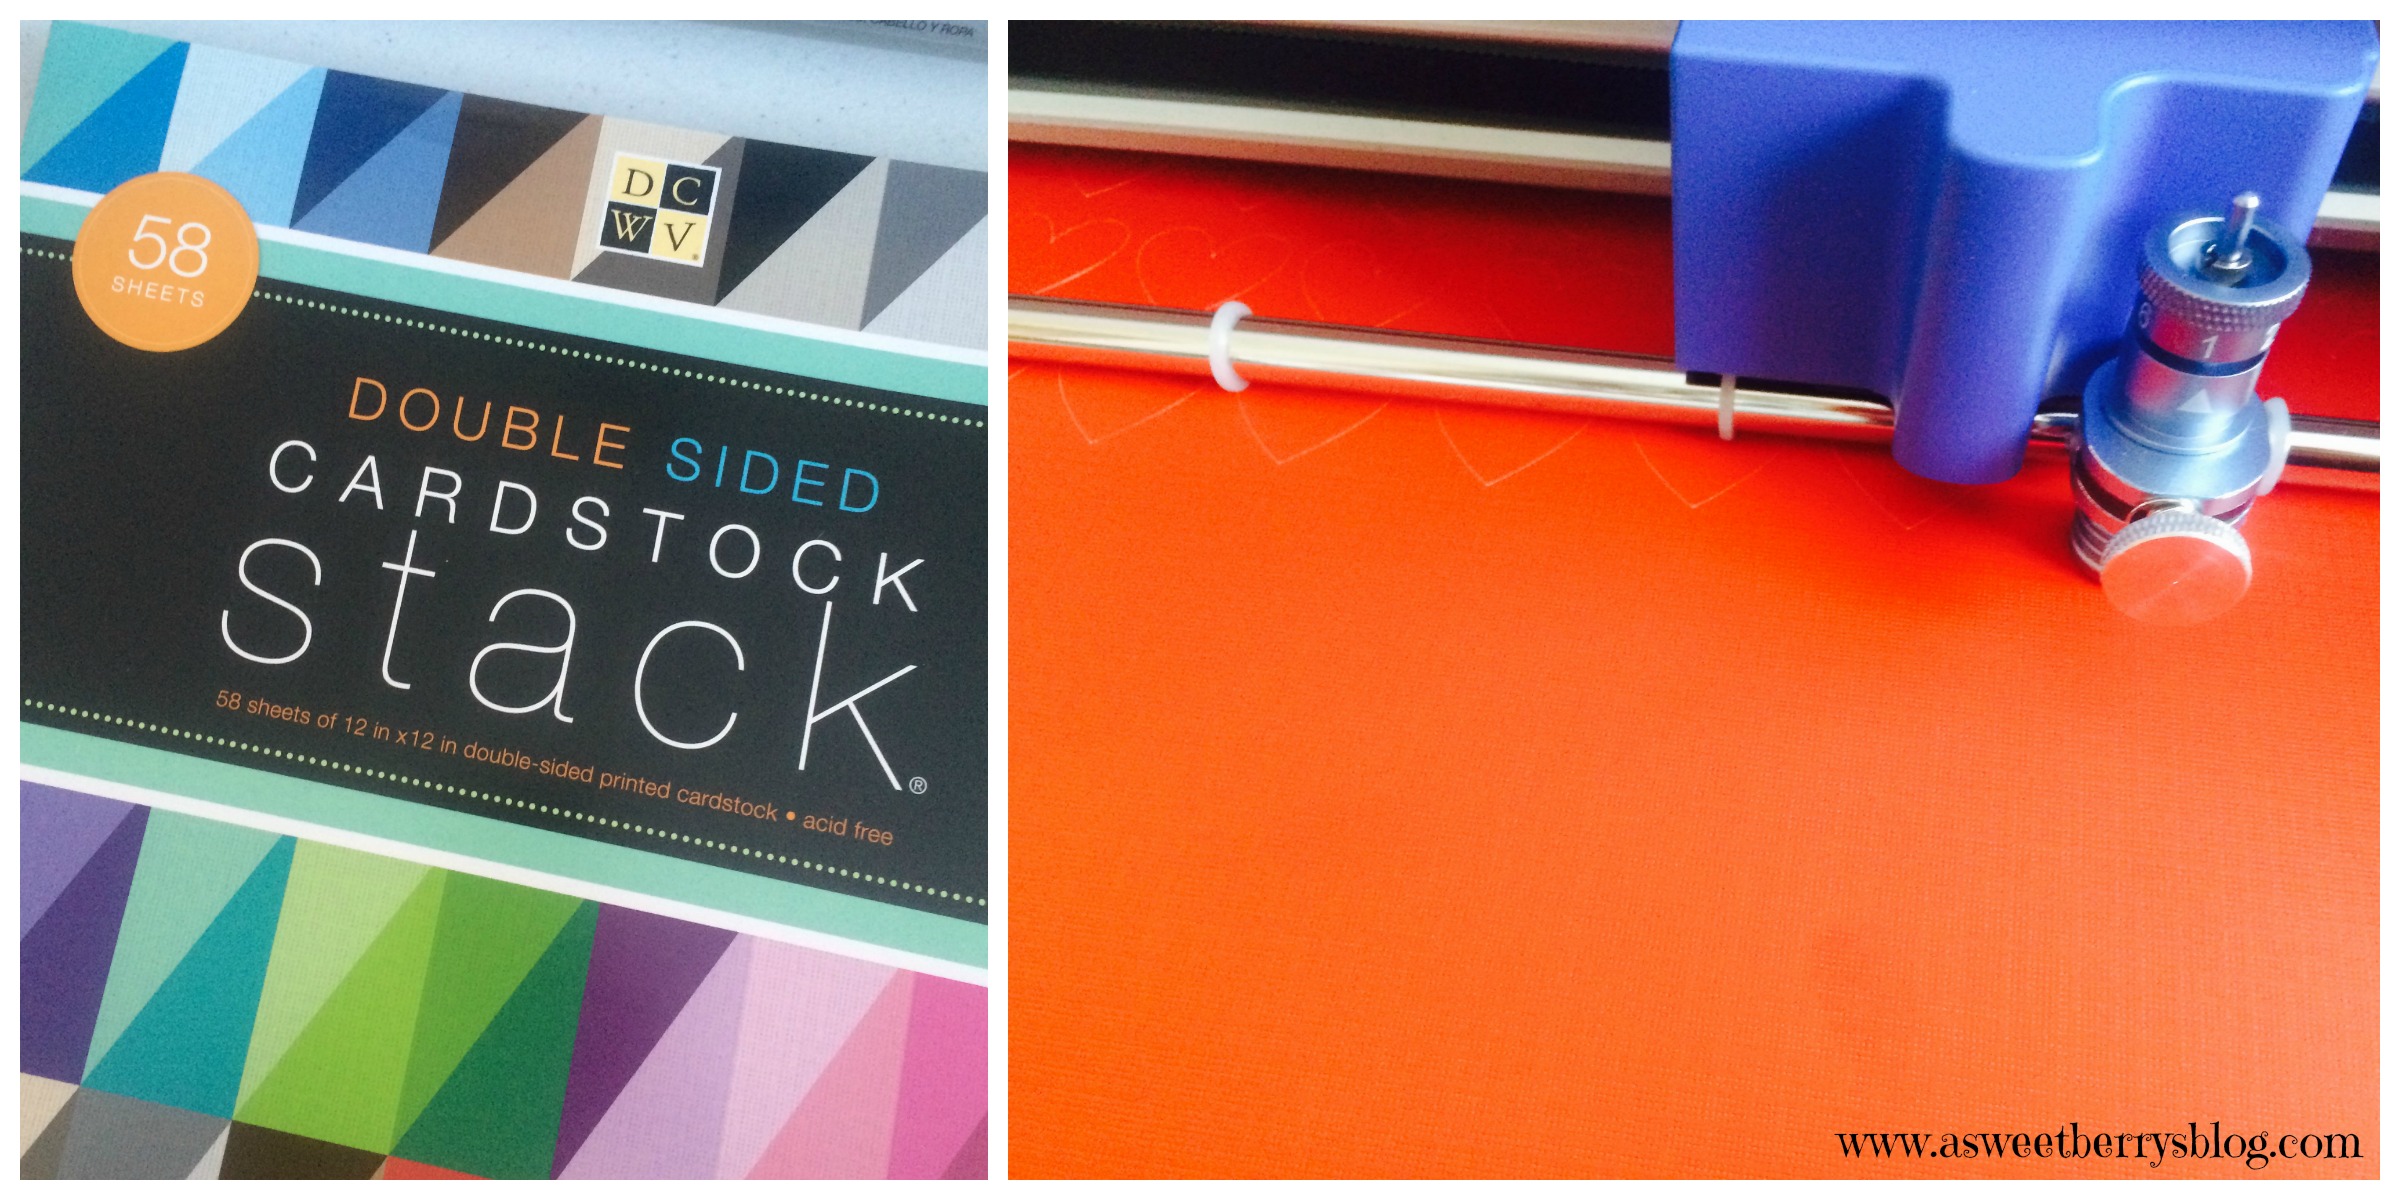
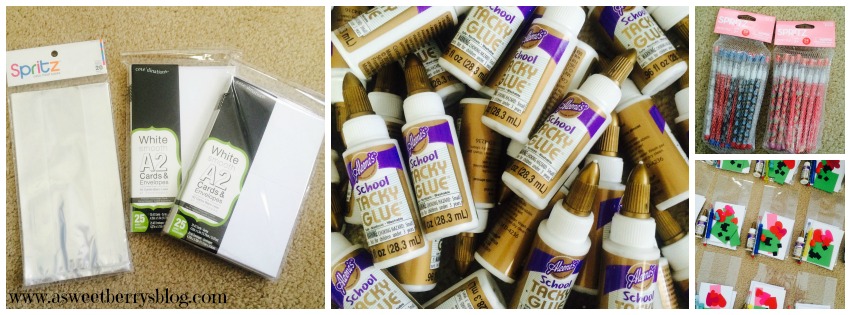
Recently, I was sent a Sizzix Eclips2!  And let me tell you…..I AM IN LOVE!!!!!   It makes cutting super easy!  So, I created my little Minecraft creeper faces in Adobe Illustrator, which I have as a graphic designer.  I converted the file to an .SVG file, imported it into the ECal2 software that works with the Sizzix and got right to cutting!  I also cut black rectangles for the cards, green squares for the creepers face and white light card stock (not DCWV) squares for the inside of my cards, since the cards were black.  I used DCWV card stock, in which ACMoore sells and they sell it in a pack of 12×12 inches pieces.   creeper faces
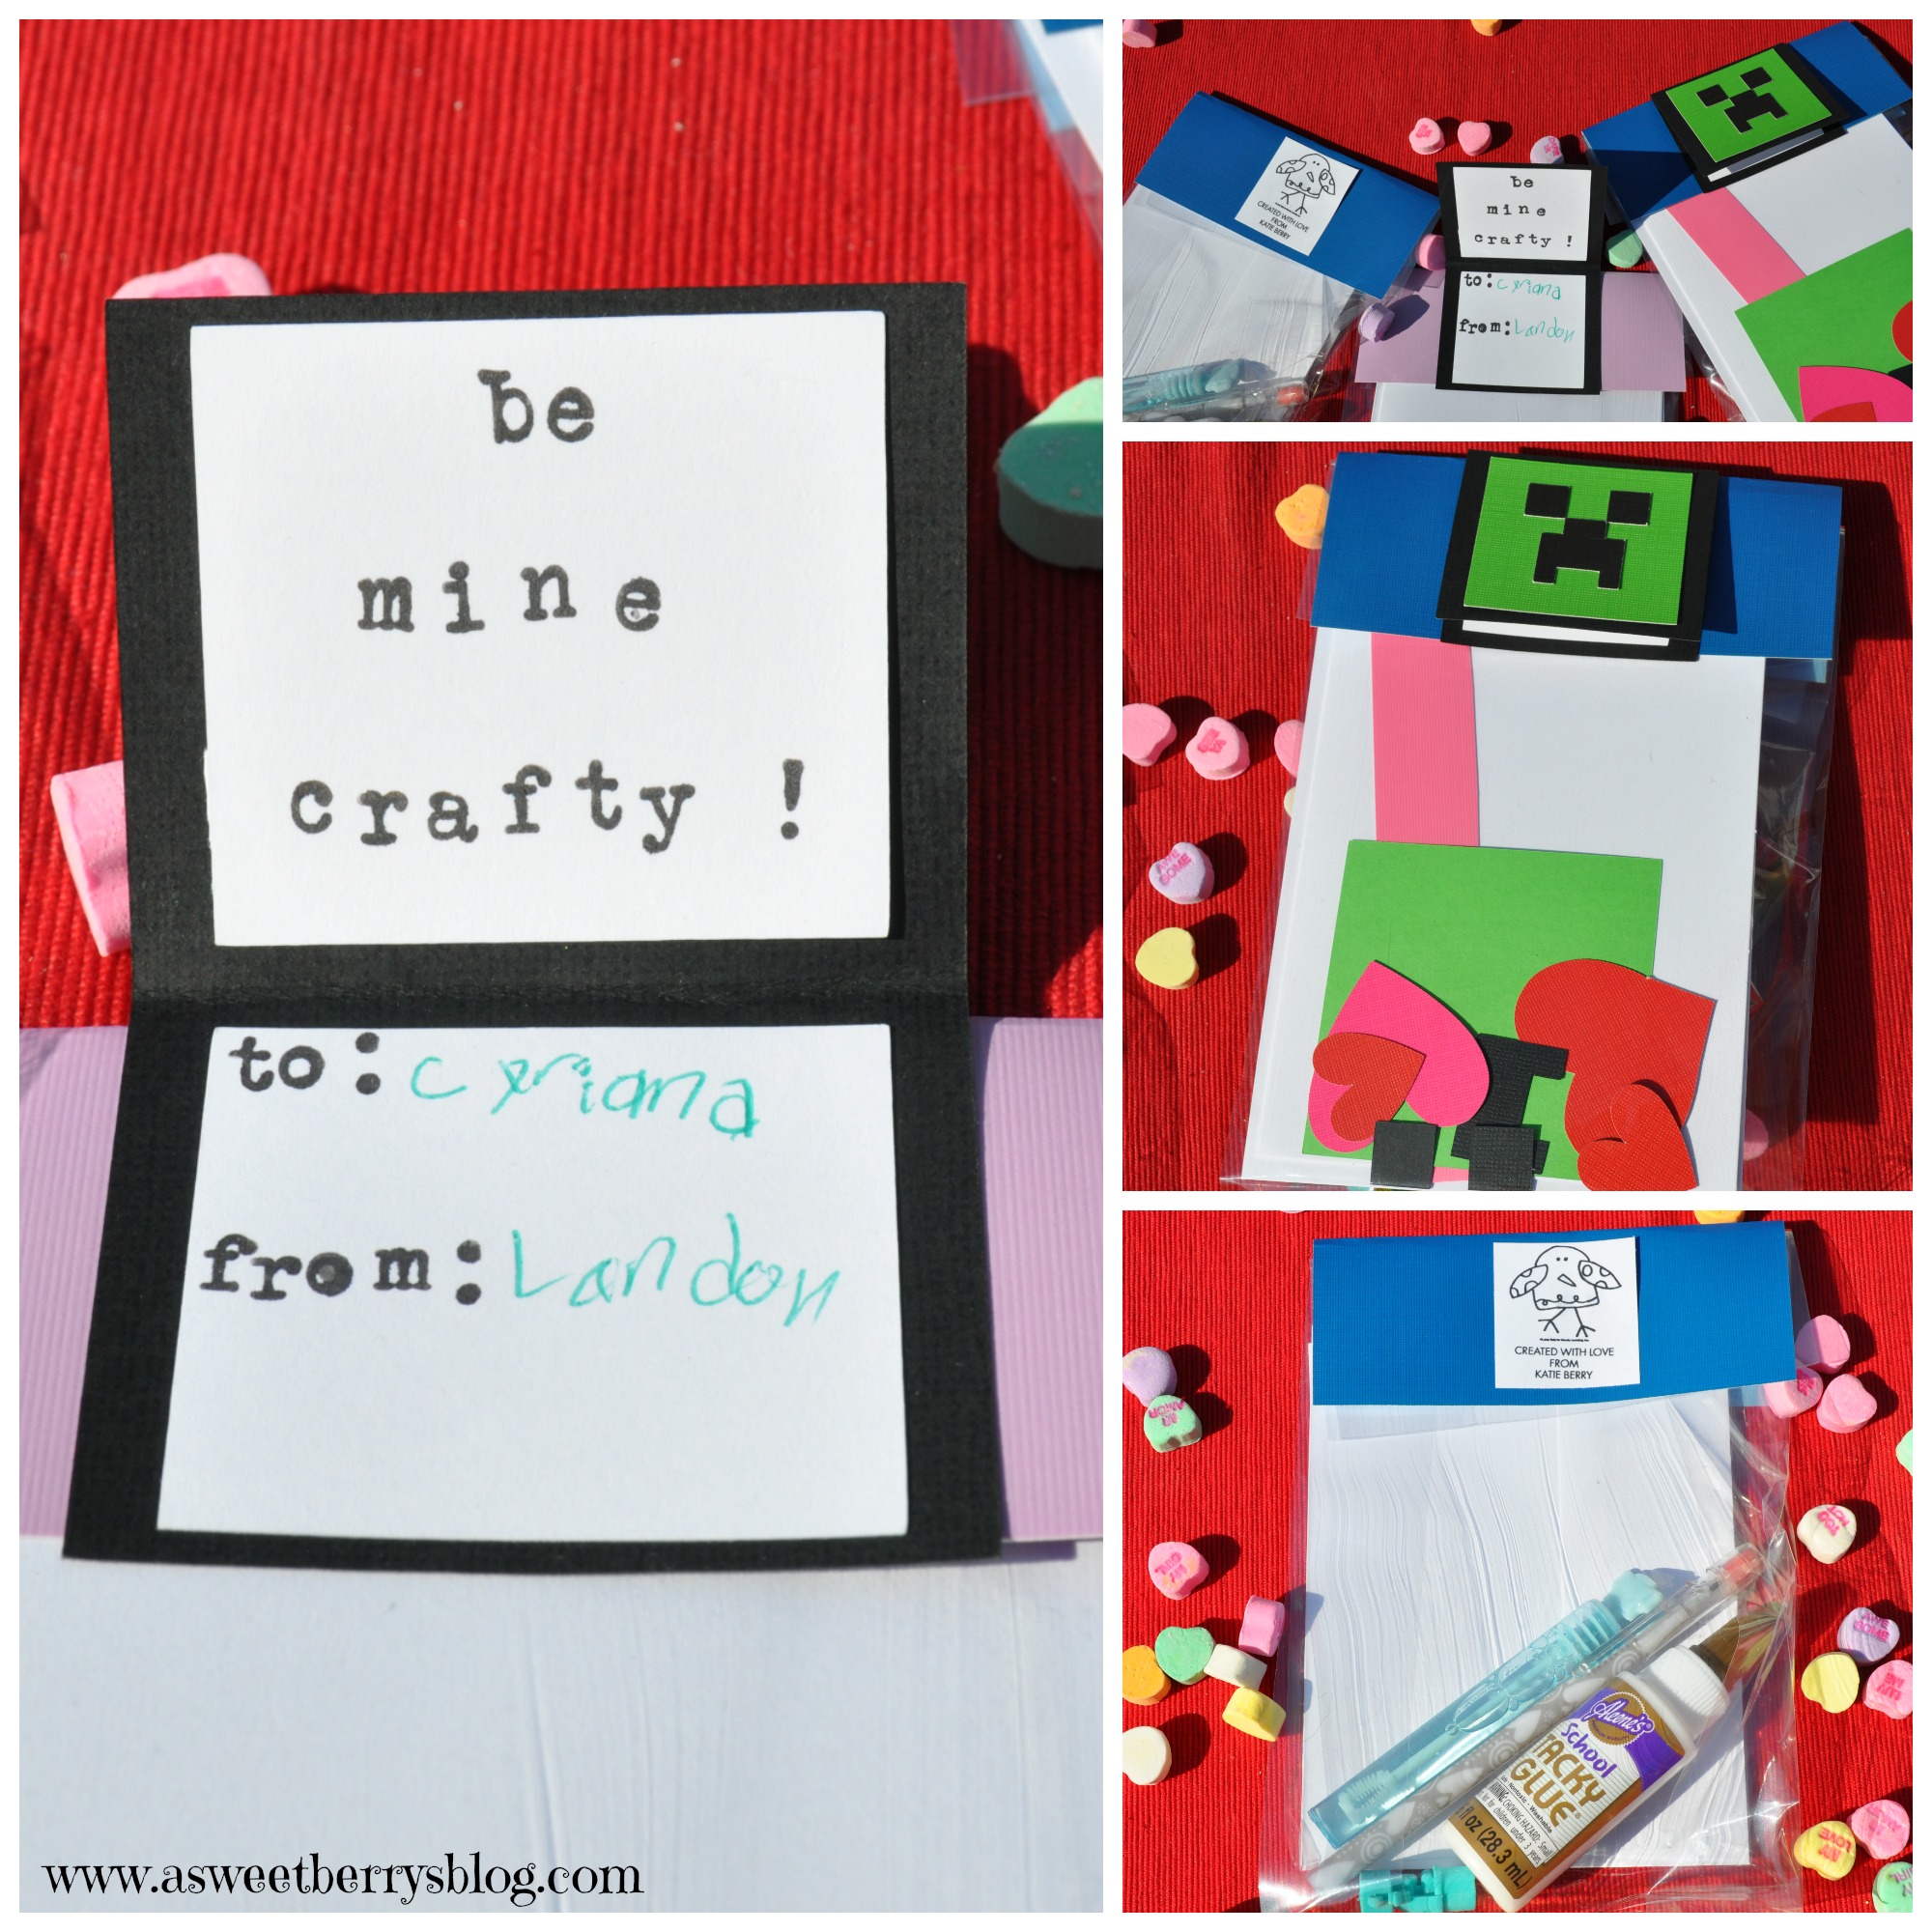
Using Inkadinkado stamps and ink, I stamped the inside of the cards.  I knew that my treats were going to be a craft, so I used a crafty saying:  “Be Mine Crafty!”  Inkadinkado
After getting everything cut out for my cards, I used Aleene’s Tacky 2-sided adhesive sheets to put the cards together.  I just cut the sheets up into smaller pieces and it worked great! creeper card
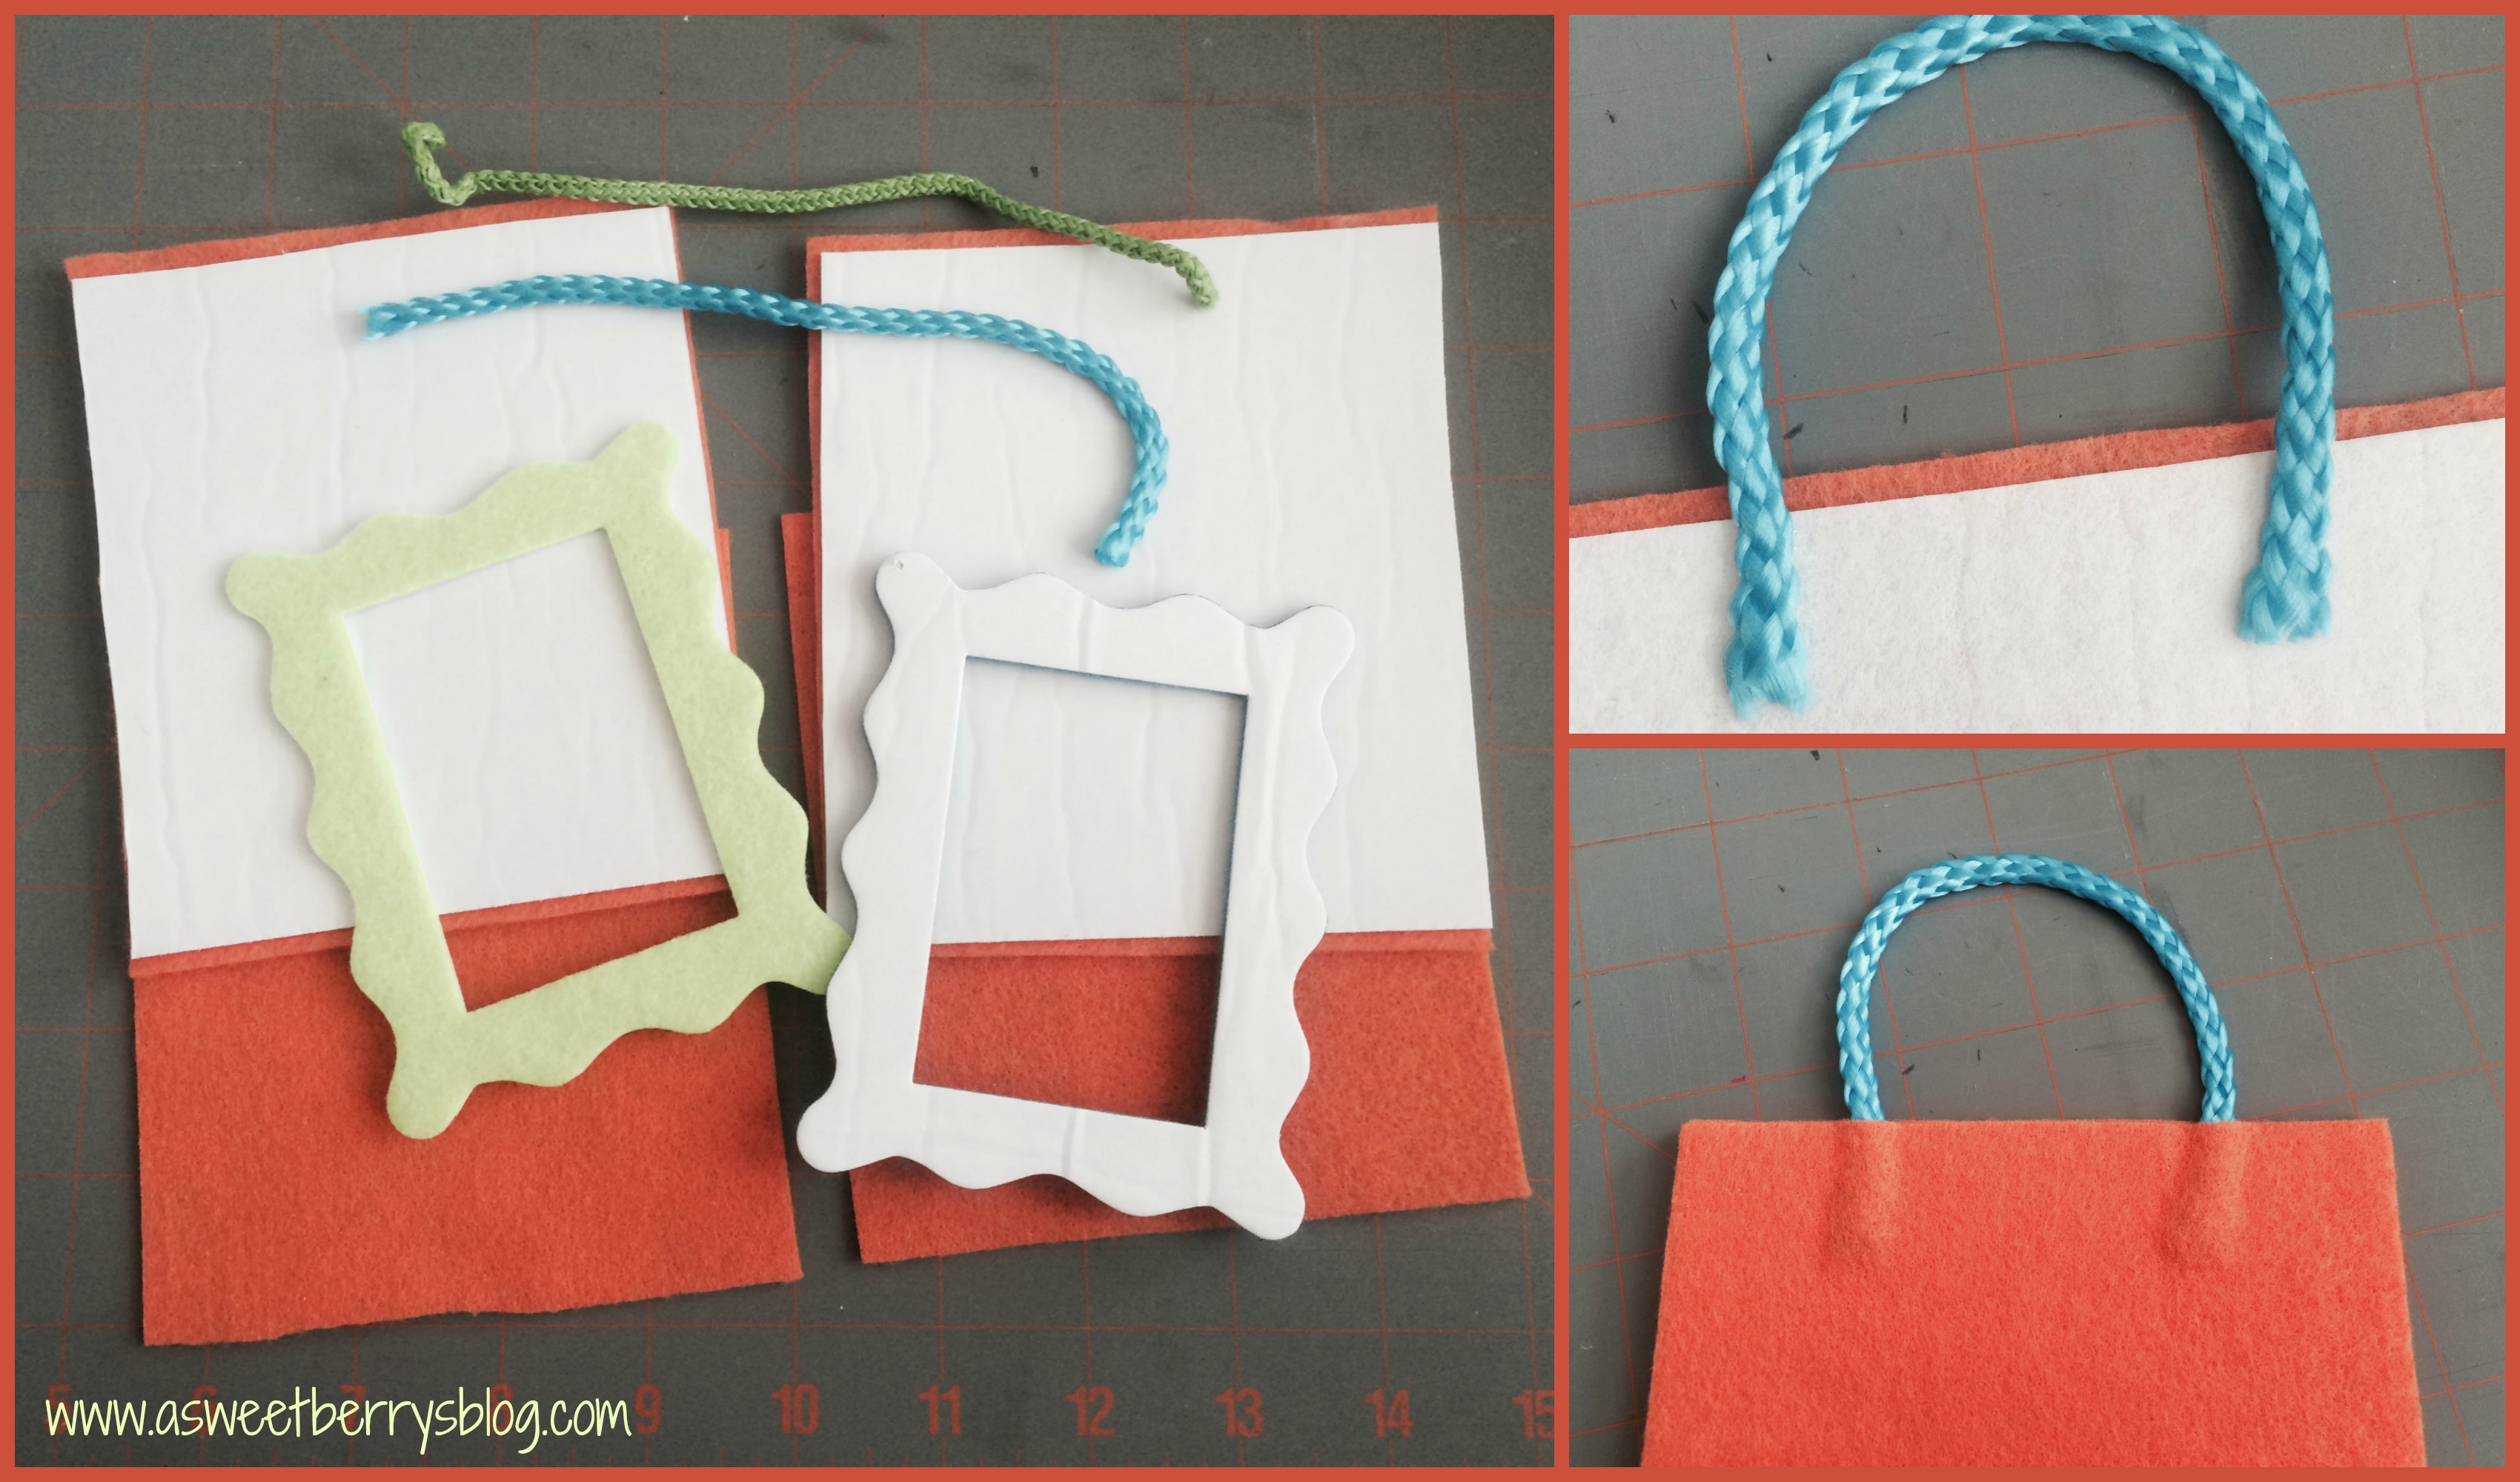
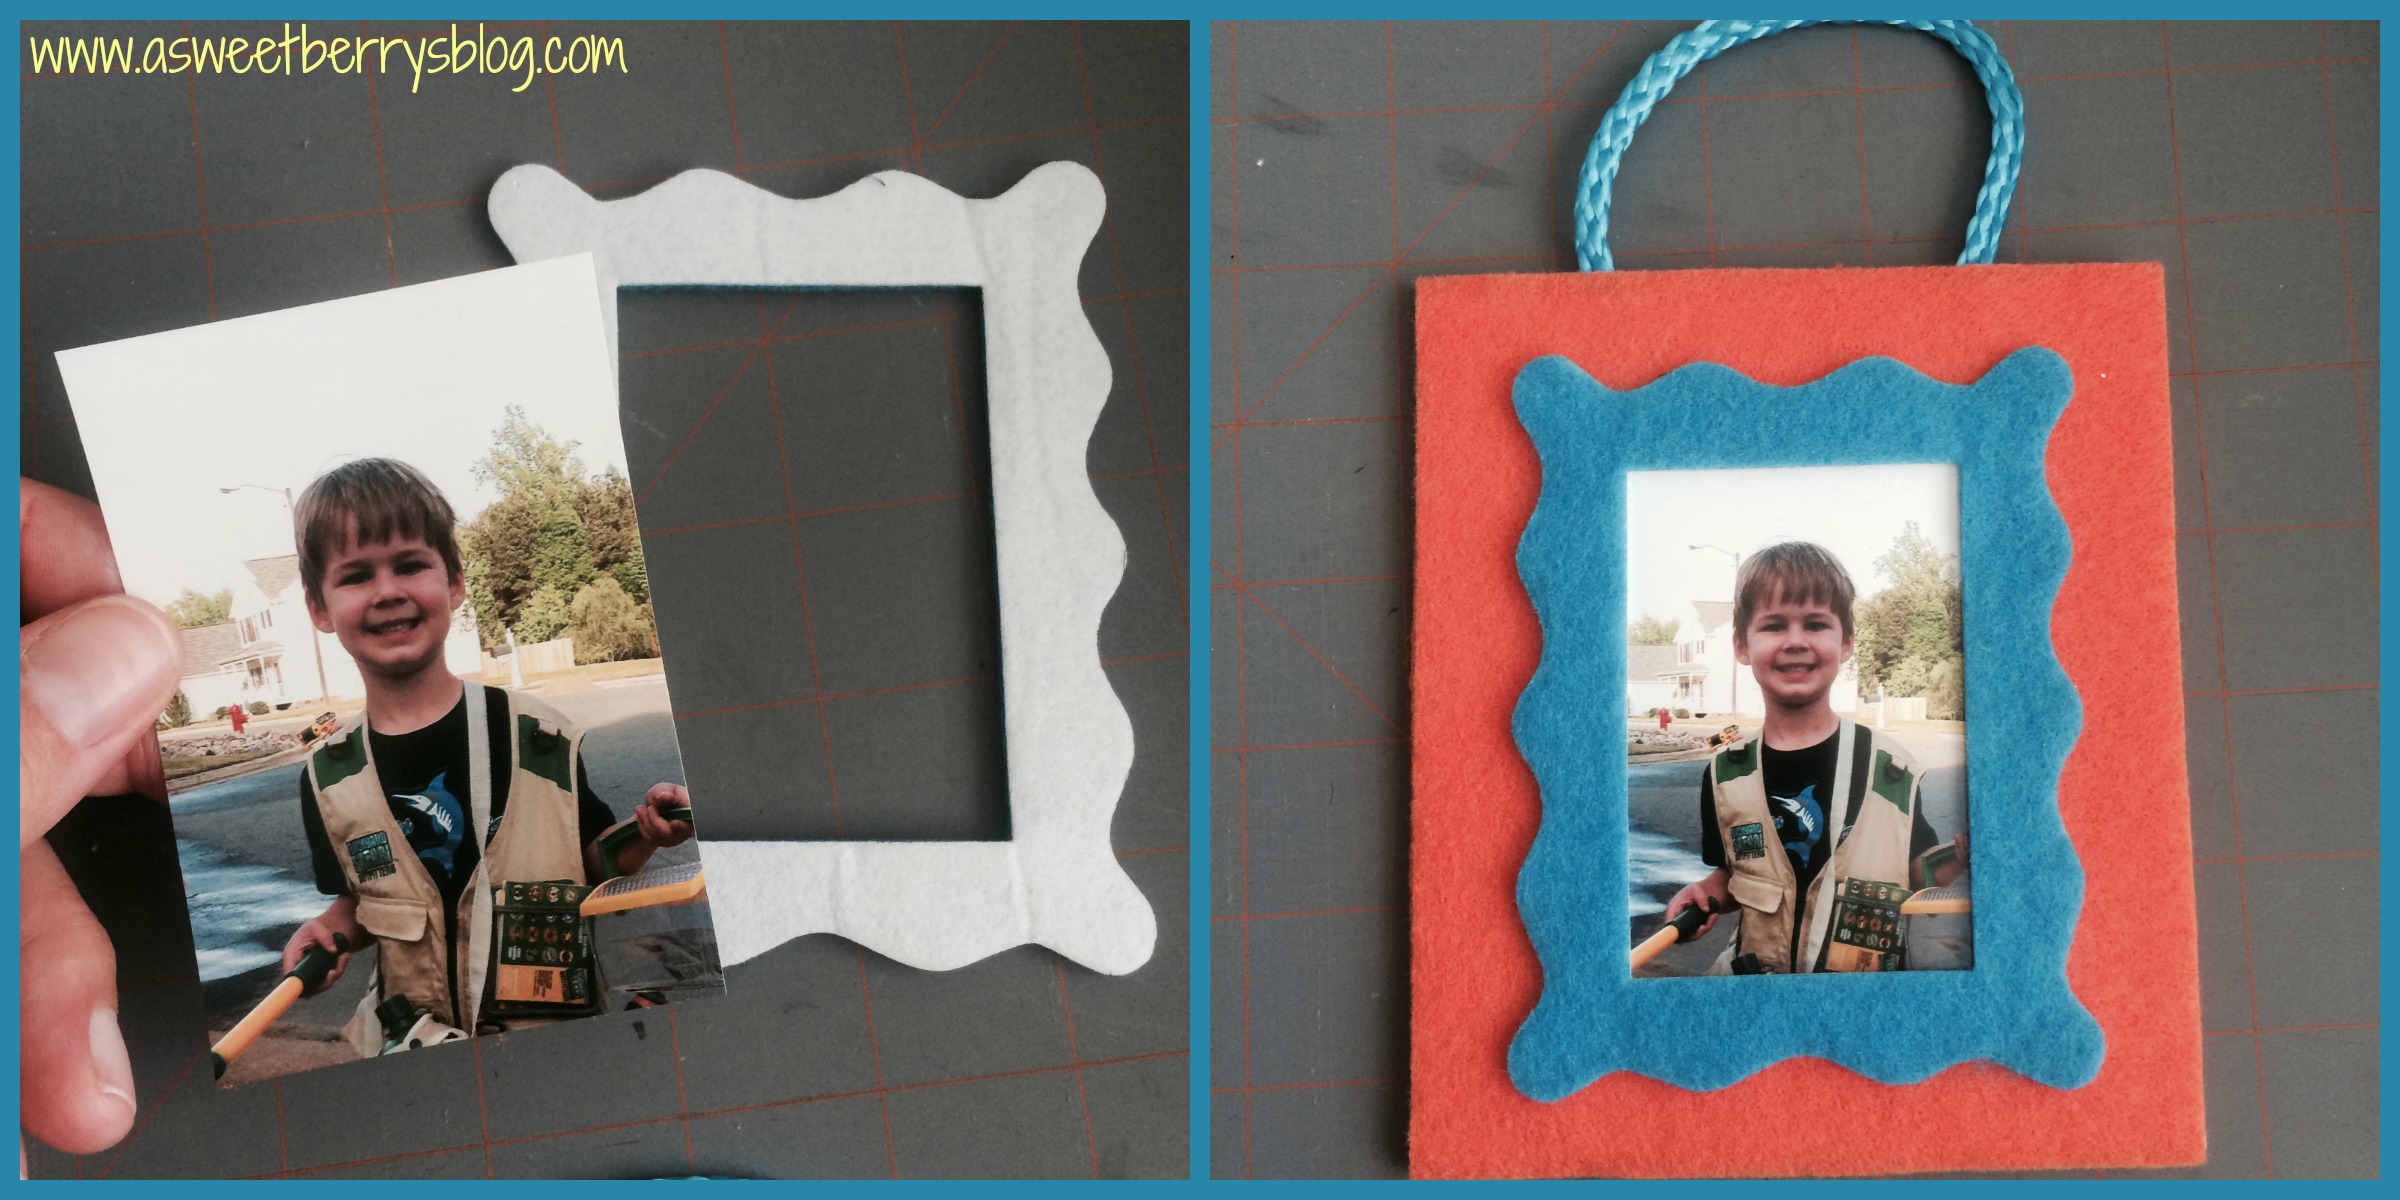
So, the treats to go along with the cards are Make It Yourself Cards.  I included a green square, a creeper face, some hearts and some scrap pieces of the DCWV card stock from what had already been cut. paperandhearts
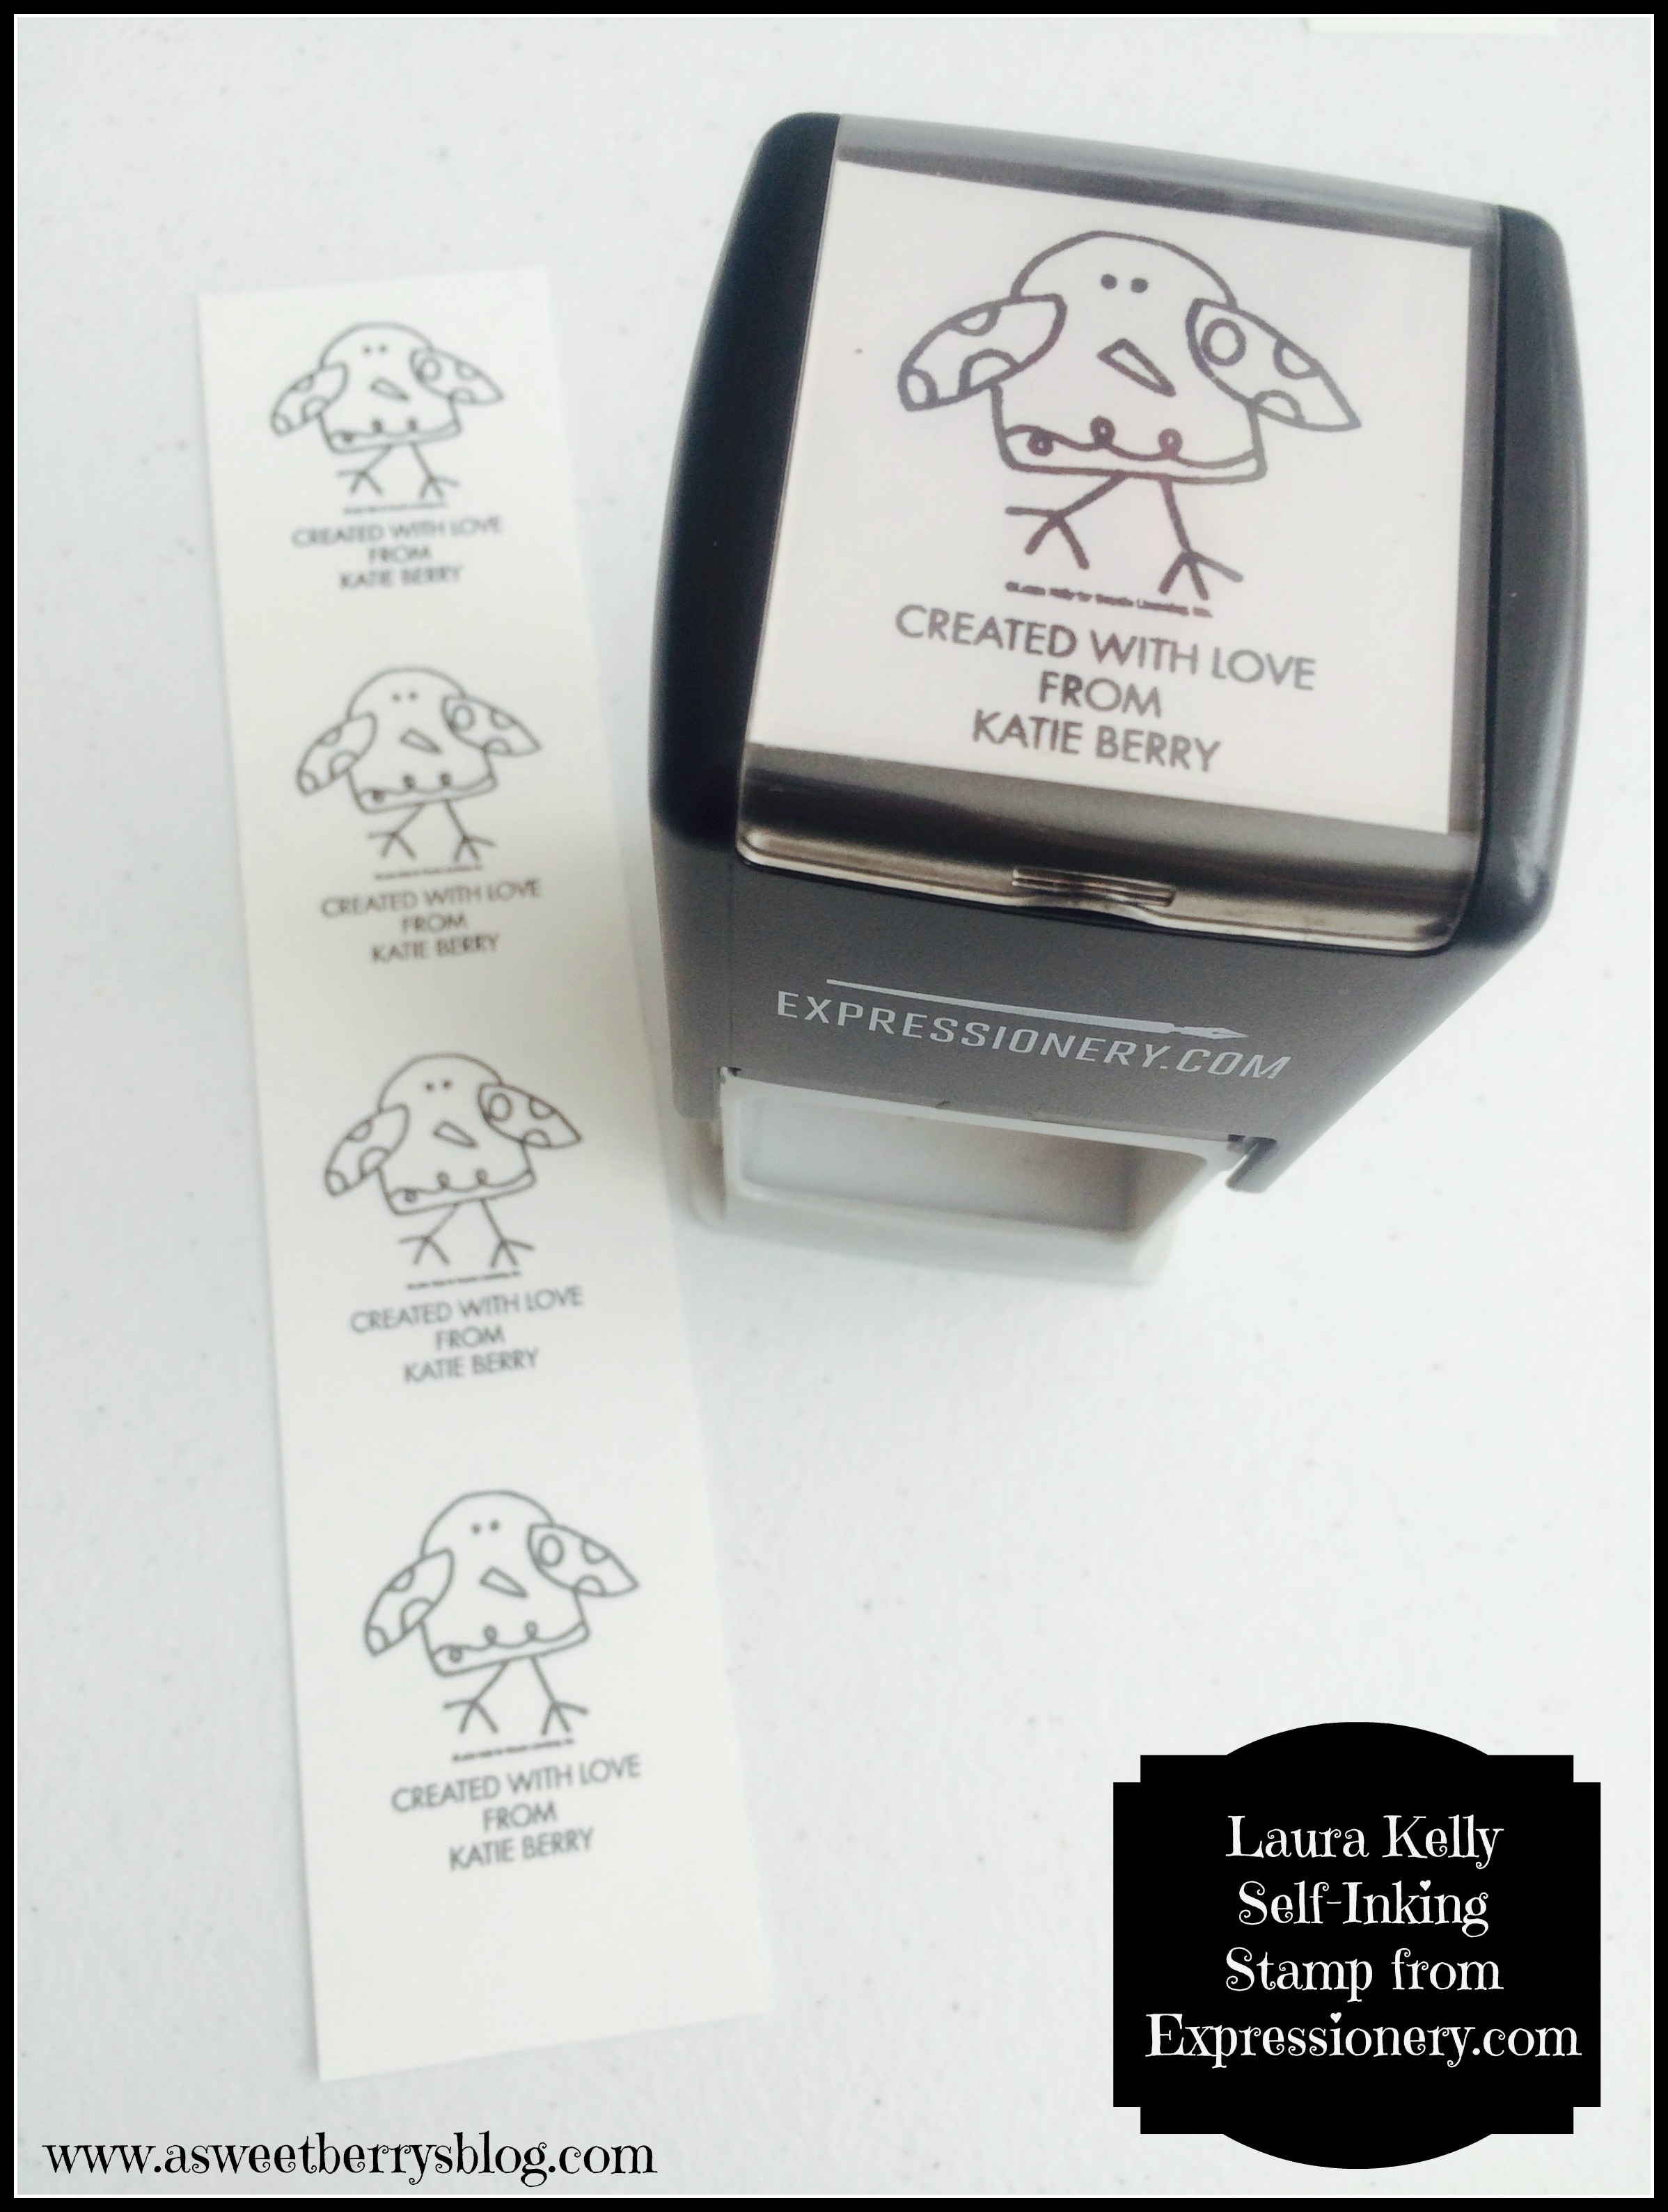
On the left over white scraps that I had from the squares inside my cards, I used my adorable Laura Kelly Self-Inking Stamp from Expressionery.com!  How cute is that stamp?!?!
Stamp
Then it was time to stuff my bags.  I just picked up some clear bags from the party section at Target.  I also got plain white cards with envelopes from ACMoore.  I also included an mini bottle of Aleene’s School Tacky Glue for their card making, a pencil, a small thing of bubbles and a pencil topper eraser!    I decided that I wanted this years Valentine’s to be Candy Free because we also end up having way too much candy anyway and it ends up going to waste.  I folded the bags and stapled a folded piece of DCWV card stock rectangle to close the bag and added the card and the piece white cardstock with my stamp on it to the front and back to cover the staples puttingtogetherbags
How cute did these turn out?   I hope the kids like them!   all shots My idea for a Make It Yourself Card idea came from my super crafty friend Mothership Scrapbook Gal, Rina Gonzales!  Check out her Facebook page and her Etsy Shop!!!!!

Until next time…..

XOXO

Laura Kelly’s Pet Shop Sizzix Collection T-shirt

Laura Kelly’s Pet Shop Sizzix Collection T-shirt Benjamin final

Laura Kelly just launched a new line of die cuts with Sizzix/Ellison.  It’s really exciting and they are such cute die cuts.  Laura invited me to join in her quest to promote the line!   It’s called the Pet Shop collection.  Click on the link to check it out!!!   I decided to use the terrarium and lizard that Laura so kindly precut for me!

Things you will need:
-a t-shirt
-Laura Kelly’s Pet Shop Dies by Ellison
-Die Cut Machine
-Scribbles 3D Fabric Paint
-Tulip 3D Fabric Paint
-Fabric with an adhesive backing

materials

Before I removed the adhesive cover, I inserted my lizard into the precut slots.   back pieces

I then gently removed the backing of the lizard first and then the backing from the terrarium. putting it together

 I then placed the terrarium onto my shirt, making sure I put it exactly where I wanted it because it’s not easy to move!!!   Next, I added the cute little saying “Here Lizard Lizard!”, black fabric paint to the top of the terrarium to make it look like it has a lid and eyes on the lizard!

complete

Then I put it on this cute little guy and he loves it!!!  What little boy doesn’t like pets?!?!? Benjamin

Hope you like my cute little lizard and terrarium Pet Shop Collection by Laura Kelly t-shirt!!!

Until next time…..

  FINAL LOGO

  a Rafflecopter giveaway

Simple Felt Fabric

Frames

supplies

Supplies:
Big Shot Sizzix Machine
Sizzix Wavy Frame Die
Kunin Felt
Phoomph
rope from a gift bag handles that I had in my stash.

First I cut four orange rectangles that my frames would fit on.

background

 Then, I cut my blue and green felt so that it was a little bigger than my die and added Phoomph to the back, only removing one side of the paper.  I ran it through the Big Shot with the die using the cutting pads. (To do it again, I would not cover the full back of the frame, so that when it is placed on the background, the photos could be changed out)

process

Then I had my frame cut outs.

frame cutouts

I removed the paper from the Phoomph that was on my orange piece of felt, added my rope to make a hanger and then placed a second piece of orange felt onto the Phoomph.

putting it together

I took a photo of my boys and cut them to a size that would fit within my frame leaving a little of the Phoomph exposed, removed the paper from the back of my frames, stuck the photo on and then applied it to my orange background.

photo and frame

Then I had these cute little frames to hang on the boys bedroom doors!  They could also be made with Christmas colors and be used as Christmas ornaments!  Or a gift for a grandparent!

Frames

Hope you like my simple felt frames!

Until next time…..

ASWEETBERRYLOGO