
Christmas is around the corner and it will soon be time to wrap up all of the gifts that you purchase! How about making a shirt to wear while you are doing the wrapping!!!

Materials:
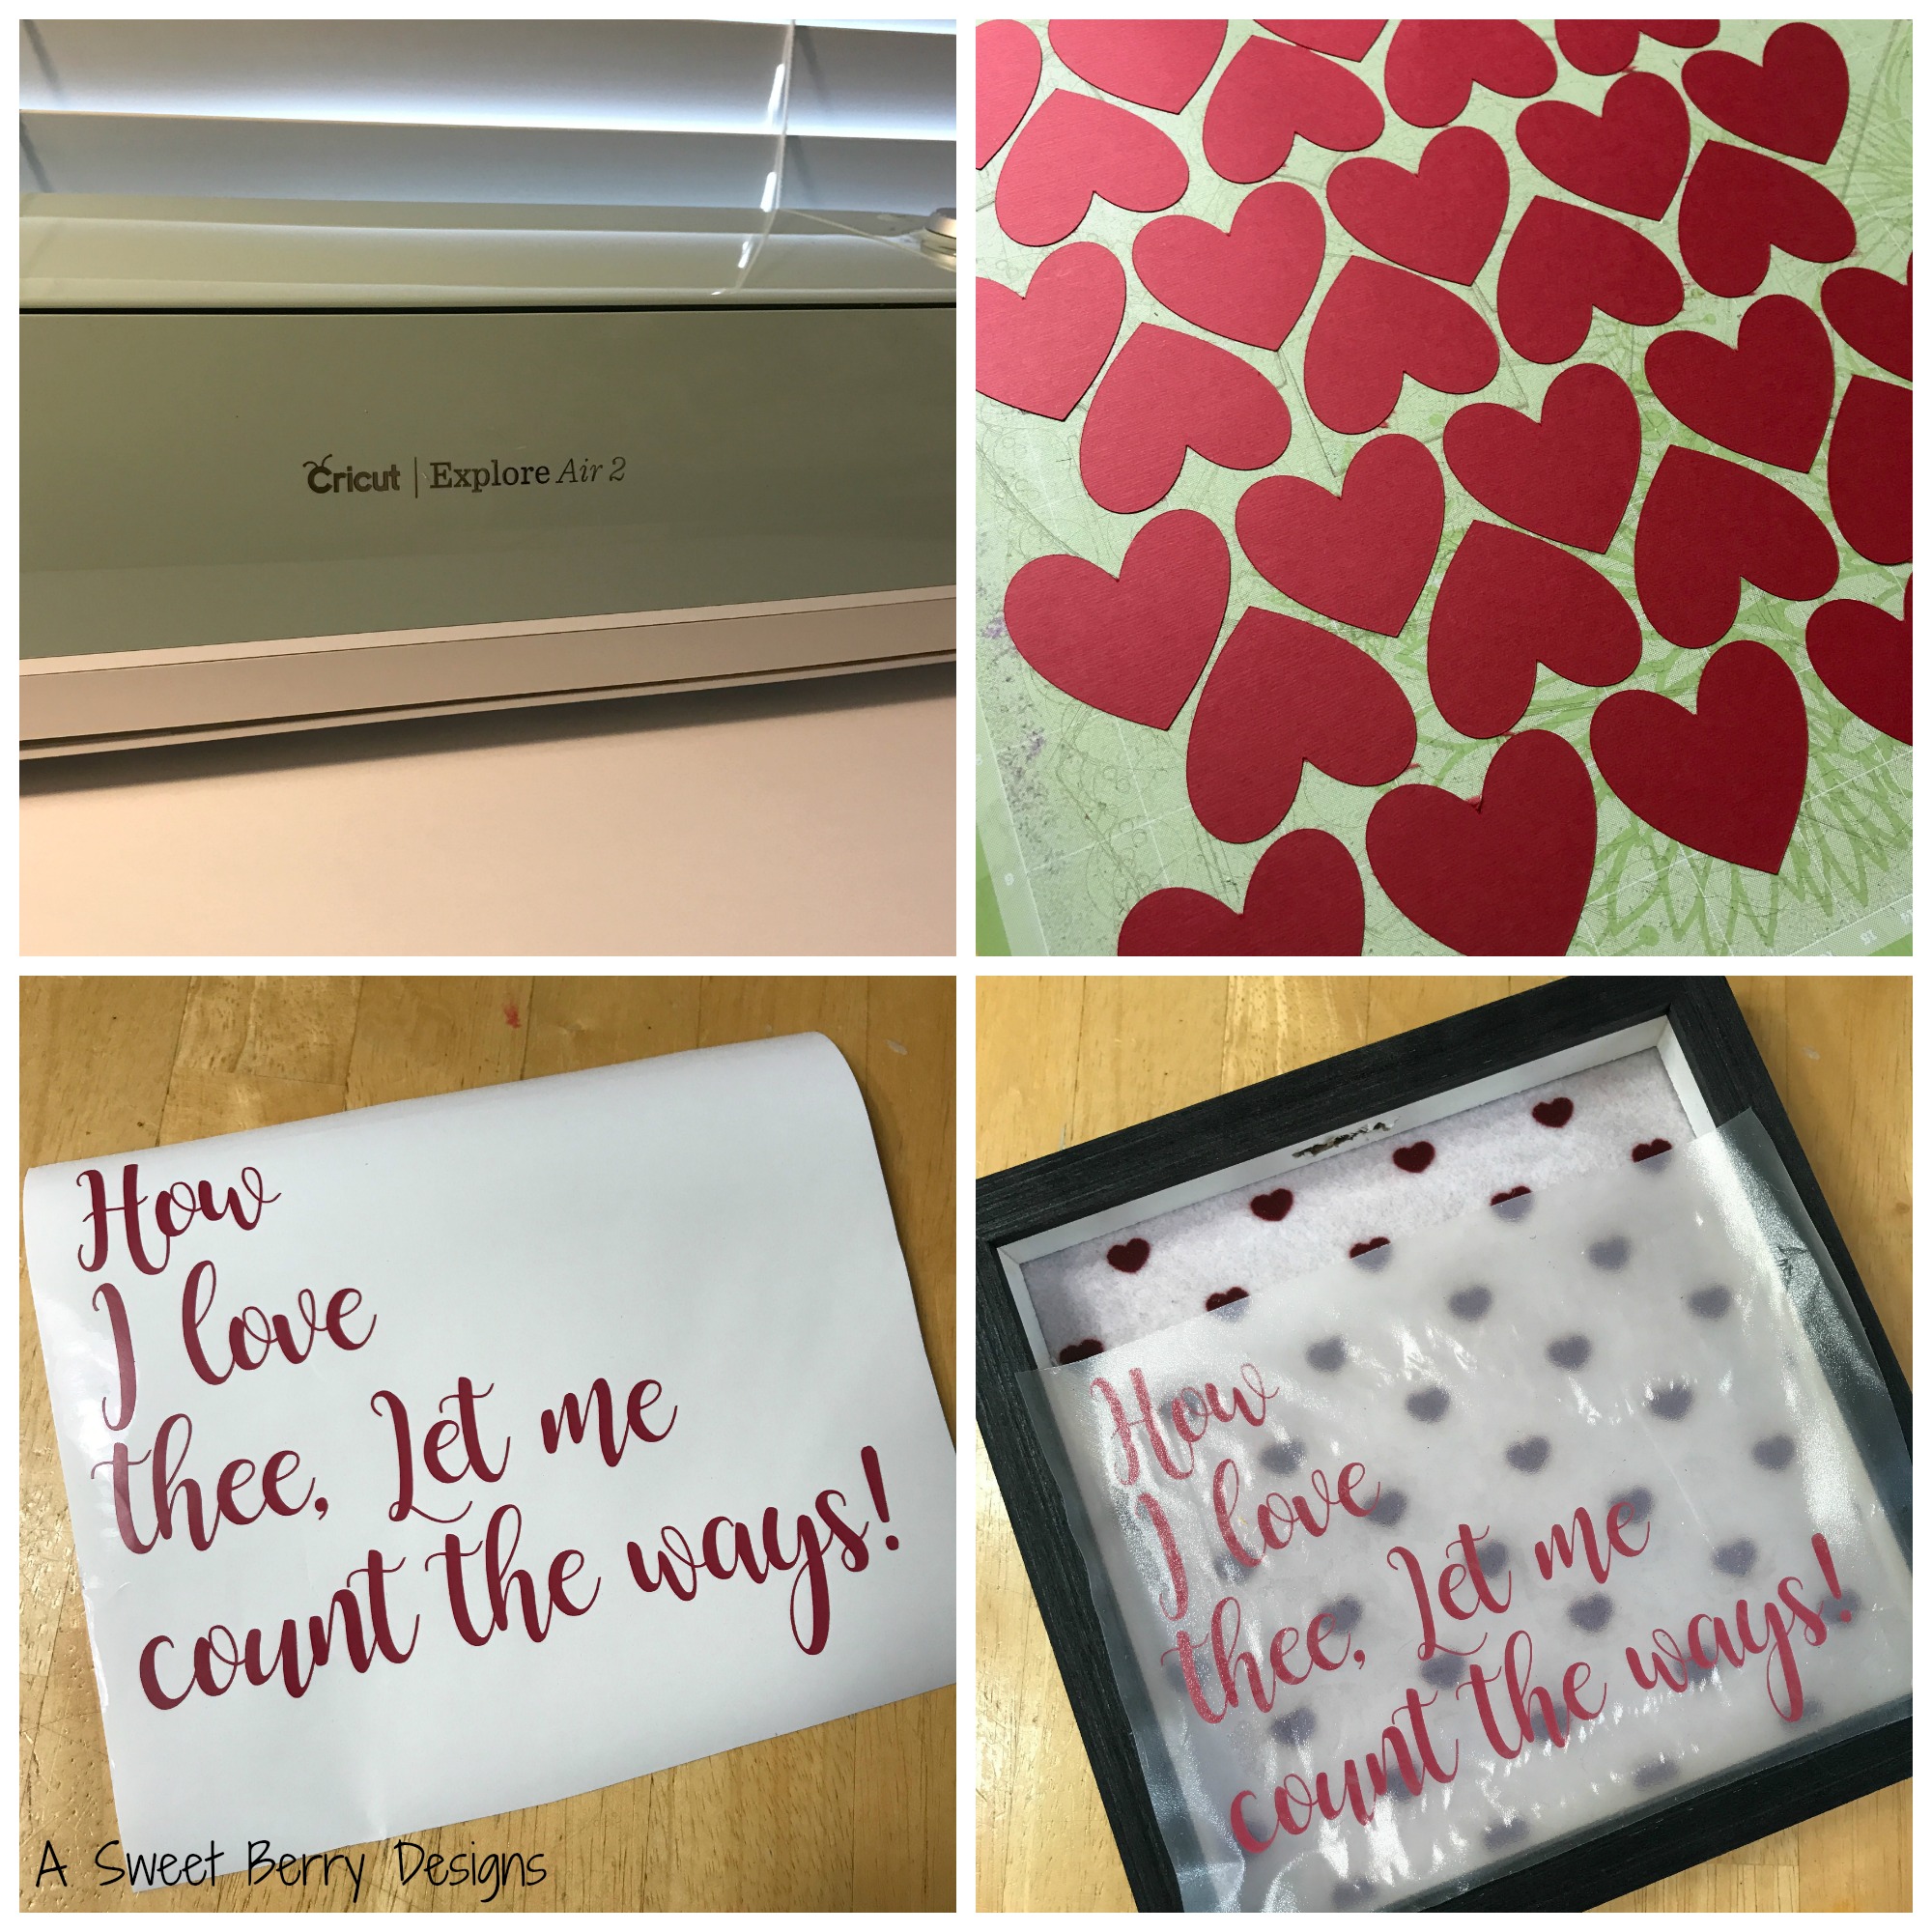
Cricut
Cricut Cutting Mat
Cricut Iron-on
Cricut weeding tool
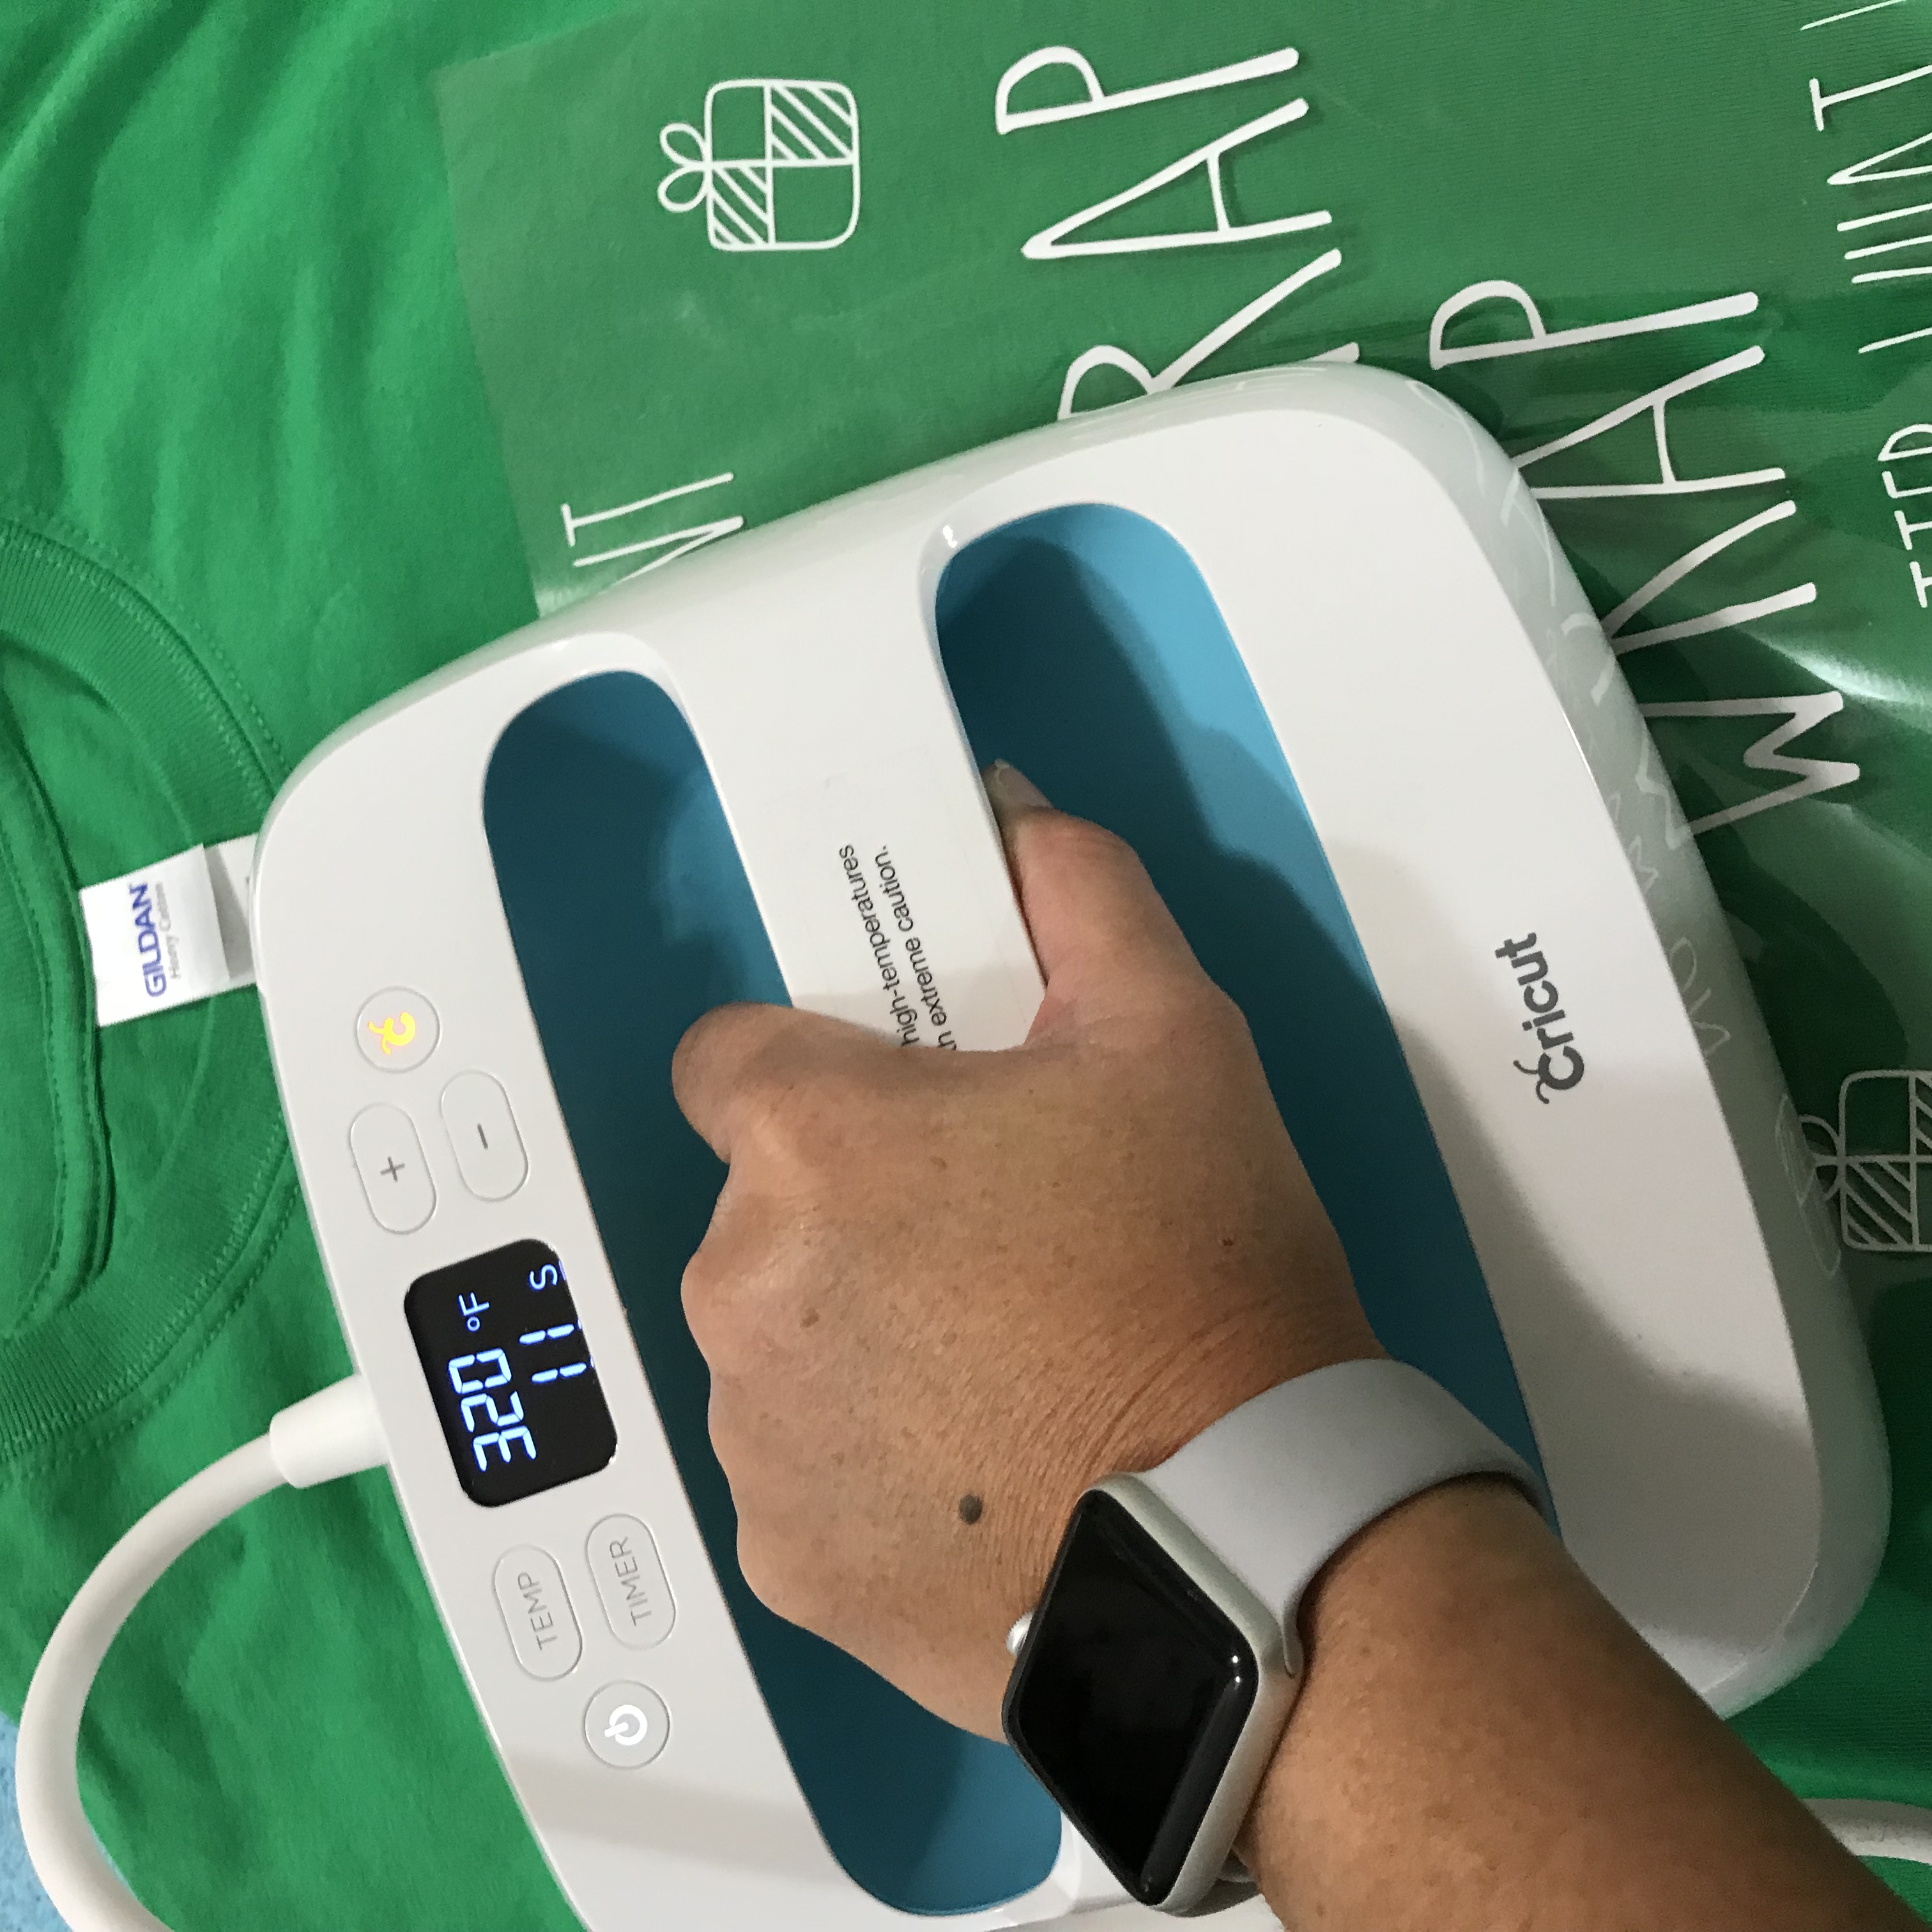
Cricut EasyPress
Shirt
SVG File
Towel
Directions:
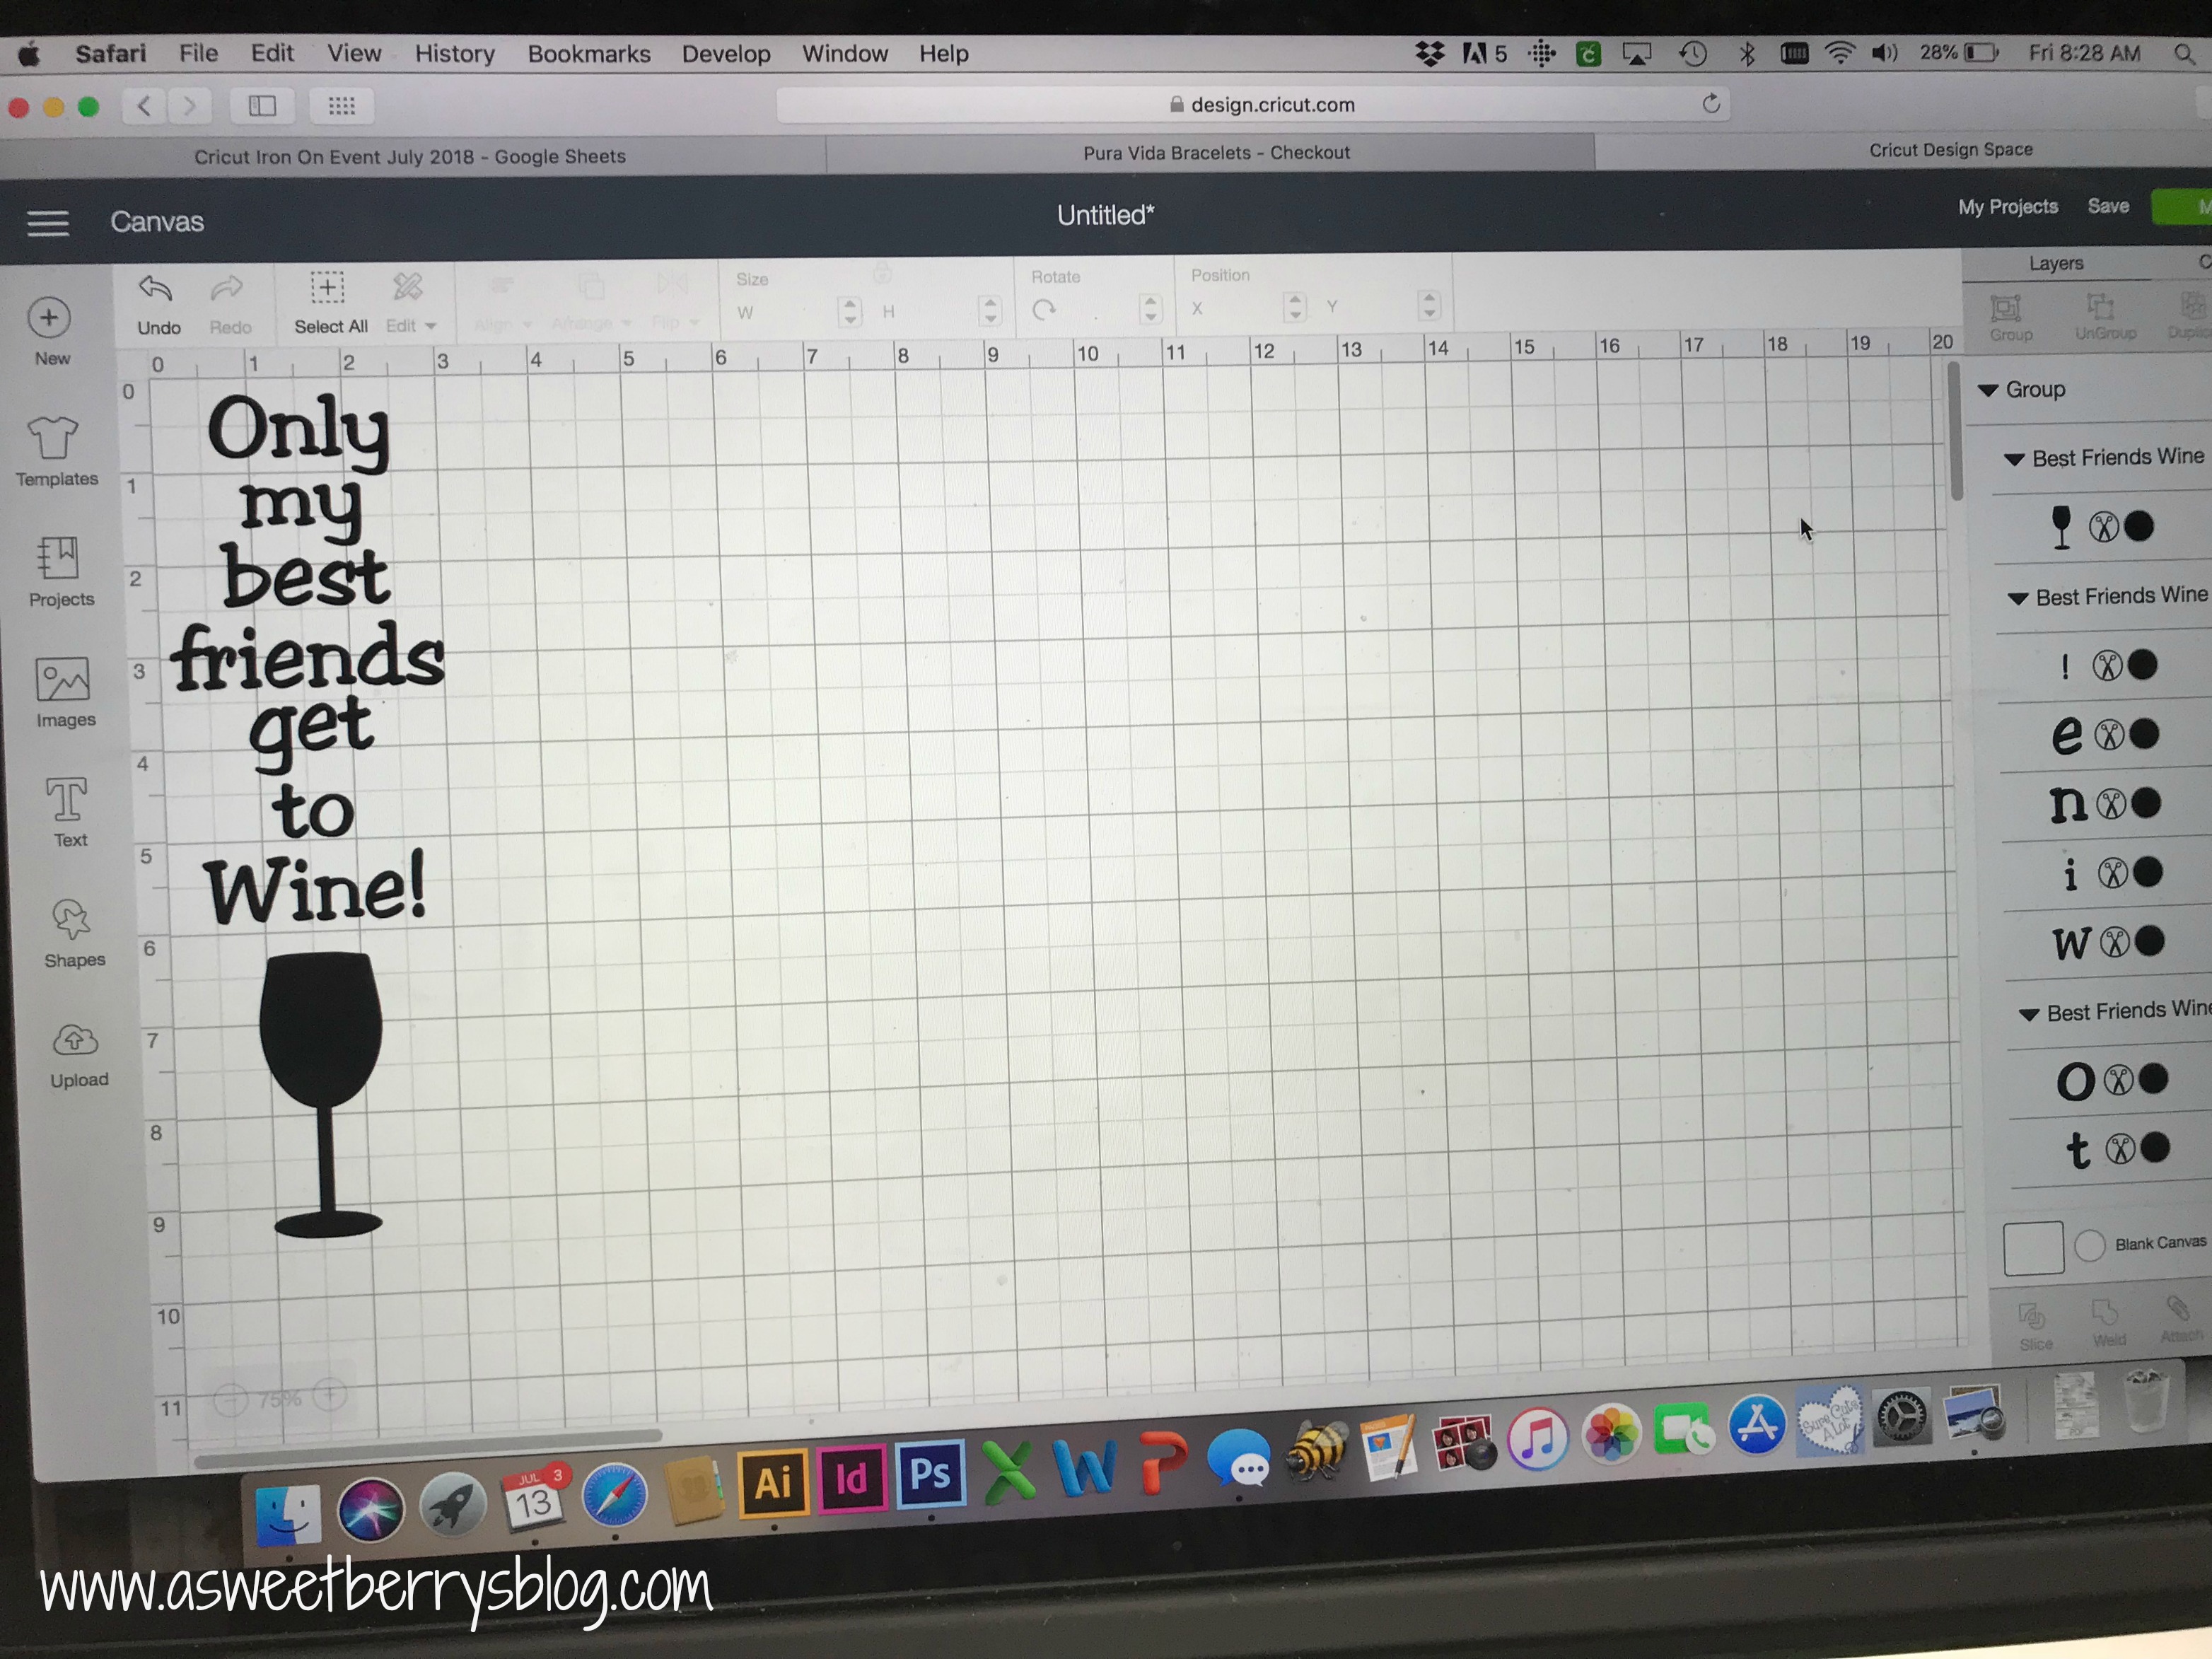
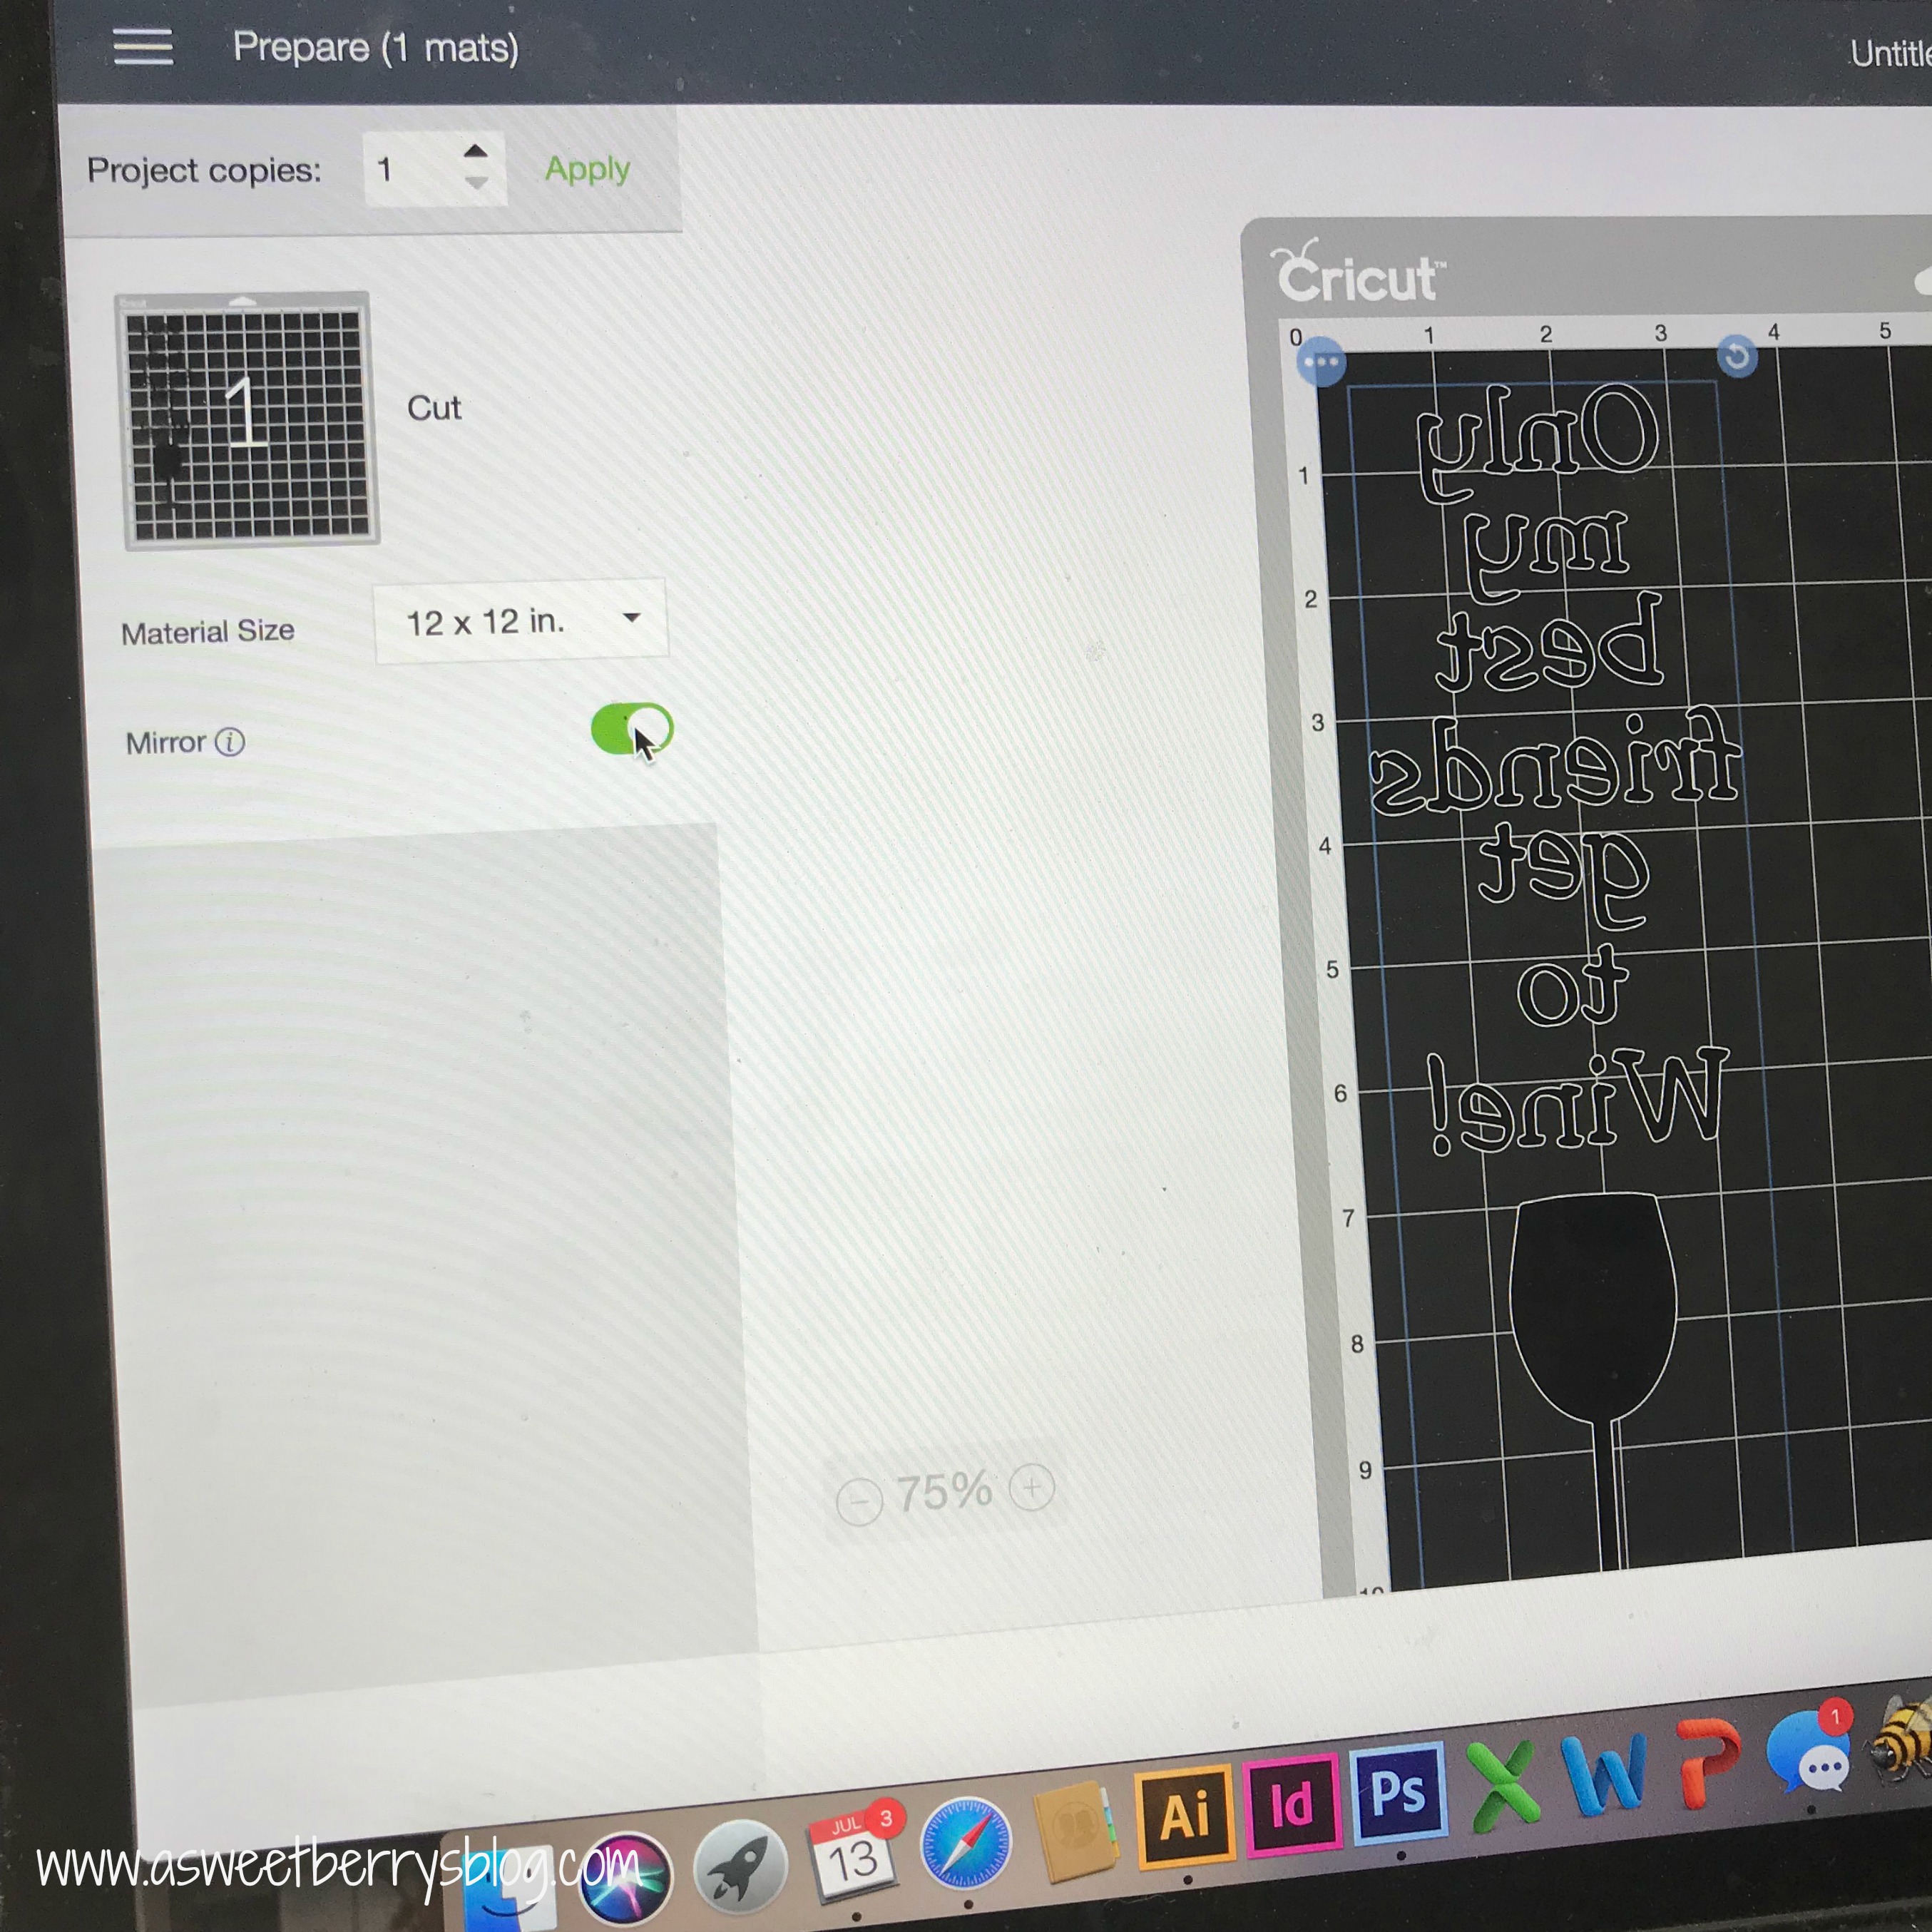
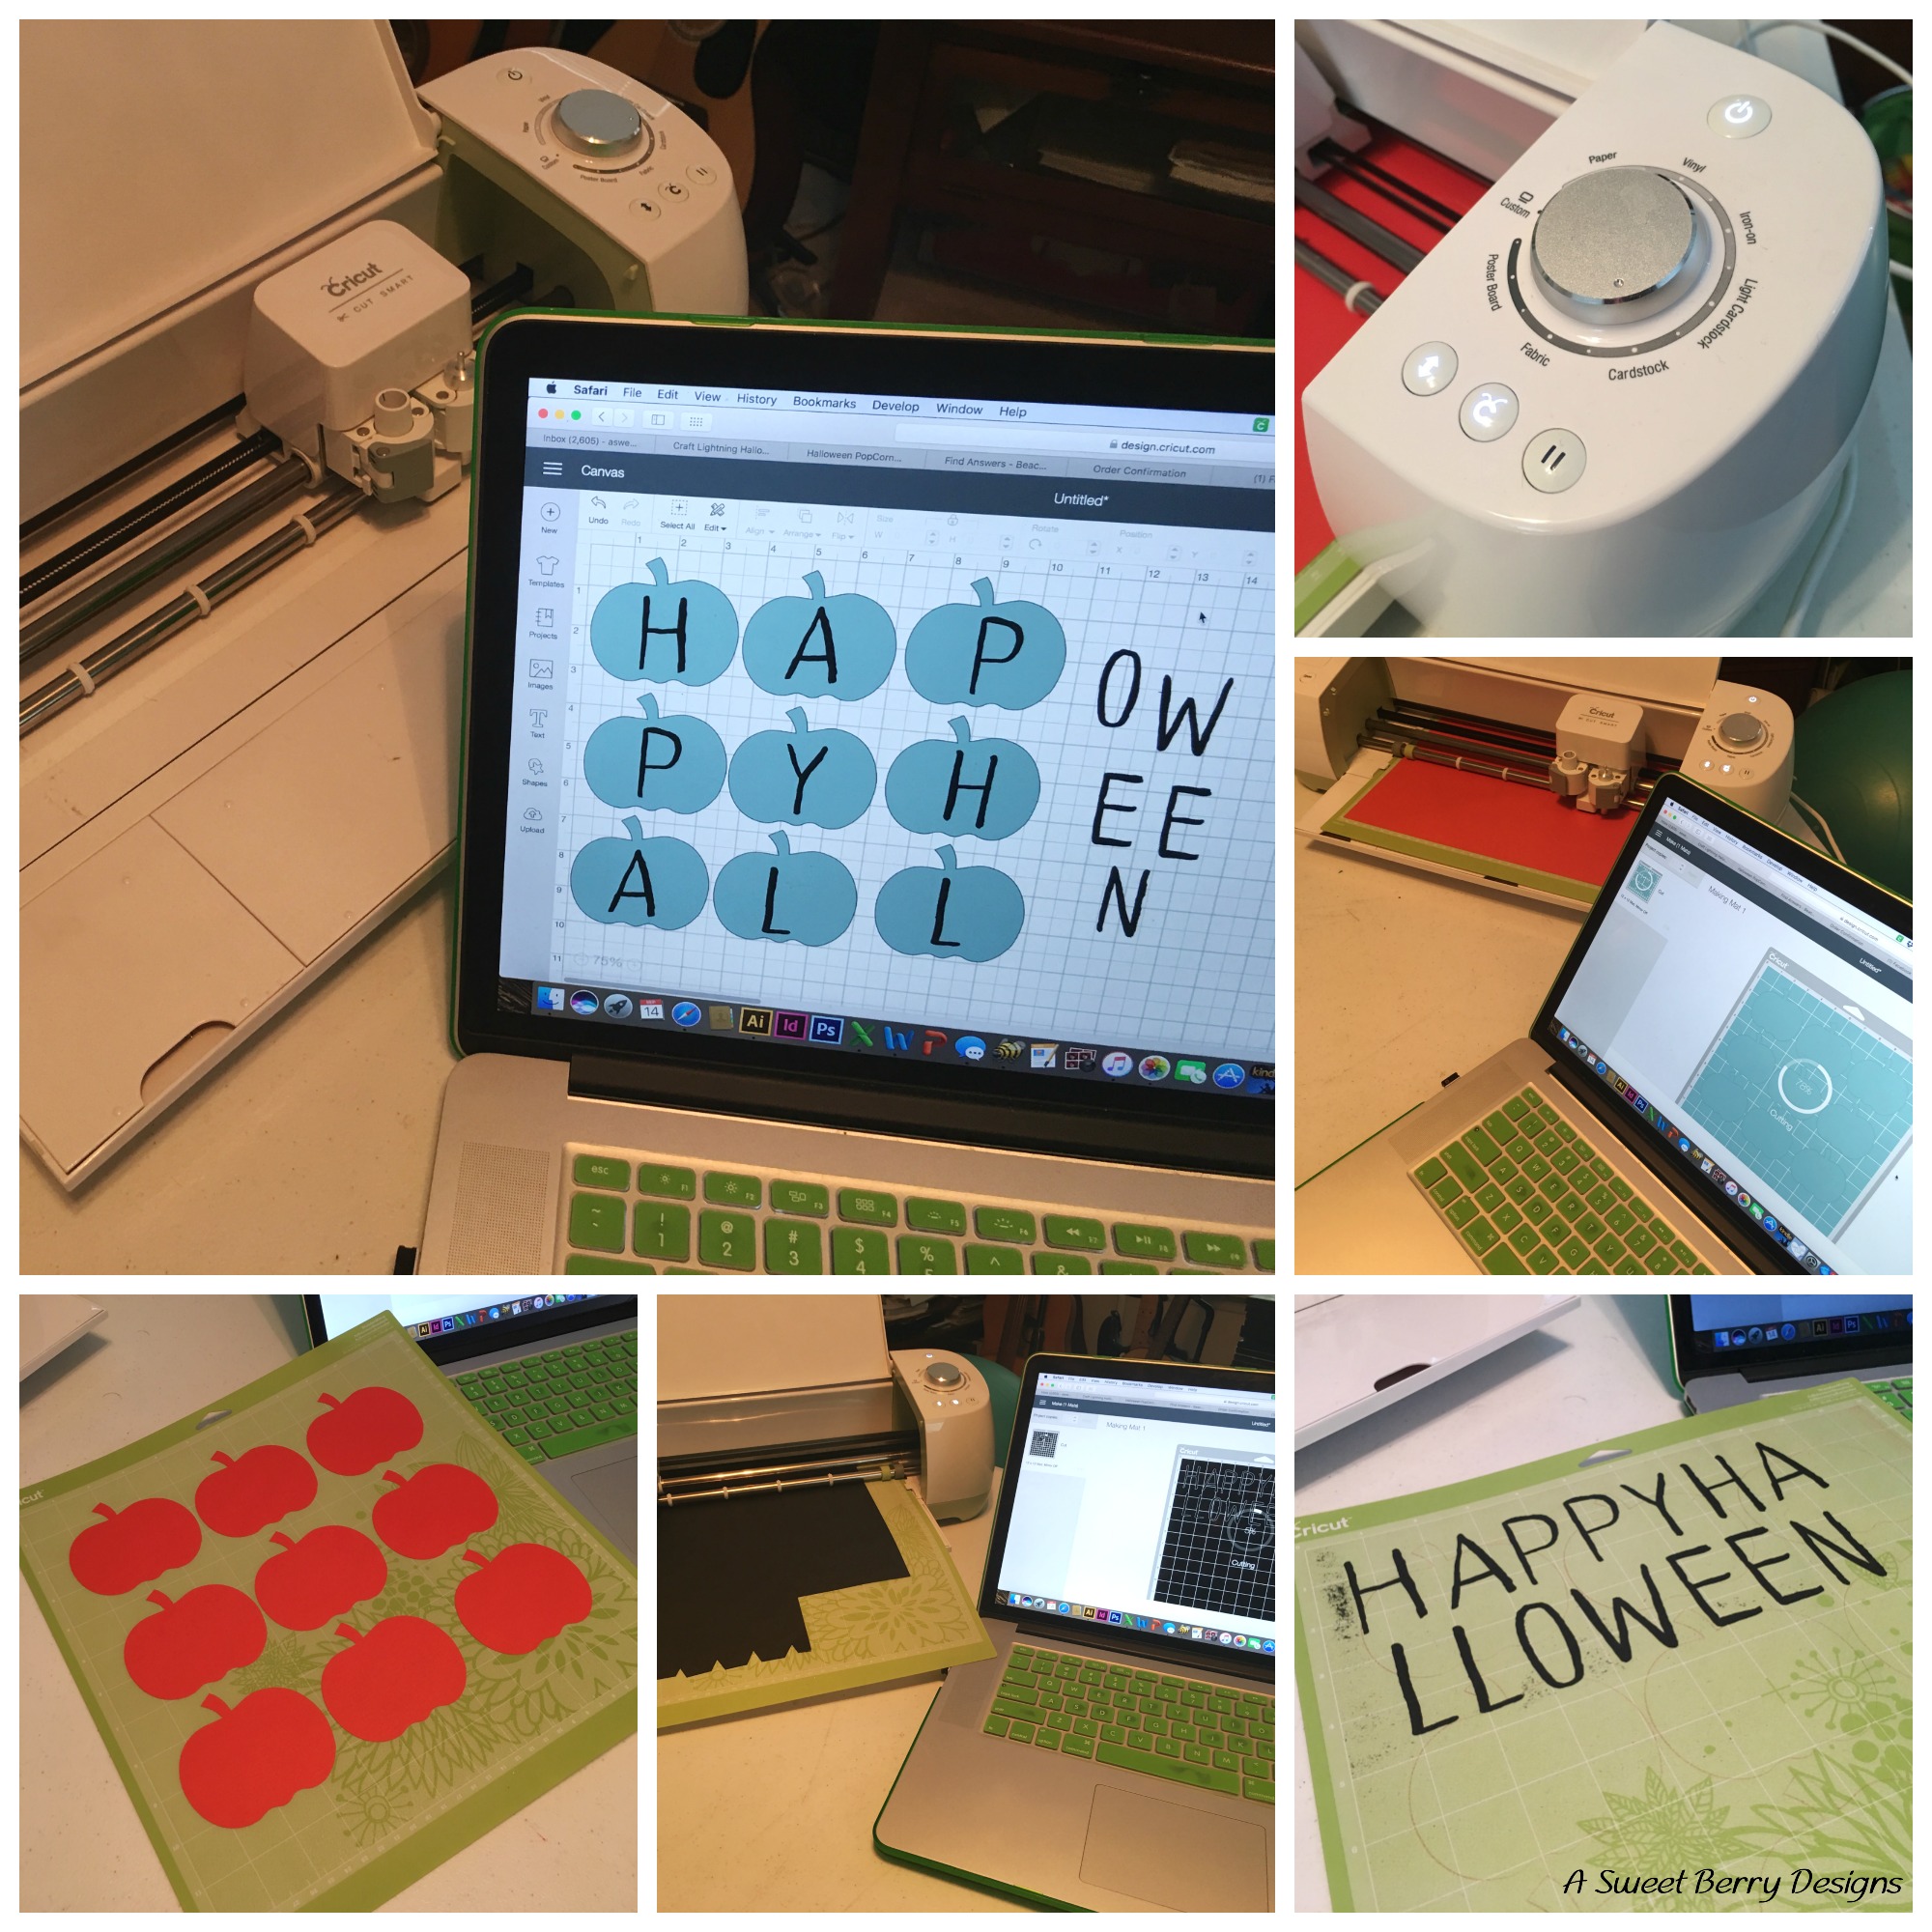
Upload the svg file to your Cricut Design Space. Size it to your liking.
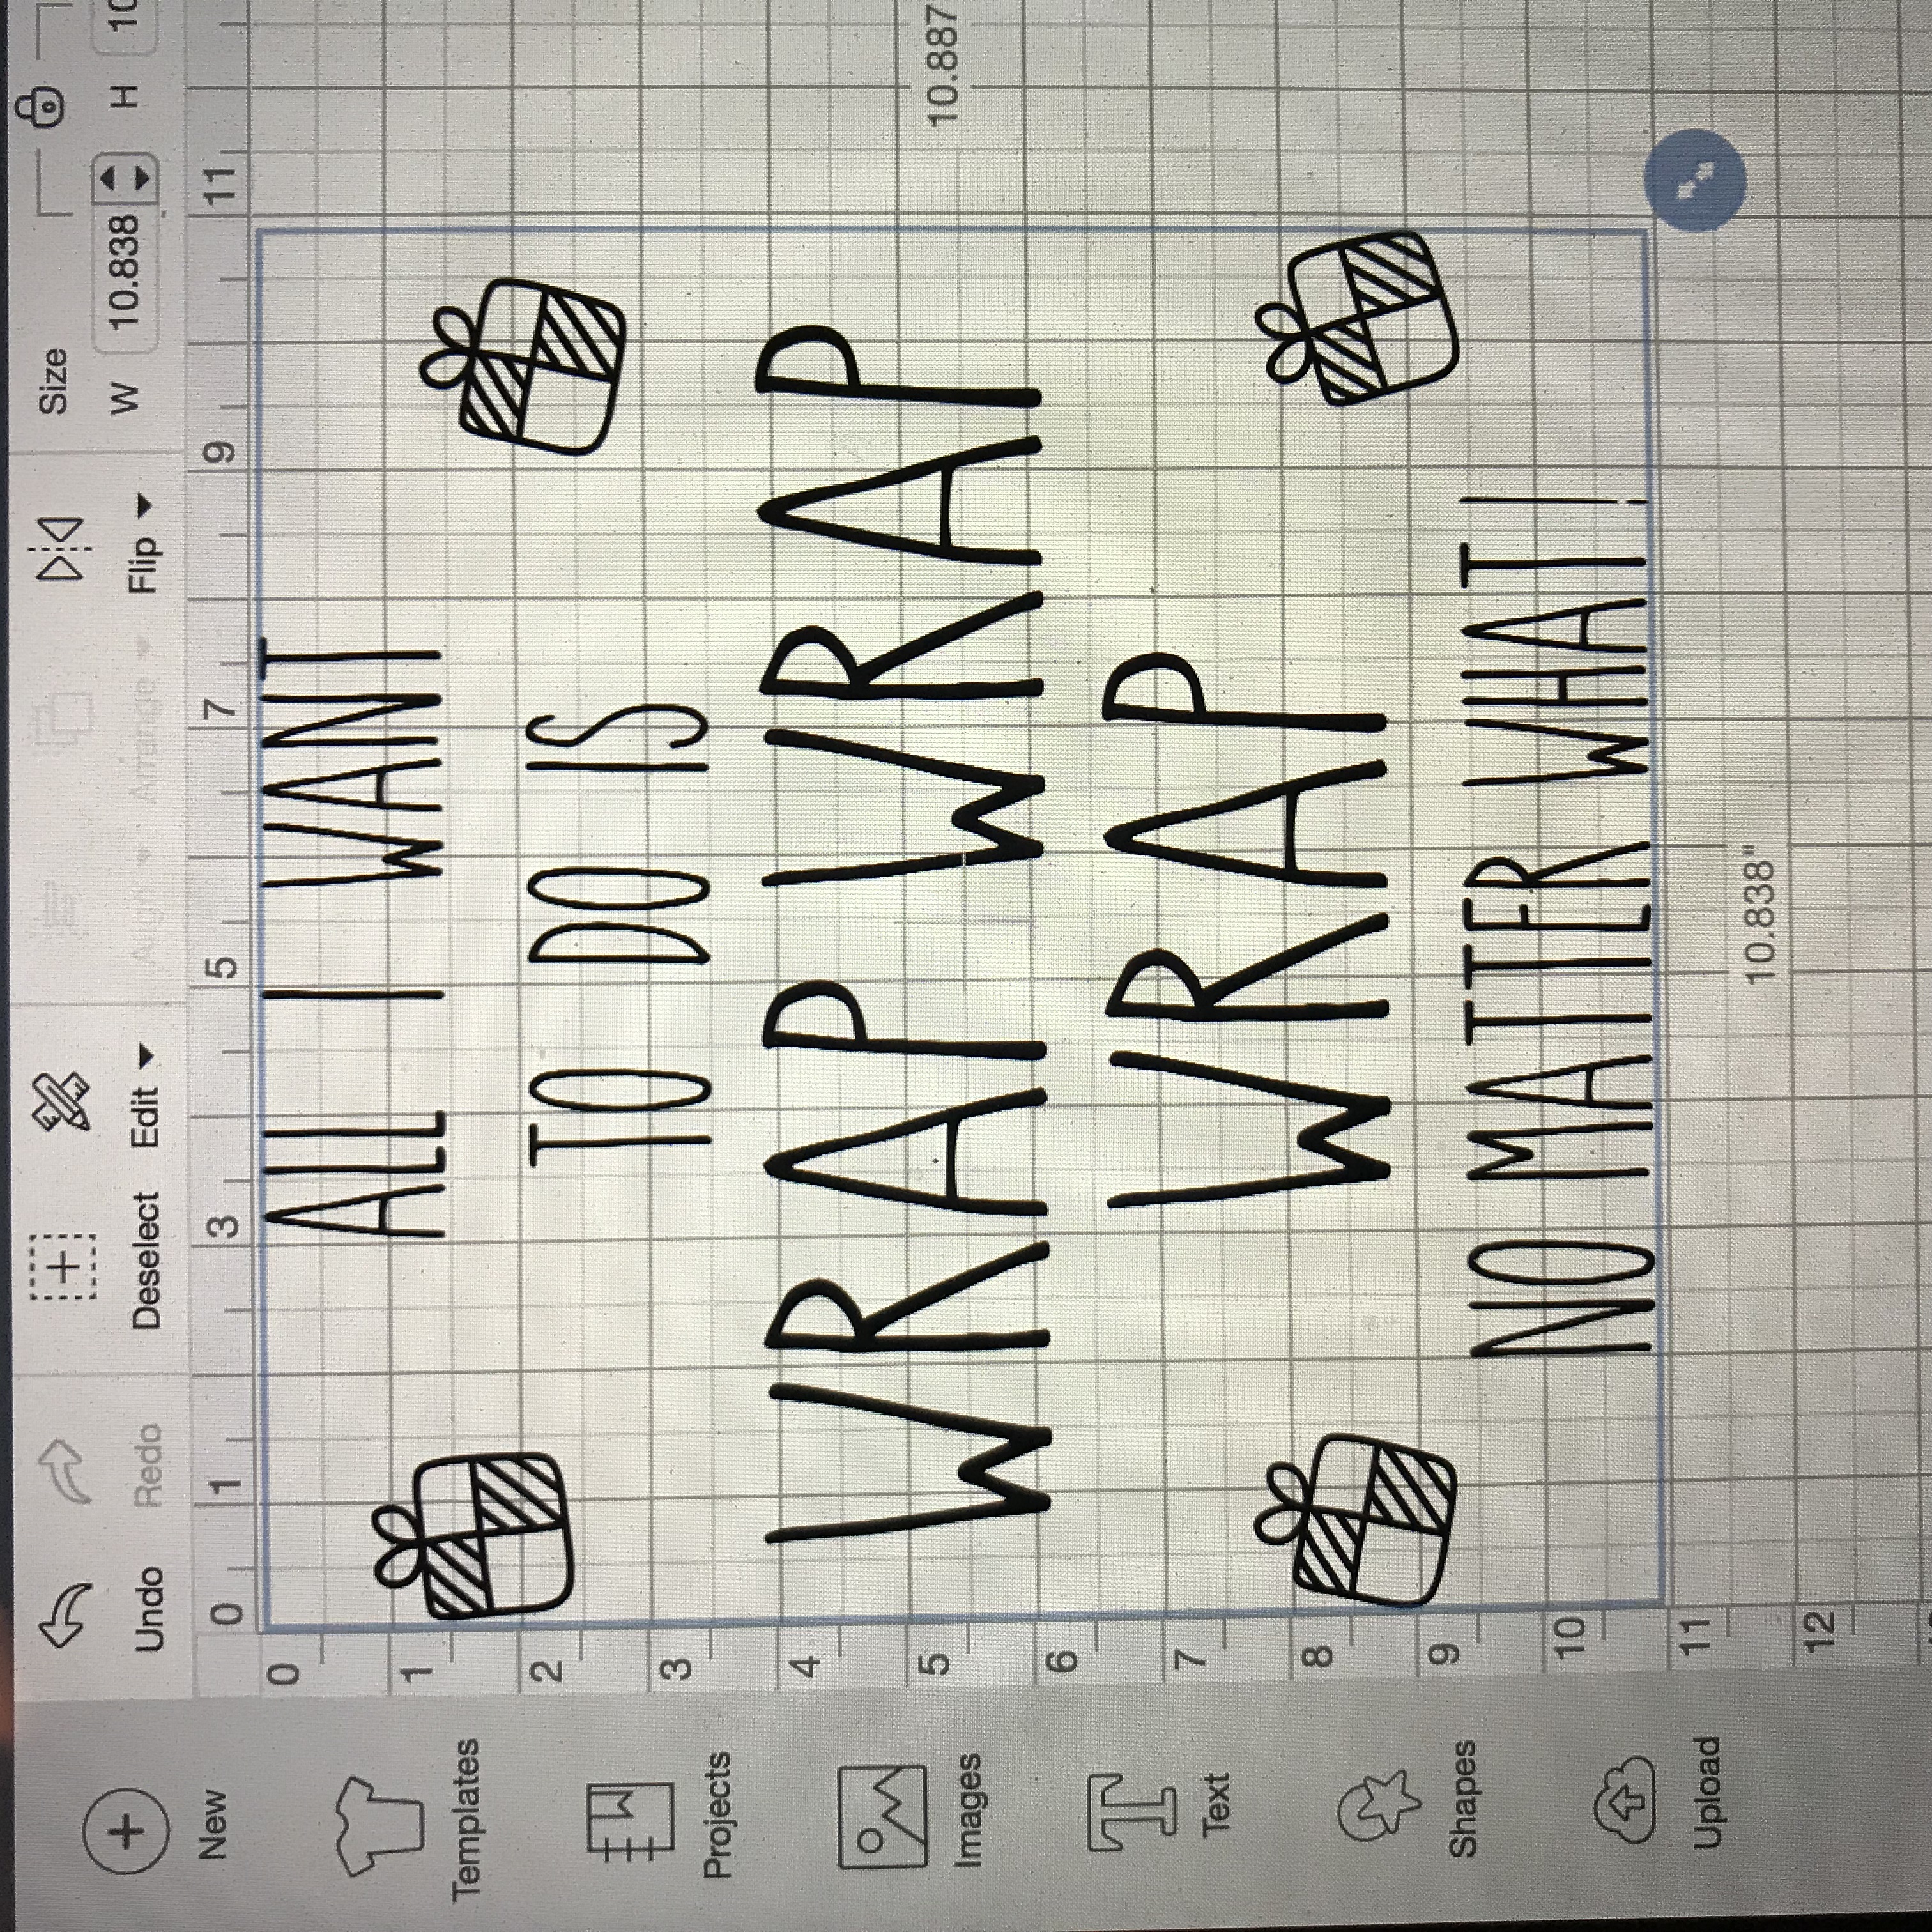
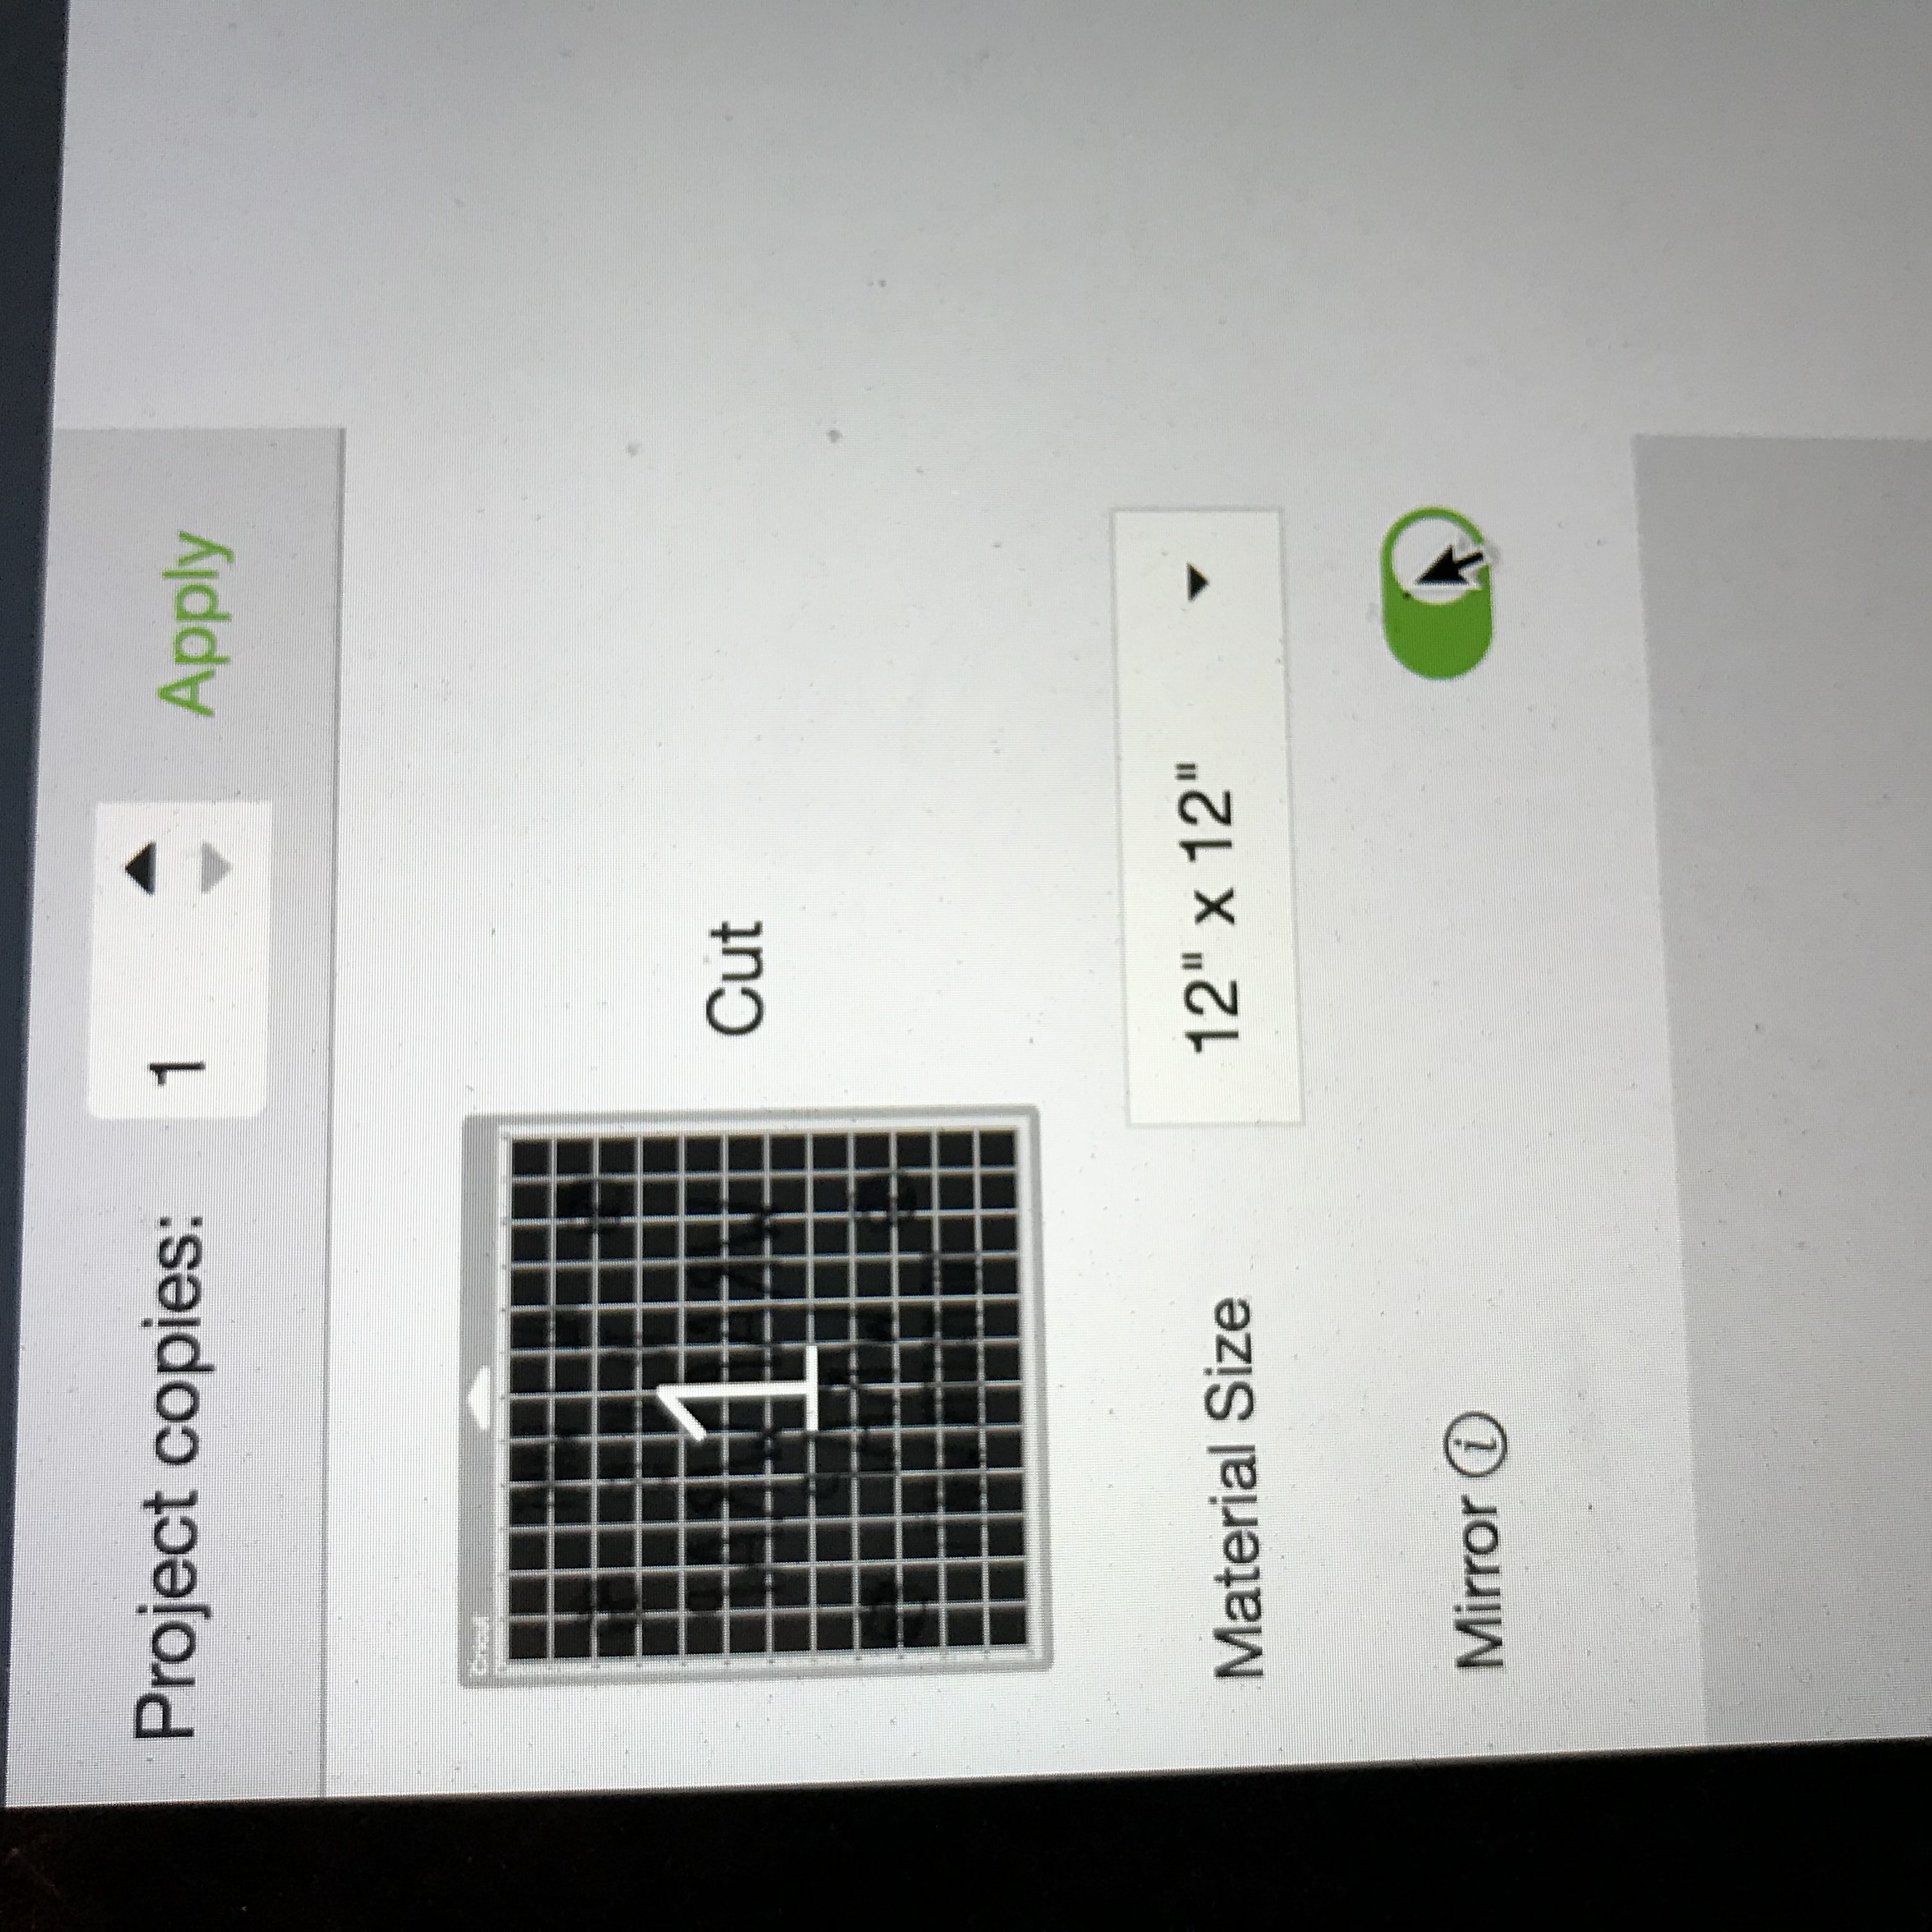
Make sure to attach the file so that it cuts just like it is on the screen.
Also make sure that you mirror the image.
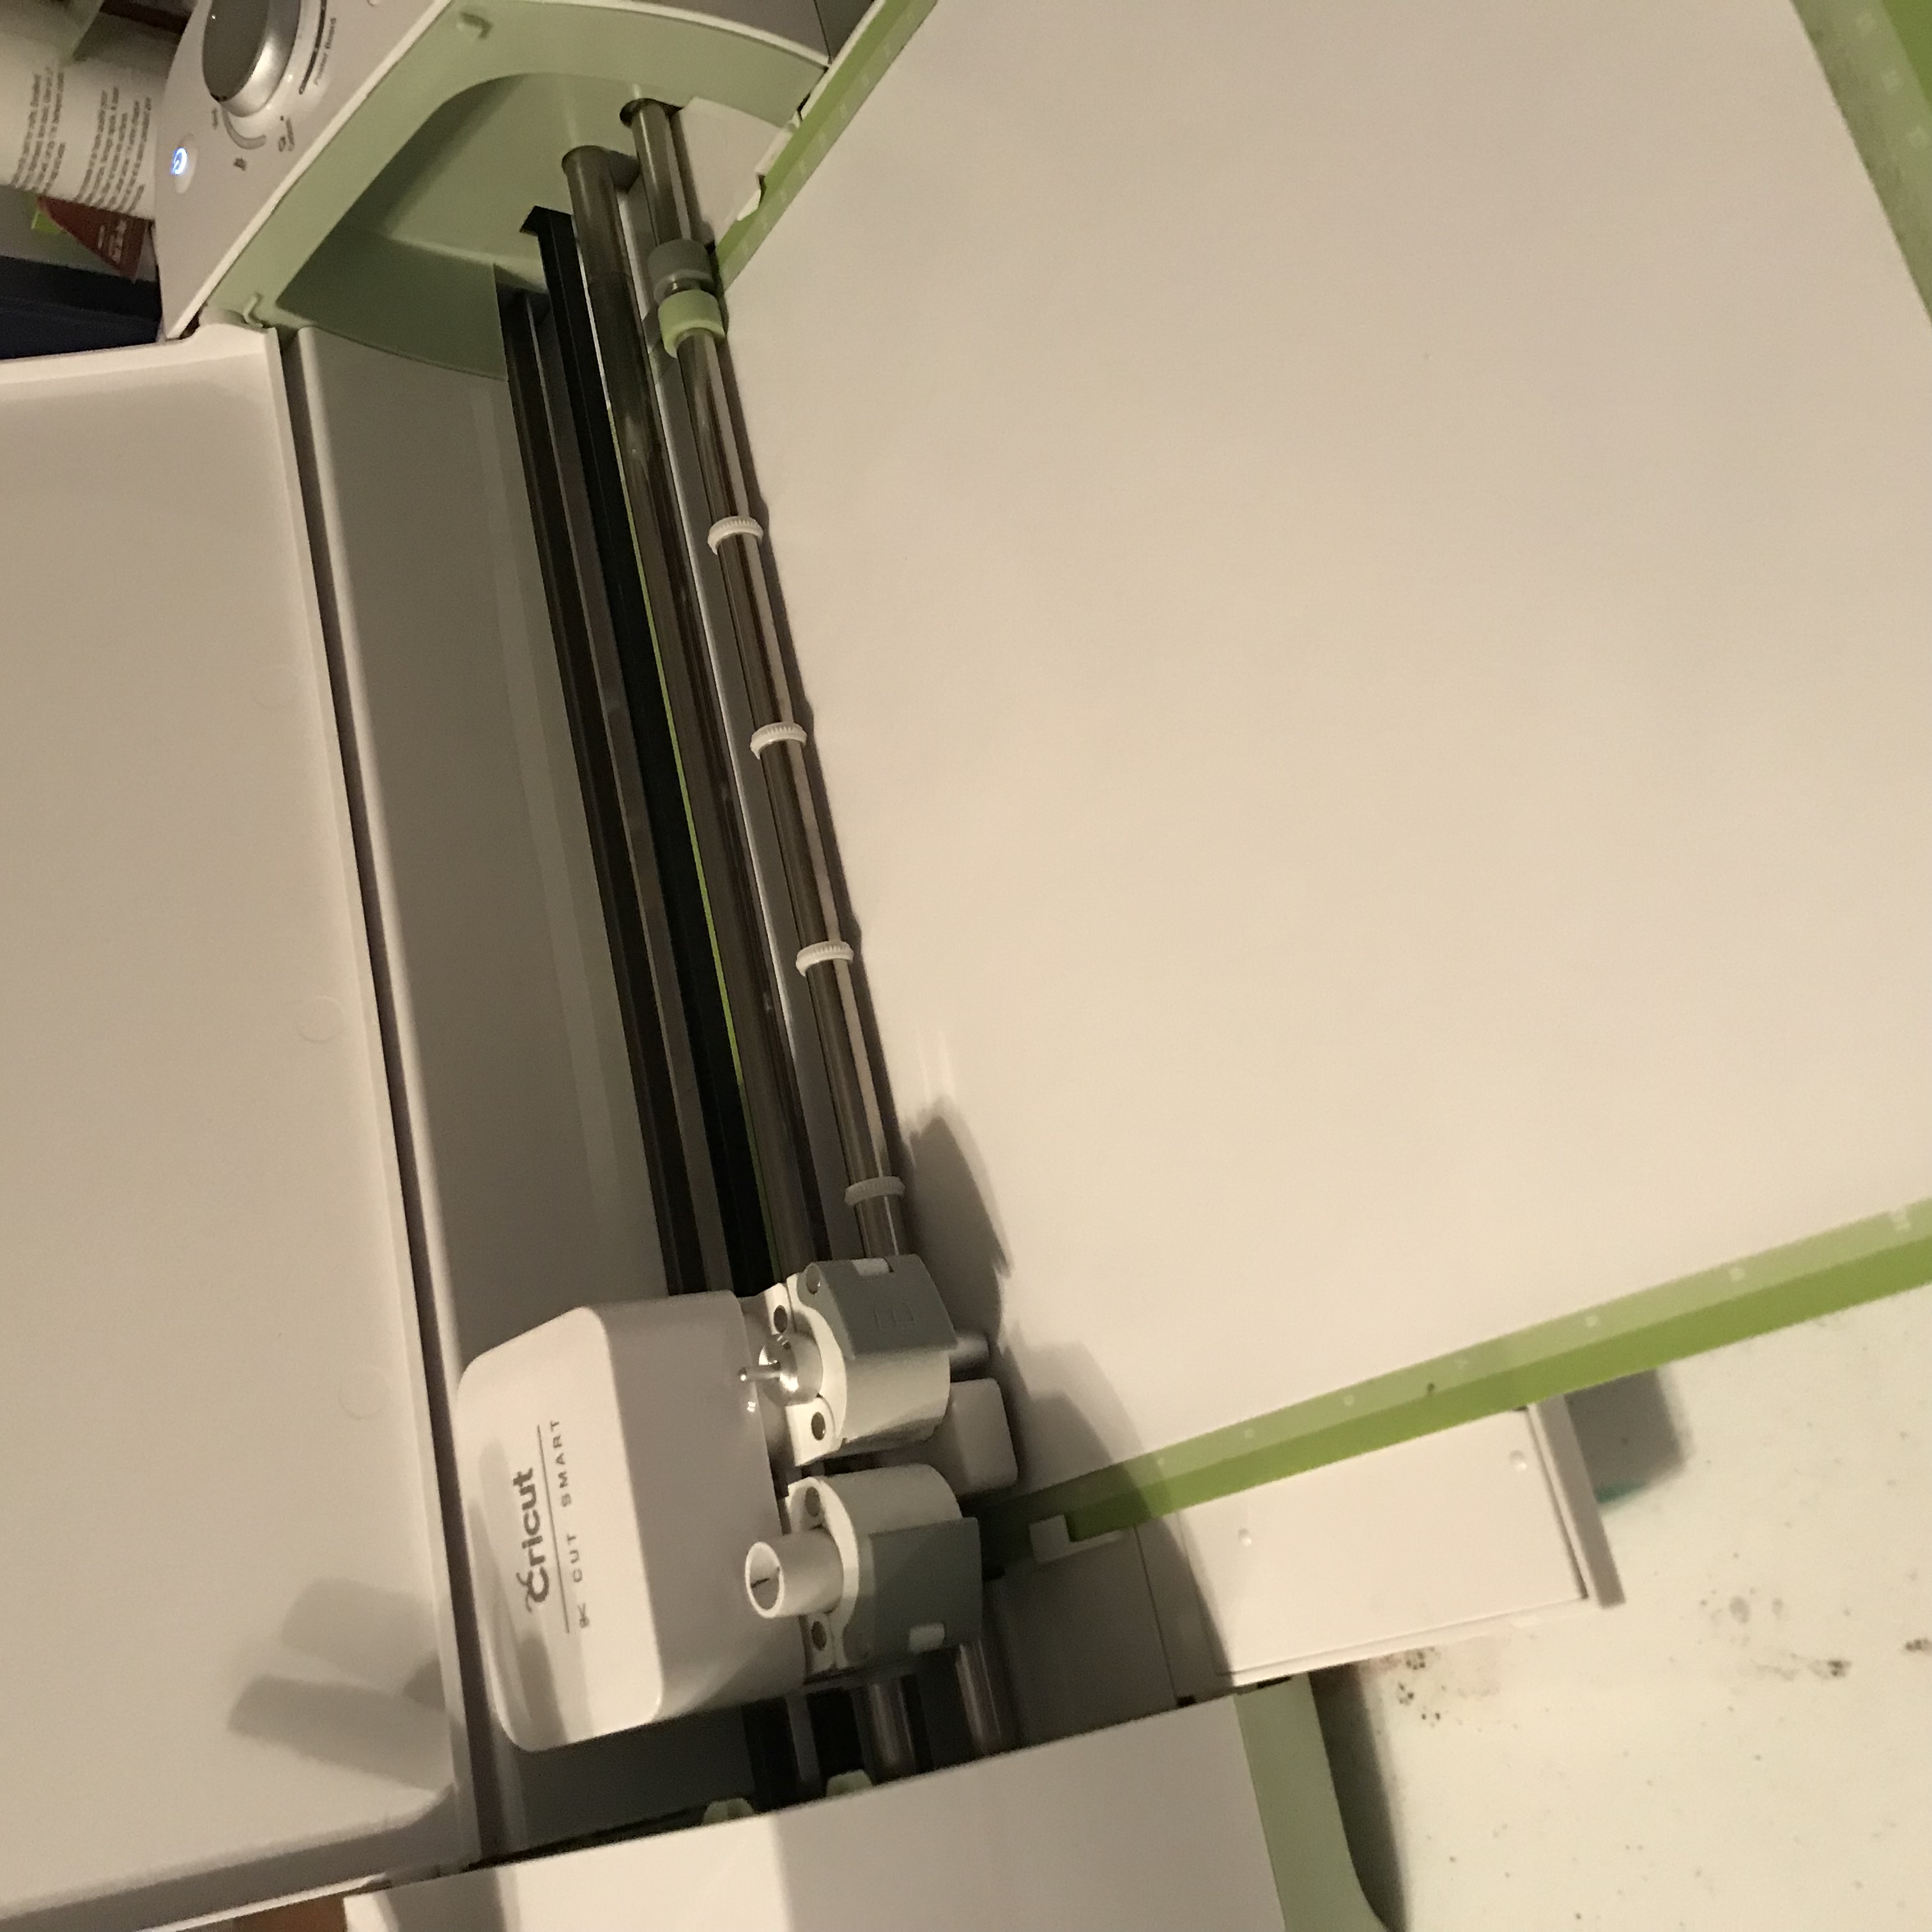
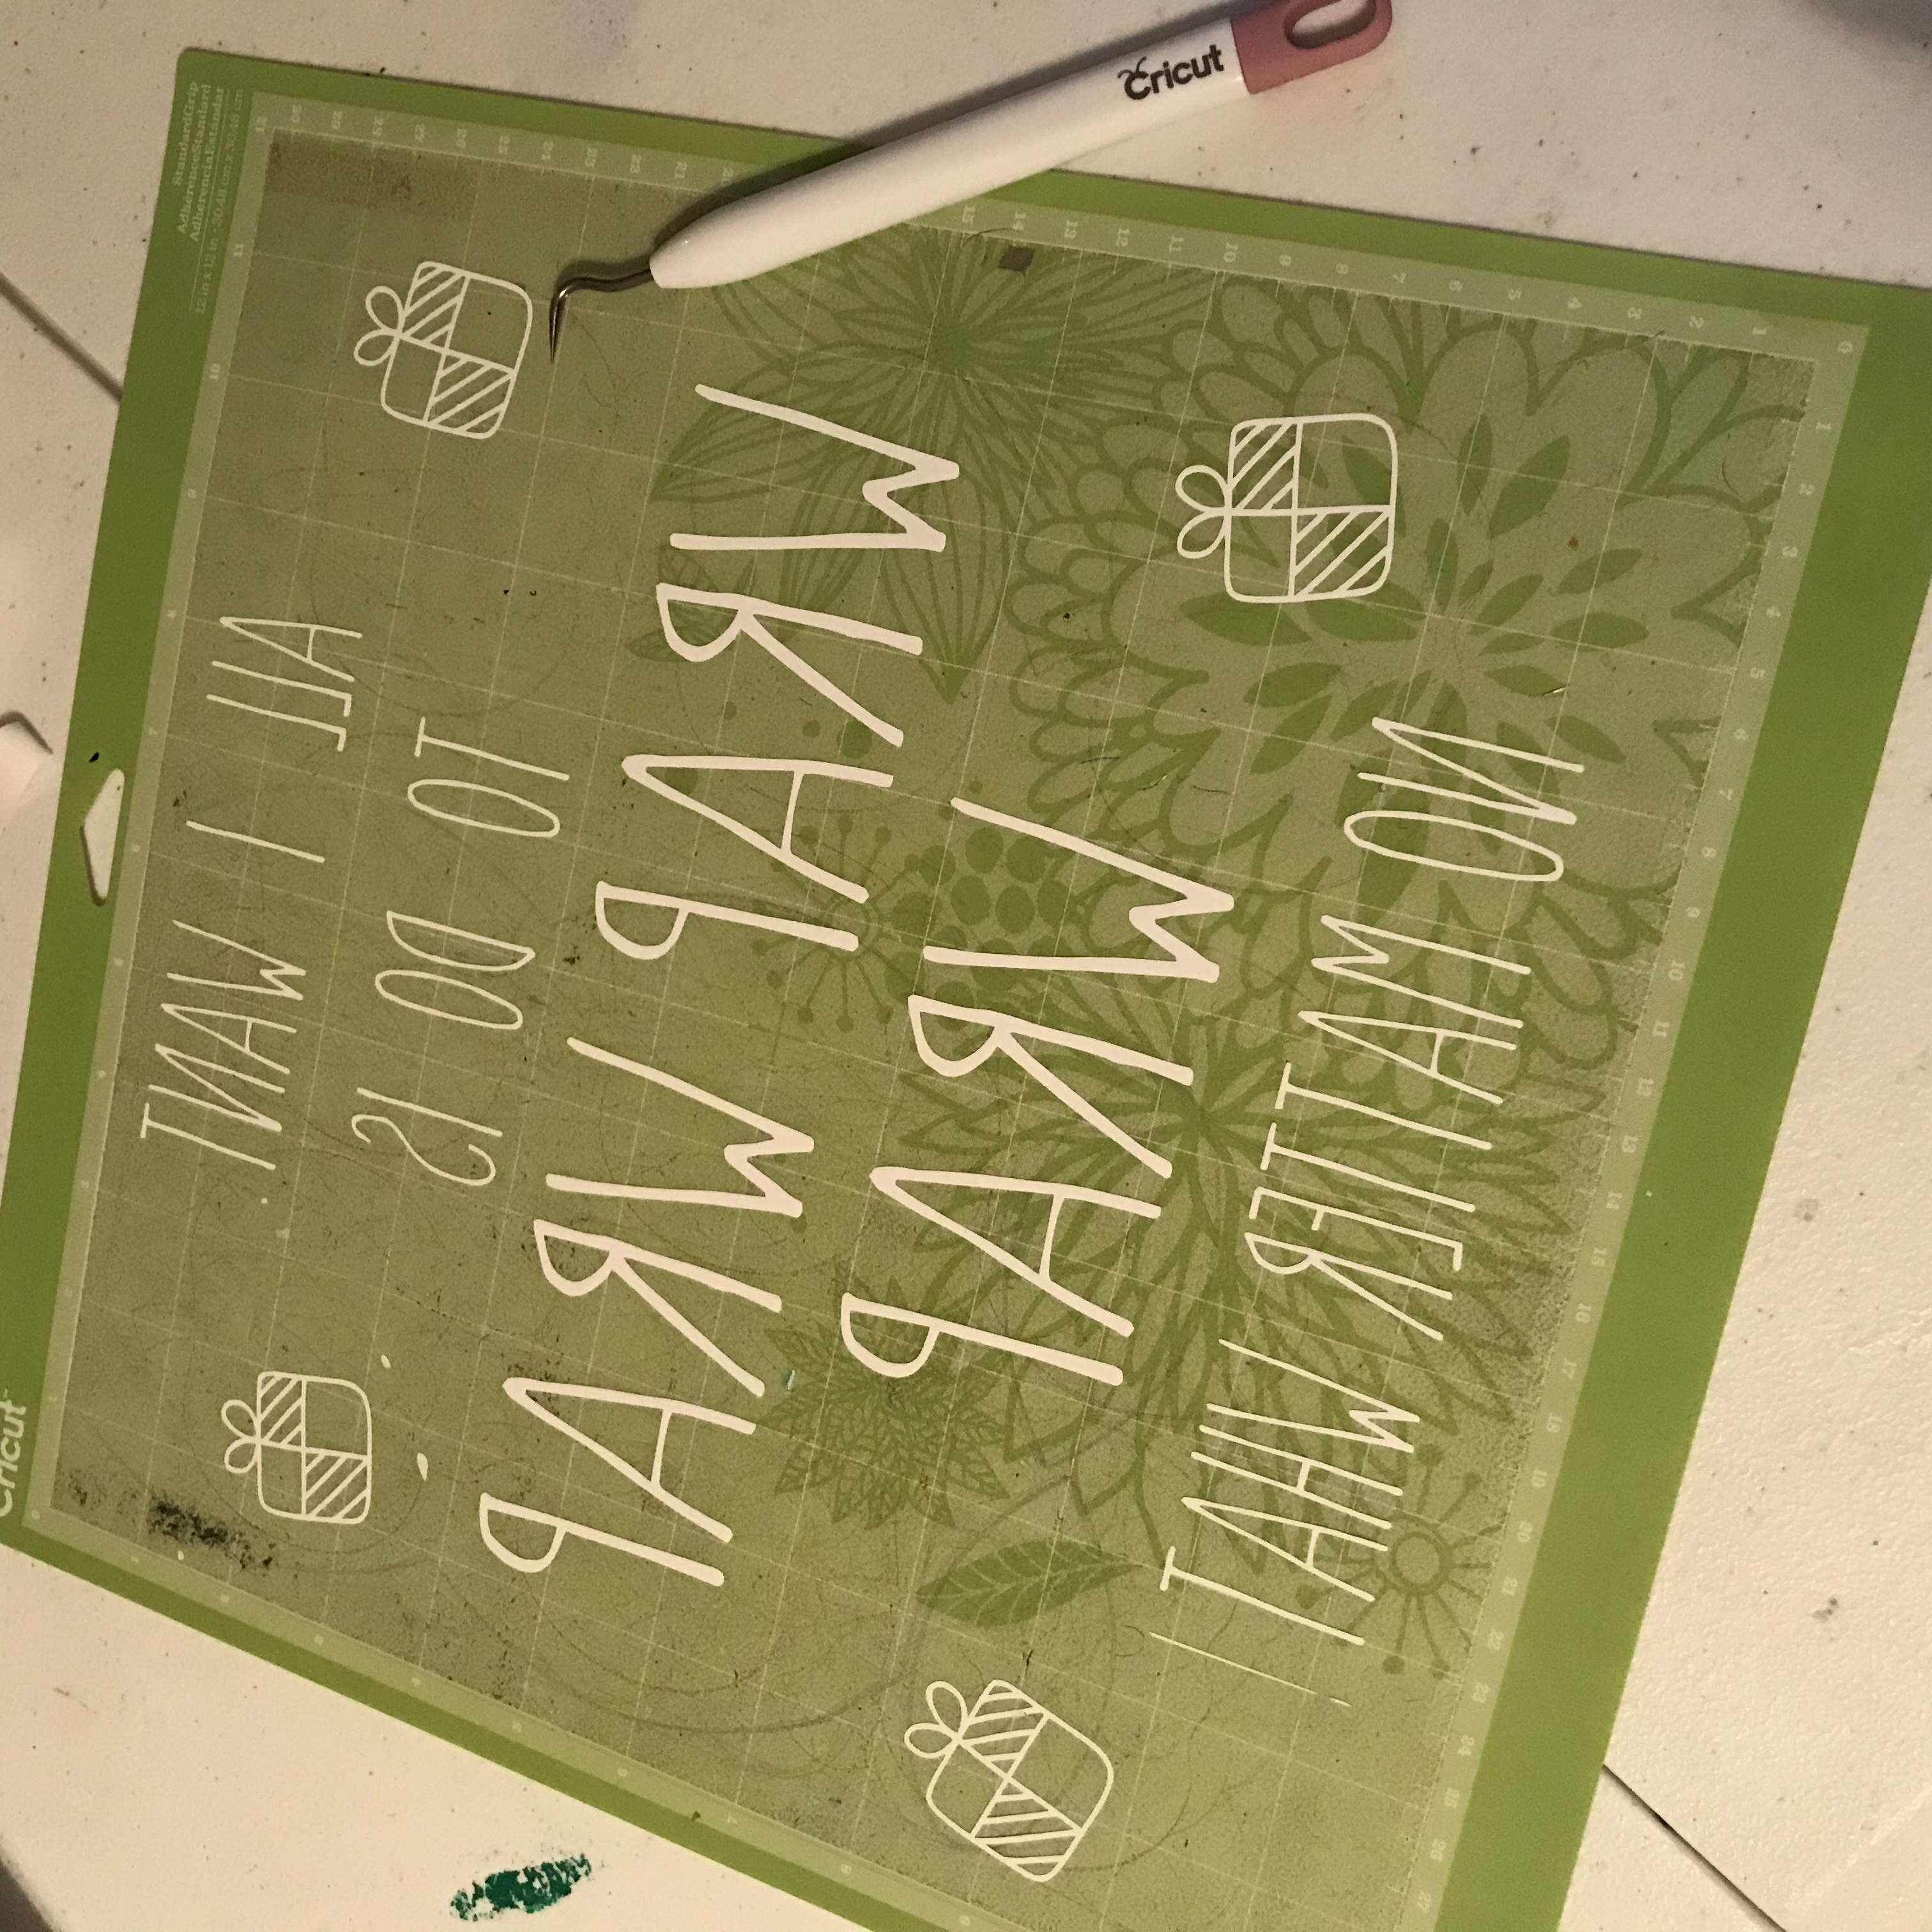
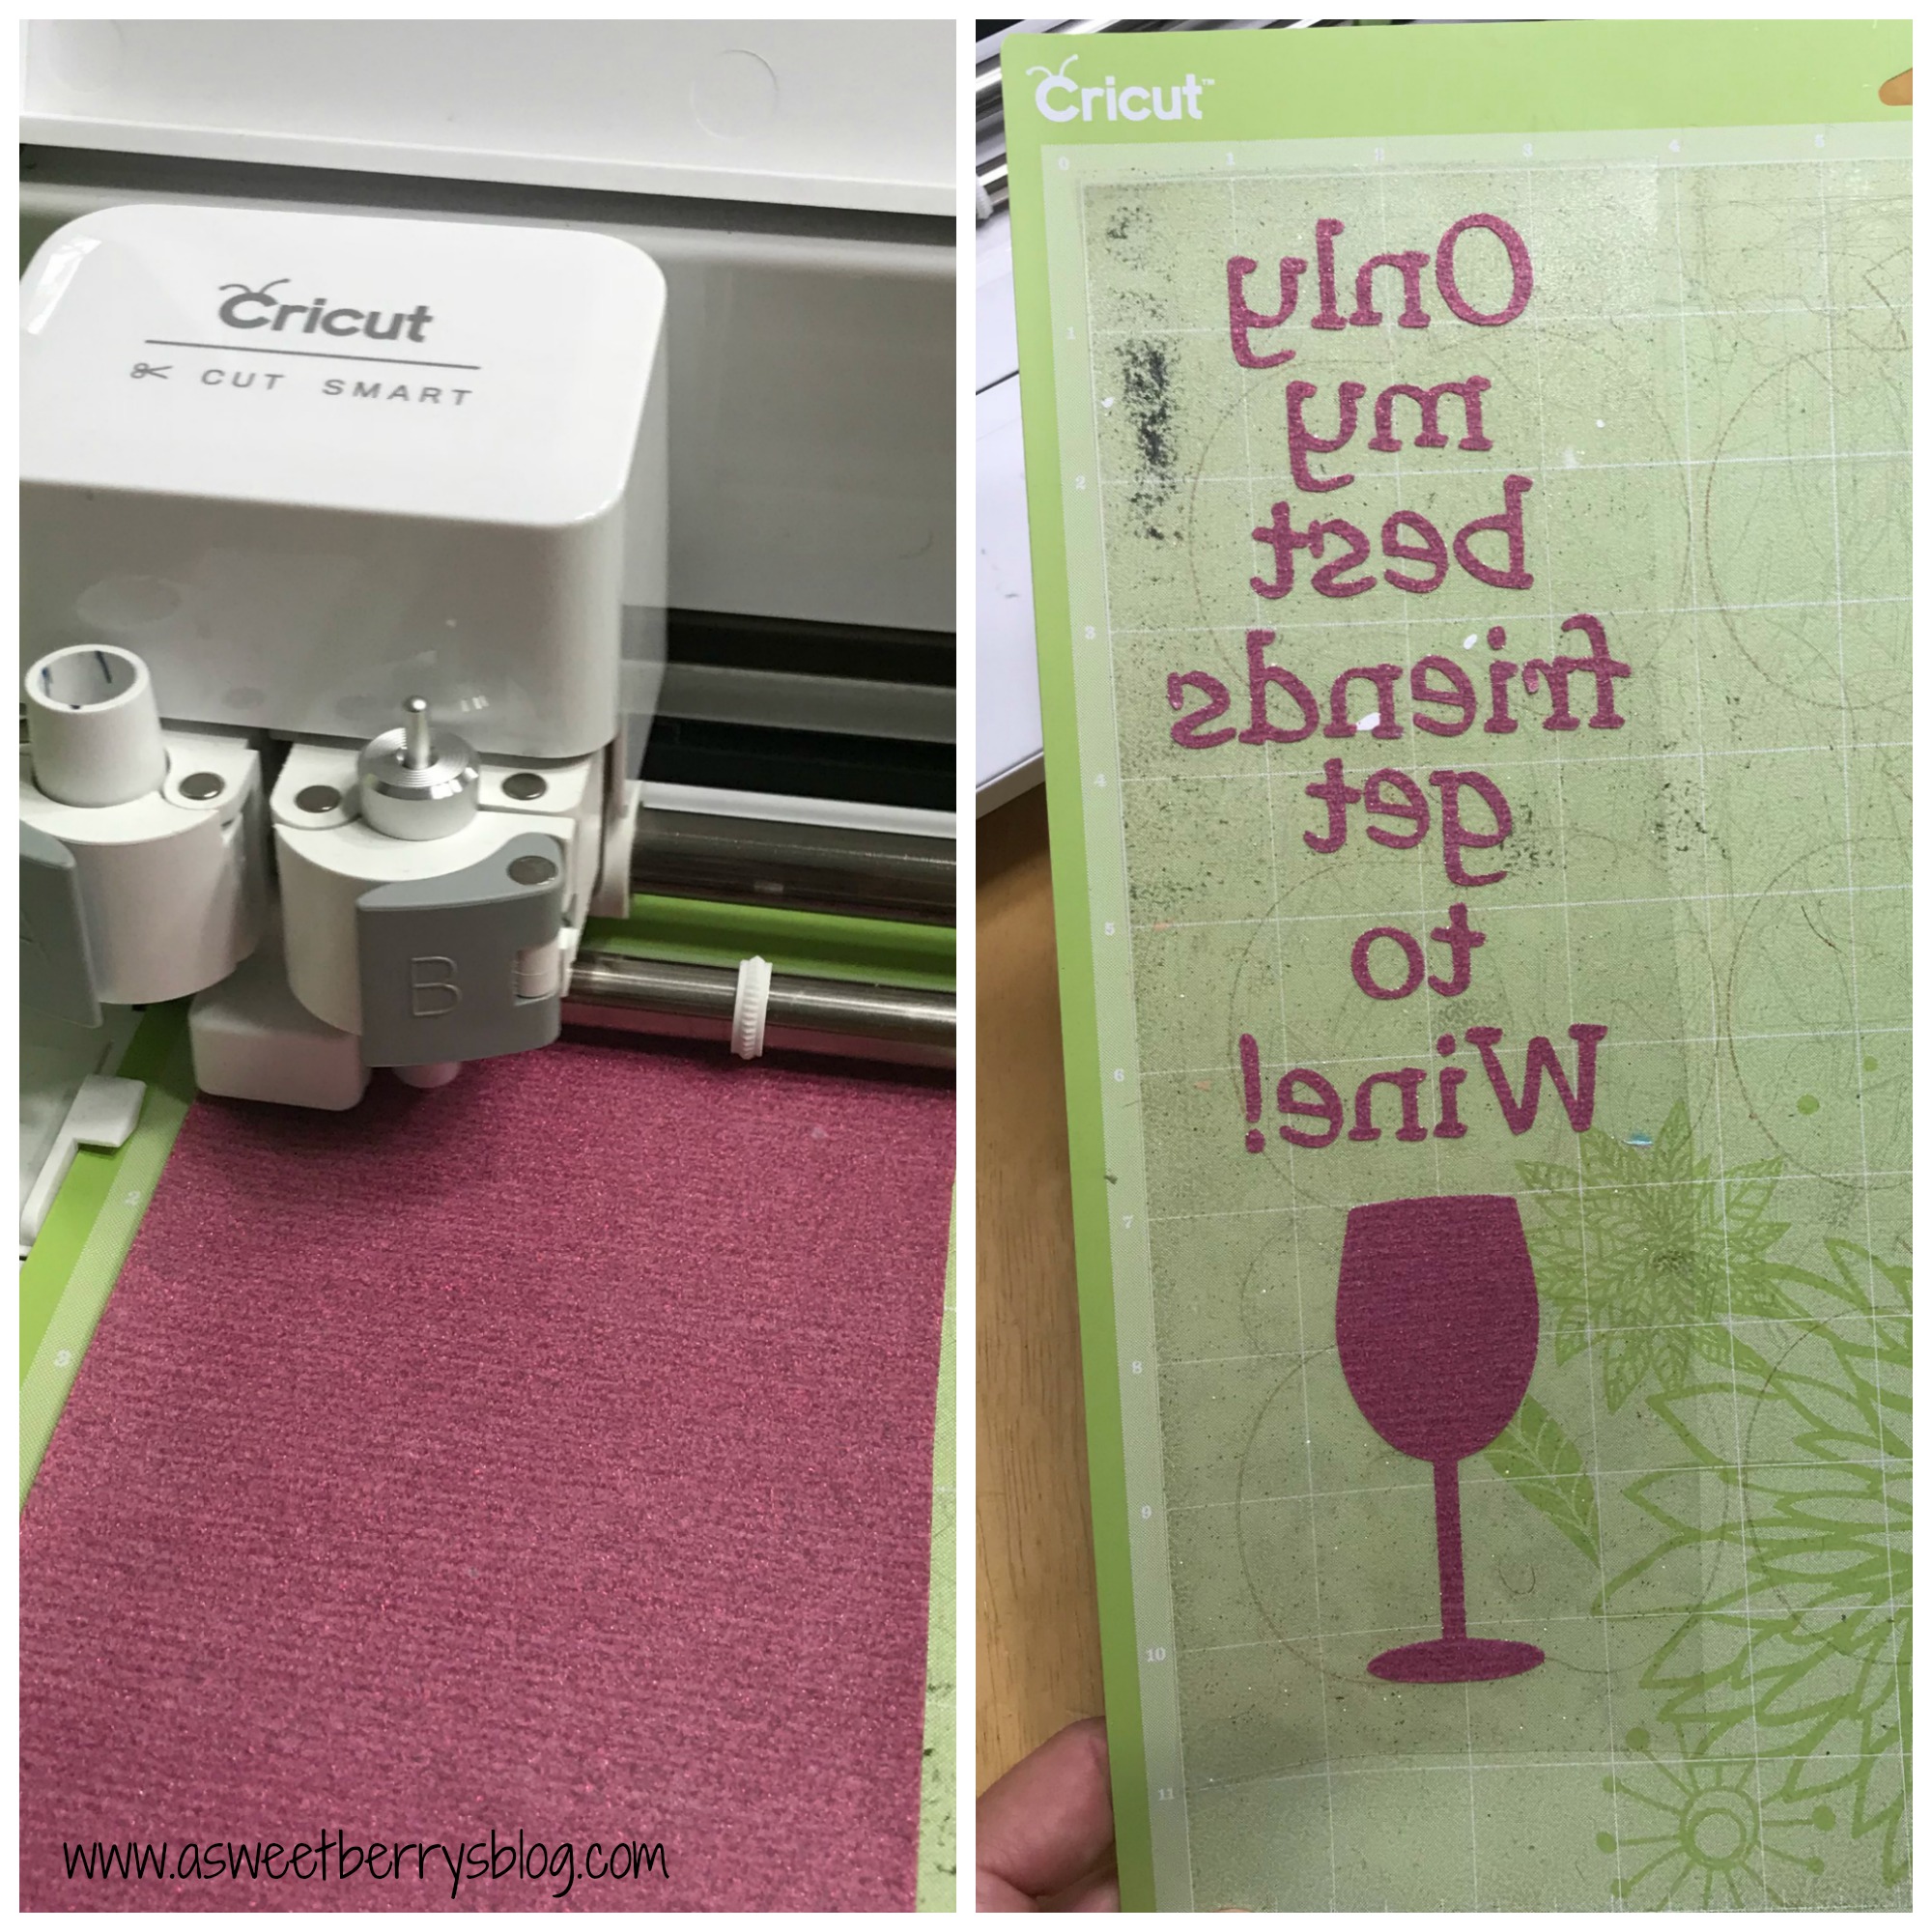
Add the Cricut Iron-on to your mat, shiny side down. Insert the mat into your cricut and cut!
Once the file is completely cut out, remove it from the Cricut and weed the excess Iron-on.
Heat the EasyPress to 320 degrees. Place a towel below your shirt. Warm the shirt before adding the Iron-on. Place the Iron-on with the design side down and the shiny side up. Using the EasyPress, apply pressure to the Iron-on and set the timer for 30 seconds.
And now it’s time to wear!!!
Click the photo below and check out other Cricut Holiday Projects!

Until next time……


