Category Archives: Uncategorized

Winter Hat Note Cards

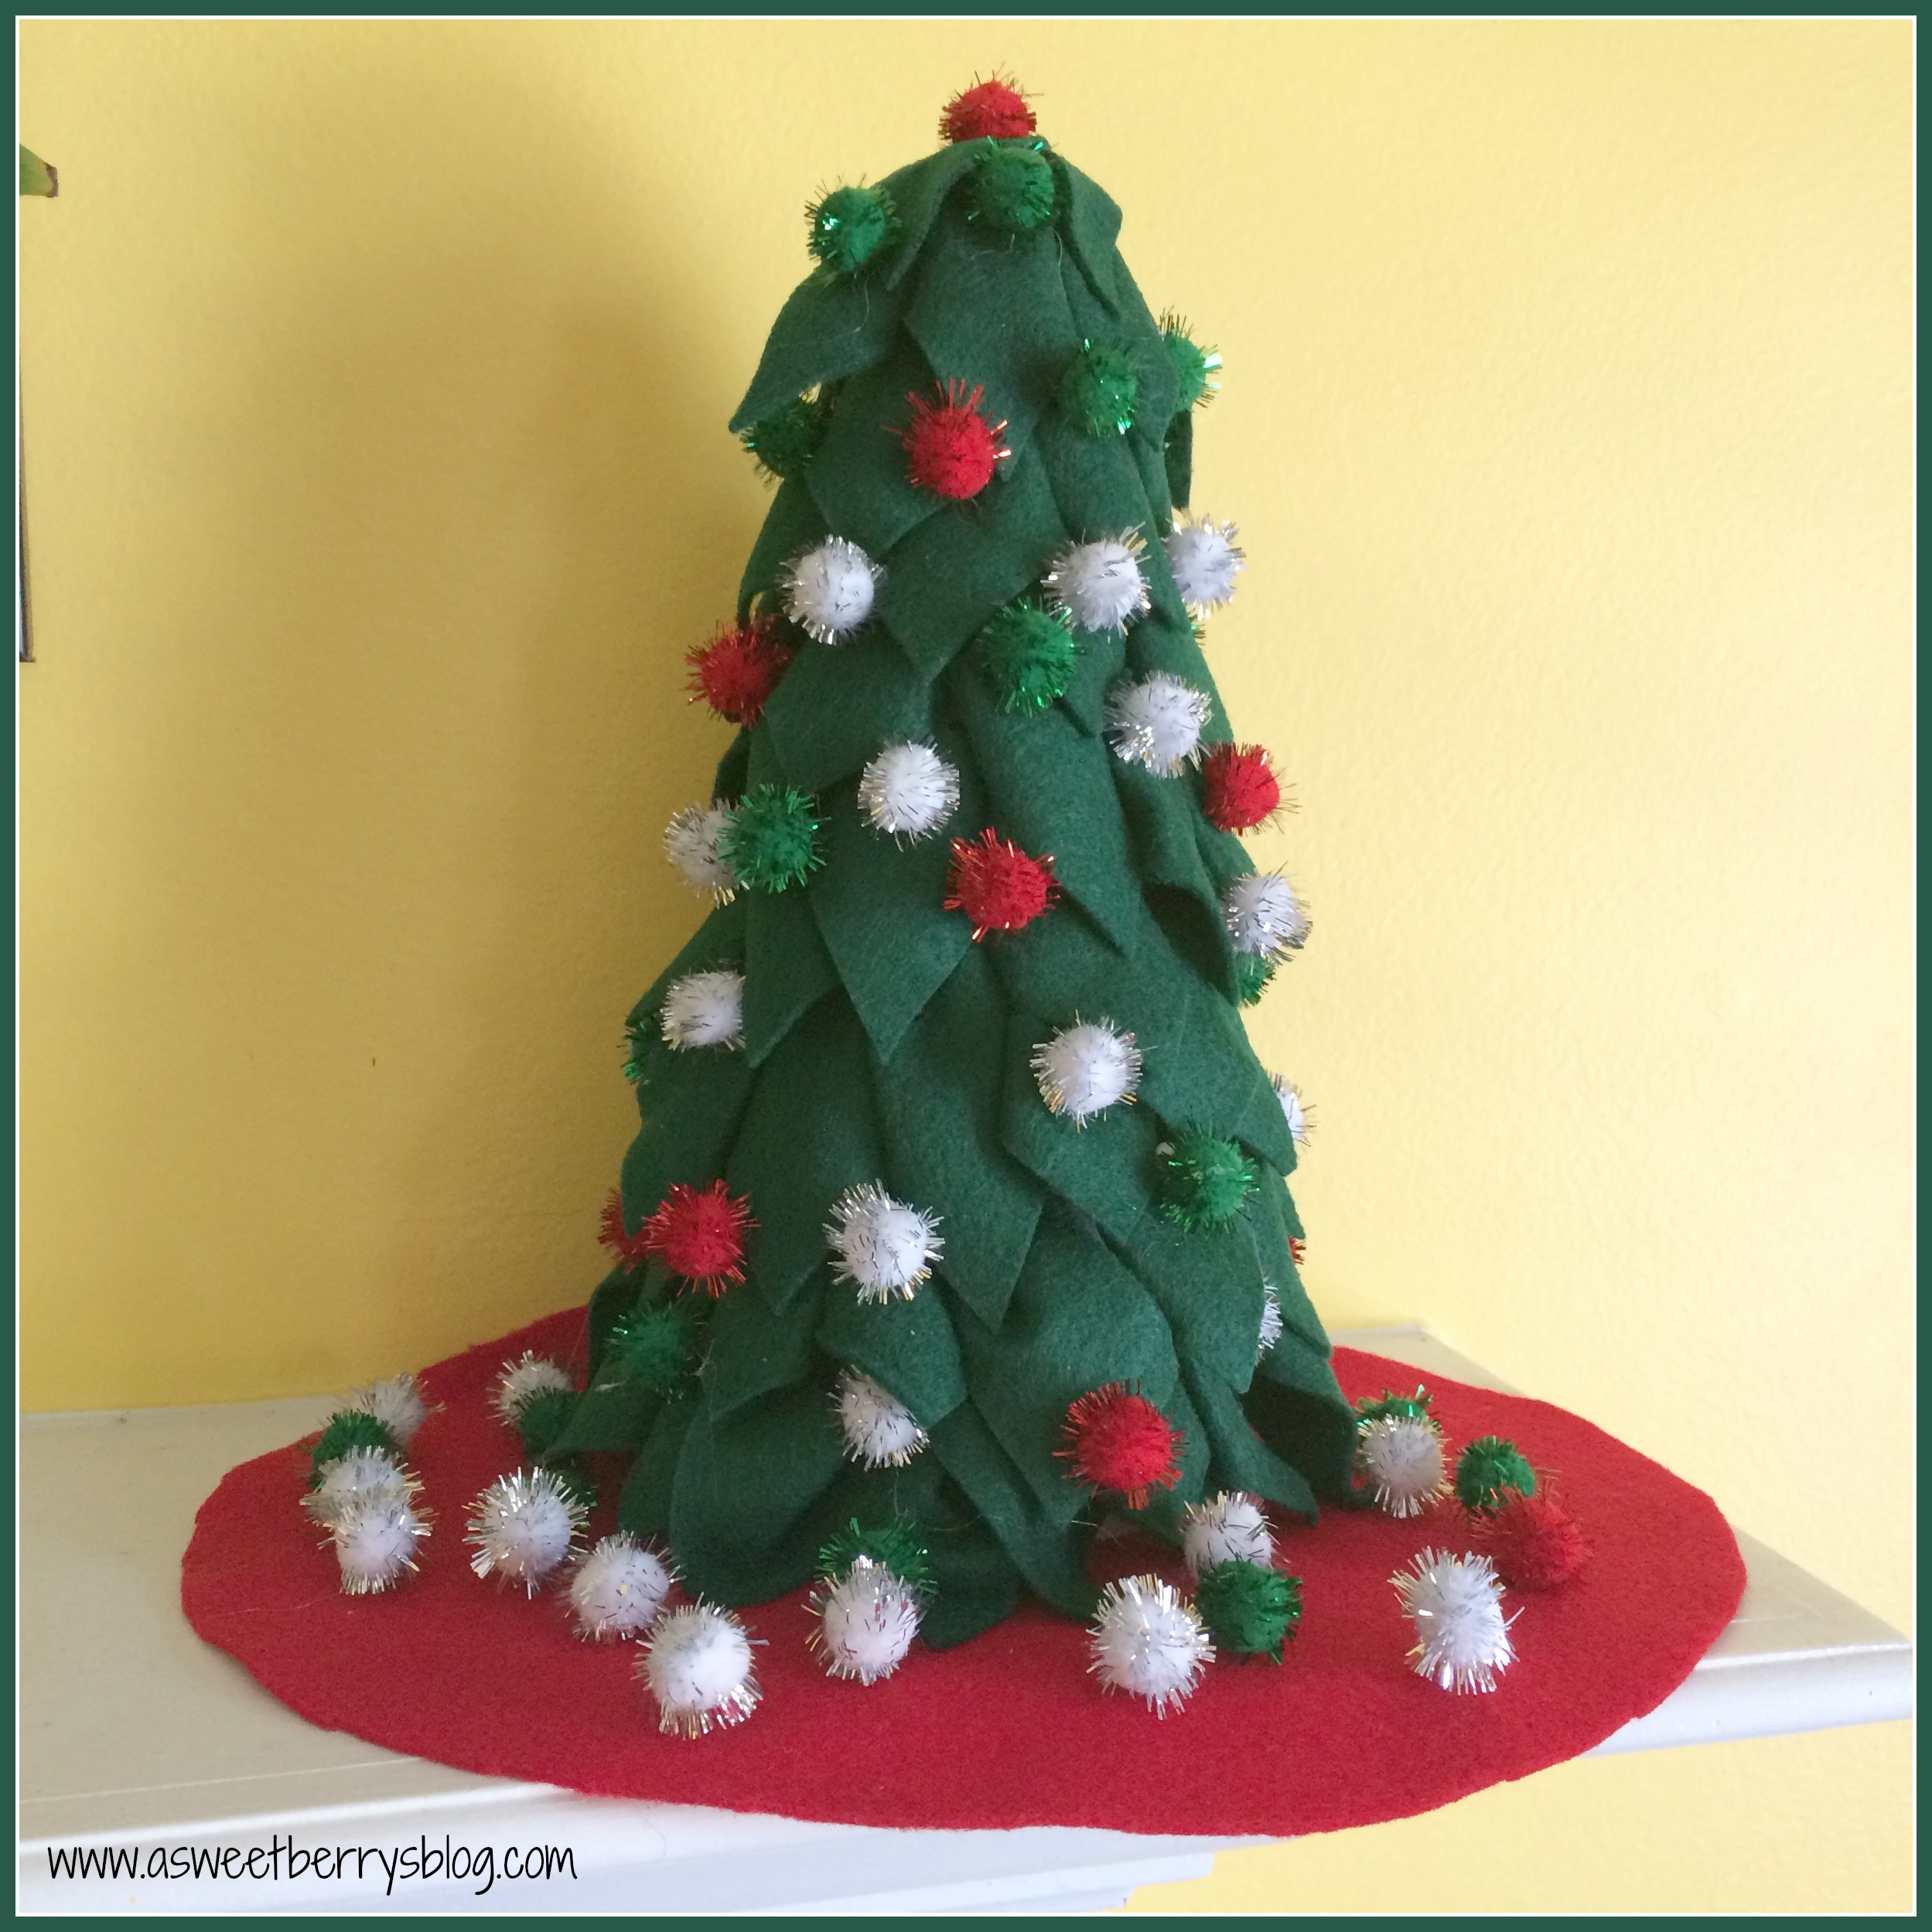
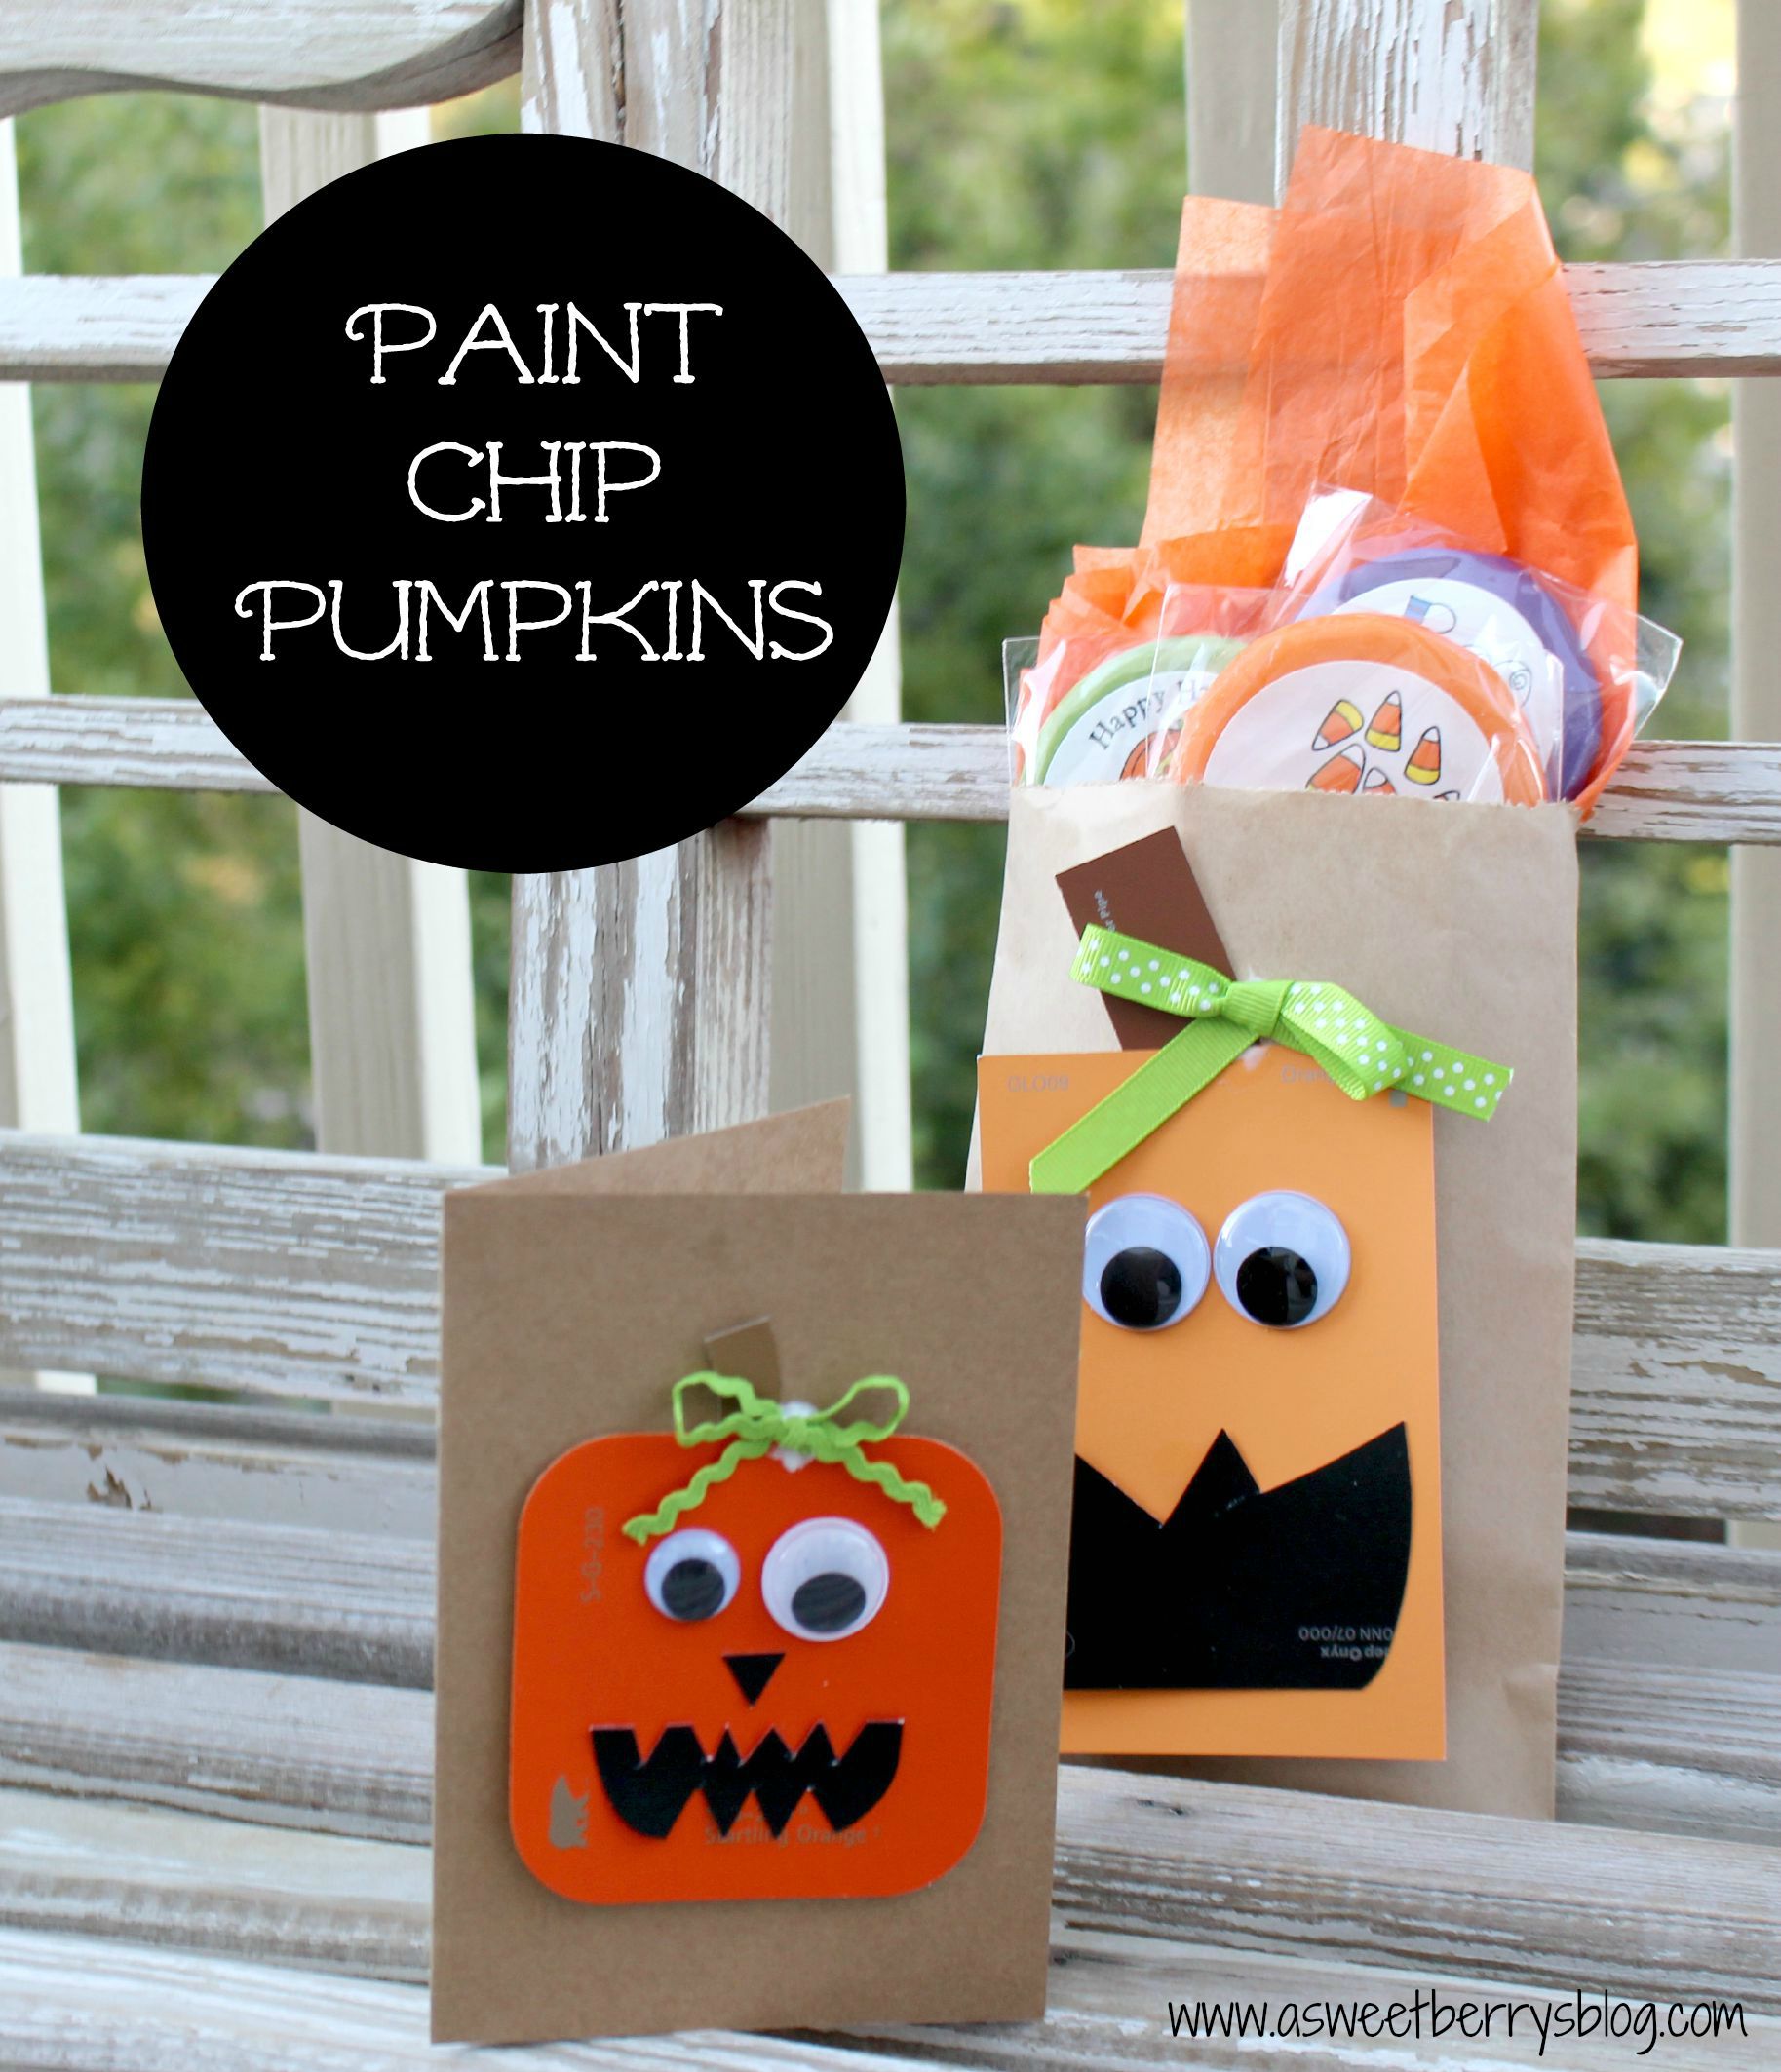
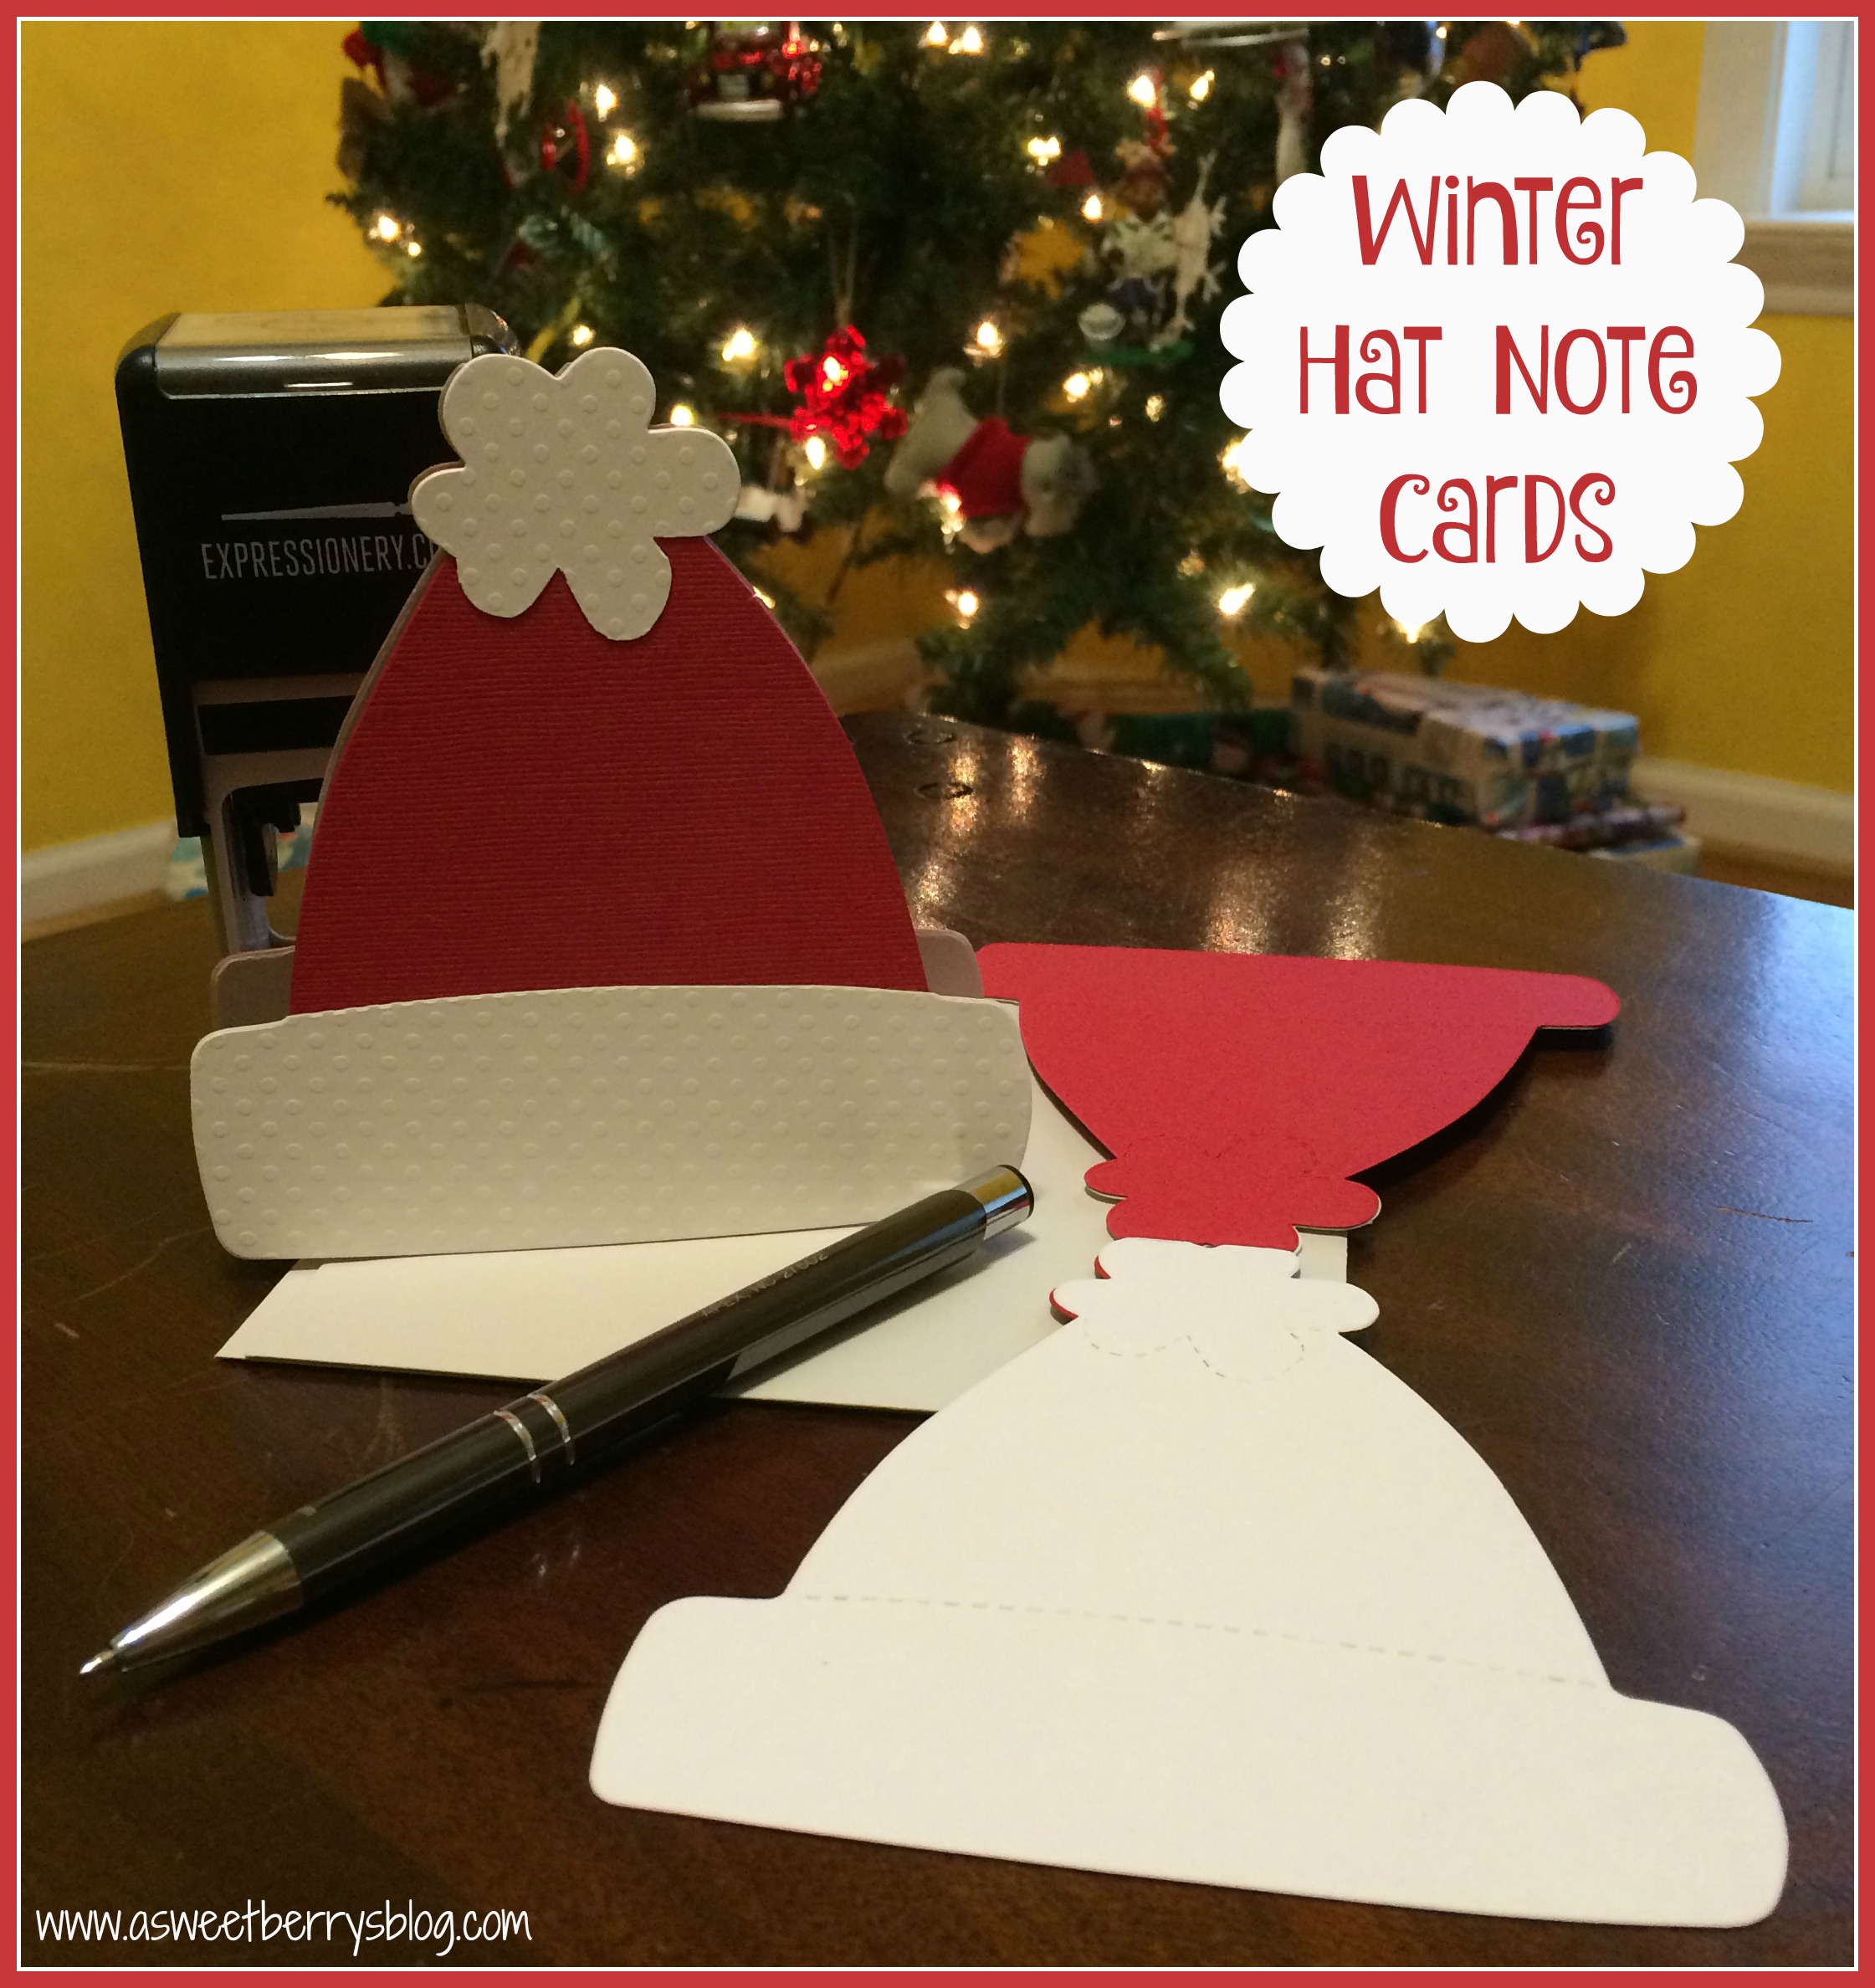
This is the perfect time for an adorable little Winter Hat Note Card.  The weather is getting colder and the holiday gift giving has started.  This cute little note card would be perfect for attaching to a gift to give to someone special! Winter Hat Note Cards
This is how I made them!
Materials:
Sizzix Big Shot
Laura Kelly’s Snow Hat Sizzix Die
Cardstock
Aleene’s Tacky Line Runner or other glue
Plain white printer paper 

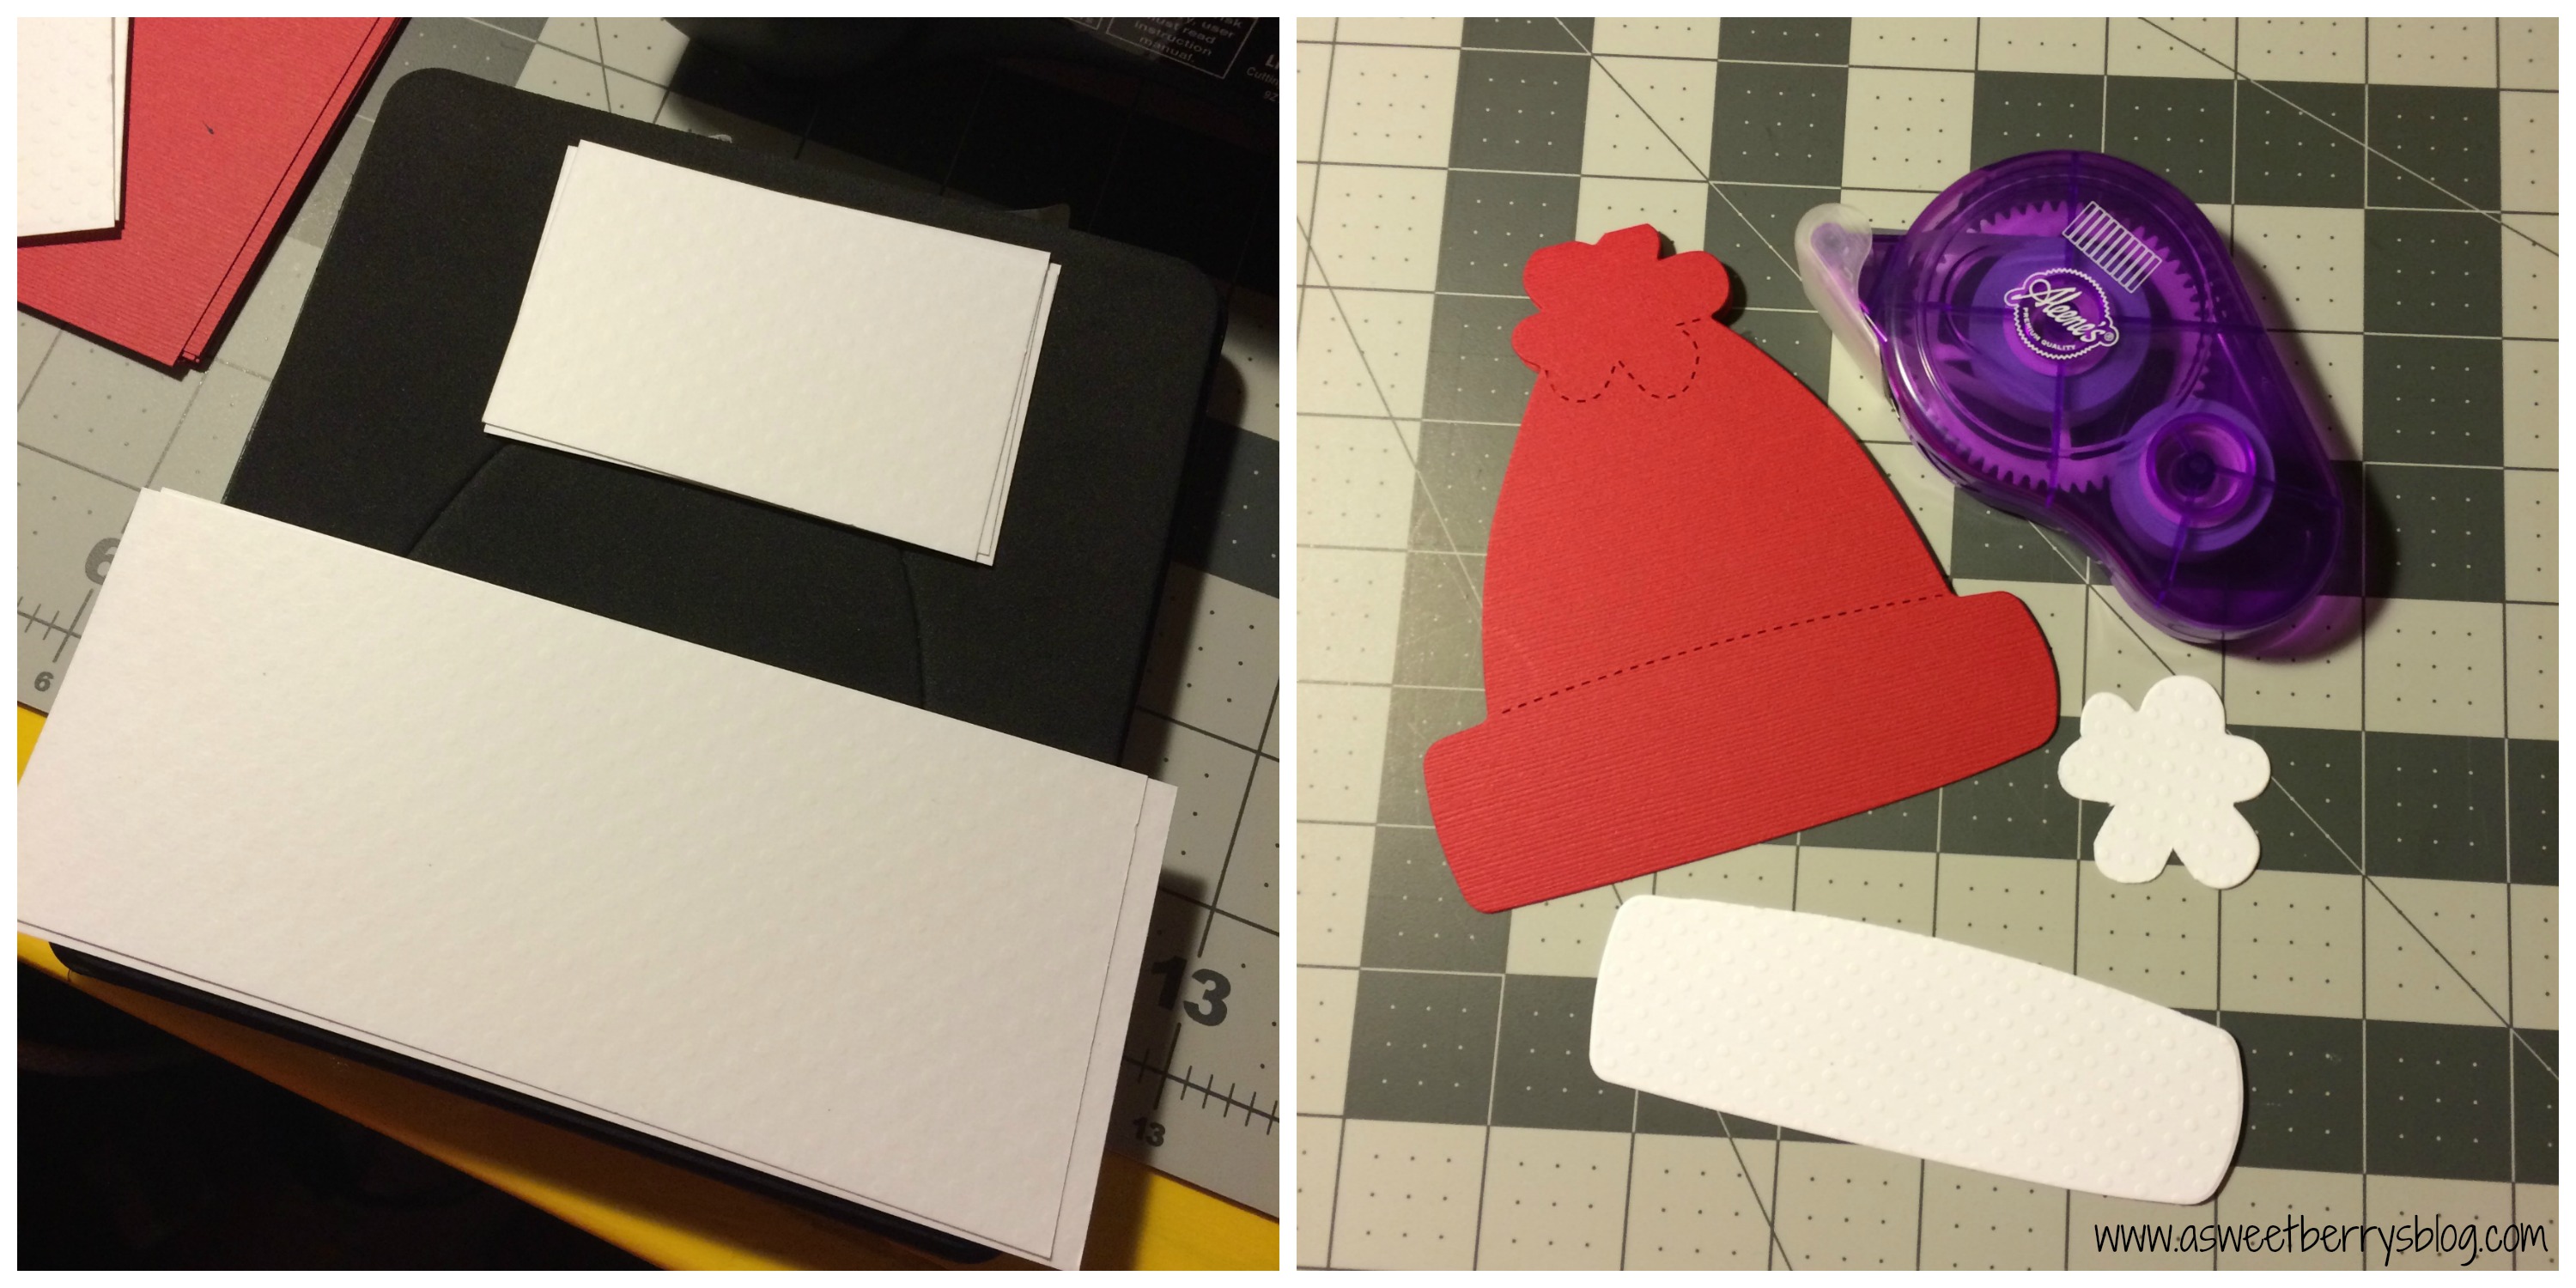
  1.  I cut my red paper to 12″x6″.  For my white paper, I cut it to 2″x6″ and roughly 2″x2″.

die and papers
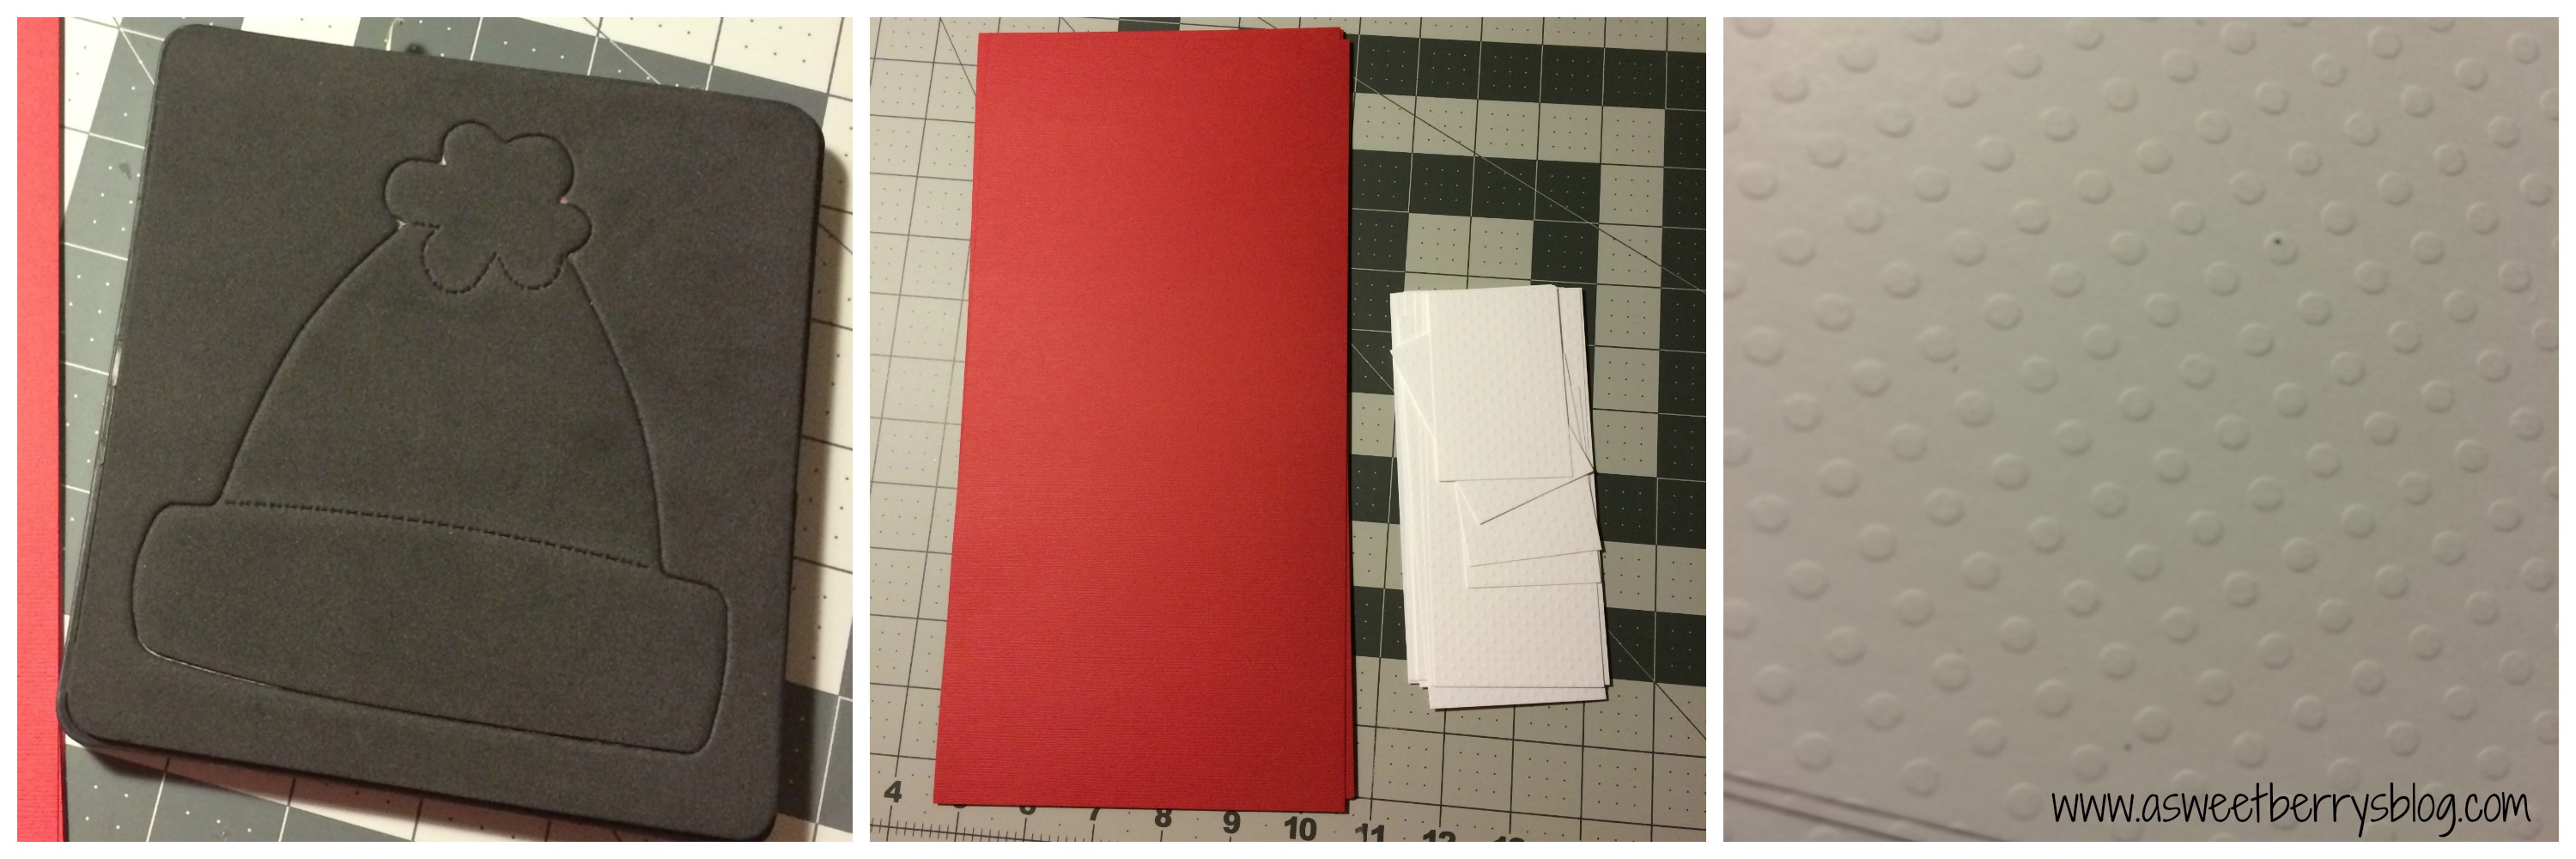
2.  I folded the red pieces in half and placed it on the hat die just at the top edge of the pompom so that it cut just a little “v” into the top of the hat, but didn’t cut all the way through the top curves of the pompom.   red cardstock 3.  Using my little white pieces of paper, I cut just the pompom and the bottom of the hat out.  Then I trimmed at the perforation marks, leaving just the bottom of the hat and the pompom.   
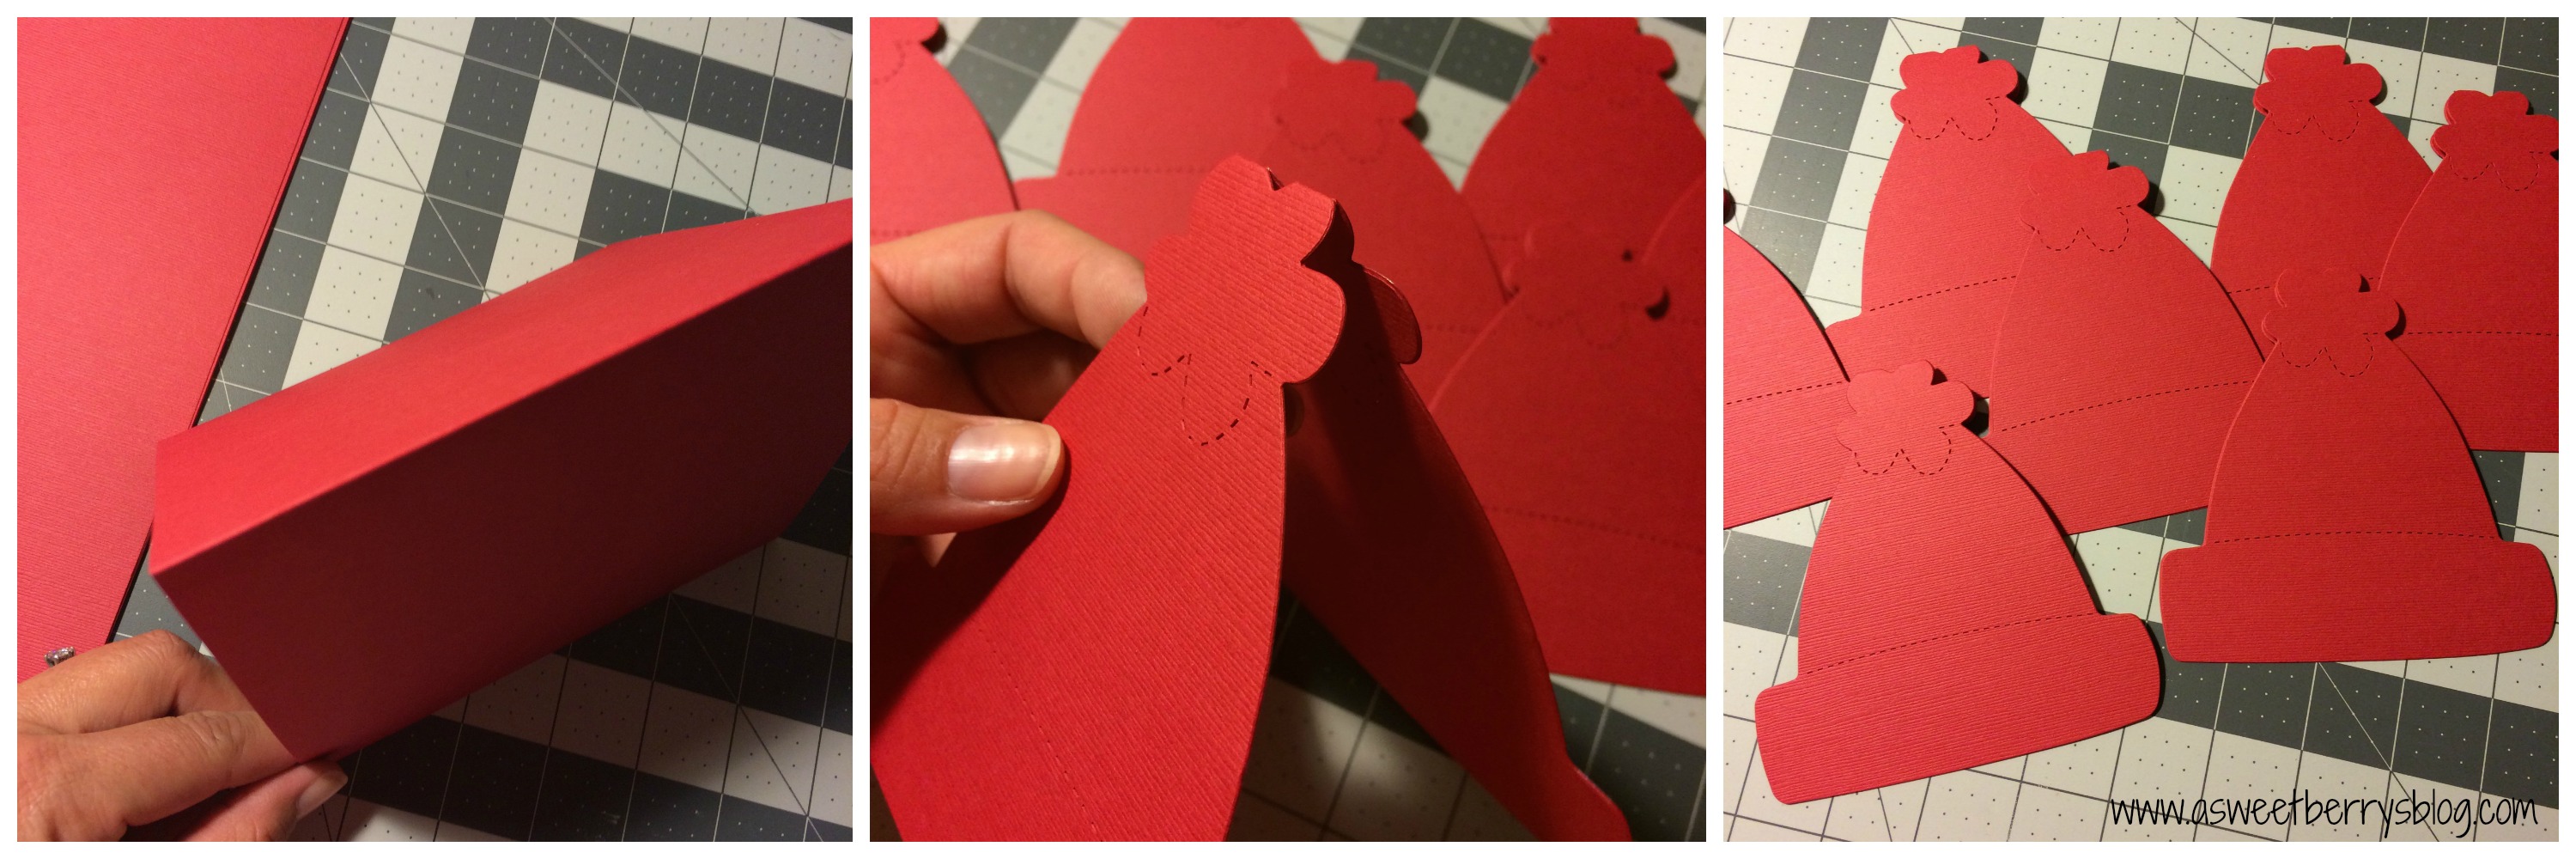
4.  Using my Aleene’s Tacky Line Runner, I attached the bottom of the hat and the pompom to the folded piece.
bottom of hat and puff
5.  Using regular white printer paper, I folded and cut it the same way that I cut the red folded hat.   Once it was cut, I opened it and cut it it in half so that I had half of the cut out.
6.  Using the Aleene’s Tacky Line Runner, I attached the printer paper cut out on the inside of the card.   The white printer paper is to have a place to write your note!
inside
I hope you like these adorable little Winter Hat Note Cards!  I love them.  They were perfect little gifts for my children’s teachers.
Winter Hat Note Cards

You can buy them in my Etsy Shop!   Click HERE!!!
Happy Holidays!!!

Until next time……….

Felt Christmas Tree

It’s Craft Lightning time again!  And this time it’s a 15 minute Christmas craft!   This super easy and super quick Felt Christmas Tree is an awesome little decoration for the mantel or even the middle of your kitchen table! Main Photo
Supplies:
FloraCraft Styrofoam Cone
Kunin Felt
Hot Glue Gun
Pom Poms 
Rotary Cutter and Cutting Board
Pins
supplies
First, I did a quick cut of some felt, cutting it into strips.  Then I did a super quick cut of triangles.   Folding the triangles in thirds, I added a pin and then stuck it right into the styrofoam.  I started it at the bottom and worked my way up.
process
Using my Pom Poms and my hot glue gun, I added the green, red and white pom pons to cover the pins and added a couple of more to fill in the gaps!
Main Photo
Be sure to check out other creative Craft Lightning ideas by click the Button below!

Hope you like this quick Felt Christmas Tree! 

Until next time………..

Washi Tape Pumpkin Popcorn Box

For the last couple of years, my friend Laura Kelly has put together an awesome Popcorn Box Blog Party with a selection of great craft items to help decorate the popcorn box!   She has done it again, and with the help of some great companies!  These awesome Popcorn Boxes came from World Market! blog party
This year, Scotch donated their Expressions Washi Tape!  I thought to myself, why not make a Washi Tape Pumpkin!  
Popcorn Box
Using Krylon spray paint that I had, I spray painted the box to cover up most of the red designs on the popcorn box.  The color was not quite orange, but it did the trick.
Krylon
Once the spray paint was dry, I covered the box in orange wash tape.  I didn’t want the lines to be perfect, so I made the tape go in all different ways!  It kind of made it look like an orange mummy!  Once it was covered, I used an Exacto knife to trim around the scalloped top of the box.
Orange Washi Tape
Next, I just tore pieces of black washi tape to make the pumpkin face!
Black Washi Tape
And it was done!  Super easy and perfect for a Halloween movie night with some popcorn!
Popcorn Box
Be sure to check out the other great Popcorn Box Designs.

And be sure to enter to win! a Rafflecopter giveaway

Super Easy Guacamole

guacamole
As I prepare for a trip to Mexico with my hubby for our 10th wedding anniversary, I was in the mood for some homemade guacamole!   I had an avocado at home, but I didn’t have all of the other traditional ingredients for guacamole!  So, I improvised and used what I had and OMG! my whole family loved it!  It was super easy and only took a few minutes!  Even my husband that isn’t a guacamole eater, liked it!
ingredients

Super Easy Guacamole
Easy and Yummy Guacamole made with minimum ingredients!
Write a review
Print
Ingredients
  1. 1 avacado
  2. 2 tbsp. of chopped onions
  3. 1/2 tsp. of diced garlic
  4. salt to taste
  5. pepper to taste
Instructions
  1. Remove the avocado from the peel. Remove the seed. Place avocado in a bowl and mash with a fork. Add the onion, garlic, salt and pepper. Stir together. Enjoy with your favorite tortilla chips!
A Sweet Berry Designs Blog http://www.asweetberrysblog.com/
If you are looking for a super easy guacamole recipe with limited ingredients, or if you don’t like cilantro and tomatoes, then this is your recipe!!

Until next time……

Craft Lightning Paint Chip Pumpkin Card and Party Bag


I’m so excited to be joining 15 minute Craft Lightning again!   The theme for this Craft Lightning by The Country Chic Cottage, 30 Minute Crafts and 100 Directions is Halloween!   My 15 minute craft was inspired by my awesome friend Laura Kelly!
Paint Chip Pumpkins
If you are like me, you probably have paint chips lying around in your house!  These orange, black and brown ones were perfect for these quick and super easy Paint Chip Pumpkins! materials
All you have to do is create your little pumpkin with the paint chips, goggly eyes, ribbon and glue (I used Aleene’s!) and stick it right on to your blank card!   And then write you a spooky little note inside!
card
The same was done here using a cute little brown paper party bag!  Perfect for Halloween Party Goody Bags!   Inside this little party bag are a few little Halloween Lollipops from Lollipics! bag
Hope you liked these cute little Paint Chip Pumpkin Card and Bag decorations!    These are quick and easy and perfect for the little ones to do!

Until next time……..

Dresser Makeover with Modern Masters Metallic Paint

Do you have an old piece of furniture that was either passed down from a family member or belonged to you or your spouse as a child?   Does that piece of furniture need a makeover?   Modern Masters Paint Company can help!

dresser2

We have an old dresser that belonged to my husband when he was a child.  It now sits in my eight year old’s room.   It was originally a dark brown and I thought that it needed to be brightened up!

before


Landon’s favorite color right now is green.  He likes any color green, but his favorite color is a bright green.   Modern Masters had just the right color in their Metallics Collection.  The color is Green Apple to be exact!  And it is AWESOME!   I also wanted to paint the handles, but I chose a different color to give it a little something extra.  Landon is also a fan of the color blue and Modern Masters Venetian Blue was perfect.

paints

I started this project by removing all of my handles and by priming all of the pieces that I was going to paint.  On the jar of Metallic paint, the recommended primer was Zinsser’s Bulls Eye 1-2-3 Water-Base Primer.   This was available at Lowes.

Primer

Once my primer was dry, I started applying the green apple metallic paint.  Once it was dry, I painted another coat.  I continued this until I was satisfied with the color covering.

Once my dresser and drawers were completely painted and drying, I painted my handles using the Venetian Blue.  Then, I let everything dry over night.

hardware

To help seal and protect the Modern Masters Metallic Paint, I used Modern Masters Metallic Paint Collection’s Master Clear Acrylic/Polyurethane UV Protective Clear Topcoat.  It made my project nice and smooth and dried completely clear.

polyurethane

Once everything was completely dry, I put my handles back together and screwed them back onto the drawers.  I replaced the drawers into the dresser and voila!  It was done and I fell in love with it!

painted hardware


dresser square

I absolutely love Modern Masters Paints.  They cover well and look fantastic.   Landon had the biggest smile on his face when he saw the makeover that his dresser got.   And it gives his room a great pop of color!  There is just the right amount of shimmer in the paint for a kids room.

before and after

To find a Modern Masters Retailer near you, click here or you can purchase paints at their online shop.

Until next time…….

Modern Masters Front Door Paint

The front door (and shutters) are some of the most noticeable parts of the exterior of your house!   Needless to say, our door and shutters had been severely neglected and were in need of a much needed fresh coat of paint.   Our shutters have been bleached from multiple power washings.  While I was at SNAP! a few months ago, I met the awesome team from Modern Masters.   Checking out their booth, I ran across this display about Never-fade Front Door Paint and a wide selection of 24 colors that you could choose from that suited you, a way that you could “Express Yourself”.  I knew immediately which color I wanted, but of course, after running it by my husband, he helped me pick a different one!   I totally wanted “Fortunate”, which is a bright green!   As a couple, we settled on the color “Natural”, which is one of our favorite colors. SNAP
Once I returned from SNAP!, I contacted Modern Masters and they sent a jar of paint in the exact color that I wanted.  Once it arrived, I went online and watched the online tutorials for painting your front door.  You can see that youtube video Here.   I didn’t realize that there was a certain way that you should paint a door.  I used the same method to paint my shutters (which they told me was totally okay to do).
Primary
I can not say enough good things about Modern Masters Front Door Paint.  I love that a little bit goes a long way.  One jar was enough to cover my front door and four sets of shutters with two coats, with some left over.  The drying time was very short, only needing one hour to dry between coats.  The paint was thick and had very little to no splatters.  There is also a handy dandy little app that you can download  on your smart phone or tablet that can help you decide what color you like and works with your house.

Here are just a few of the pictures from the process!   The front of my house gets the morning and early afternoon sun directly, so it takes a beating.
Door Before
Here are the supplies that I used, plus painter’s tape to protect the areas I didn’t want painted. supplies
This is the process that the video provided by Modern Masters recommends.   process
As you can see, my shutters were totally faded and were looking pretty bad.  With two coats of Modern Masters Natural Front Door Paint, they look as good as new! shutters
Modern Masters Front Door Paint has made my front porch look so much better, as well as the rest of the exterior of my house! shutters and chairs And here is a picture of the front of my house!
house
Modern Masters Front Door Paint is available at selected Lowe’s and Ace Hardware.   You can also buy it online via Amazon.com, HomeDepot.com or the Modern Masters Online Shop.

National Watermelon Day 2015

National Watermelon Day is here!  I love that Watermelon has its own special day of celebration each year!   We will be celebrating at our house!
square final photo
My friend Laura Kelly is an amazing artist and has designed these awesome Wacky Watermelon Printables with some of her adorable watermelon art.  I cut them up and used them to decorate my party table! Laura Kelly Wacky Watermelon
While I was at the store today, I saw that Pillsbury now has a Funfetti Gluten Free Sugar Cookie mix!   OMG, they are delicious!   How cute are these watermelon cookies?!  I baked them, cut the tops off of some to make them look like a watermelon half, and then cut two sides off to make angles for a wedge!   Not realizing it, I picked up the Pillbury Sugar Free Vanilla frosting!   The kids had no clue and there were no complaints!!!  I love how they came out! cookies
Using Kunin felts, I made this adorable Watermelon Banner!  Click the photo below to see how I made it! watermelon banner
Did you see those adorable lollipops in the photo?  Those are from Lollipics, with Laura Kelly designs on them.  You can get your own with custom designs!  They are great for parties , weddings, or gifts! Lollipics
Hope you like what we have in store for National Watermelon Day!   And I hope you have a wonderful Yummy Watermelon filled day!

Until next time….

Kunin Felt Watermelon Banner

In honor of National Watermelon Day on Monday, August 3rd, I made this adorable Watermelon Banner with Kunin Felt! watermelon banner
Using eCals2, I designed a half and a wedge watermelon slice.  I made three different layers, one for the rind, one for the white part and one for the red part.   Using my Sizzix Eclips2, I cut the pieces out to use as a template.   felt cutting
Instead of sewing my watermelons together, I used Aleene’s Fabric Fusion.  Super and easy and quick. fabric fusion
Once all of my watermelons were glued together and dried, I used mini clothes pins and red baker twine to hang the watermelon pieces. melons and twine
The watermelon banner is perfect for a watermelon party for any summer fun get together!  My boys will be celebrating National Watermelon Day 2015 with some yummy watermelon, Watermelon Sugar Cookies, Laura Kelly’s Wacky Watermelon Printables and some awesome Lollipops from Lollipics!  Click on the photo below to learn about these goodies!
square final photo Hope you like my Kunin Felt Watermelon Banner!   And Happy National Watermelon Day!

Until next time…..


Expressionery Wraps With World Market!

Expressionery.com, Laura Kelly and World Market put together this awesome blog hop to show twenty ways to wrap World Market gifts with World Market wrapping and Expressionery.com personalized self inking stamps with Laura Kelly designs!   Read on to see how I used my self-inking Expressionery.com stamp and World Market goodies provided by Laura Kelly, as well as some that I purchased myself!  Below is a picture of the goodie box that was delivered by my awesome friend Laura Kelly! items
After looking at my box of goodies, I made my way over to World Market to see what I could find to help with wrapping my gifts!   There was a pouch of bath fizzers and a cute little jar in the box.  I put the fizzers in the jar.  While I was at World Market, I found an inflatable bath pillow.  I thought this combination might make a great teachers gifts.   After a long day, she could go home and take a nice relaxing bath.  The orange tissue was included in my box, so I bought an adorable World Market gift bag to go with it.  Laura also included some pink crinkle paper that i stuck in the bottom of the bag.  Also, there were some awesome, sturdy gift tags.   Using my Expressionery.com self inking stamp, I made that my personalized gift tag. bath bag
Placing the pink crinkle paper in the bottom of my bag, I added my jar of bath fizzers and the inflatable bath pillow, inserted my tissue paper, added my personalized gift tag and it was ready to go!  I totally love the adorable World Market gift bags! Main Photo
Also included in my box was some World Market coffee, tea and chocolate!  During my trip to World Market, I purchased this cute COFFEE mug and some smaller gift bags (these came in a pack of 6).

  coffee bag
Like with the bath gift, I did the same with the coffee gift, minus crinkle paper!   Laura also provided the bright yellow tissue paper!   I finished this gift off with a personalized gift tag too!

black bag
Be sure to check out these other great ways to wrap your gifts with World Market and Expressionery.com

Also, be sure to enter to win $250 Visa gift card, a personalized stamp from Expressionery.com and a $100 World Market Gift Card.   Contest ends on July 31st! a Rafflecopter giveaway Until next time……