
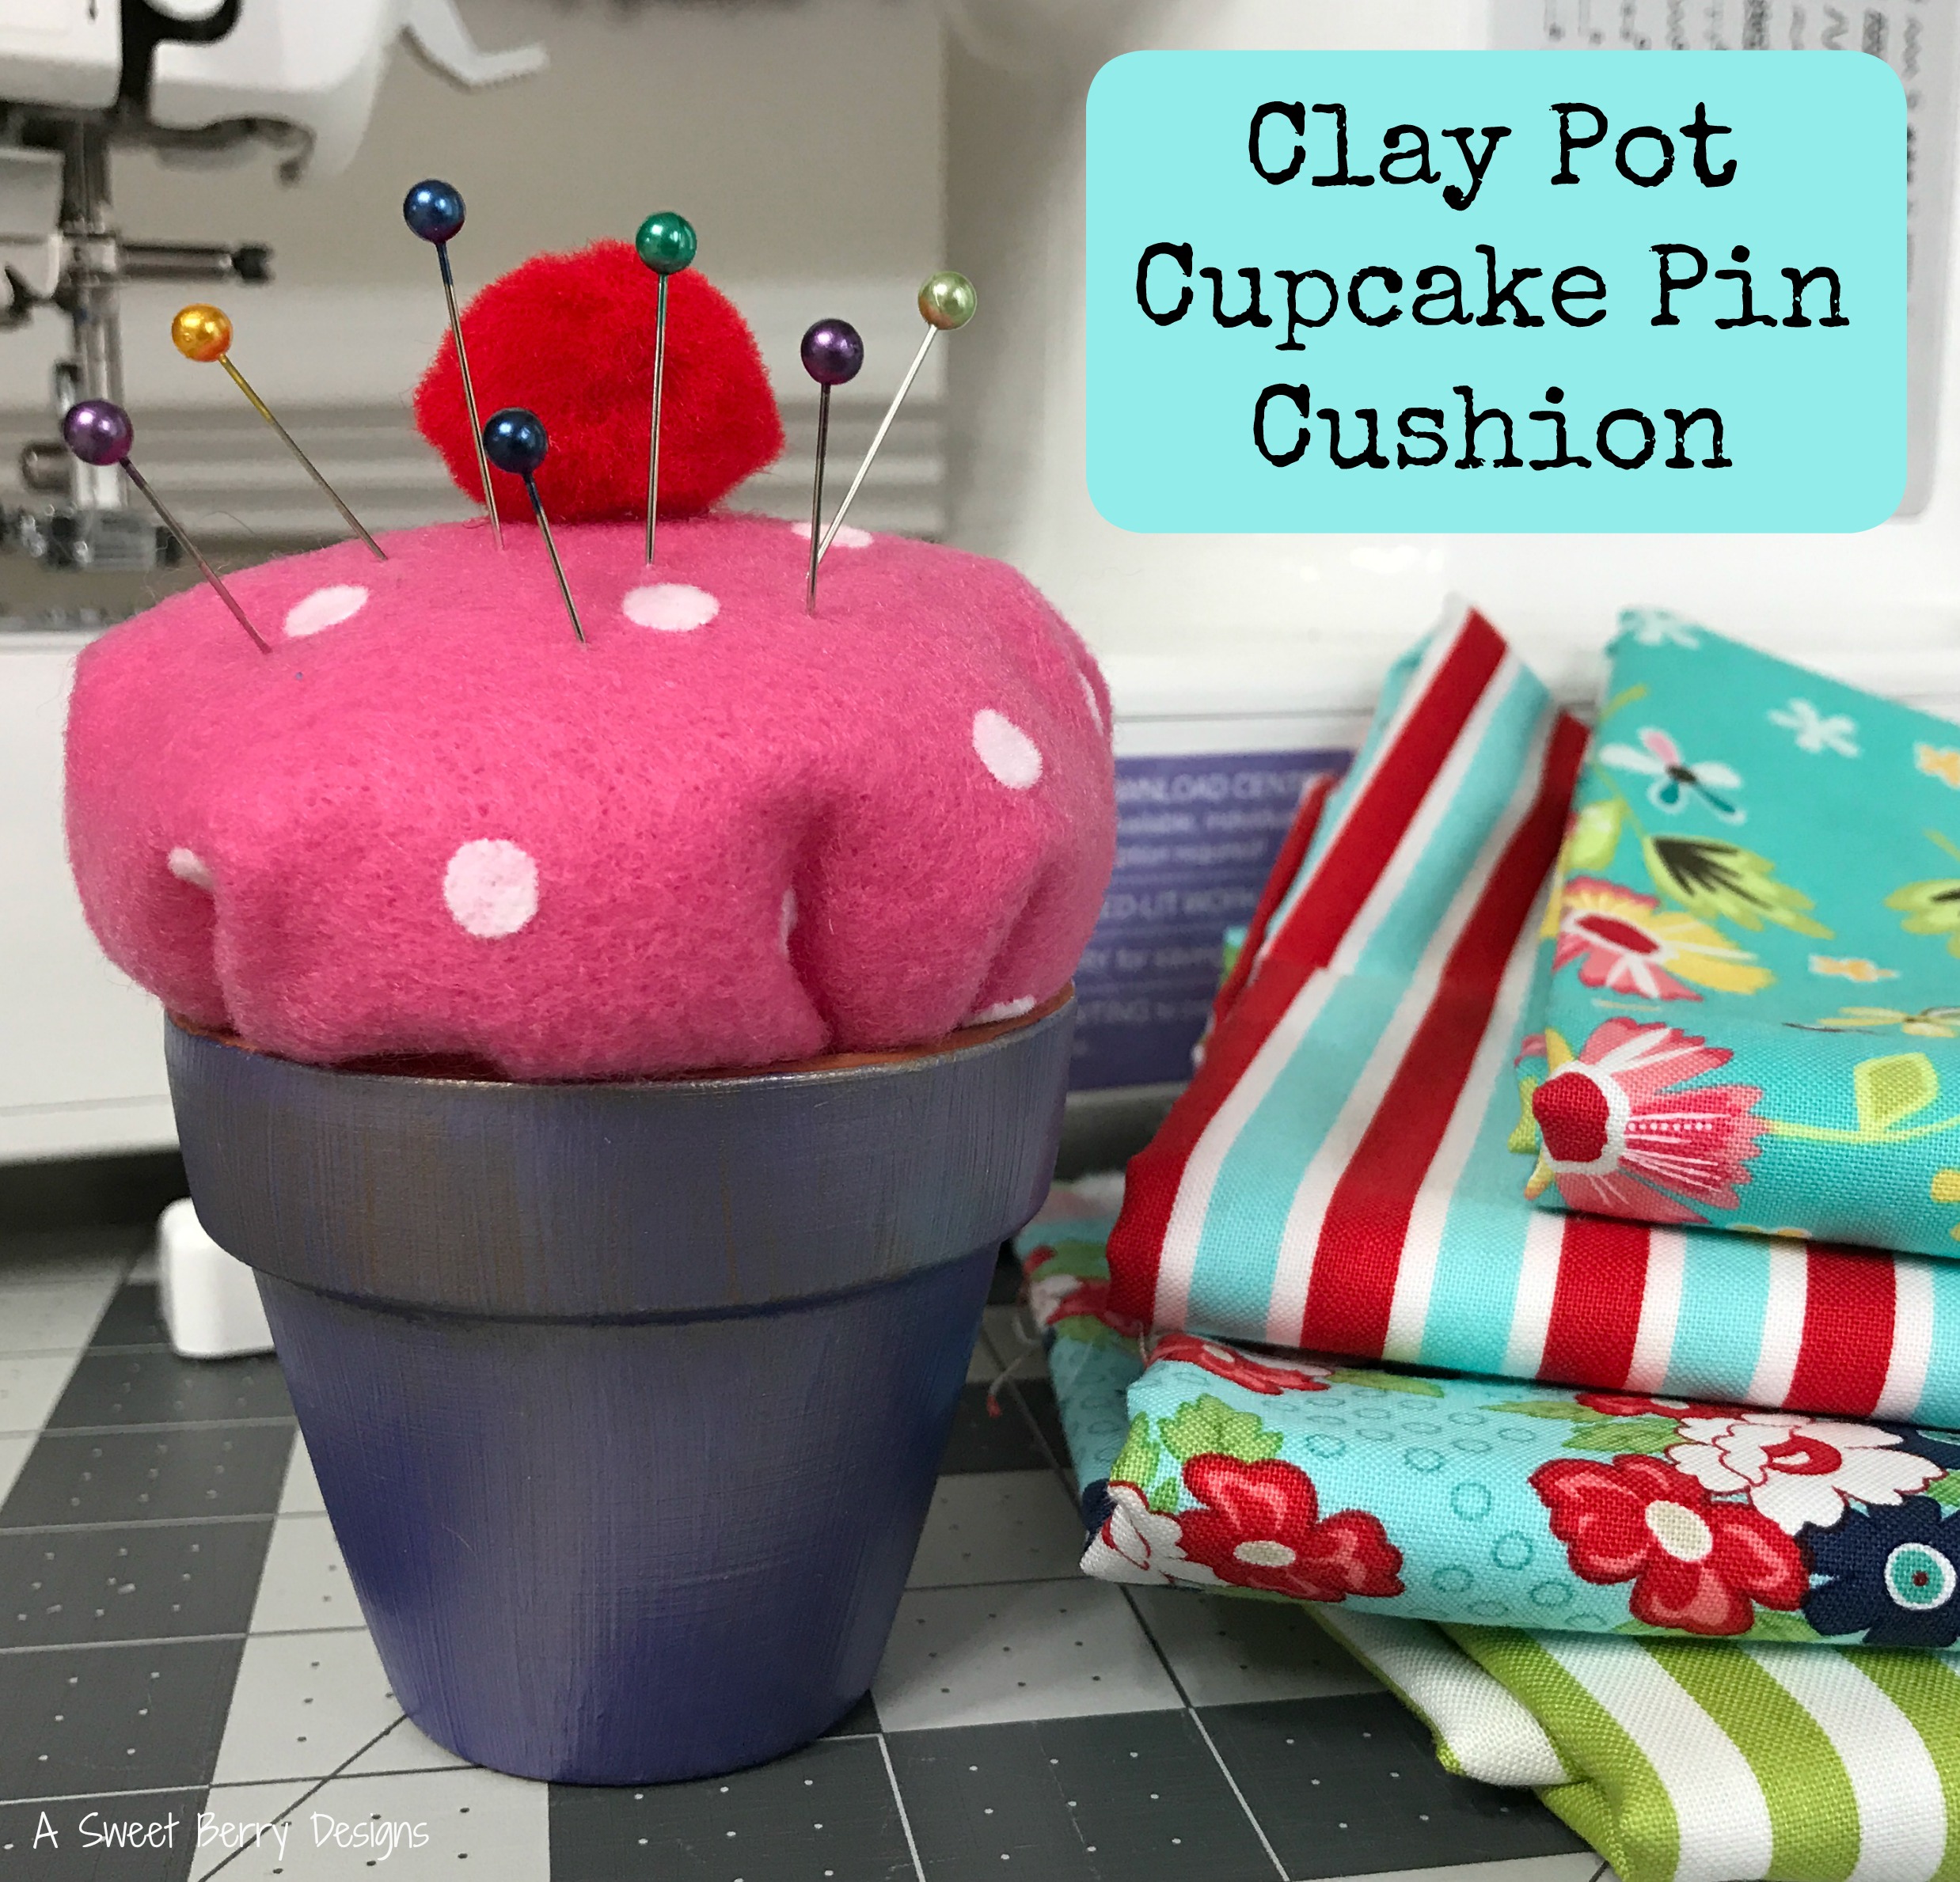
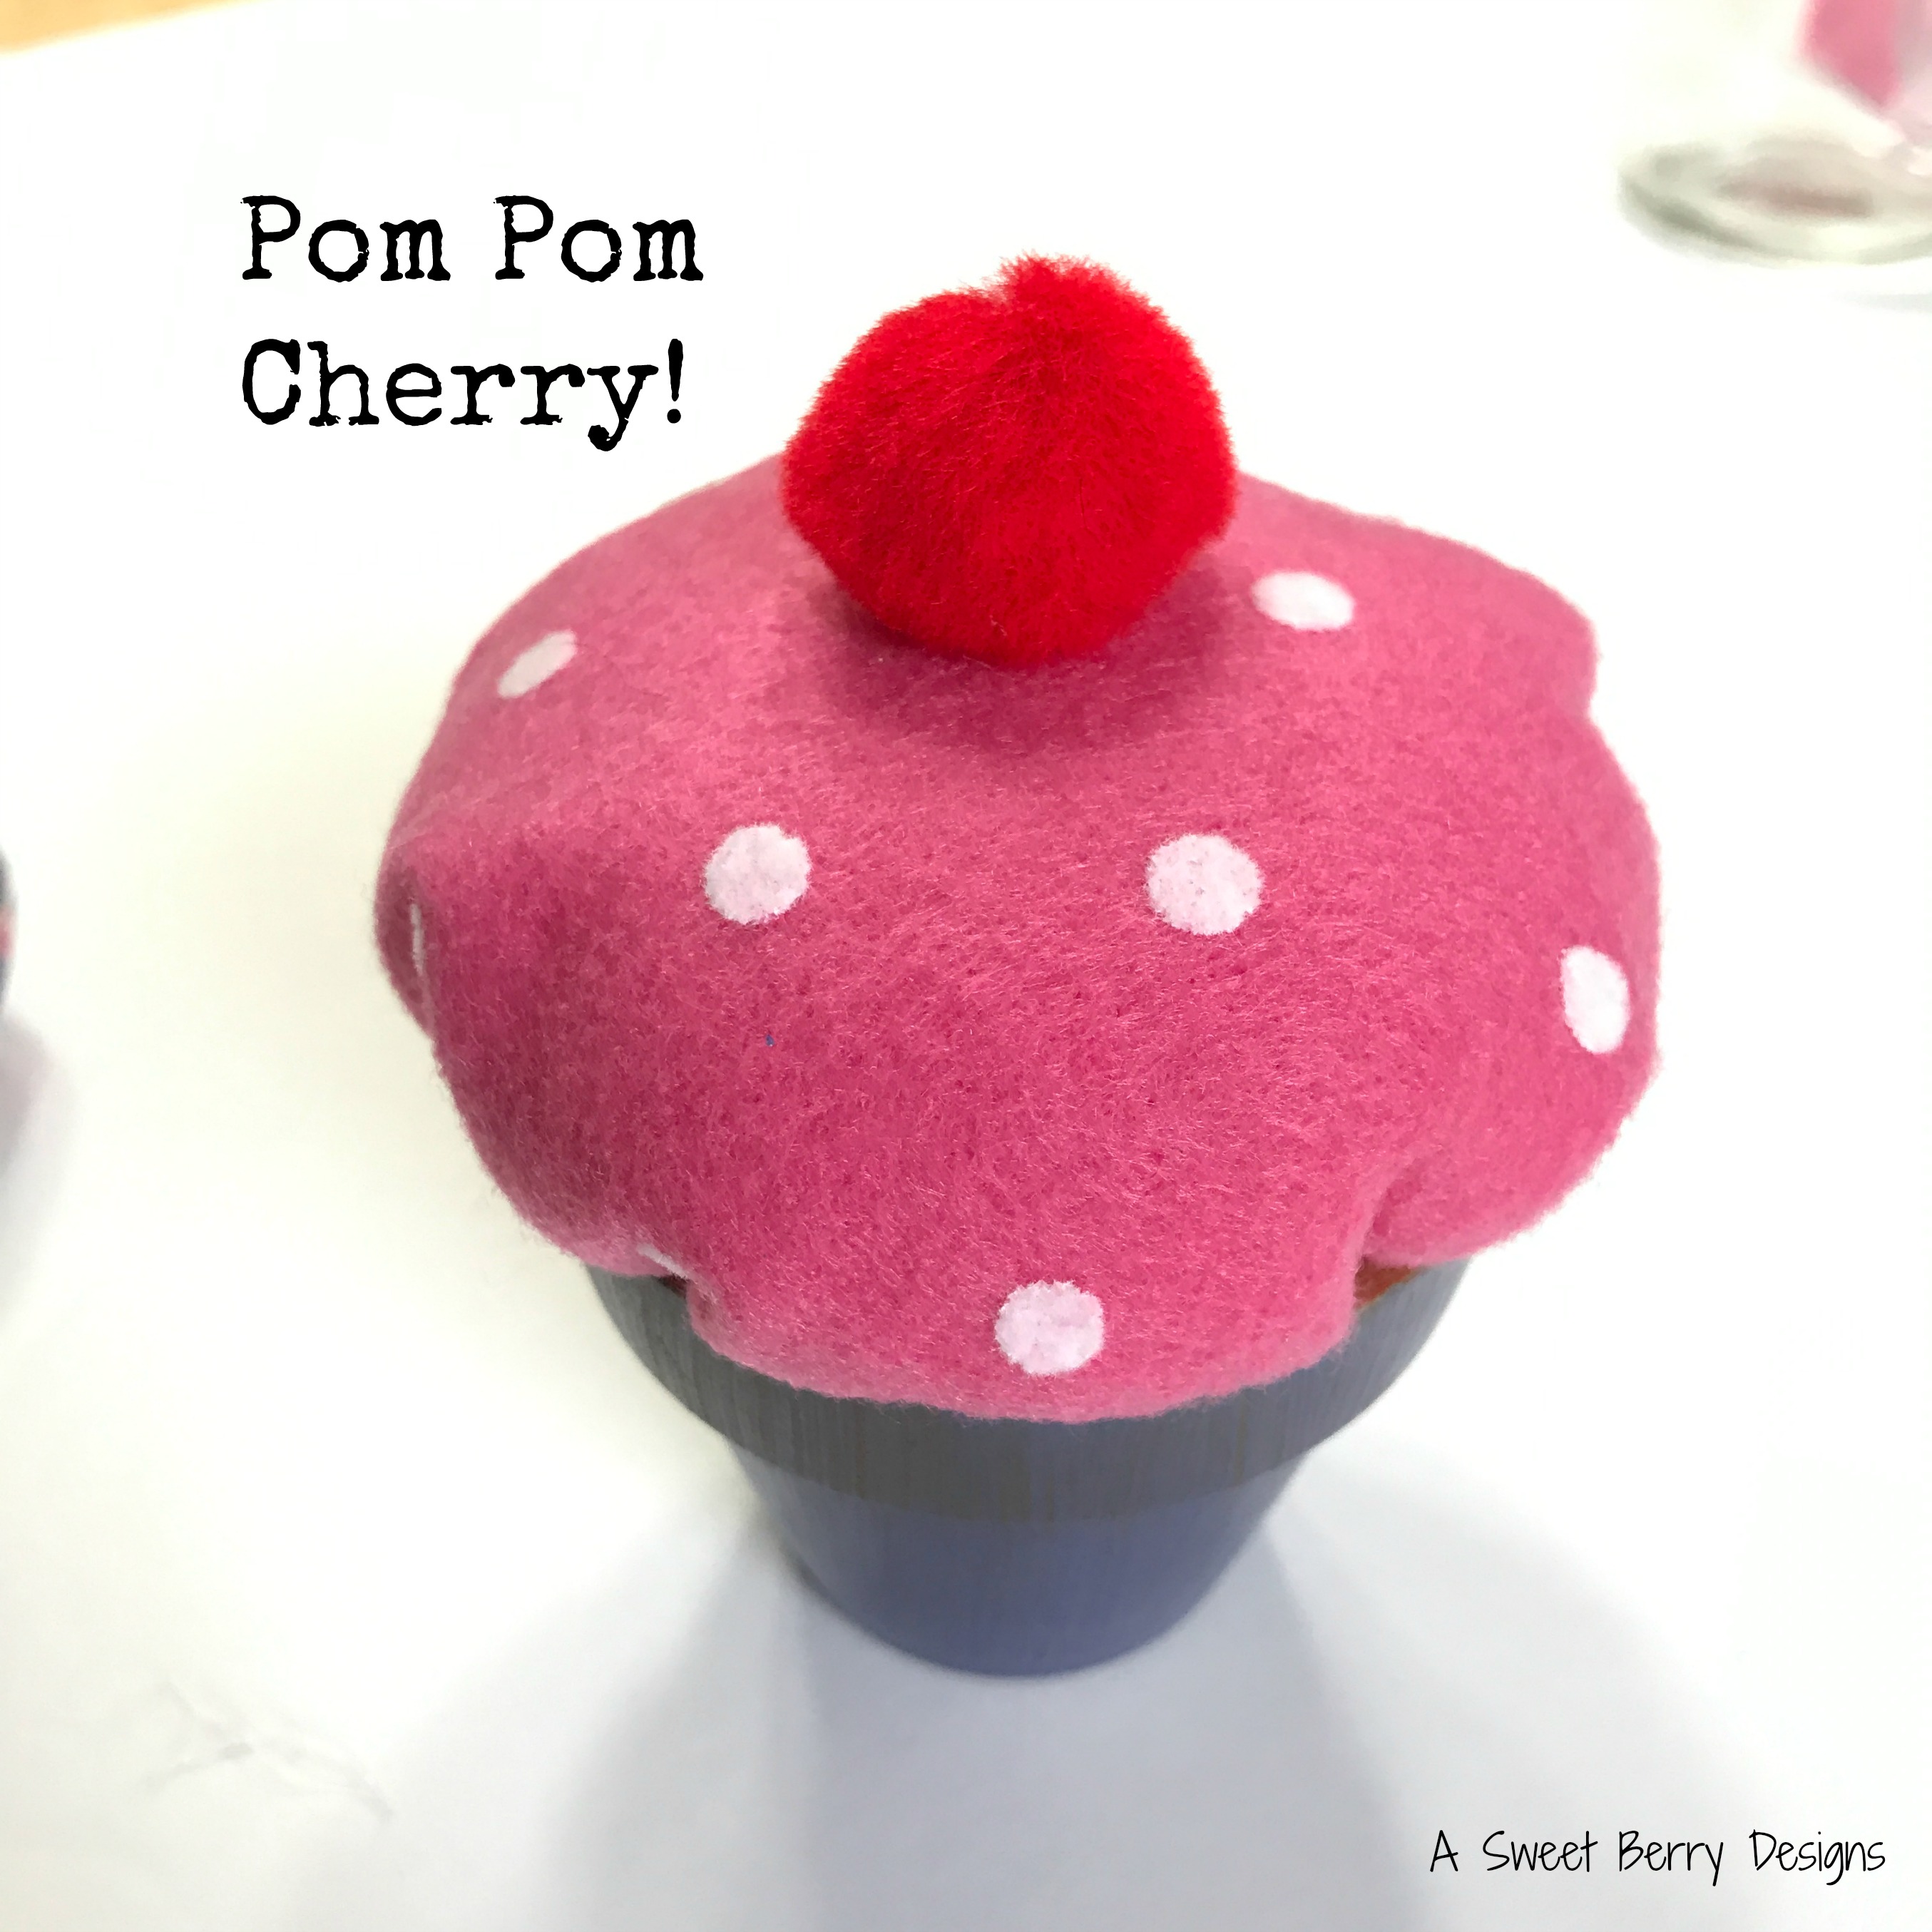
Craft Lightning is here again!!!! I love it! The theme this time was Clay Pots! There are so many things that you can do with clay pots other than using them as flower pots! I made this adorable little Cupcake Pin Cushion with mine! It took less than 15 minutes!!!
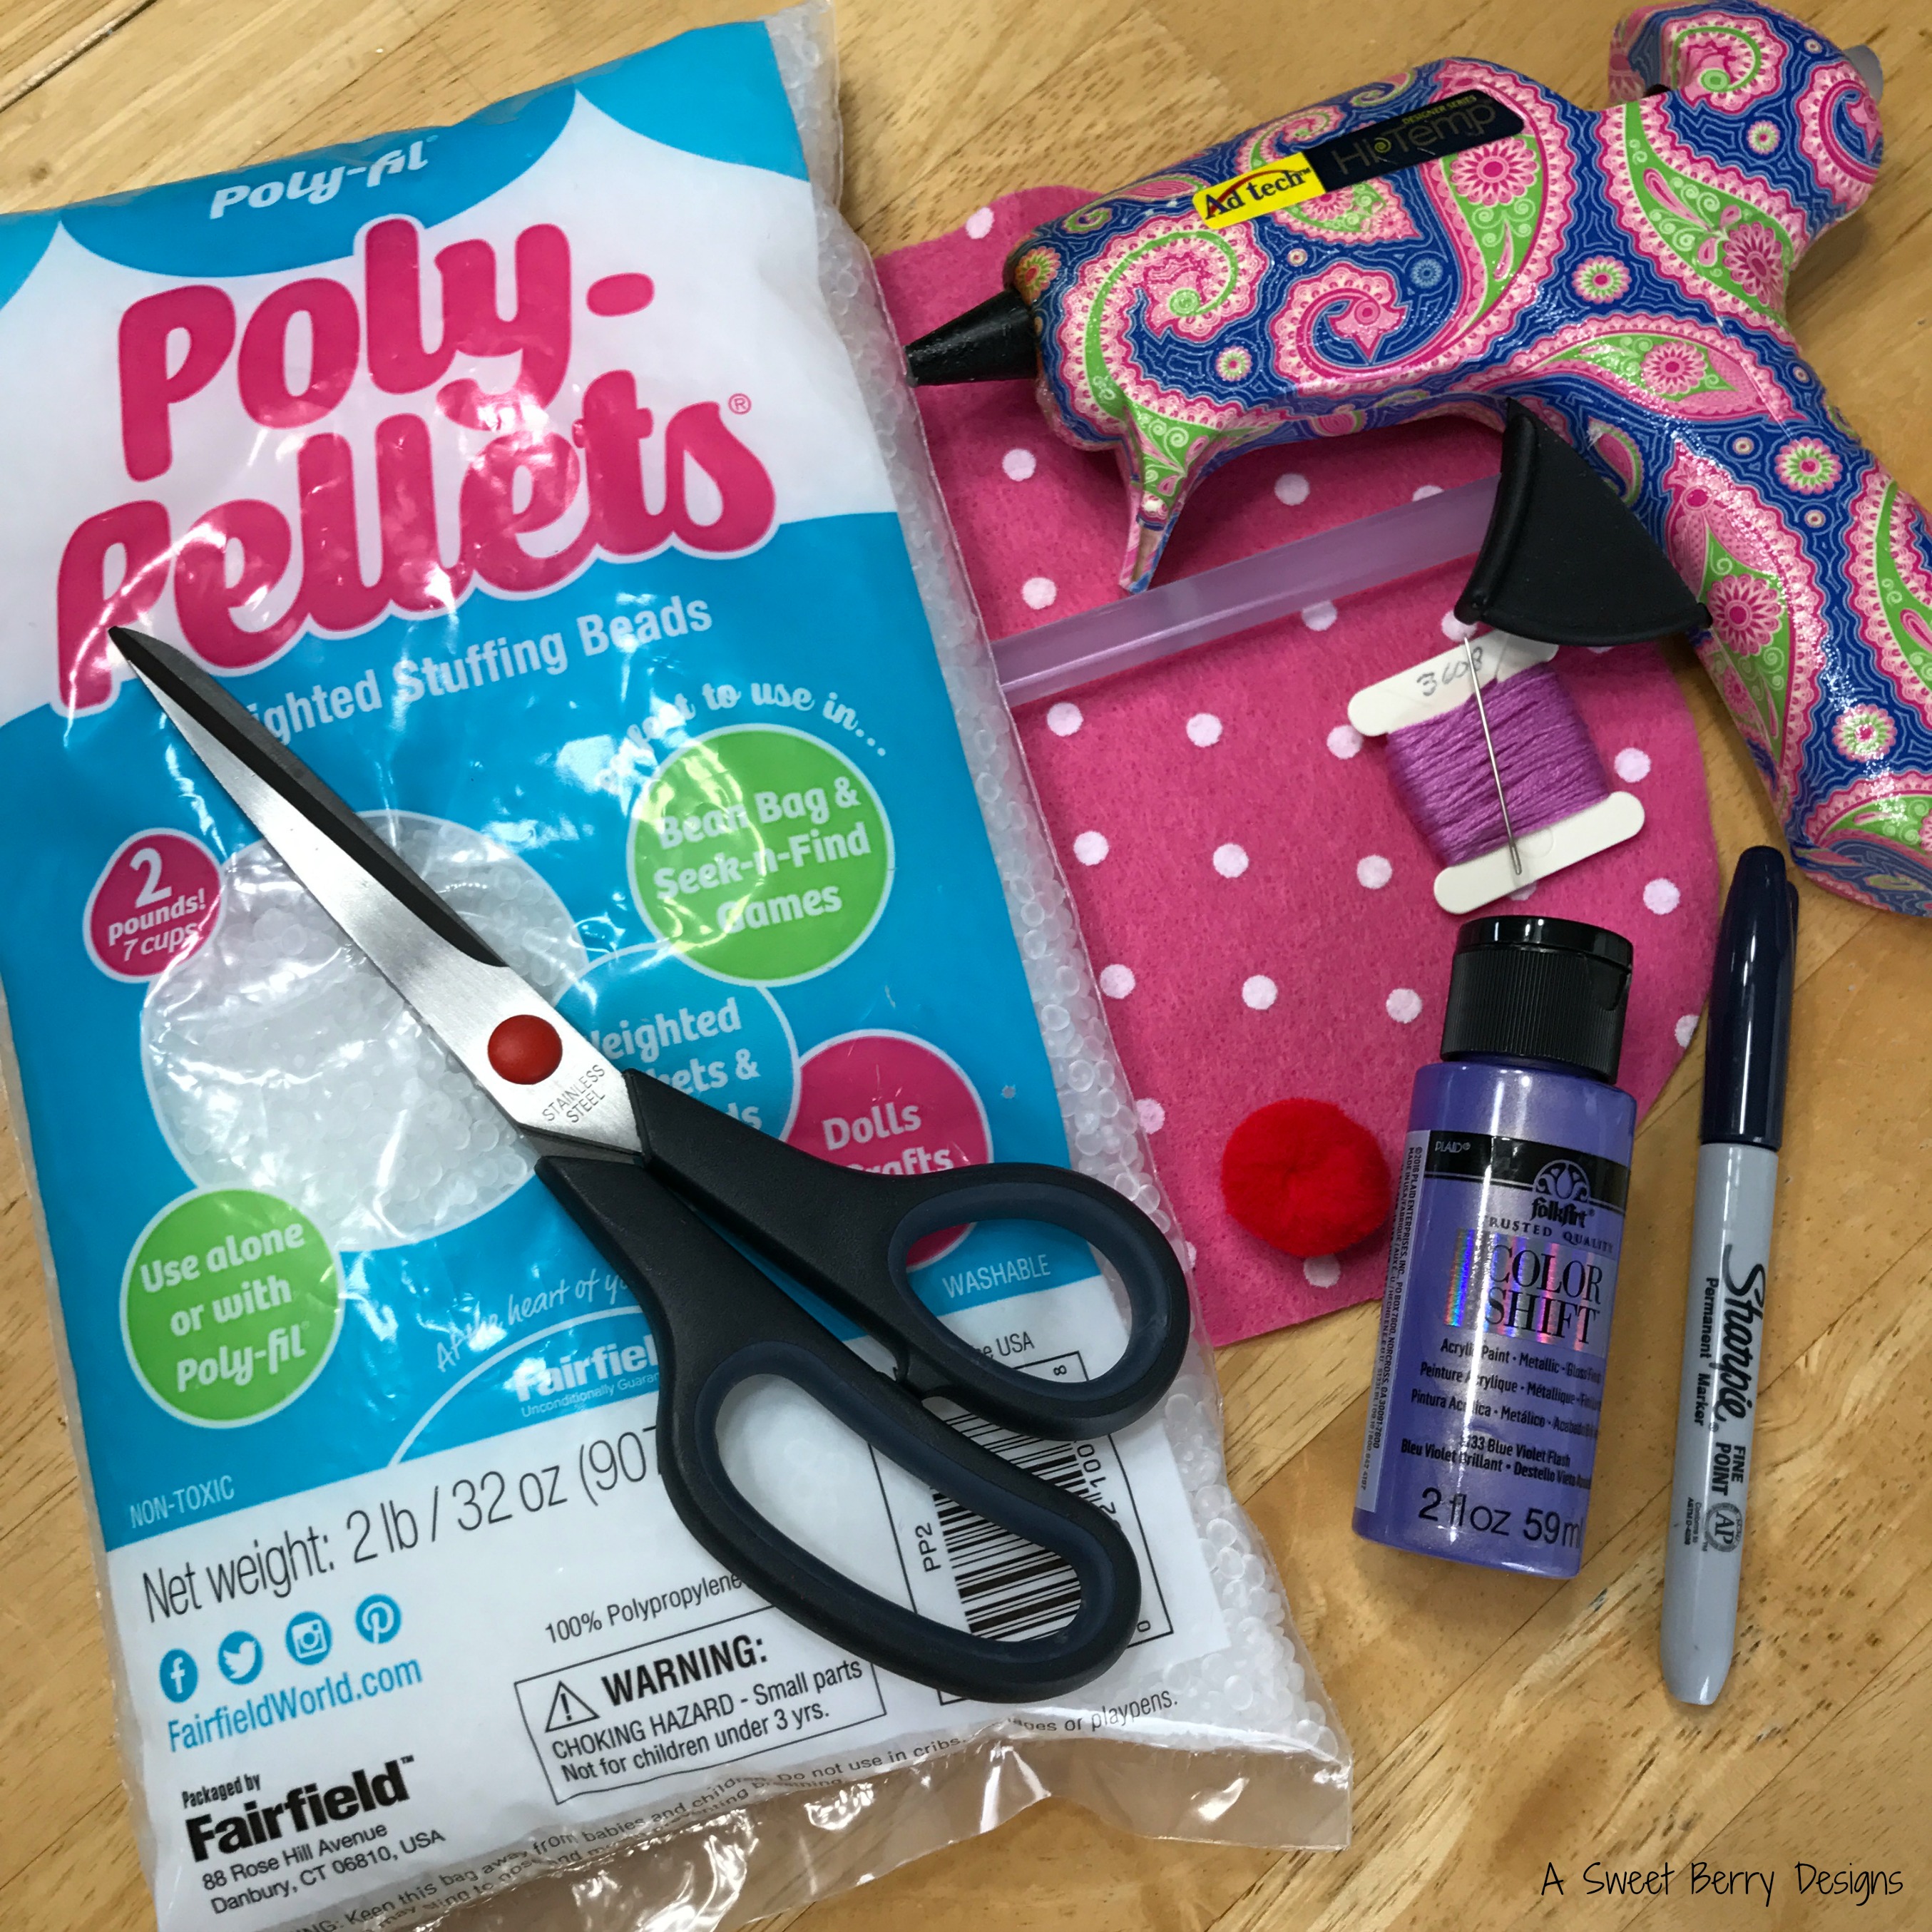
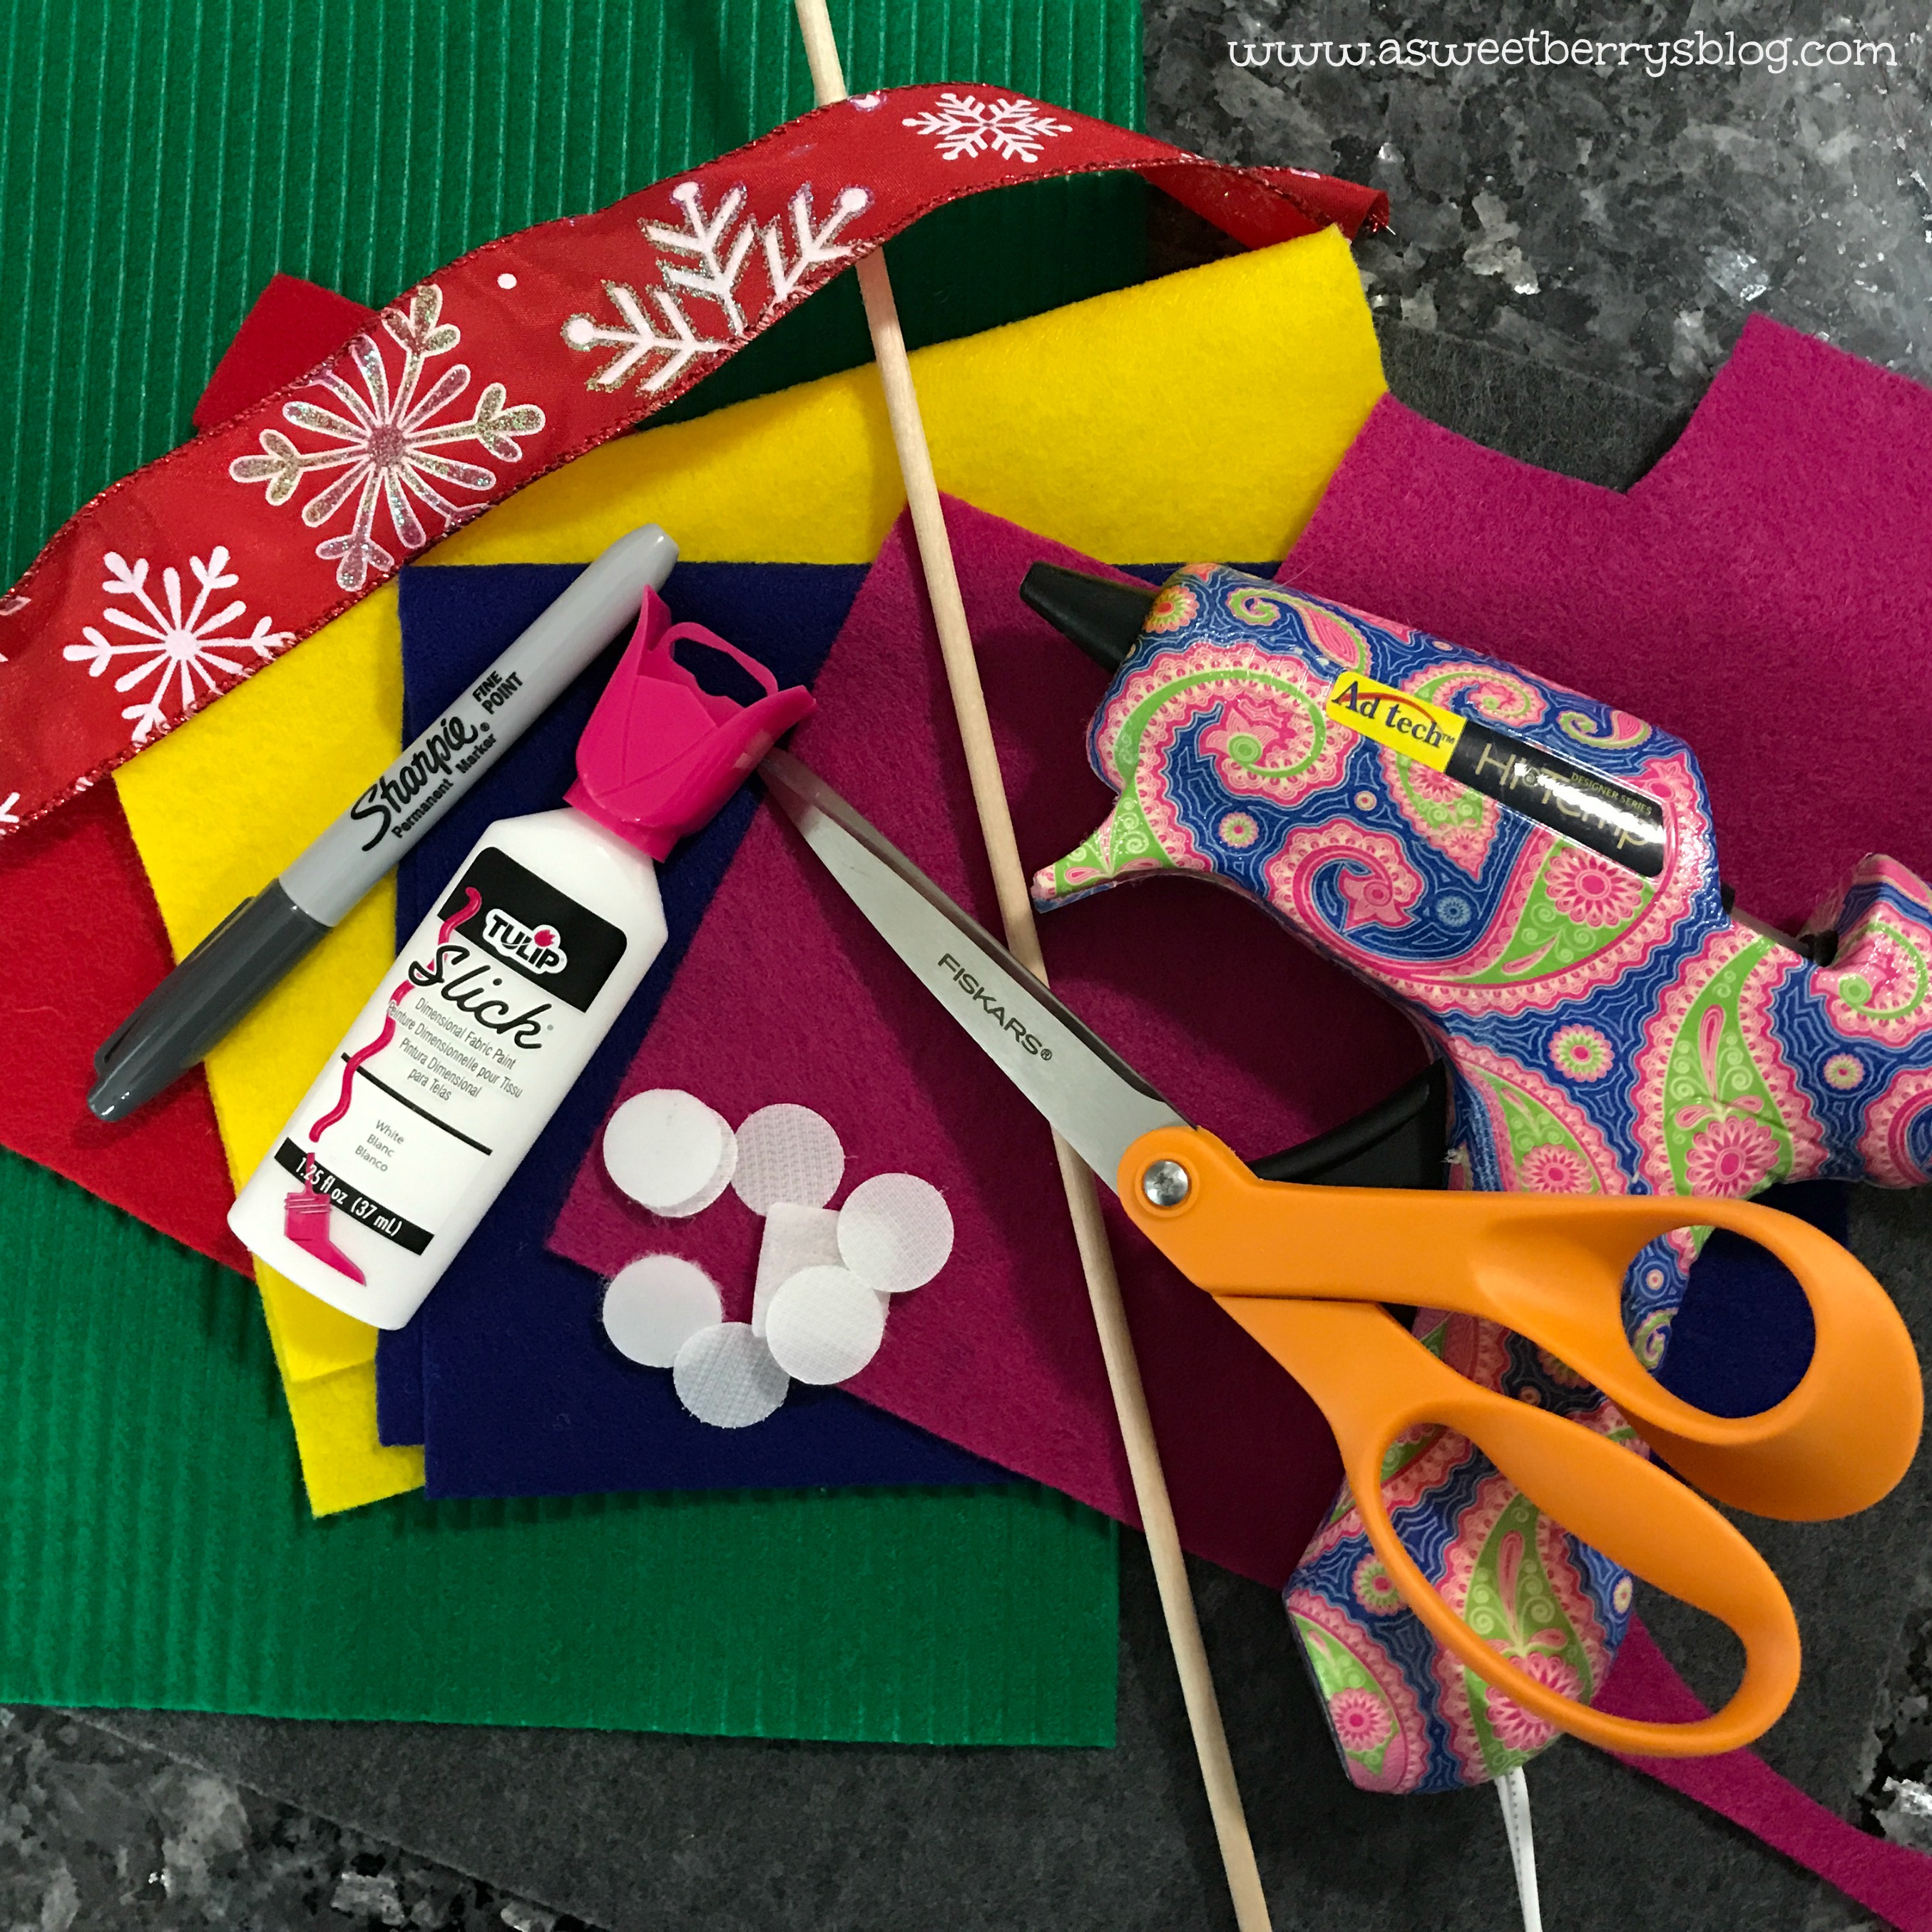
Materials used:
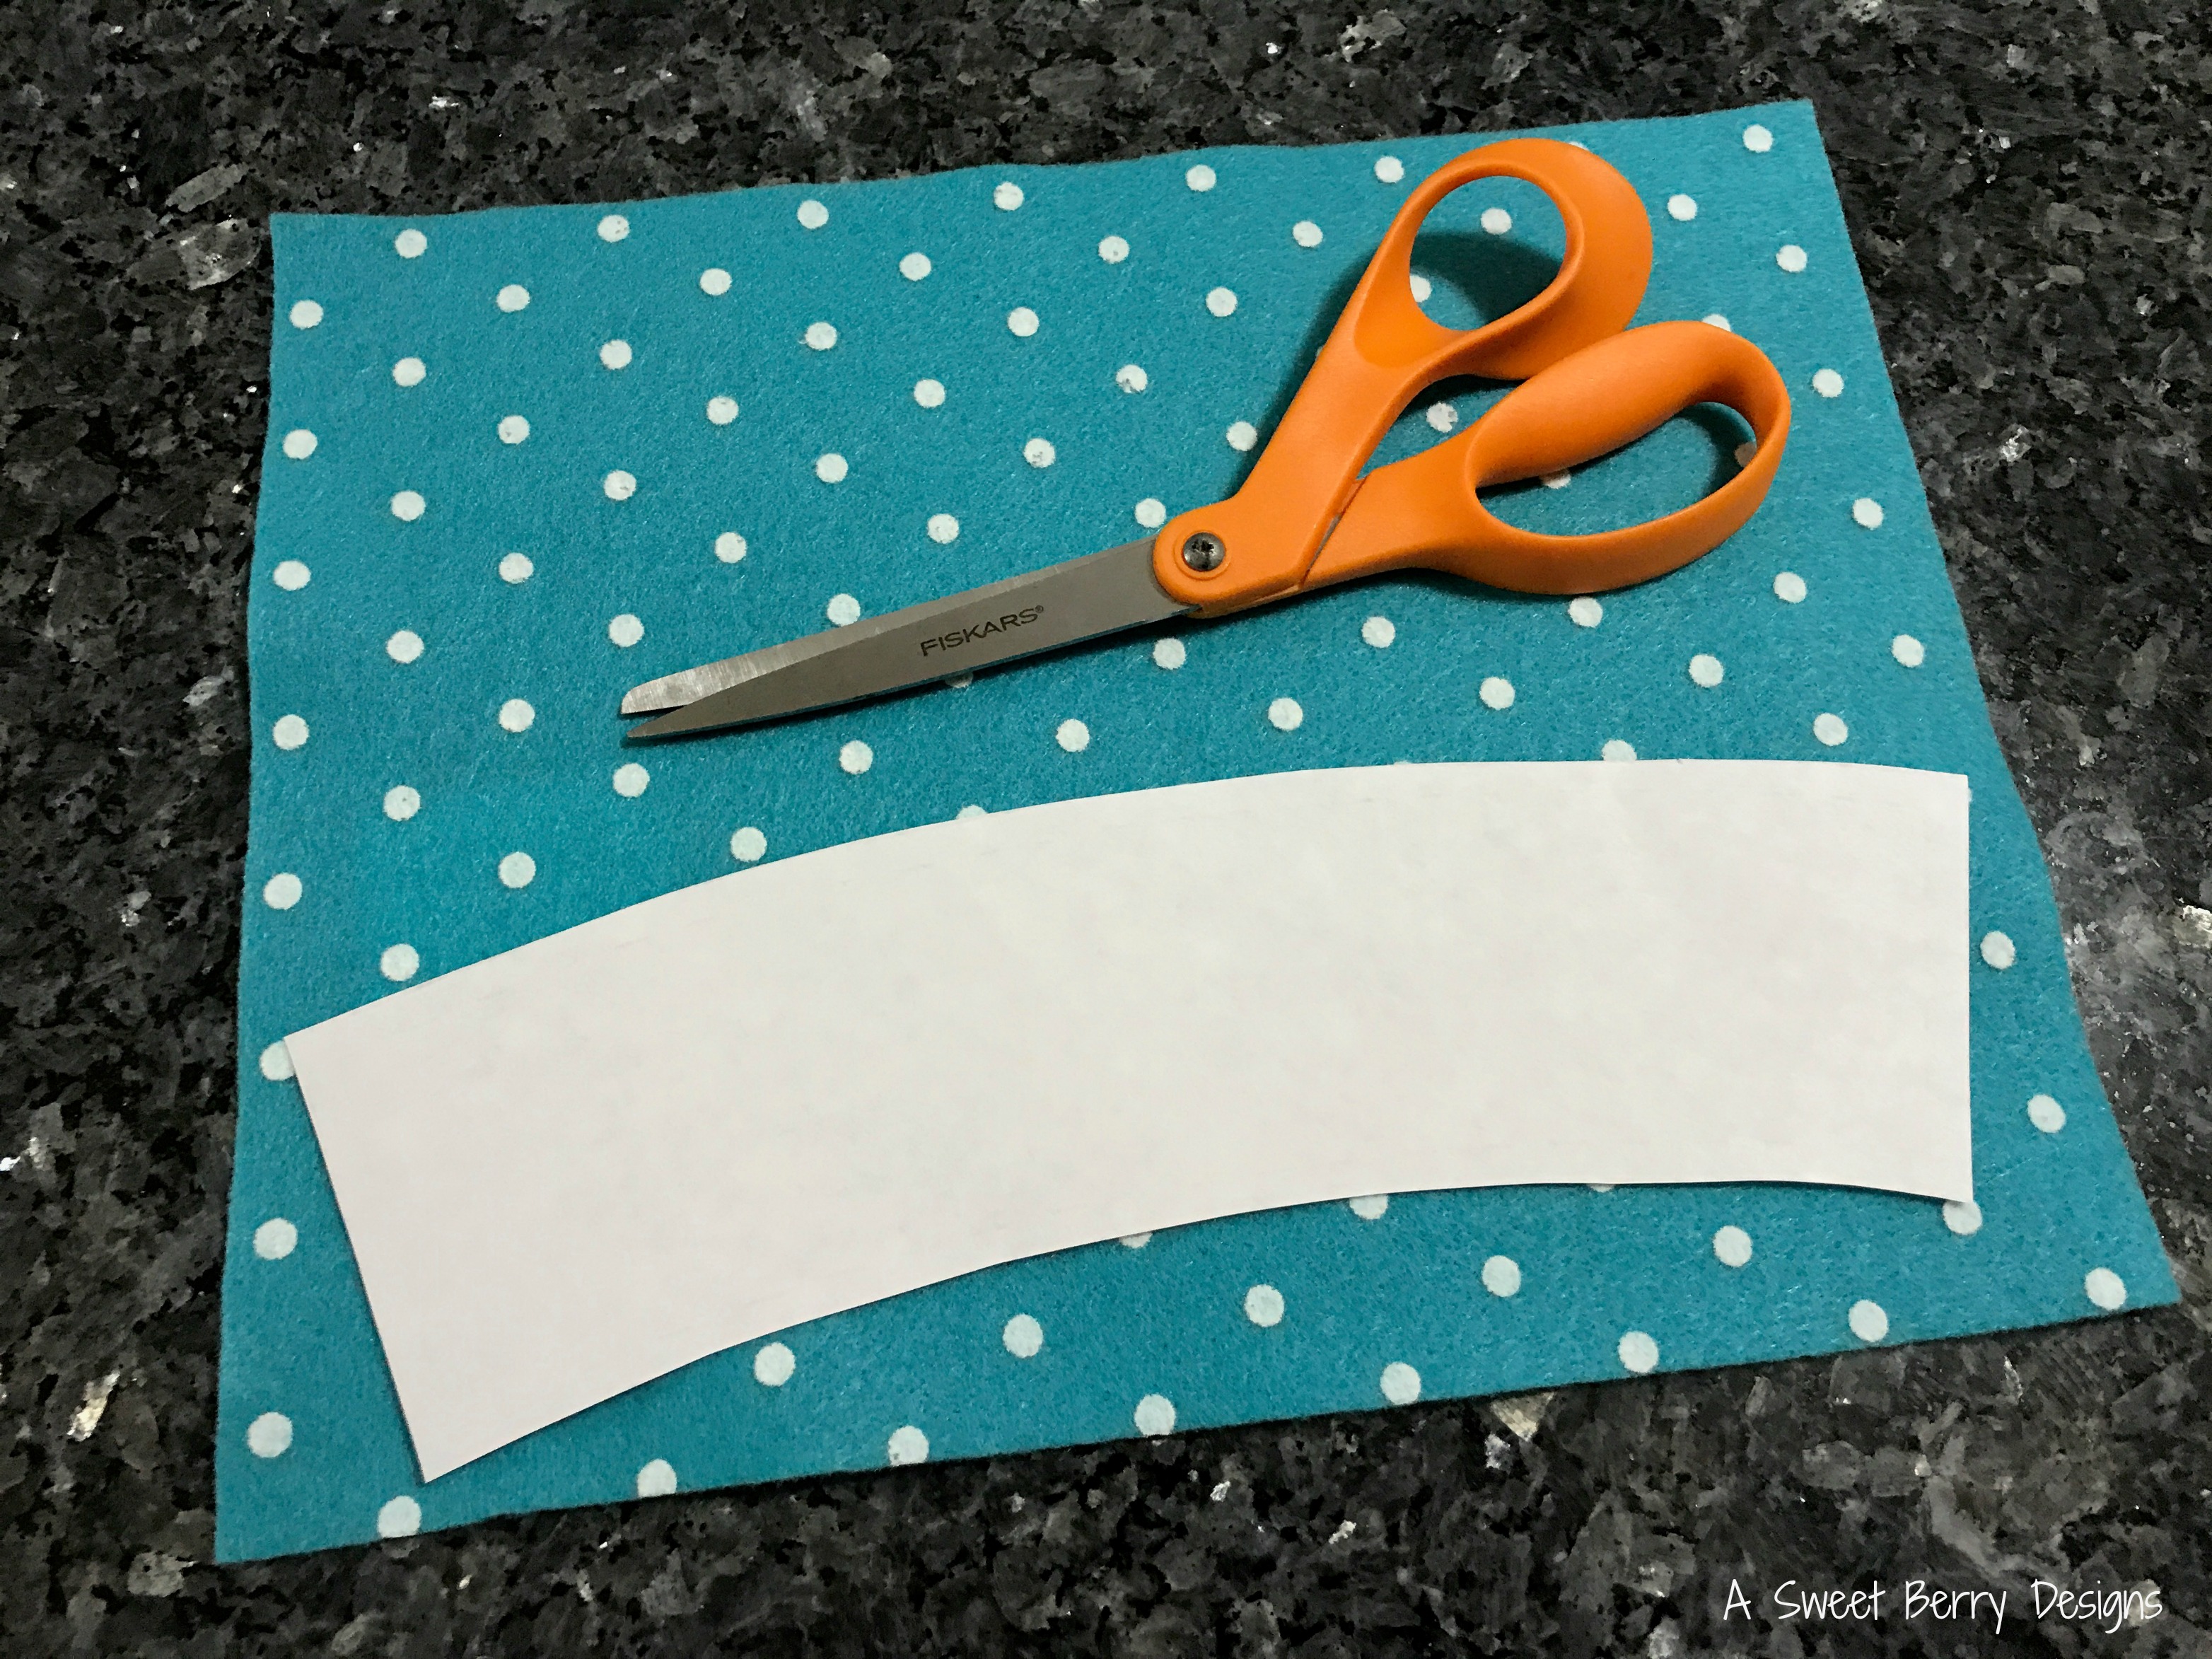
9″ x 12″ craft cut of Kunin Felt Cooridnates: 1 White Dot of Candy Pink
Fairfield Poly-fil Poly-Pellets
Hot Glue Gun and Hot Glue Stick
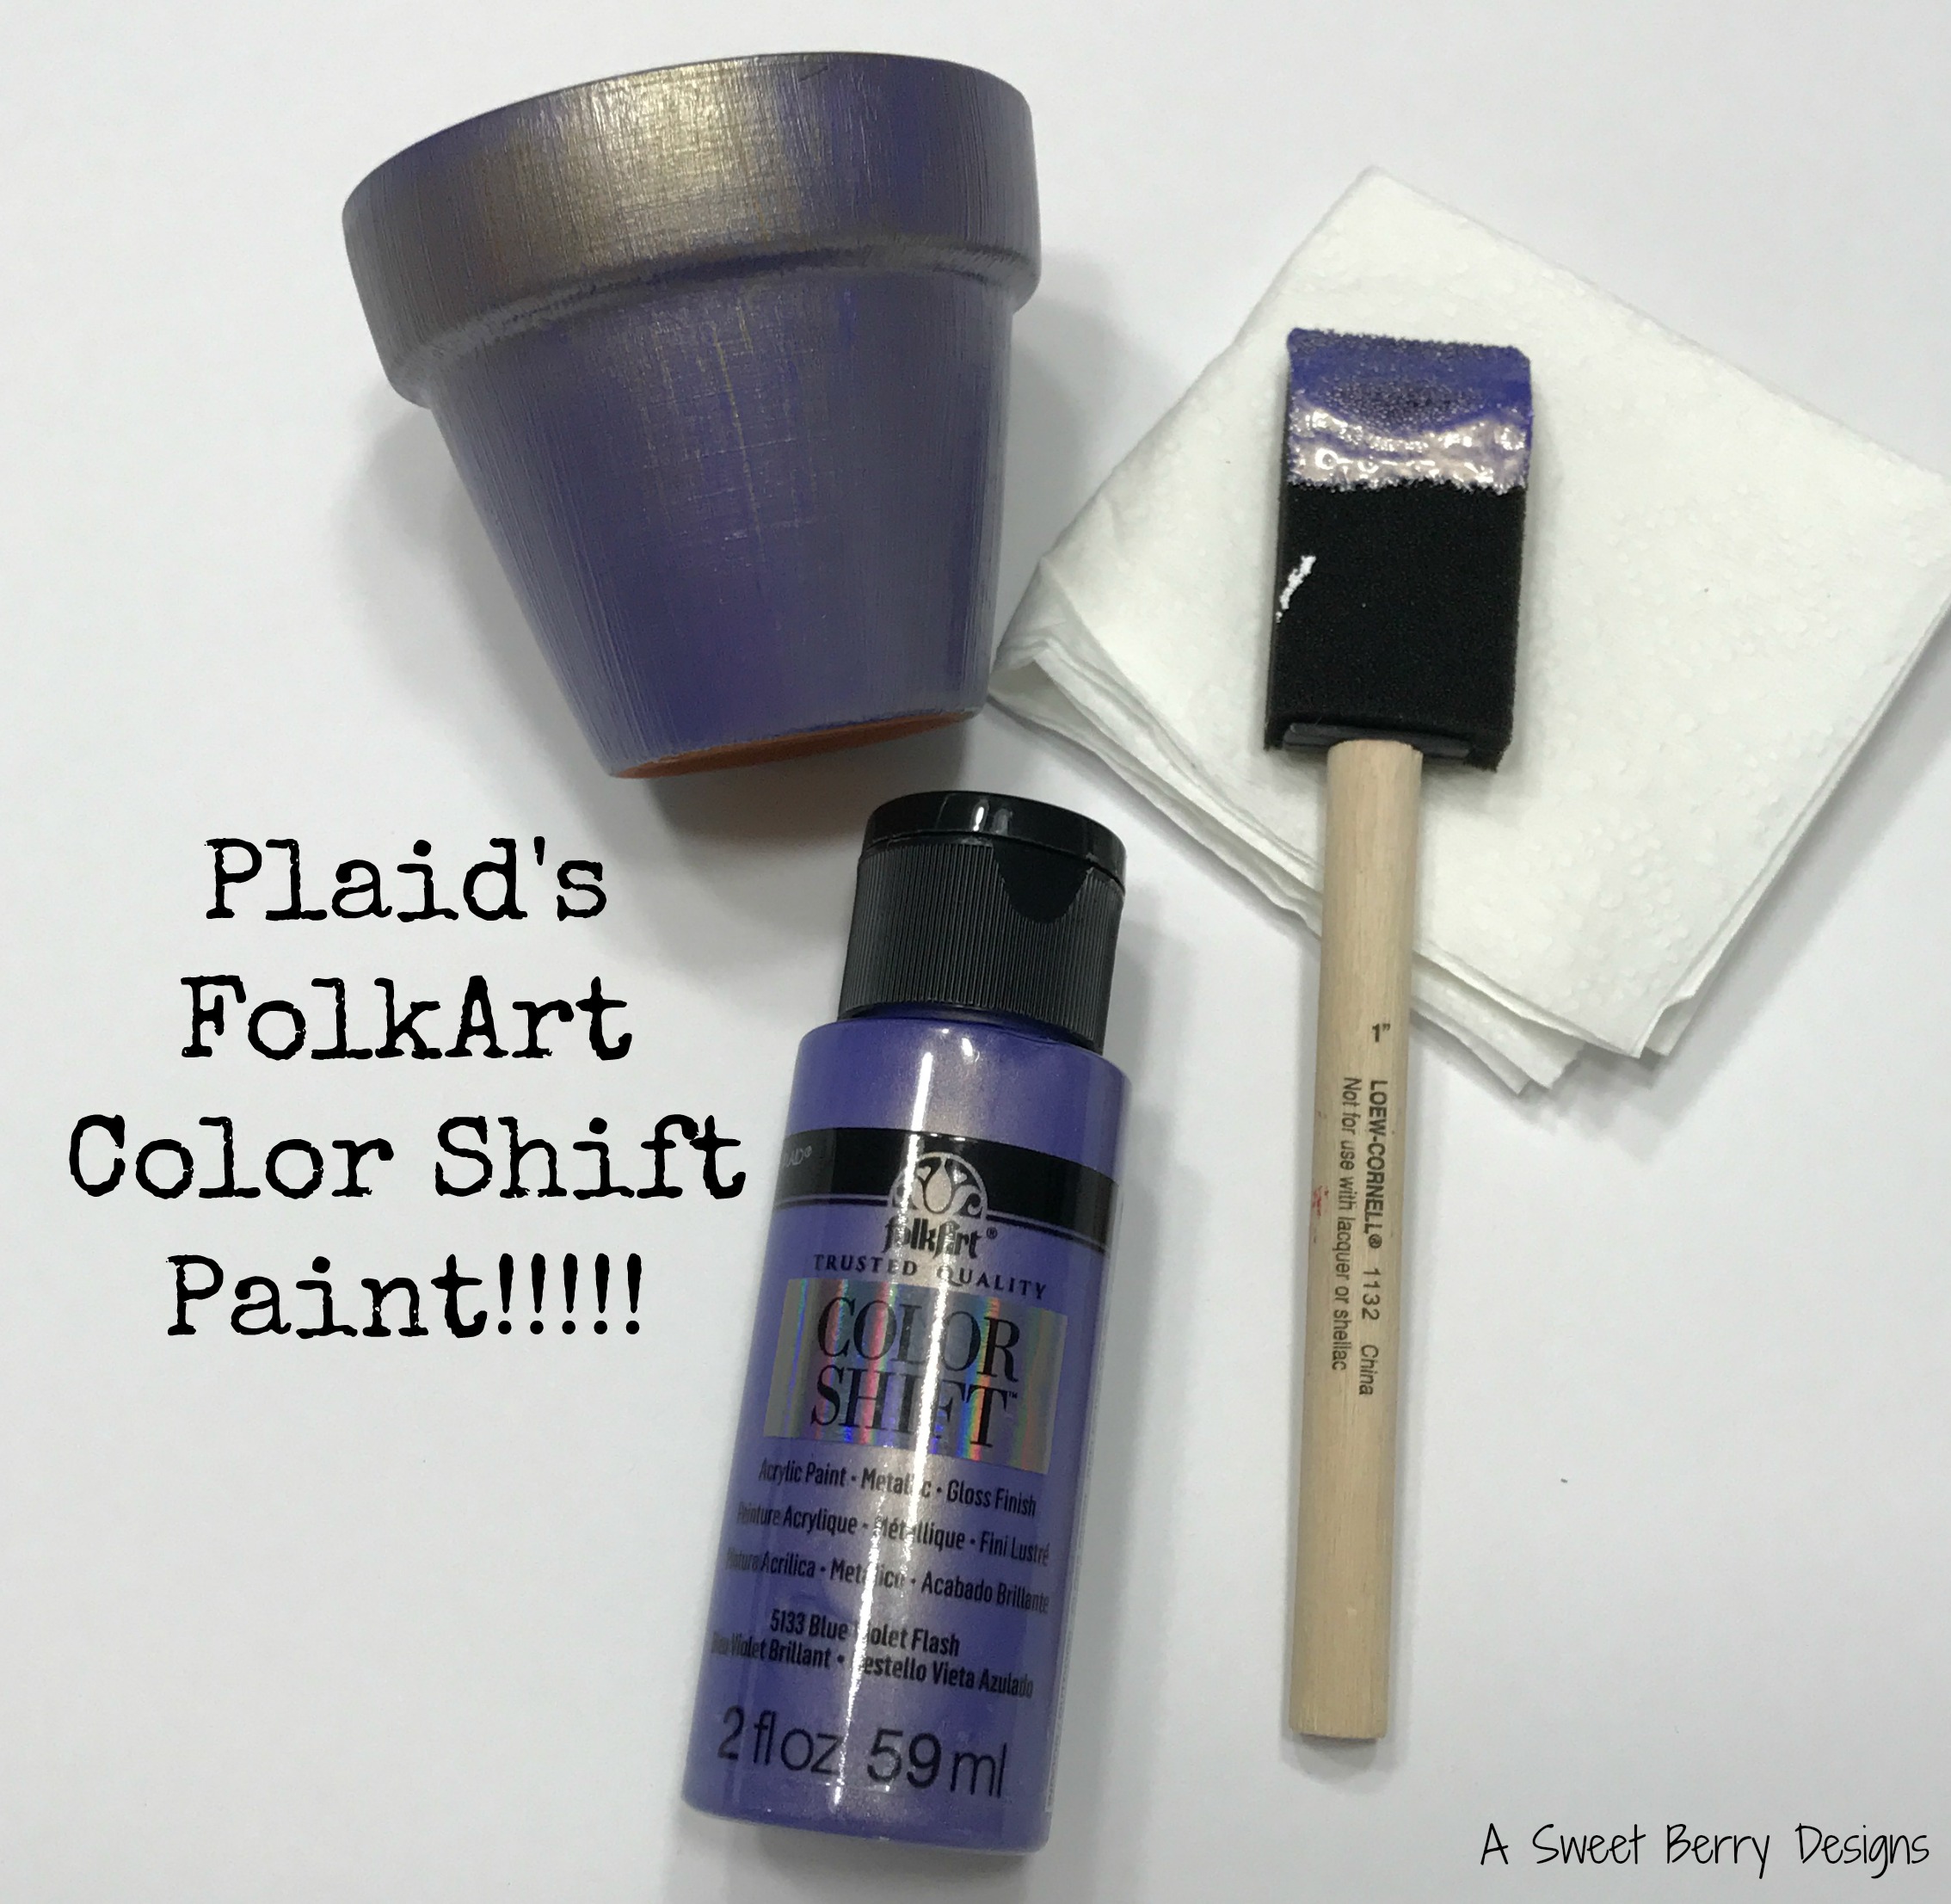
Plaid’s FolkArt Color Shift Paint: Blue Violet Flash
Paint Brush
Embroidery Floss and Needle
Scissors
Red Pom Pom
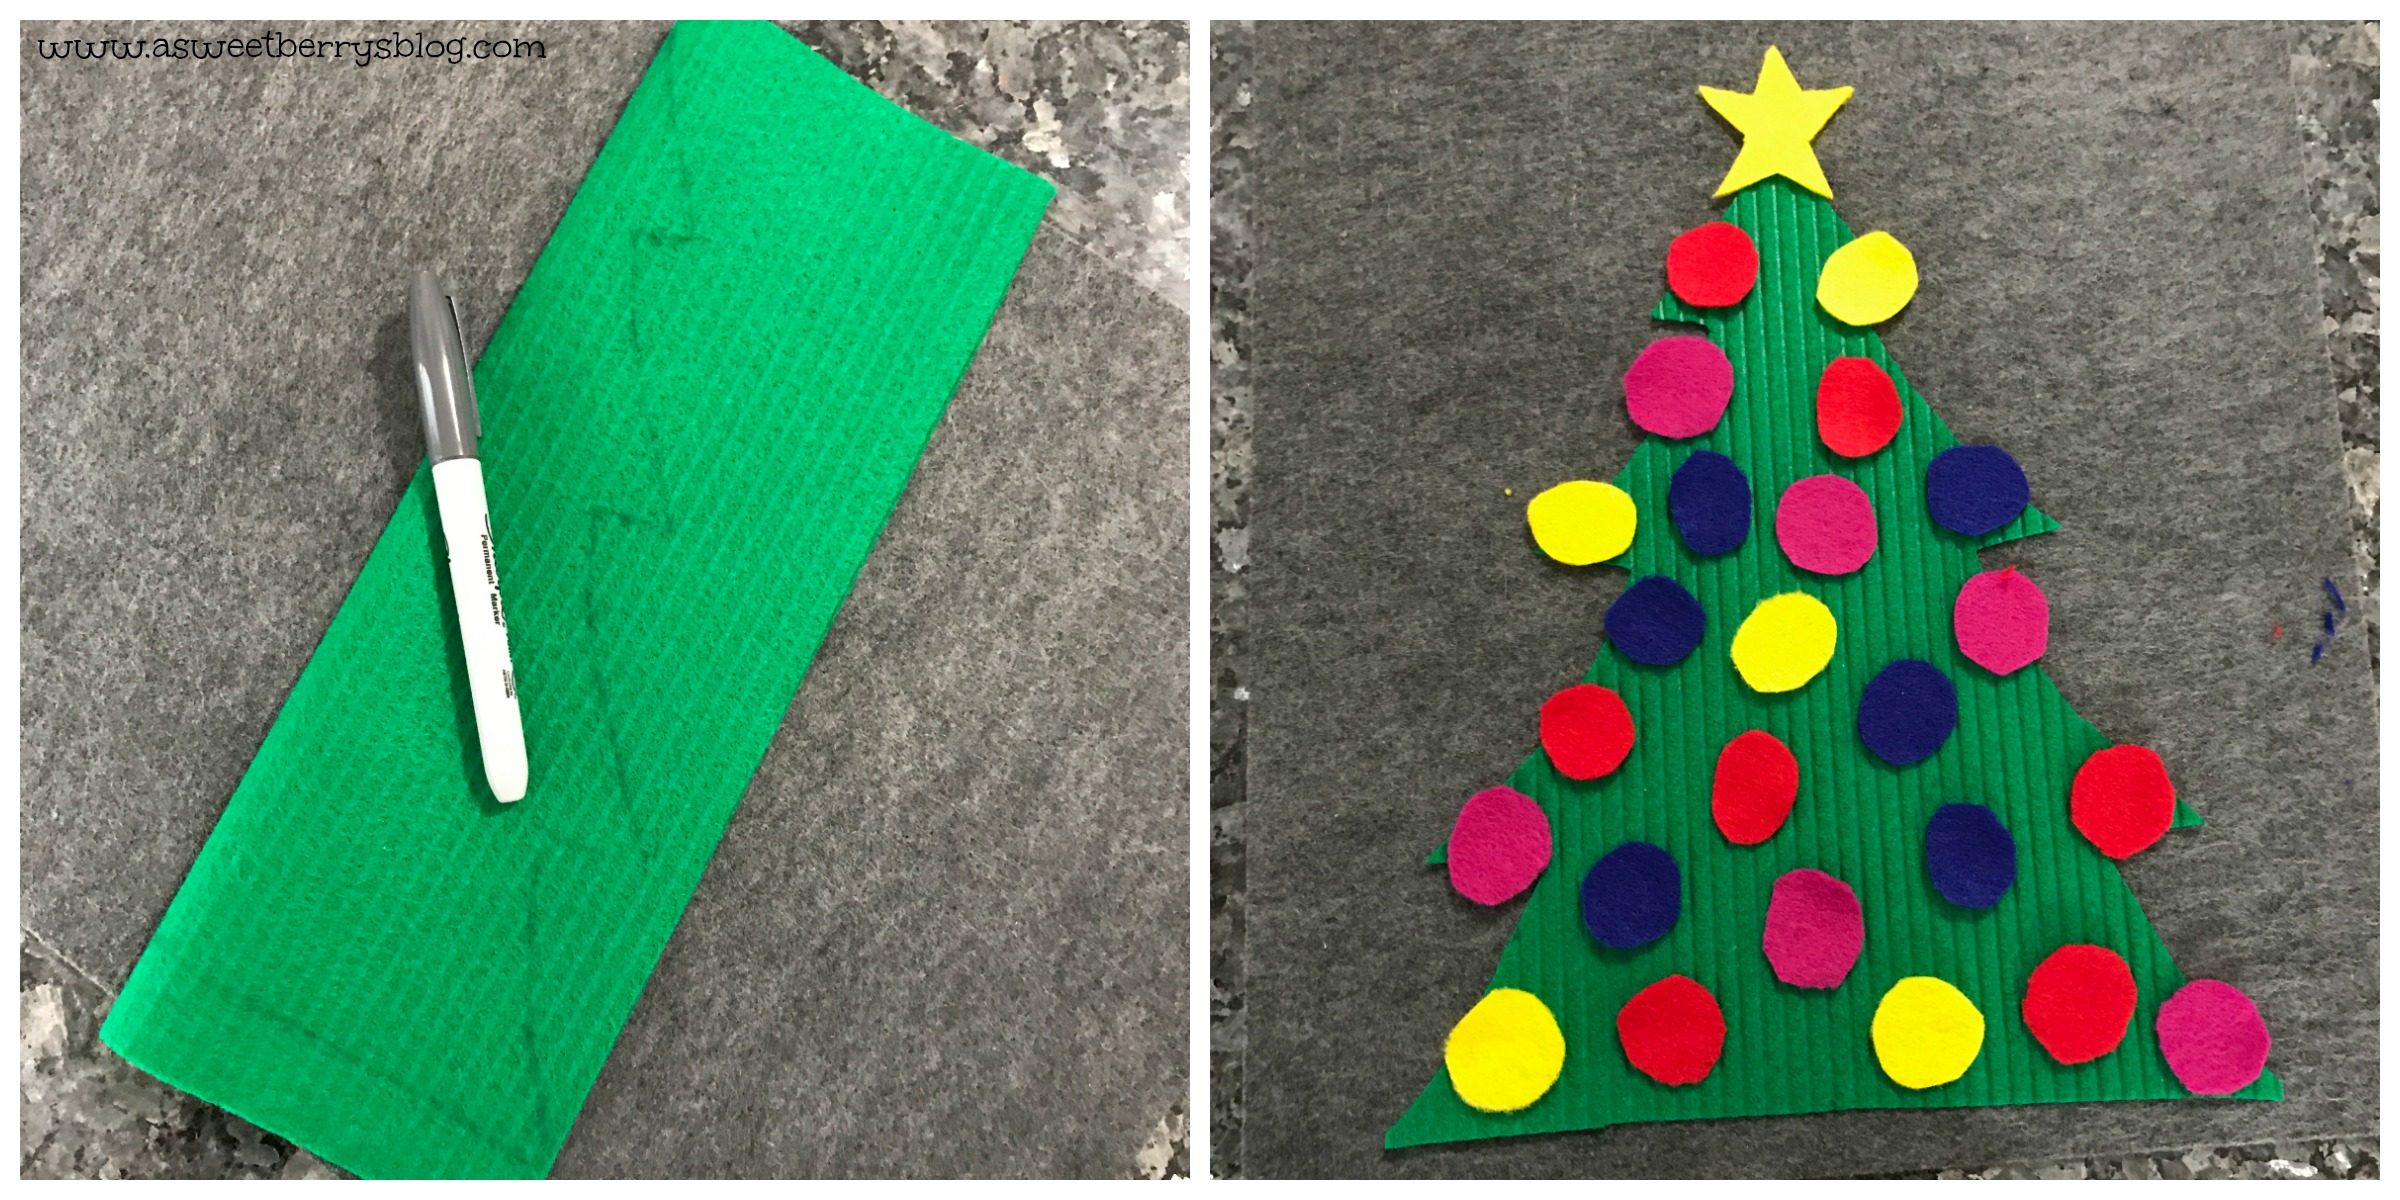
How I made it:
Paint the Pot!!! I used this awesome FolkArt Color Shift Paint from Plaid!
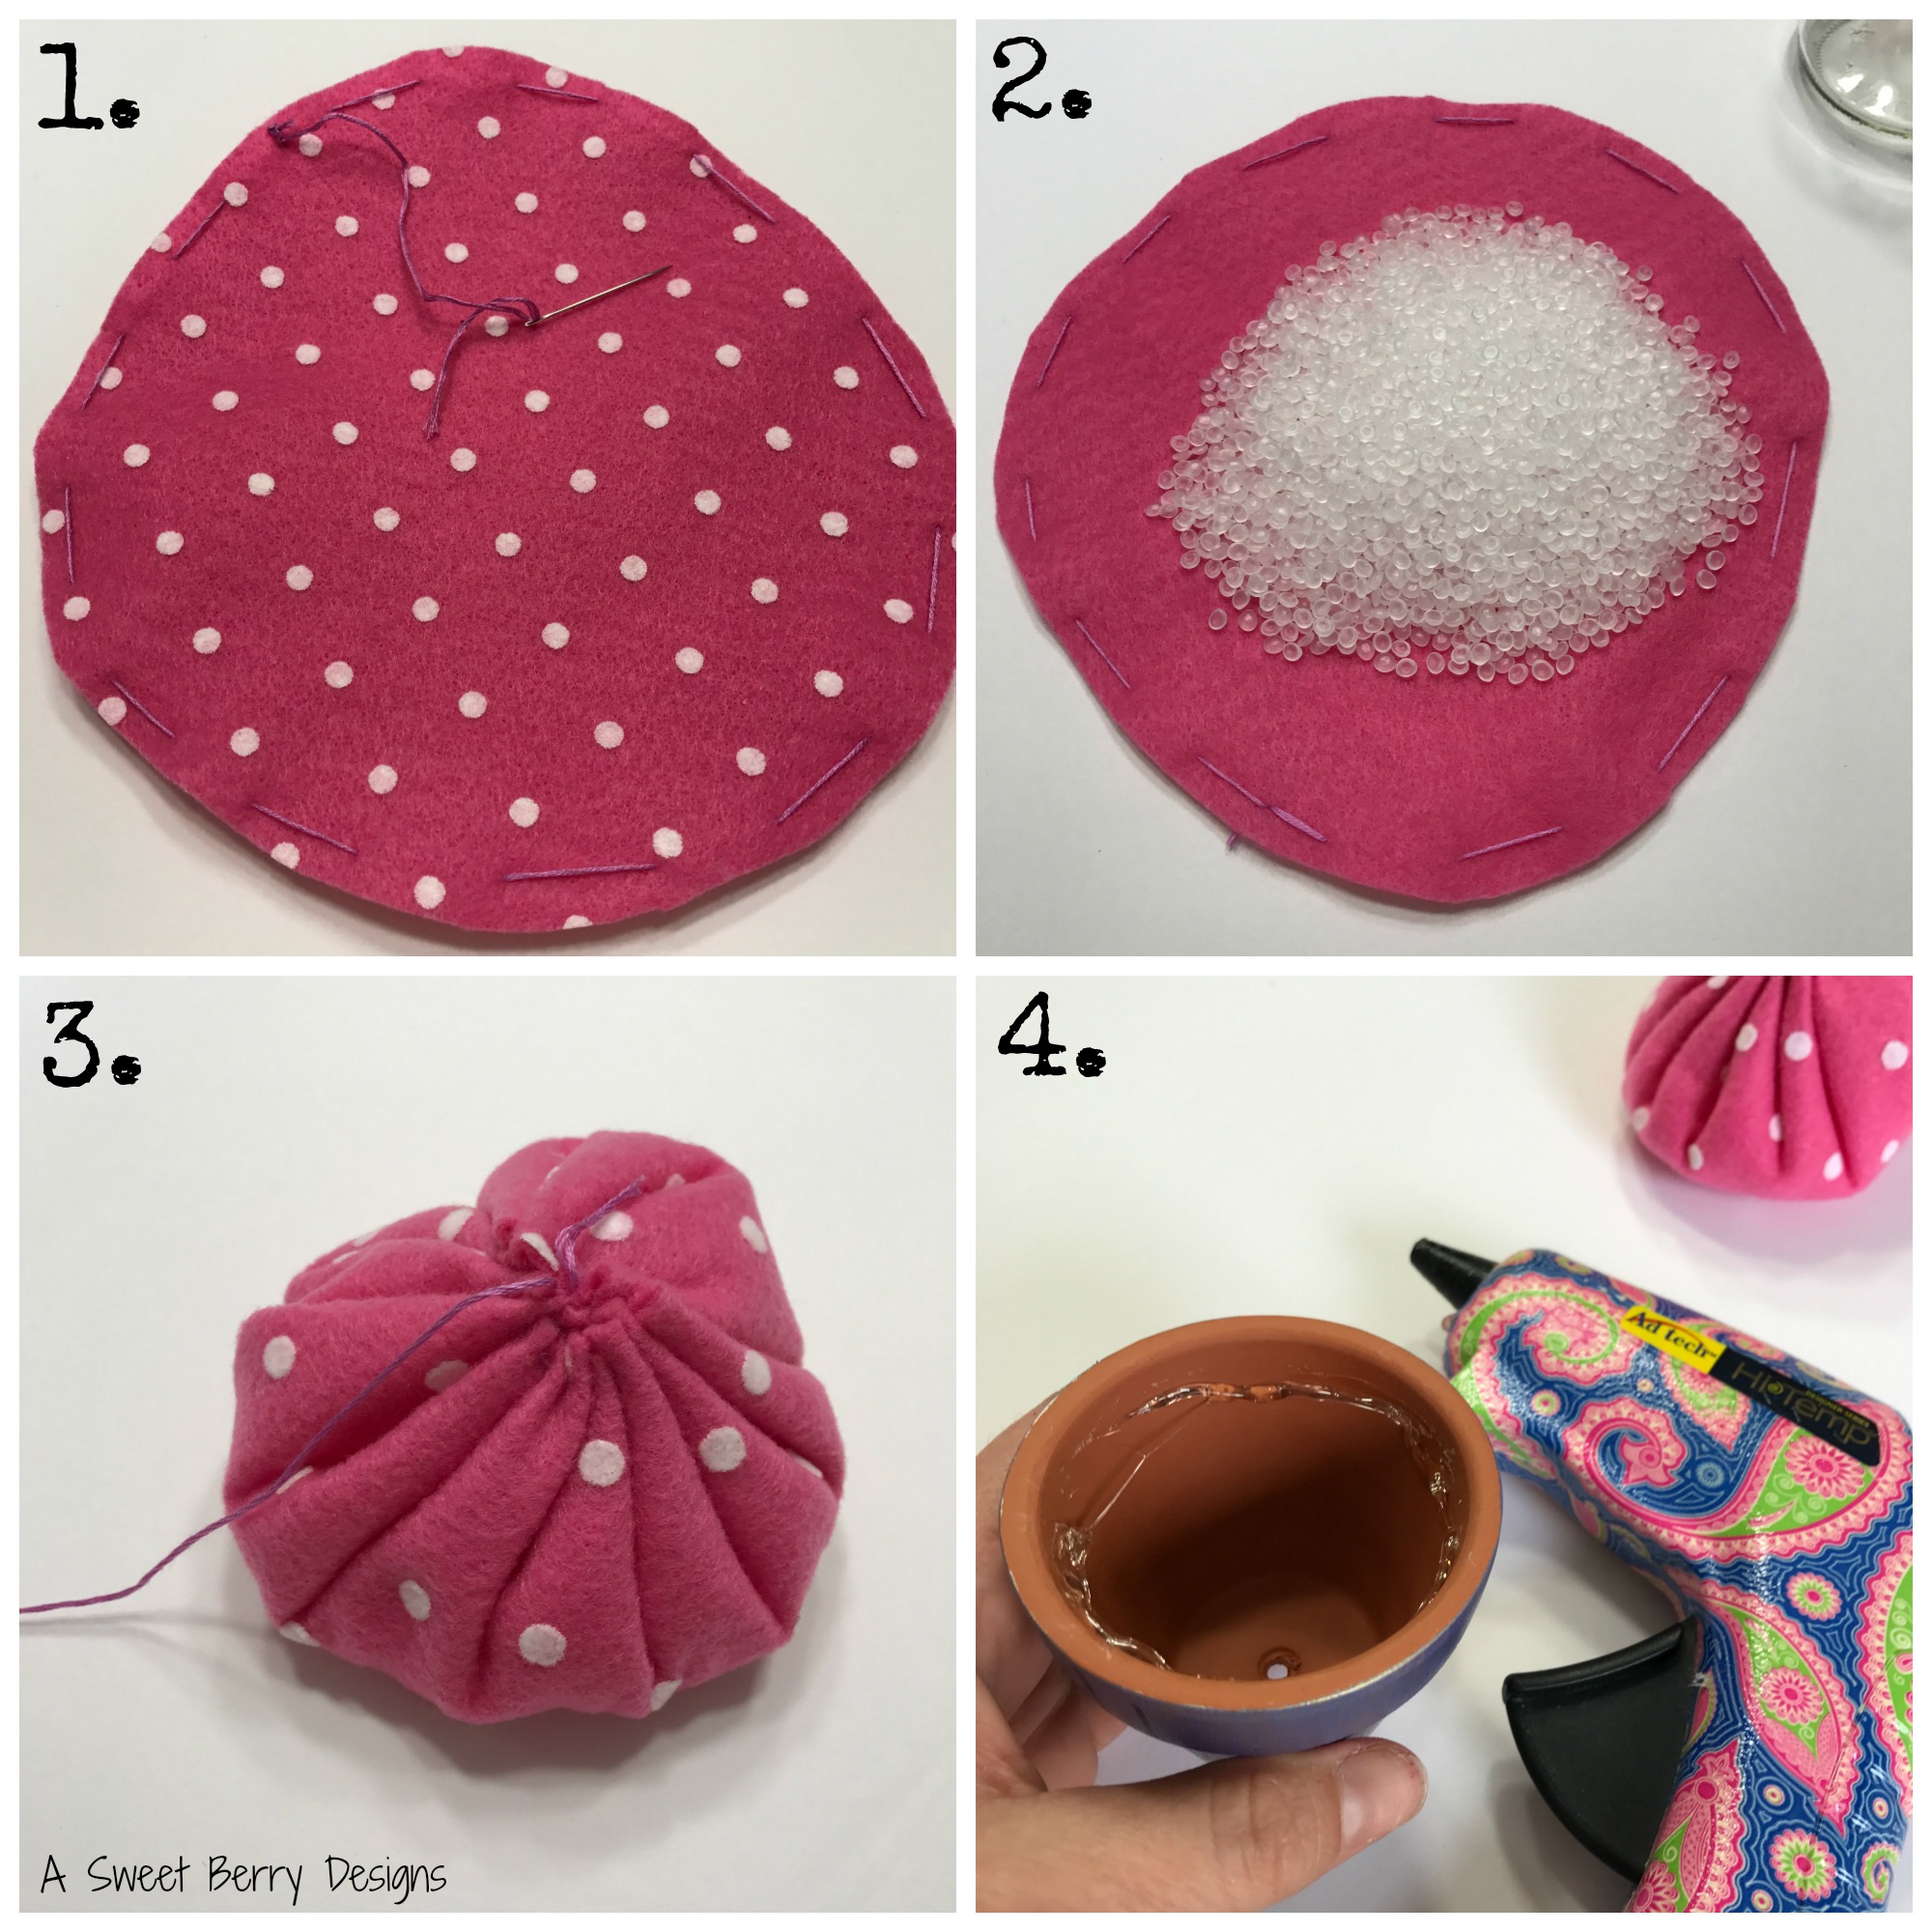
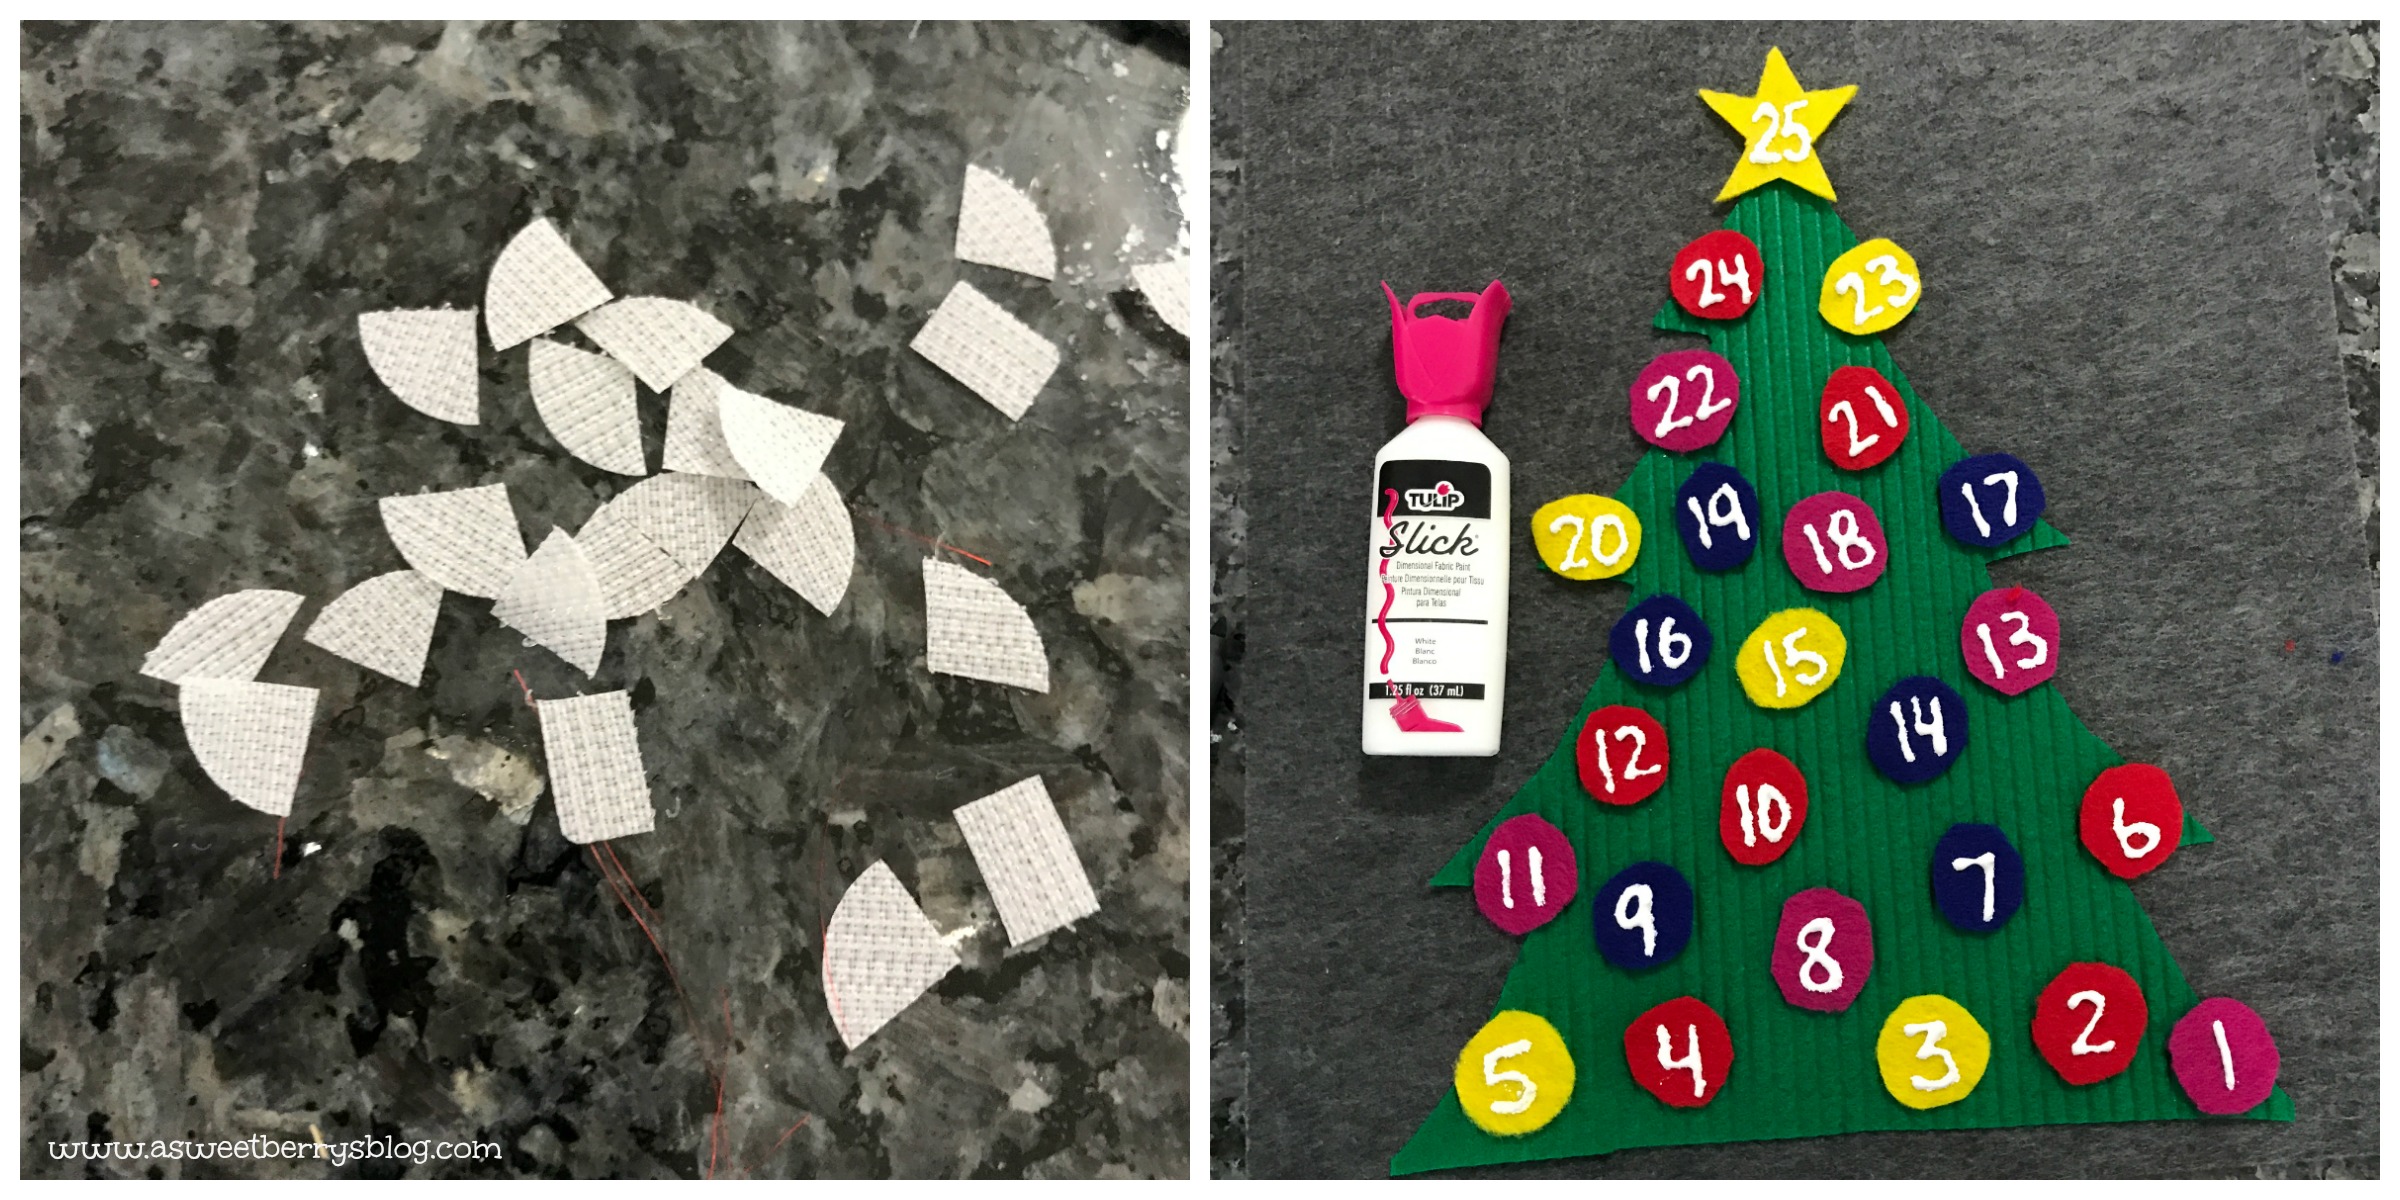
- I cut a circle from my felt. It didn’t have to be a perfect circle. It’s about 8 inches across. I also ran a quick stitch around the edge with the embroidery floss.
- I flipped the felt over and added the Poly-pellets to the middle.
- I pulled the embroidery floss until the circle closed up around the Poly-pellets. I also just did a few quick stitches over the hole to close it up.
- Using the hot glue gun, I added glue to the inside of my pot and stuffed the Poly-pellet filled felt down into the pot.
5. Using the hot glue gun, I glued the red pom-pom on the top! And then I added my pins!
I hope you like this Clay Pot Pin Cushion!
Be sure to check out other Craft Lightning Clay Pot ideas by clicking the photo below!
 –
–
Until next time……


