Category Archives: Blog Hop

Udderly Smooth Gift to a Teacher for the Holidays

Disclosure:  This is part of a compensated campaign by Udderly Smooth.  All ideas, experiences and opinions are my own.

As winter approaches and the weather gets colder, the dry skin immediately seems to happen.  Udderly Smooth lotions and cream definitely helps to ease the dry skin and itchiness!  Udderly Smooth is a staple in our house and everyone here uses it!  

My children are in year round school and are out for the month of December and do not return to school until after the new year.  So, holiday and Christmas gifts have to be given out to teachers before school tracks out at the beginning of December.  Udderly Smooth creams and lotions are a great gift for Teachers!  They are constantly washing their hands or using antibacterials.   And those dry your skin out like crazy.

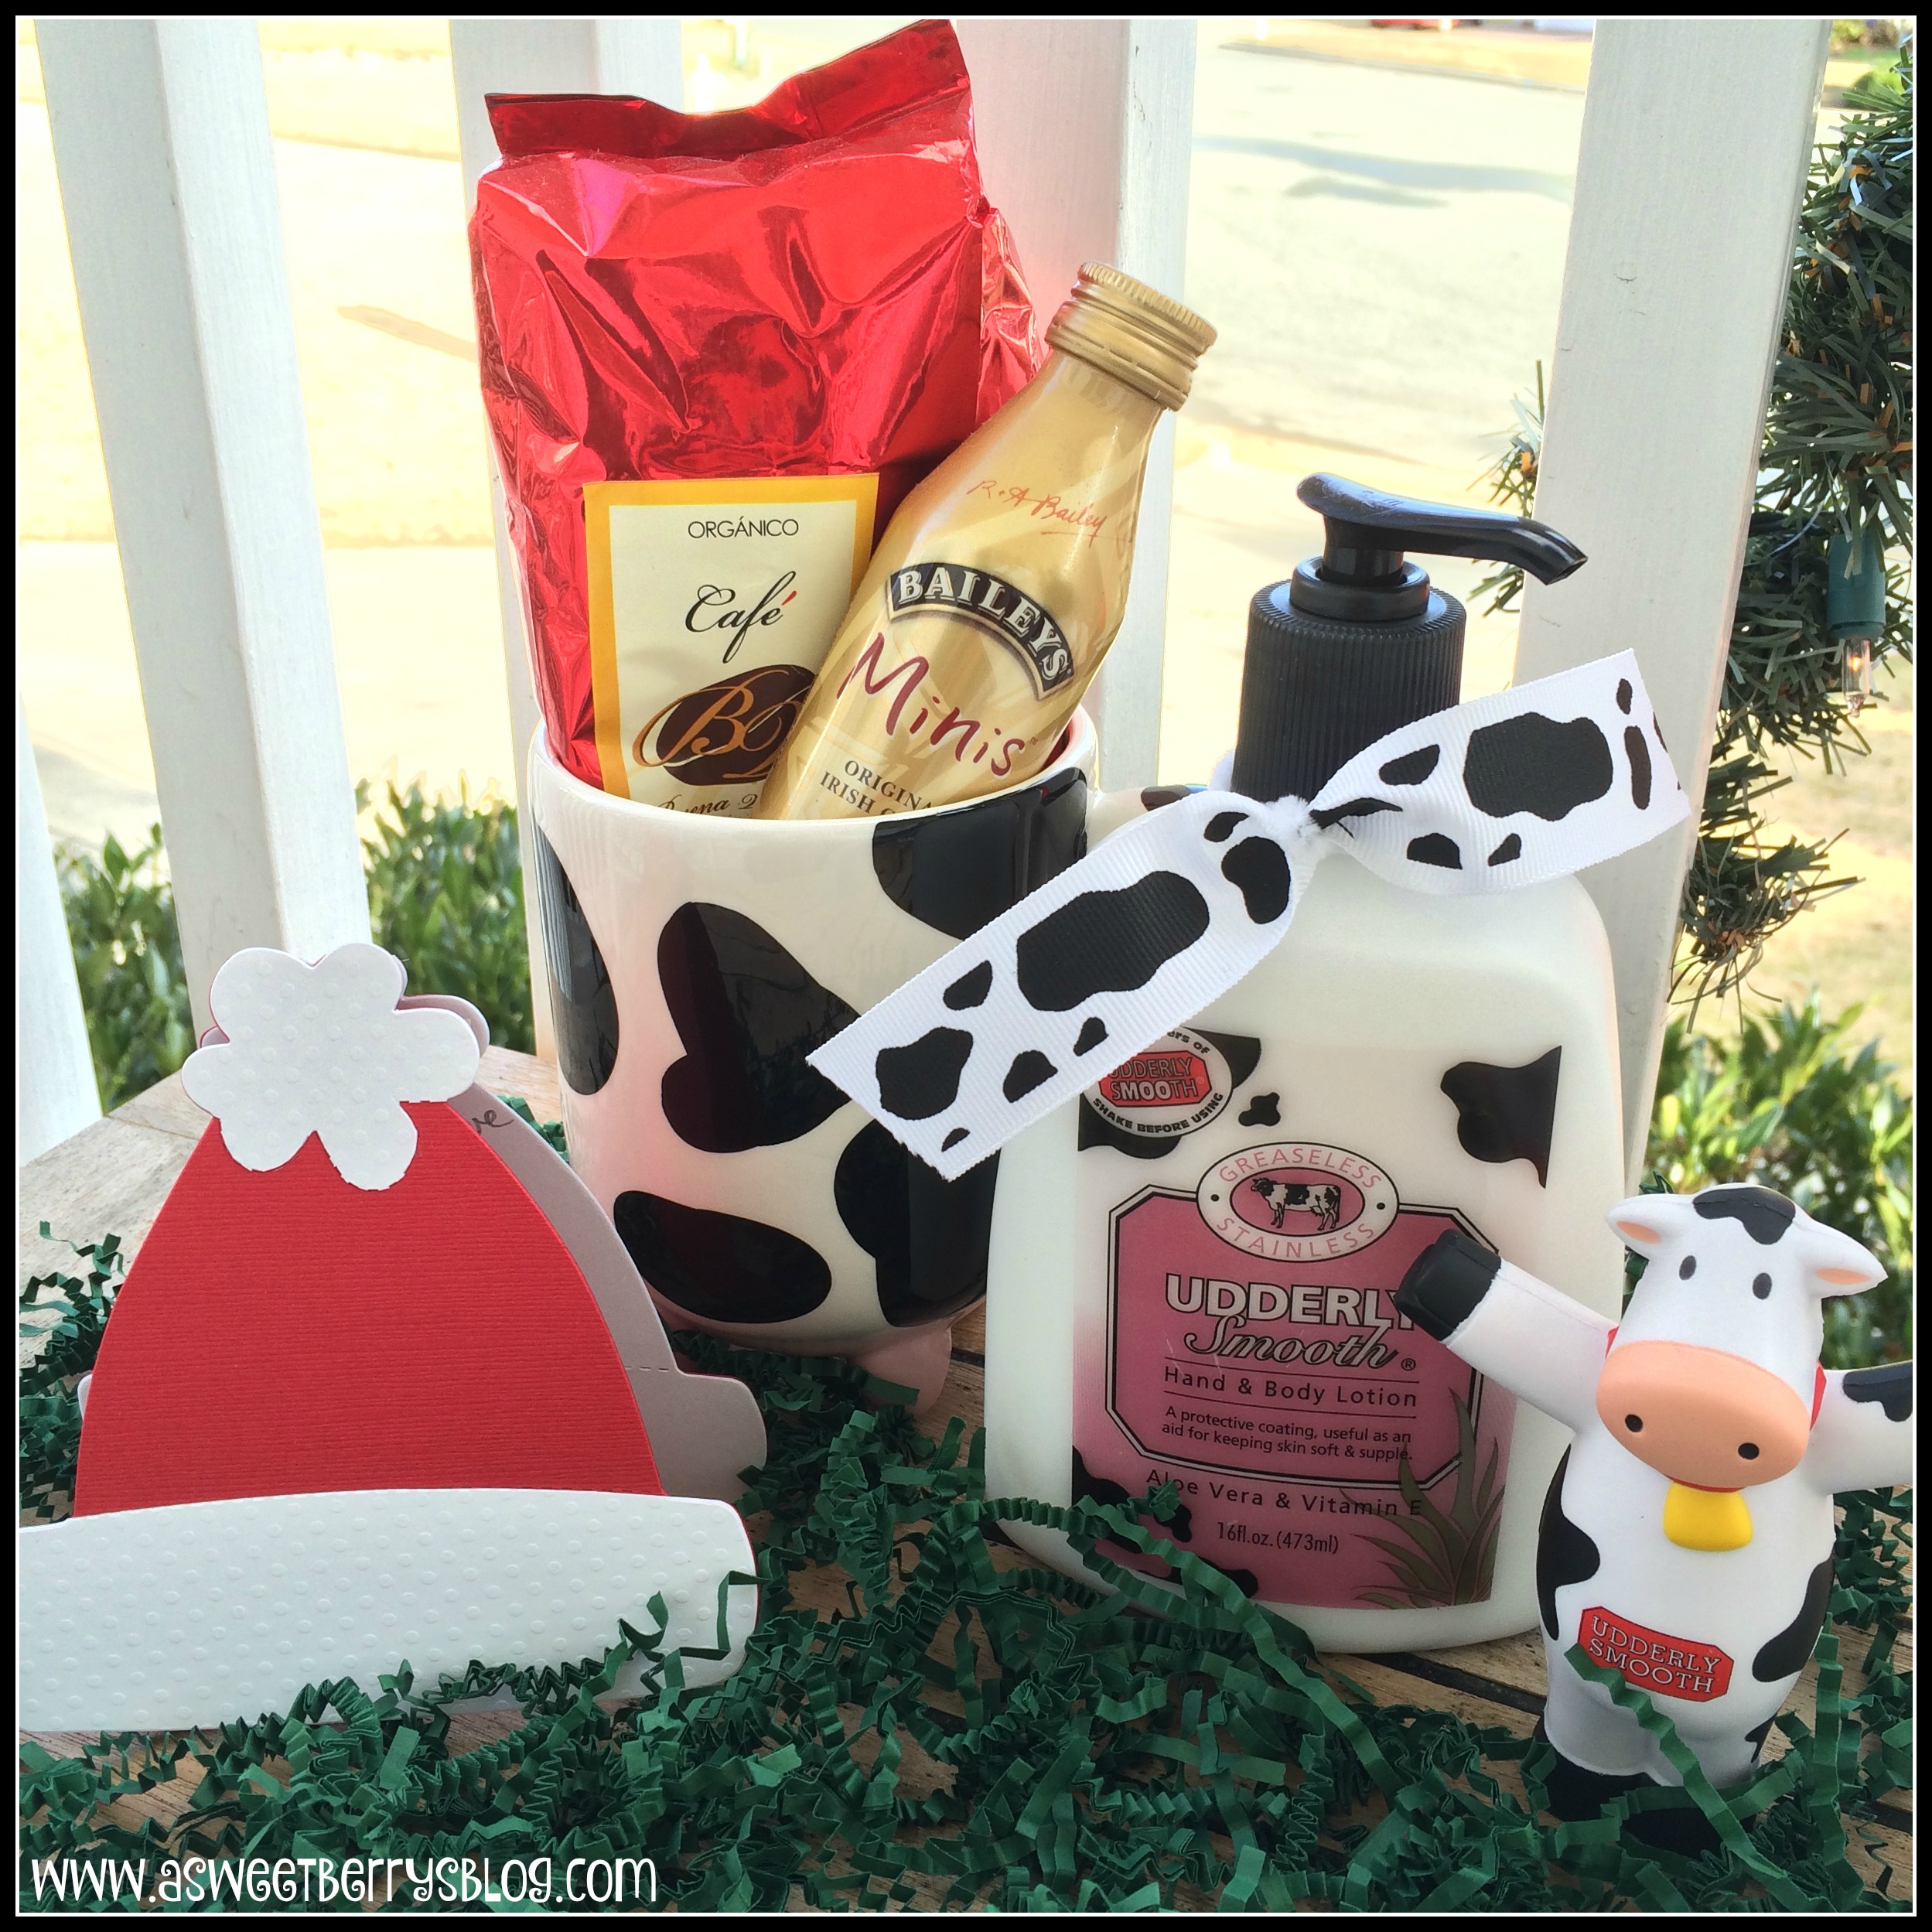
I love this gift idea of Udderly Smooth Hand & Body Lotion and this adorable cow coffee mug.  I’ve paired it with a bag of Mexican Coffee Beans and some Baileys Irish Cream so now that the teachers are tracked out and home with their families, they can enjoy a nice mug of Irish Cream Coffee!  And while they drink away, they can keep their skin nice and smooth!   How about that little Udderly Smooth Squeeze Cow and the cute little Winter Hat Note Card?!?!  They go great with the gift too! UdderlySmooth1
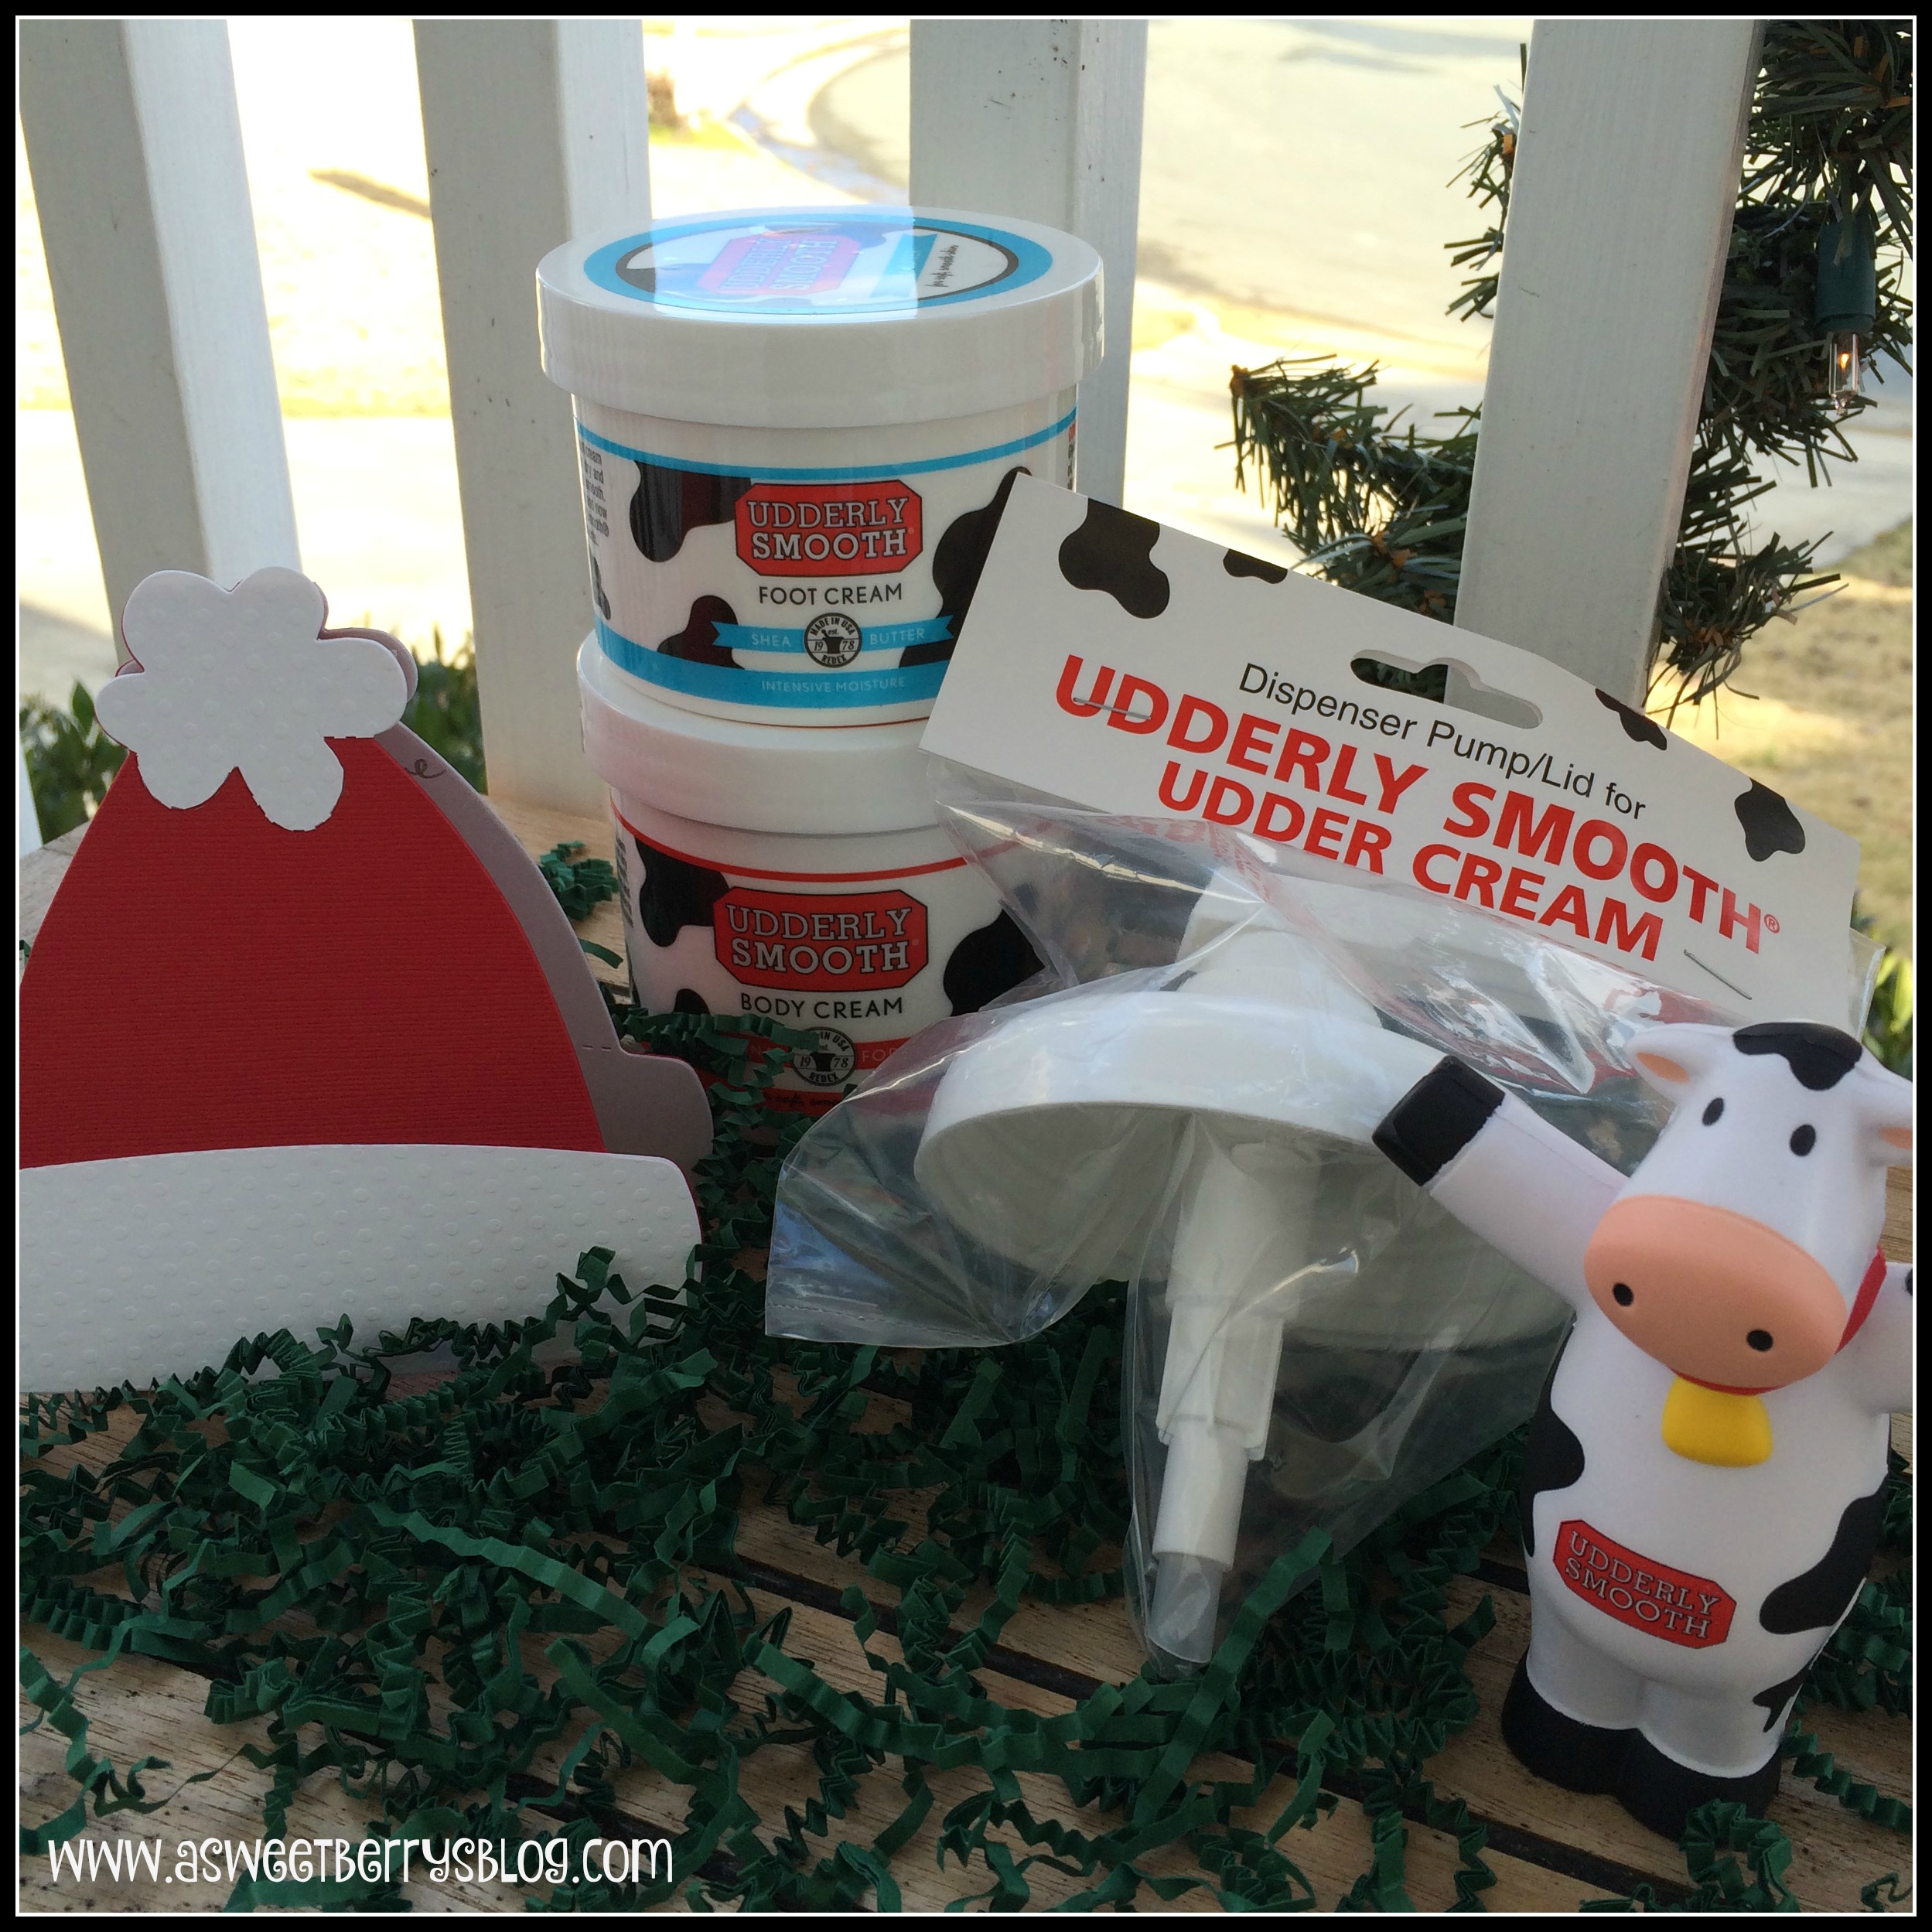
Udderly Smooth has a variety of creams and lotions.  One of my favorites is the Foot Cream.  It is AMAZING!!   You can even get a Dispenser Pump/Lid for the tub of cream.  We keep a tub of the Body Cream on our bathroom counter and use it daily.   It works great on our youngest son’s eczema.   He is always asking “Can I have some of the cow lotion?”
UdderlySmooth2
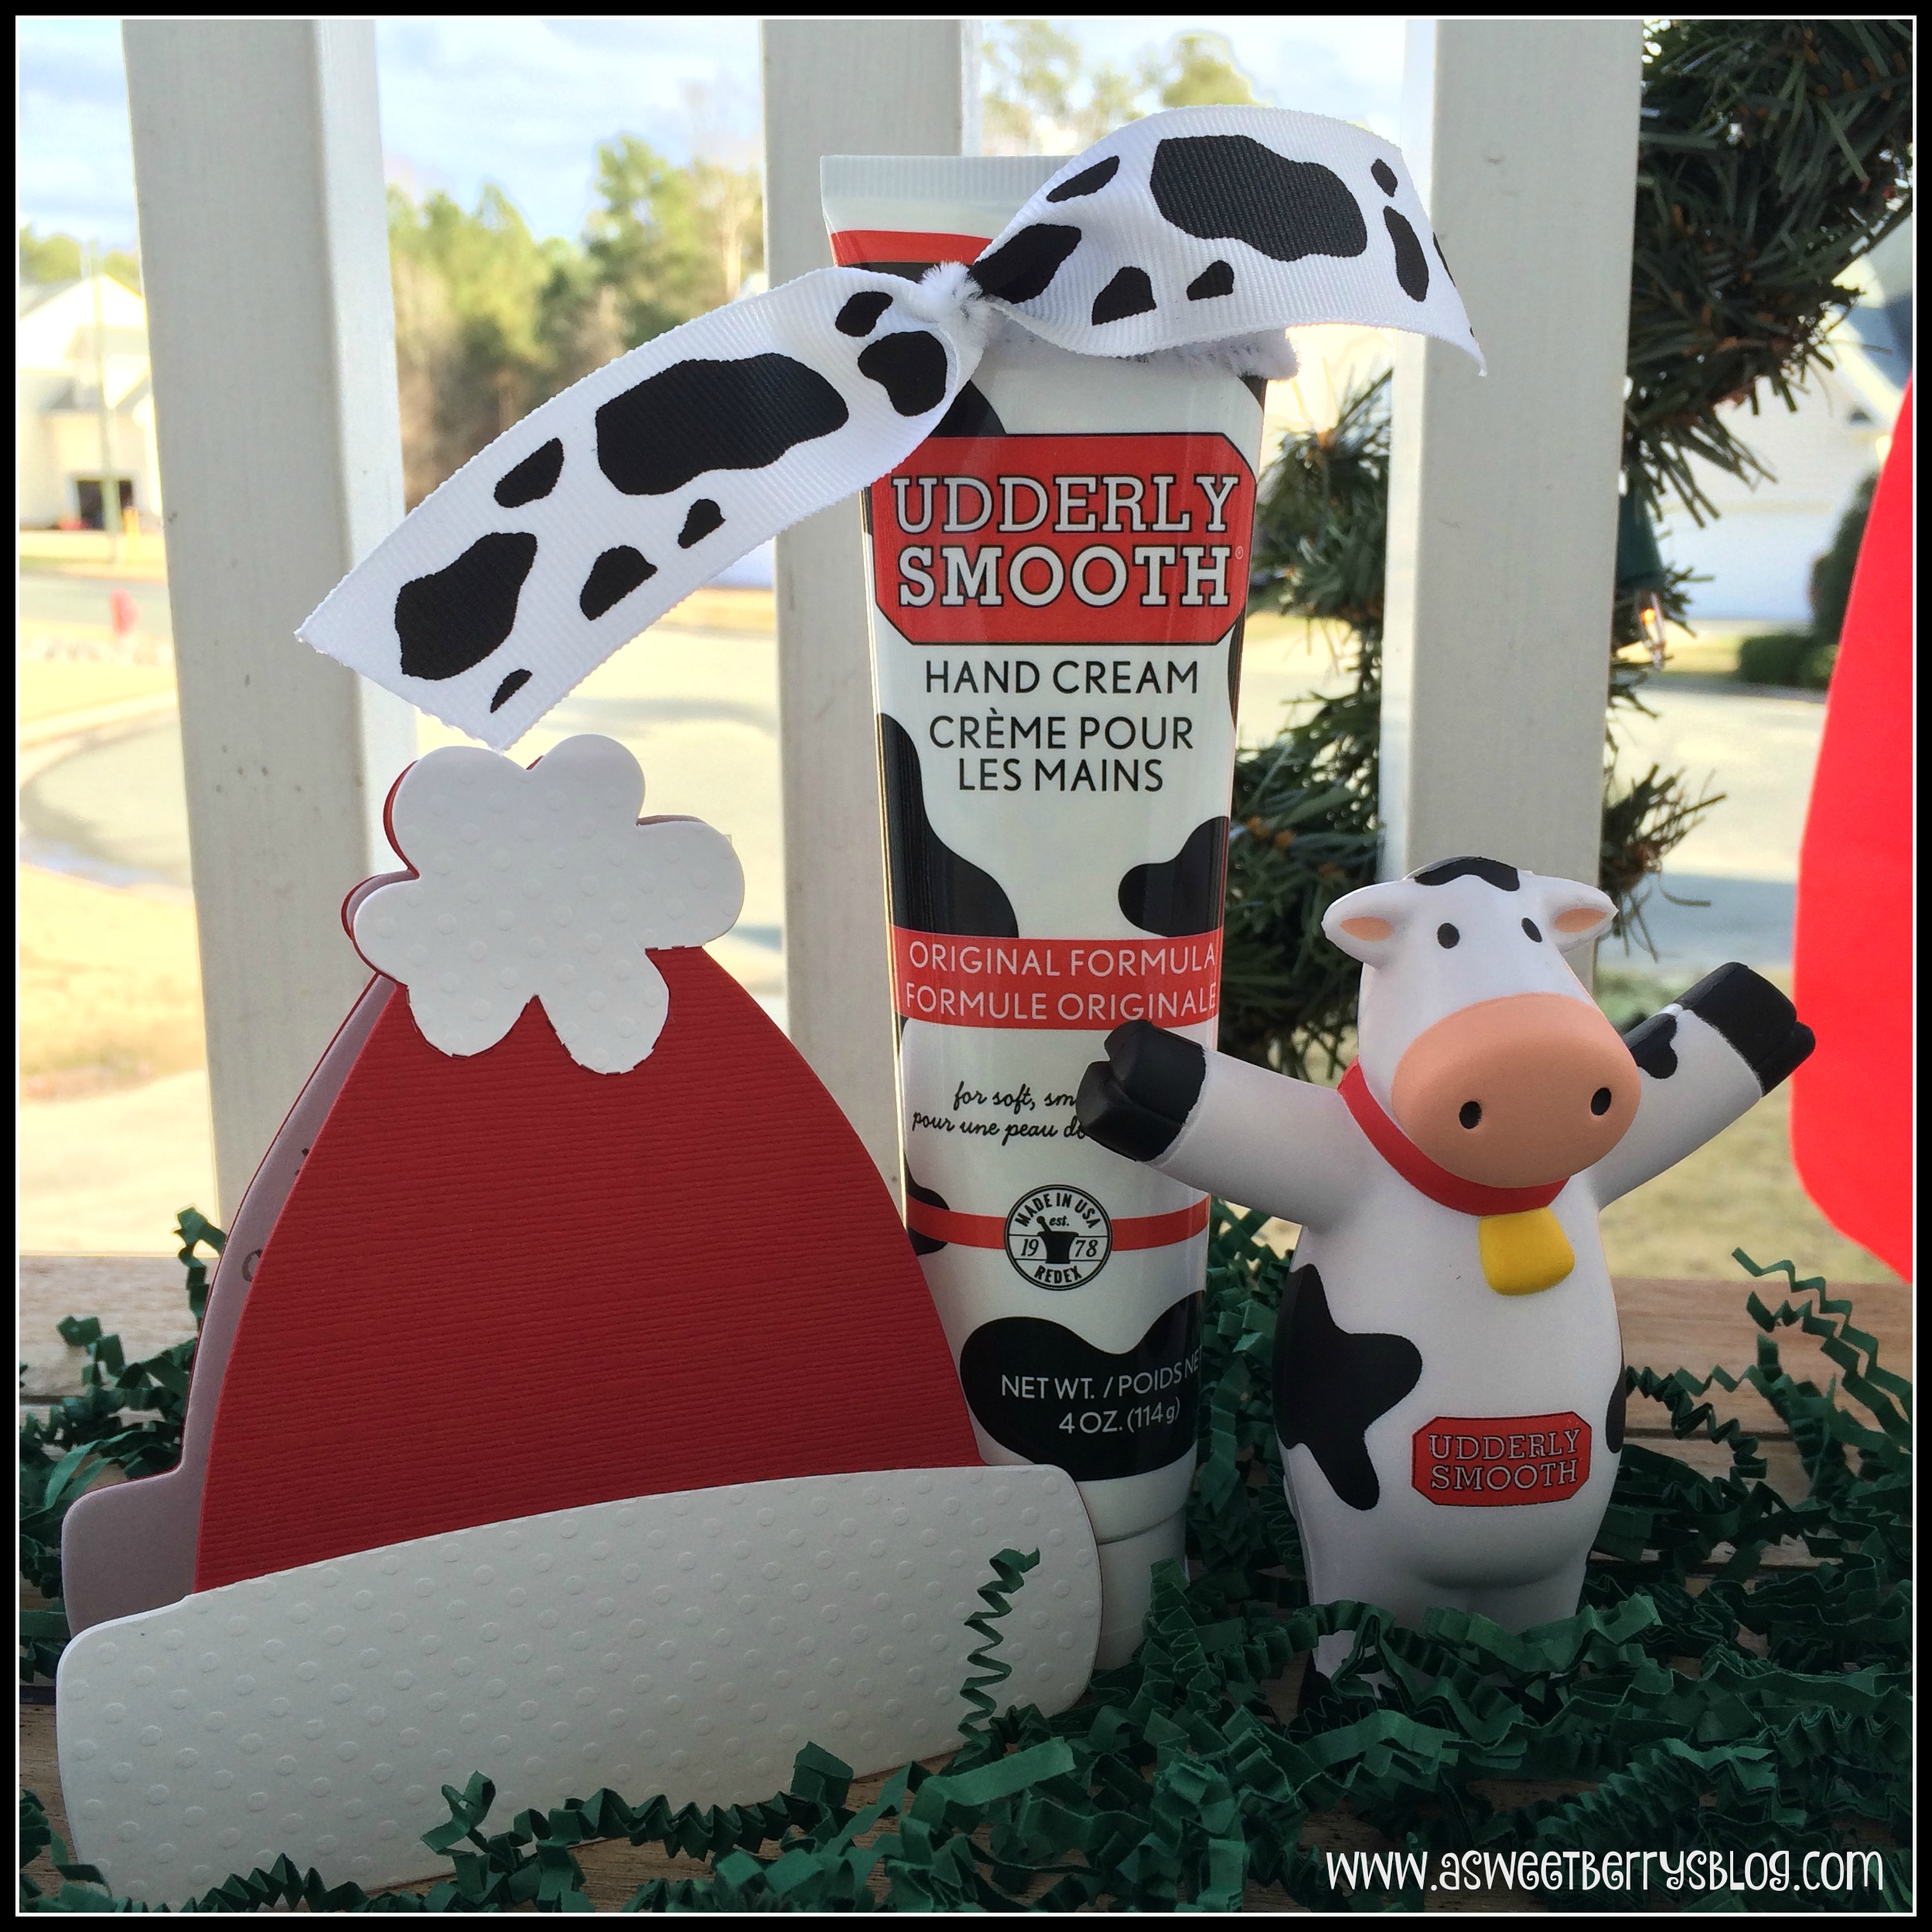
This tube of Udderly Smooth is perfect for your purse or your car or even at your desk.   I always have one with me.   It can be given as part of a gift or even just by itself.  
UdderlySmooth3
For a list of all of the Udderly Smooth products, click HERE!  Udderly Smooth can be purchased at Walgreens, Wal-Mart, Kroger, Dollar General, Big Lots, Ace Hardware, Amazon.com and other retail stores.  

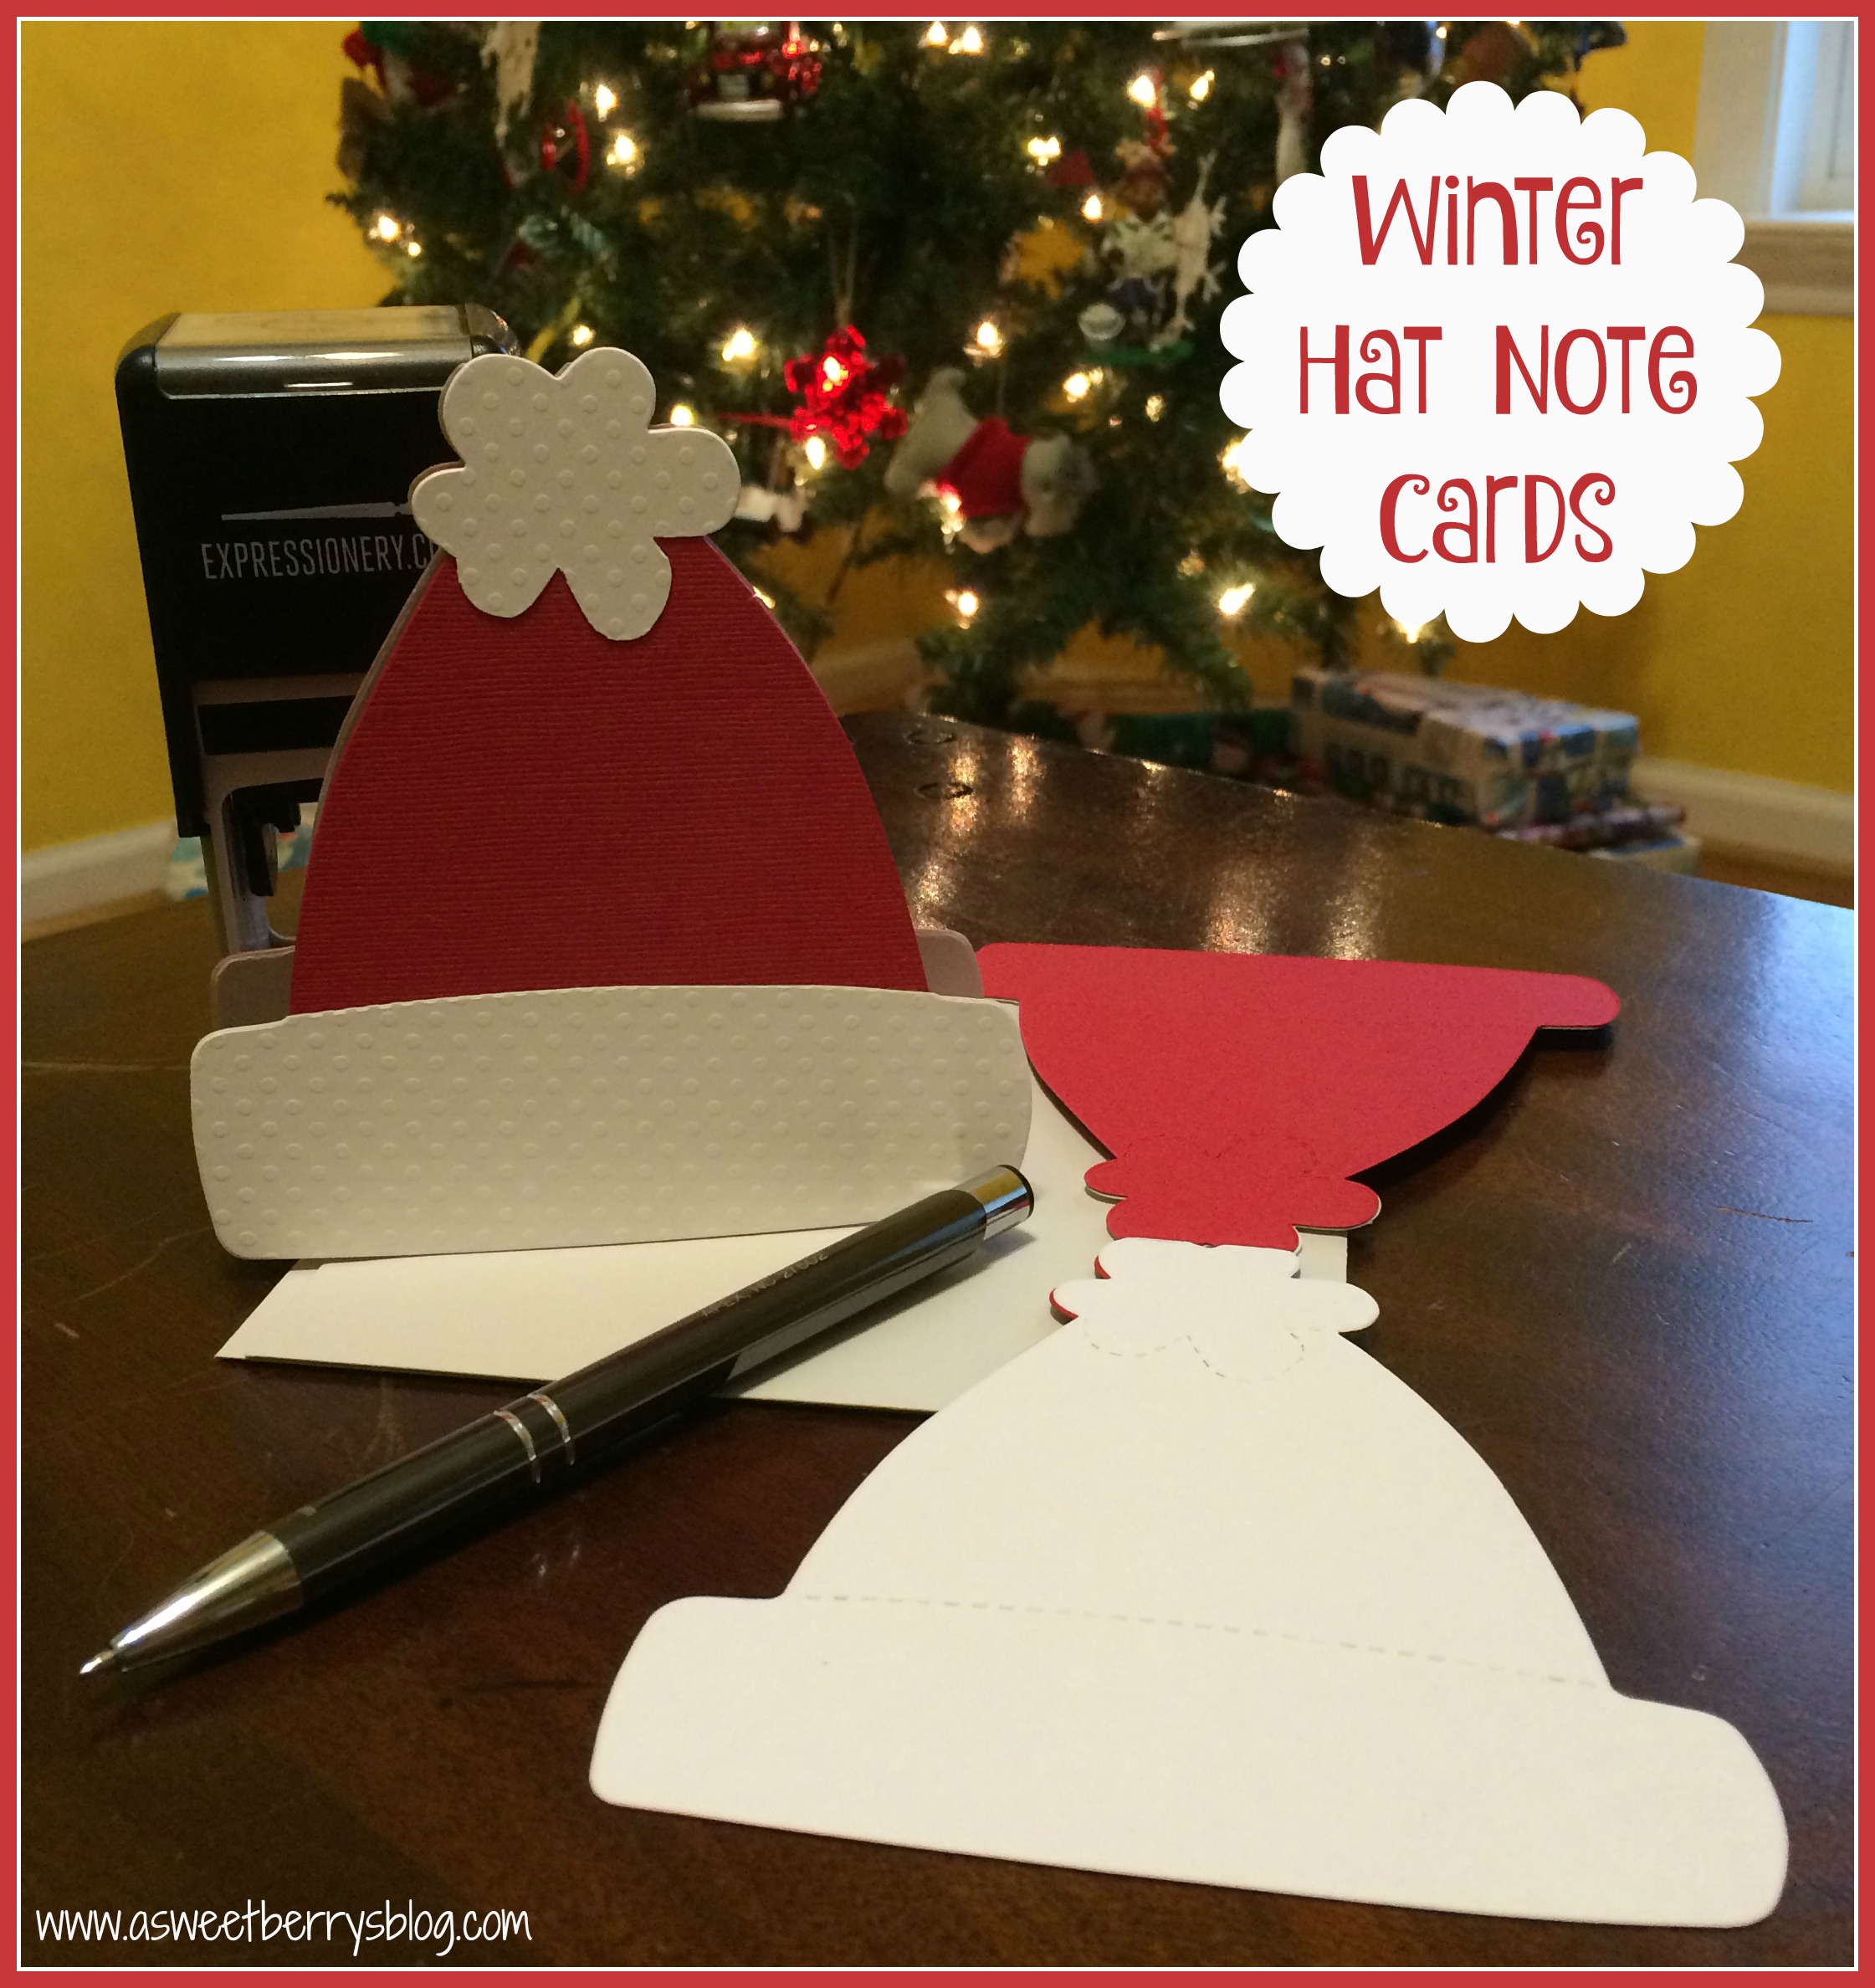
The little Winter Hat Note Card in the photos was made by me.  You can check out how I made those by click on the photo below!  
Winter Hat Note Cards
Enter to Win!!!
a Rafflecopter giveaway
Be sure to check out of there Udderly Smooth Gift giving ideas!


Until next time……..

Washi Tape Pumpkin Popcorn Box

For the last couple of years, my friend Laura Kelly has put together an awesome Popcorn Box Blog Party with a selection of great craft items to help decorate the popcorn box!   She has done it again, and with the help of some great companies!  These awesome Popcorn Boxes came from World Market! blog party
This year, Scotch donated their Expressions Washi Tape!  I thought to myself, why not make a Washi Tape Pumpkin!  
Popcorn Box
Using Krylon spray paint that I had, I spray painted the box to cover up most of the red designs on the popcorn box.  The color was not quite orange, but it did the trick.
Krylon
Once the spray paint was dry, I covered the box in orange wash tape.  I didn’t want the lines to be perfect, so I made the tape go in all different ways!  It kind of made it look like an orange mummy!  Once it was covered, I used an Exacto knife to trim around the scalloped top of the box.
Orange Washi Tape
Next, I just tore pieces of black washi tape to make the pumpkin face!
Black Washi Tape
And it was done!  Super easy and perfect for a Halloween movie night with some popcorn!
Popcorn Box
Be sure to check out the other great Popcorn Box Designs.

And be sure to enter to win! a Rafflecopter giveaway

Expressionery Bakes!

Sweets, Sweets, Sweets!   I love to bake them and with the help of Expressionery.com, Laura Kelly and The Bakers Party Shop sponsoring this awesome post, I was able to bake and decorate with awesome baking supplies and an adorable personalized self-inking stamp!
Final
Getting inspiration from Pinterest, I made a Sunkist flavored cake, using a Betty Crocker box mix and a 12oz Sunkist.   My boys love helping me bake, especially when I am using my Kitchenaid Mixer!  
Ingredients:
1 Box of cake mix  (do not add egg, oil, water)
12 oz of Sunkist

Follow instructions on the box for baking.   cake mix
The Bakers Party Shop sent me adorable cupcake liners and mini pie pans.  We decided to use them both, creating cupcakes and cupcake pies! cups
I love homemade cream cheese frosting, so I decided to make that and add the Orange Cream Flavoring and Electric Orange gel food coloring to make my frosting taste like and look oranges!  Of course, they boys were excited to be able to eat any frosting that wasn’t being used!
Recipe:
8oz cream cheese, softened
1 stick of butter, softened
4 cups of powdered sugar
Orange Cream Flavoring, to taste
Electric Orange gel food coloring, to coloring liking

Mix the cream cheese and butter until smooth.  Slowly add the powdered sugar.   Once all combined, add in the flavoring and the food coloring. cream cheese icing
The Bakers Party Shop also sent these beach themed candy molds and these adorable sprinkles!  Using vanilla candies, I made candied shells and sea creatures to go on my cupcakes. decorations
Expressionery.com supplied me with this adorable “Baked with a lot of Love – Katie & The Berry Boys” personalized self-inking stamp with art by my best friend, Laura Kelly!  Included in my box of goodies from The Bakers Party Shop was some bakers twine, tags and adorable packaging. stamps
I love all of the goodies from The Bakers Party Shop and the stamp from Expressionery.com. Final
You can get your very own personalized self-inking stamp from Expressionery.com.  
Promotion: 25% off sitewide 
Promo code: SUNSHINE25 
www.expressionery.com/promotion/EXPBLGLKBAKERS
You can get your very own baking supplies from The Bakers Party Shop.  The Bakers Party Shop is offering a 25% off promo with SUNSHINE25.

Be sure to enter to win $250 Visa gift card and a personalized Expressionery Stamp!
a Rafflecopter giveaway
And be sure to check out these other amazing ideas using supplies from The Bakers Party Shop and Personalized Stamps from Expressionery.com!


Mr. and Mrs. Seat Back Wedding Wreaths

Need a quick wedding craft to brighten up the bride and grooms chair at the wedding reception?  These Mr. and Mrs. Seat Back Wedding Wreaths are quick, easy and adorable! final
Materials:
Two foam wreaths (I used FloraCraft Make It Fun Wreath Rings)
Wooden Letters (I picked these up at A.C. Moore)
Burlap Ribbon
Tulle
Krylon ColorMaster – Sea Glass
Hot Glue Gun and Glue
materials
So that it would be dry in time for adding them to my wreaths, I spray painted my letters first.   Krylon
Then, with the help of my craft loving five year old, Benjamin, I wrapped the foam wreath rings with the burlap ribbon and hot glued the end to keep it from unraveling. wrapping wreath
Once my letters were dry, I hot glued them together, slighting overlapping the letters. glued letters
Once the letters were glued together, I took a strip of tulle that was about 6-8 feet long and folded it in half to find the center.  Once I had the center, I hot glued my letters to the tulle.  I only attached the “Mrs” on the “R” and both the “M” and “R” of the “Mr” to the tulle.   I then laid the letters and tulle over the wreath and wrapped the tulle around the wreath near the top.  Once I was happy with the placement of the letters, I wrapped it around the chair and tied it to secure the wreaths to the chairs! individual wreath
I love how these turned out!  And they are actually on their way to a beach wedding this upcoming weekend!
final
Need other super quick and easy wedding ideas?  Be sure to check out this awesome Craft Lightning event for great ideas from some awesome bloggers!

Until next time……

Shop Laura Kelly – Button and Felt Heart Garland

ShopLauraKelly.com has some of the cutest craft kits put together by one of my best friends, Laura Kelly!  One of my favorite kits in the collection is the Button and Felt Heart Garland! banner
Laura is very creative and has licenses with several companies!  The kits that she has put together come with everything you need to put your projects together! kit
This particular kit includes felt hearts, ribbon, colorful embroidery floss, buttons and a needle. supplies
Instead of using my ribbon to hold the hearts for the banner, I decided to cut the ribbon into 4 inch strips and glued them together to make a little loop using Aleene’s Fast Grab Tacky Glue.  I then glued them to the backs of my hearts.  ribbon hooks
Once they were dried, I turned the hearts over and glued a coordinating color button to the front.
adding buttons
Then, I slid them onto my embroidery floss that I left together to look like a rainbow!
banner
It also makes a great necklace!  I love it!  So, go on over to ShopLauraKelly.com and check out Laura’s cute little craft kits!
necklace

Be sure to click through other great ShopLauraKelly project ideas below:


And enter to win!
a Rafflecopter giveaway

Until next time…….

How do you do your Ranch?!?!

Just how do you do your Ranch?  I was asked if I wanted to join this fun blog hop using Hidden Valley Ranch packet!   It was fun and the result was super yummy!!!   Ranch Cream Cheese

I absolutely love Philadelphia Cream Cheese.   We always have it in the house.  I decided I would mix the Ranch dip packet with my block of cream cheese.  I only used half of the packet for my 8 oz bar of cream cheese, saving the rest for another time. ingredients

Fortunately for me, the Hidden Valley Ranch dip packet is gluten free!!!!   I have also just recently found Glutino’s Gluten Free Bagel Chips!  They are fantastic and you’d never know they were gluten free.  My family loves them!   And they go perfectly with my Ranch Cream Cheese! IMG_5077

This makes a delicious hors d’oeuvre for a before dinner snack or a get together!

party

Enjoy!

And until next time…..

Check out some other great recipes and ideas using Hidden Valley Ranch Dip Packets!!

Enter for a chance to win a great prize!!! a Rafflecopter giveaway

Halloween Popcorn Box Blog Hop

A year ago, my friend Laura Kelly started this Halloween Popcorn Box Blog Hop and then decided to do it again this year. I was so excited to get my box of goodies to do this project! It’s so much fun and exciting to see what everyone comes up with! This year, I decided to make a Cat!

popcornbox2014

Items I used:
Popcorn Box
Black Felt from Kunin
Phoomph for Fabric from Coats & Clark
Tulip Soft Black Fabric Paint
Scribbles 3D Fabric Paint
Laura Kelly Buttons from Buttons Galore & More
Floral Wire
Paint Brush
Aleene’s Turbo Tacky Glue

First, I painted my box using the Tulip Soft Black Fabric Paint. Yes, I know it’s fabric paint, but it still worked great on my box! I let it dry and then painted on another coat.
painted box
Next, I made my cats tail. I thought about this for a little while! I took a piece of floral wire and folded it in half and manipulated it to look a little like how a real cats tail would look. I placed black Phoomph onto some felt, placed the wire onto the Phoomph and then folded my felt in half. Then, I cut around the wire making the felt the same shape as the wire. Then i manipulated the wire with the felt again to make the tail curved.
Tail
Next was my cats ears. Again, I used black felt and Phoomph. I placed the Phoomph onto a black piece of felt. When I folded the felt over, I made sure that it didn’t completely cover the Phoomph because I knew that I wanted to use the exposed part of the Phoomph to attach the ears to the popcorn box. I used the orange Scribbles Fabric Paint to make the inside of the cats ears.
ears
Using Laura Kelly’s buttons, I fold some orange, yellow and black beads to use for the eye and then an orange one to use for the nose. Using Aleene’s Turbo Tacky Glue, I attached them to the box.
eyes
Using the end of the wire from the tail, I inserted it into the back of the box and bent it upward helping it stay in place. I then used the Aleene’s tacky glue to glue the tail in place, to give it an extra hold.
Glue tail and dry
Once everything was dry, I used White Scribbles Fabric Paint to create the mouth and the whiskers of my cat!
whiskers
And then he was complete!
popcornbox2014
I hope you liked my Halloween Cat Popcorn Box!
Until next time…….
Print
Be sure to enter for a chance to win some great prizes!
a Rafflecopter giveaway
Also, check out the other great Halloween Popcorn Box Blog Hop entries!!!


Laura Kelly’s Pet Shop Sizzix Collection T-shirt

Laura Kelly’s Pet Shop Sizzix Collection T-shirt Benjamin final

Laura Kelly just launched a new line of die cuts with Sizzix/Ellison.  It’s really exciting and they are such cute die cuts.  Laura invited me to join in her quest to promote the line!   It’s called the Pet Shop collection.  Click on the link to check it out!!!   I decided to use the terrarium and lizard that Laura so kindly precut for me!

Things you will need:
-a t-shirt
-Laura Kelly’s Pet Shop Dies by Ellison
-Die Cut Machine
-Scribbles 3D Fabric Paint
-Tulip 3D Fabric Paint
-Fabric with an adhesive backing

materials

Before I removed the adhesive cover, I inserted my lizard into the precut slots.   back pieces

I then gently removed the backing of the lizard first and then the backing from the terrarium. putting it together

 I then placed the terrarium onto my shirt, making sure I put it exactly where I wanted it because it’s not easy to move!!!   Next, I added the cute little saying “Here Lizard Lizard!”, black fabric paint to the top of the terrarium to make it look like it has a lid and eyes on the lizard!

complete

Then I put it on this cute little guy and he loves it!!!  What little boy doesn’t like pets?!?!? Benjamin

Hope you like my cute little lizard and terrarium Pet Shop Collection by Laura Kelly t-shirt!!!

Until next time…..

  FINAL LOGO

  a Rafflecopter giveaway

Tulip One-Step Tie-Dye Your Summer Party!!

Together with I love to Create, Laura Kelly put together yet another awesome blog hop!  This one is a Tie-Dye Party!  Each blogger was sent an awesome One-Step Tie-Dye Kit for 6 people and two Gildan t-shirts.  The t-shirts could be used for practicing or for the actual project.  I chose to use mine for the project, along with some other size Gildan t-shirts I had.  We had a family tie-dye party!! kit

Tulip Tie-Dye T-Shirt Summer Necklace!

katie

I have always wanted to make a t-shirt necklace!  I love bright and bold colors so I thought I’d tie dye one of my Gilden t-shirt with nice bright Tulip Tie-Dye colors (Fuchsia, Purple, Turquoise, and Yellow)!  I am obsessed with the swirl pattern for some reason, so that’s the one I used.

dye process

After my shirt was tie-dyed, set, washed and dried, I ripped the bottom of the shirt off, cutting just the side of the shirt so that I could get a good start for ripping.  Sometimes ripping through the seam can be a little difficult.  Next I cut just under the arm and ripped it across, so that I was left with just the bottom half of the shirt.  Then I cut 5 cuts on the sides, so that I could rip them across.

first steps

Once I had my strips, I grabbed the top piece of the shirt and did the same thing, making a cut by the seam and ripping it, giving me another strip.  I made one cut on the strip so that it was open.  I then gathered all of my strips, used my cut strip to wrap around my gathered strips, so that they would all stay together.

Last steps

Then my necklace was complete!  It was long enough that I wrapped it around my neck twice and made one shorter than the other, almost like an infinite scarf!!

  katie

Dad 4th of July Shirt!

Dad’s shirt was made using the starburst method. Pieces of fabric were gathered, making sure to grab both the front and the back of the shirt and wrapped a rubber band around it.  The gathered pieces were tie-dyed with red and then the rest of the shirt was tie-dyed with blue!

Dad shirt

Big Brother’s Tie-Dye Master Piece!

Landon wanted to create something different with his shirt.  He loves how it turned out, with his favorite colors of blue, green, yellow and red! big brothers shirt

Little Brother’s 4th of July Shirt

Benjamin loves the swirl method as well, so he will be rocking his shirt come the 4th of July!!!  This kid loves to tie-dye as much as I do! Little Brothers shirt

This one-step tie dye kit is perfect for a party of friends!  It comes with everything you need…bottles with dye, rubber bands, gloves and a plastic table cloth.

For other great summer tie dye ideas, hop on over to some other blog sites and see what they created using this great product!

Also, enter for a chance to win a Tulip One-Step Tie Dye Party Kit for 10!
a Rafflecopter giveaway

Expressionery Blog Hop Fun

One of my favorite daily things to do is check the mail.  With all of the modern technology, I could easily send a text or an email, or even a Facebook message.  But, hand written notes are my favorite.

When I received a package in the mail, opened it and found Expressionery Stationary with Laura Kelly’s designs on them, I was in Heaven!  Not only was there stationary in the box for me, but there was also stationary for both of my sons!  And there were some awesome road trip games!

IMG_0241

Our family notecards, notepads and address labels were customized using Laura Kelly’s collection of Me & My Peeps.   And it fits us perfectly, all the way to our brown dog!!  Our dog sitter is getting your very first one, along with a Starbucks gift card as a thank you for watching our sweet Maggie while we were at the beach!  And I almost always use Sharpie’s to write my notes!

IMG_0819

The boys notecards are Laura’s designs, Superstar and Alien Invasion!  They boys love theirs.  Landon is using his to write thank you notes from his birthday party!  Benjamin is using his to write notes to invite friends over for playdates!

IMG_0631

A Re-Purposing Project

I love the idea of using this custom stationary for a repurposing project, so I did just that!   We were due to leave a week after receiving our Expressionery package, to head to the beach.  I decided to make the kids luggage tags for their suitcases using a notecard from each of their sets.   I cut the cards up, also cutting away their name from the bottom.  I glued their name to the top of the cutout.   Using my computer, I typed up the back of the label with Name, Address, and Phone number.  After printing it, I glued it to the back of the notecard, lamenated it, punched a hole in it and using the Plastic Worm Loops, I attached it to their luggage.

Luggage Tag

IMG_0621

IMG_0628

Leave a comment for a chance to wine a $20 Giftcard to Expressionery.com!!!!

Hop on over to some fellow bloggers participating in this blog hop!!!

Enter for a chance to win a $200 Amazon gift card and an Expressionery.com gift set!!!! a Rafflecopter giveaway