

One of my favorite daily things to do is check the mail. With all of the modern technology, I could easily send a text or an email, or even a Facebook message. But, hand written notes are my favorite.
When I received a package in the mail, opened it and found Expressionery Stationary with Laura Kelly’s designs on them, I was in Heaven! Not only was there stationary in the box for me, but there was also stationary for both of my sons! And there were some awesome road trip games!
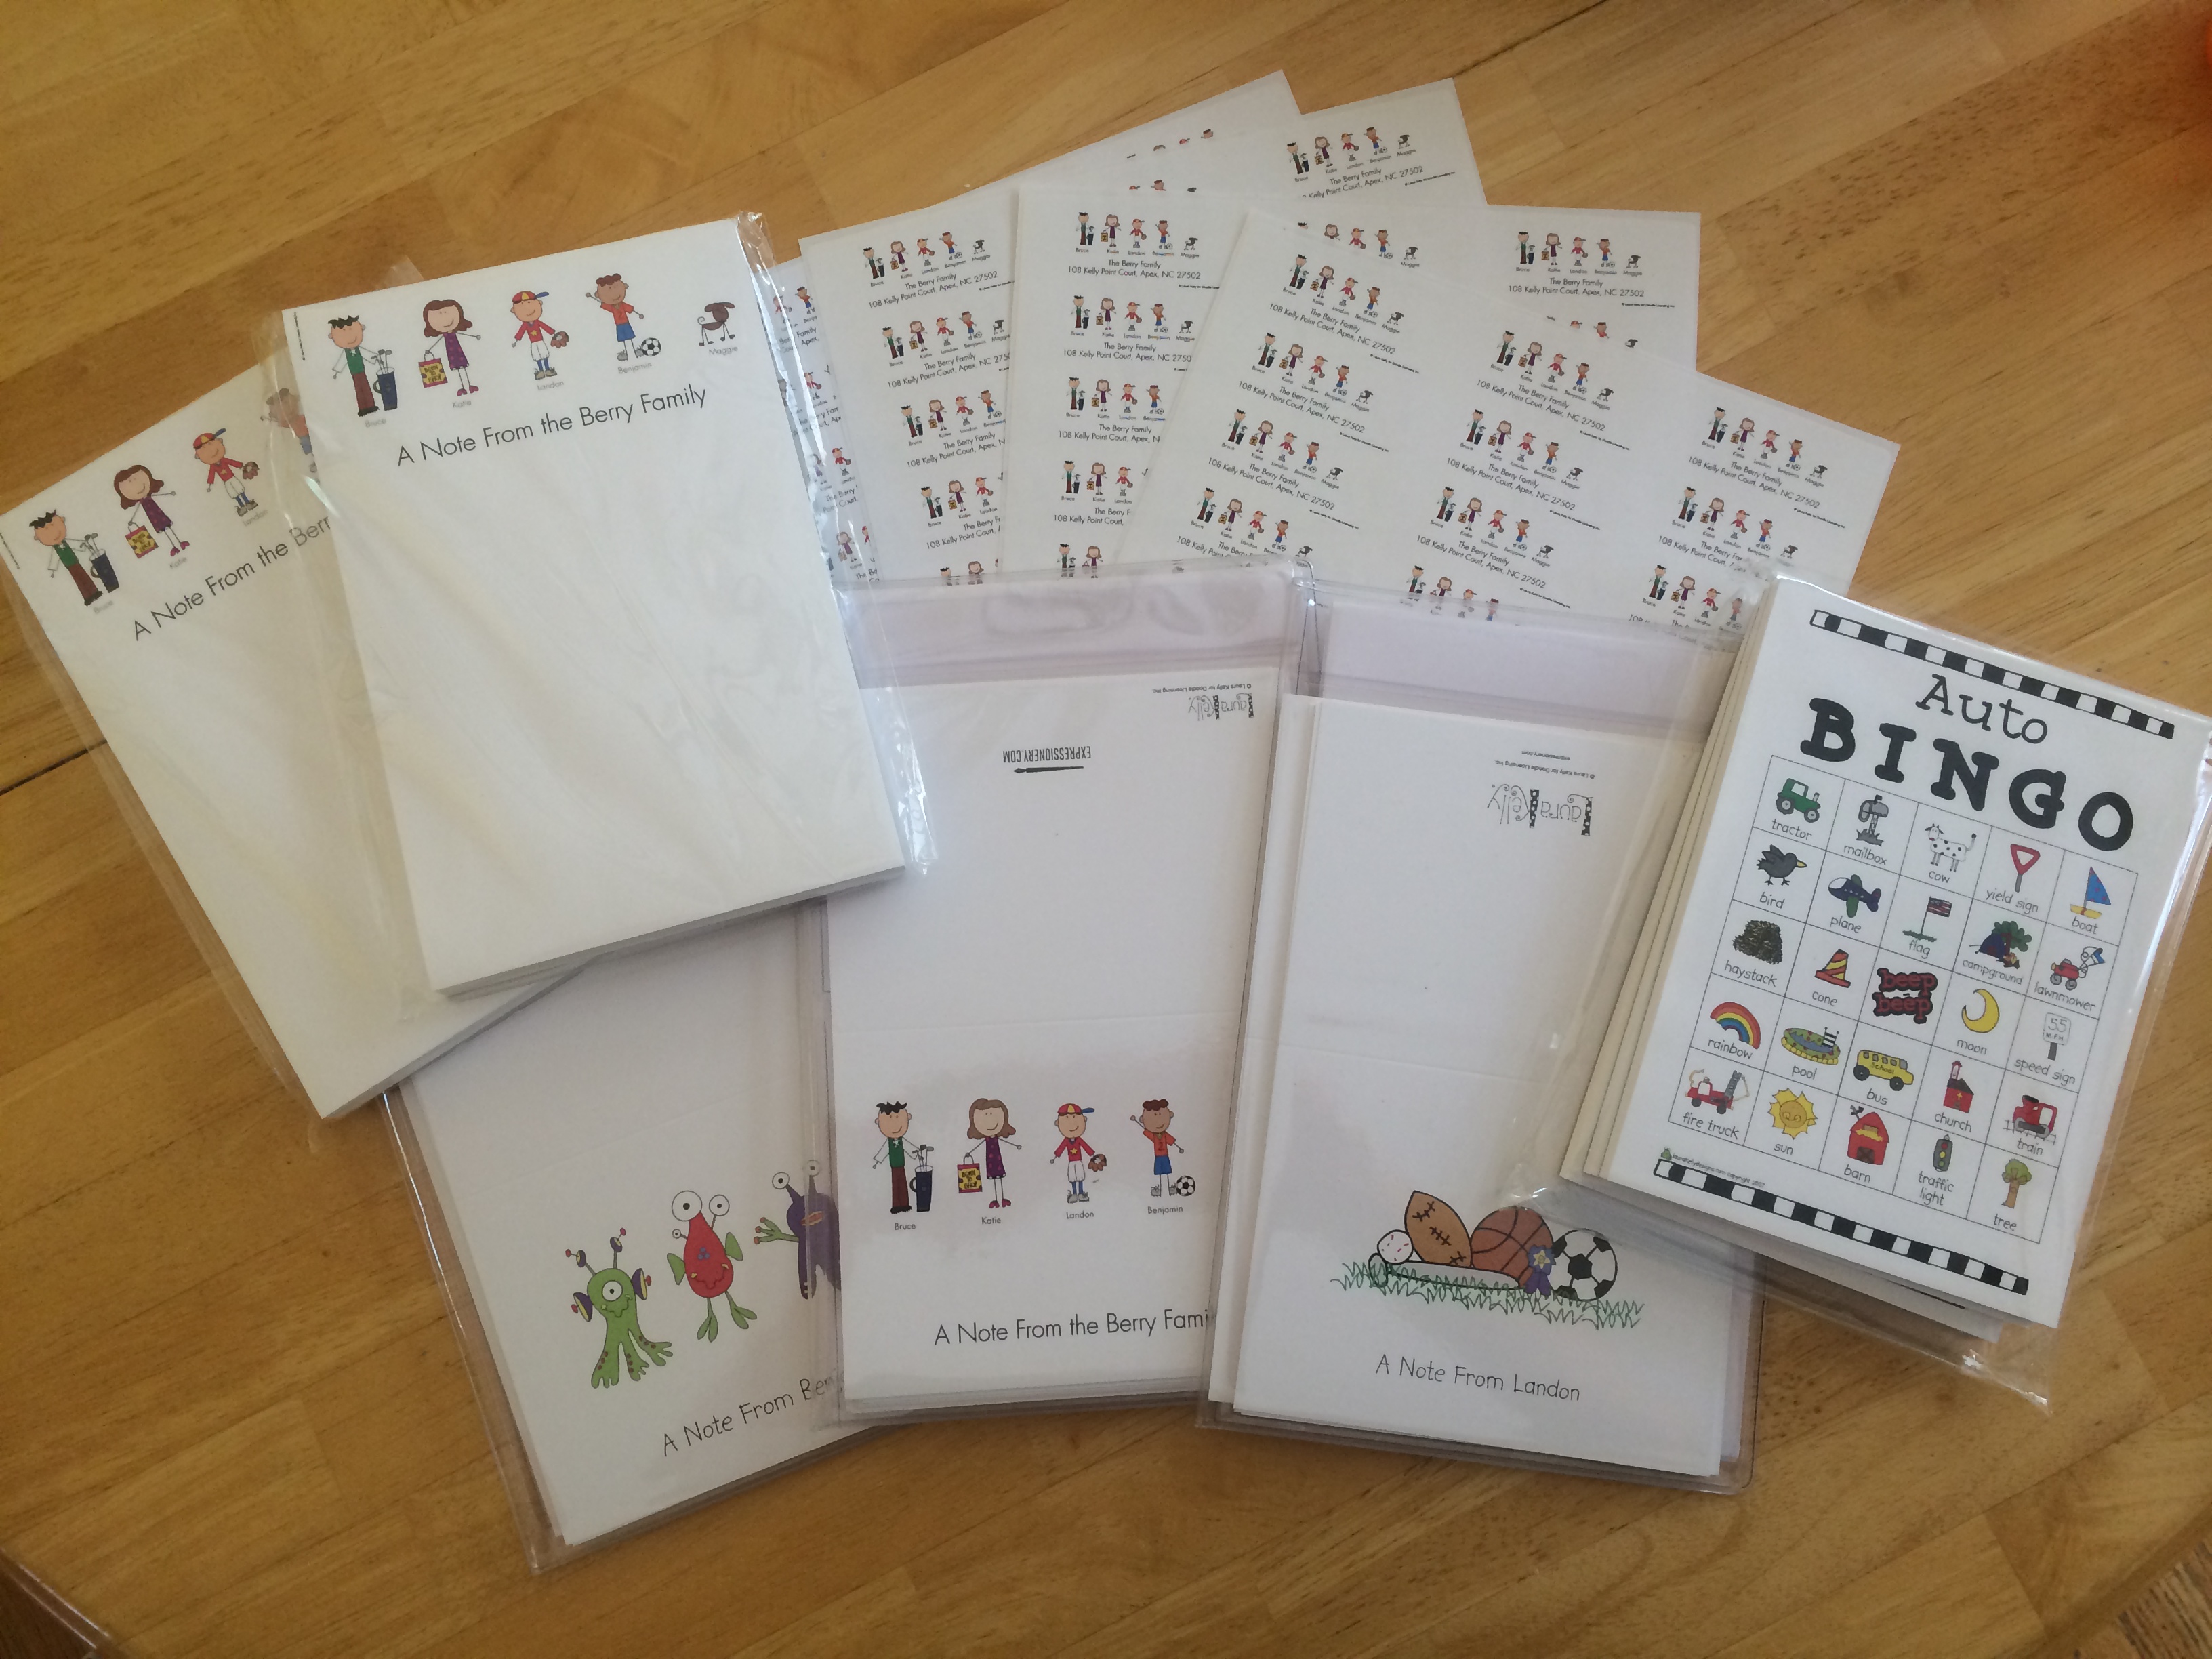
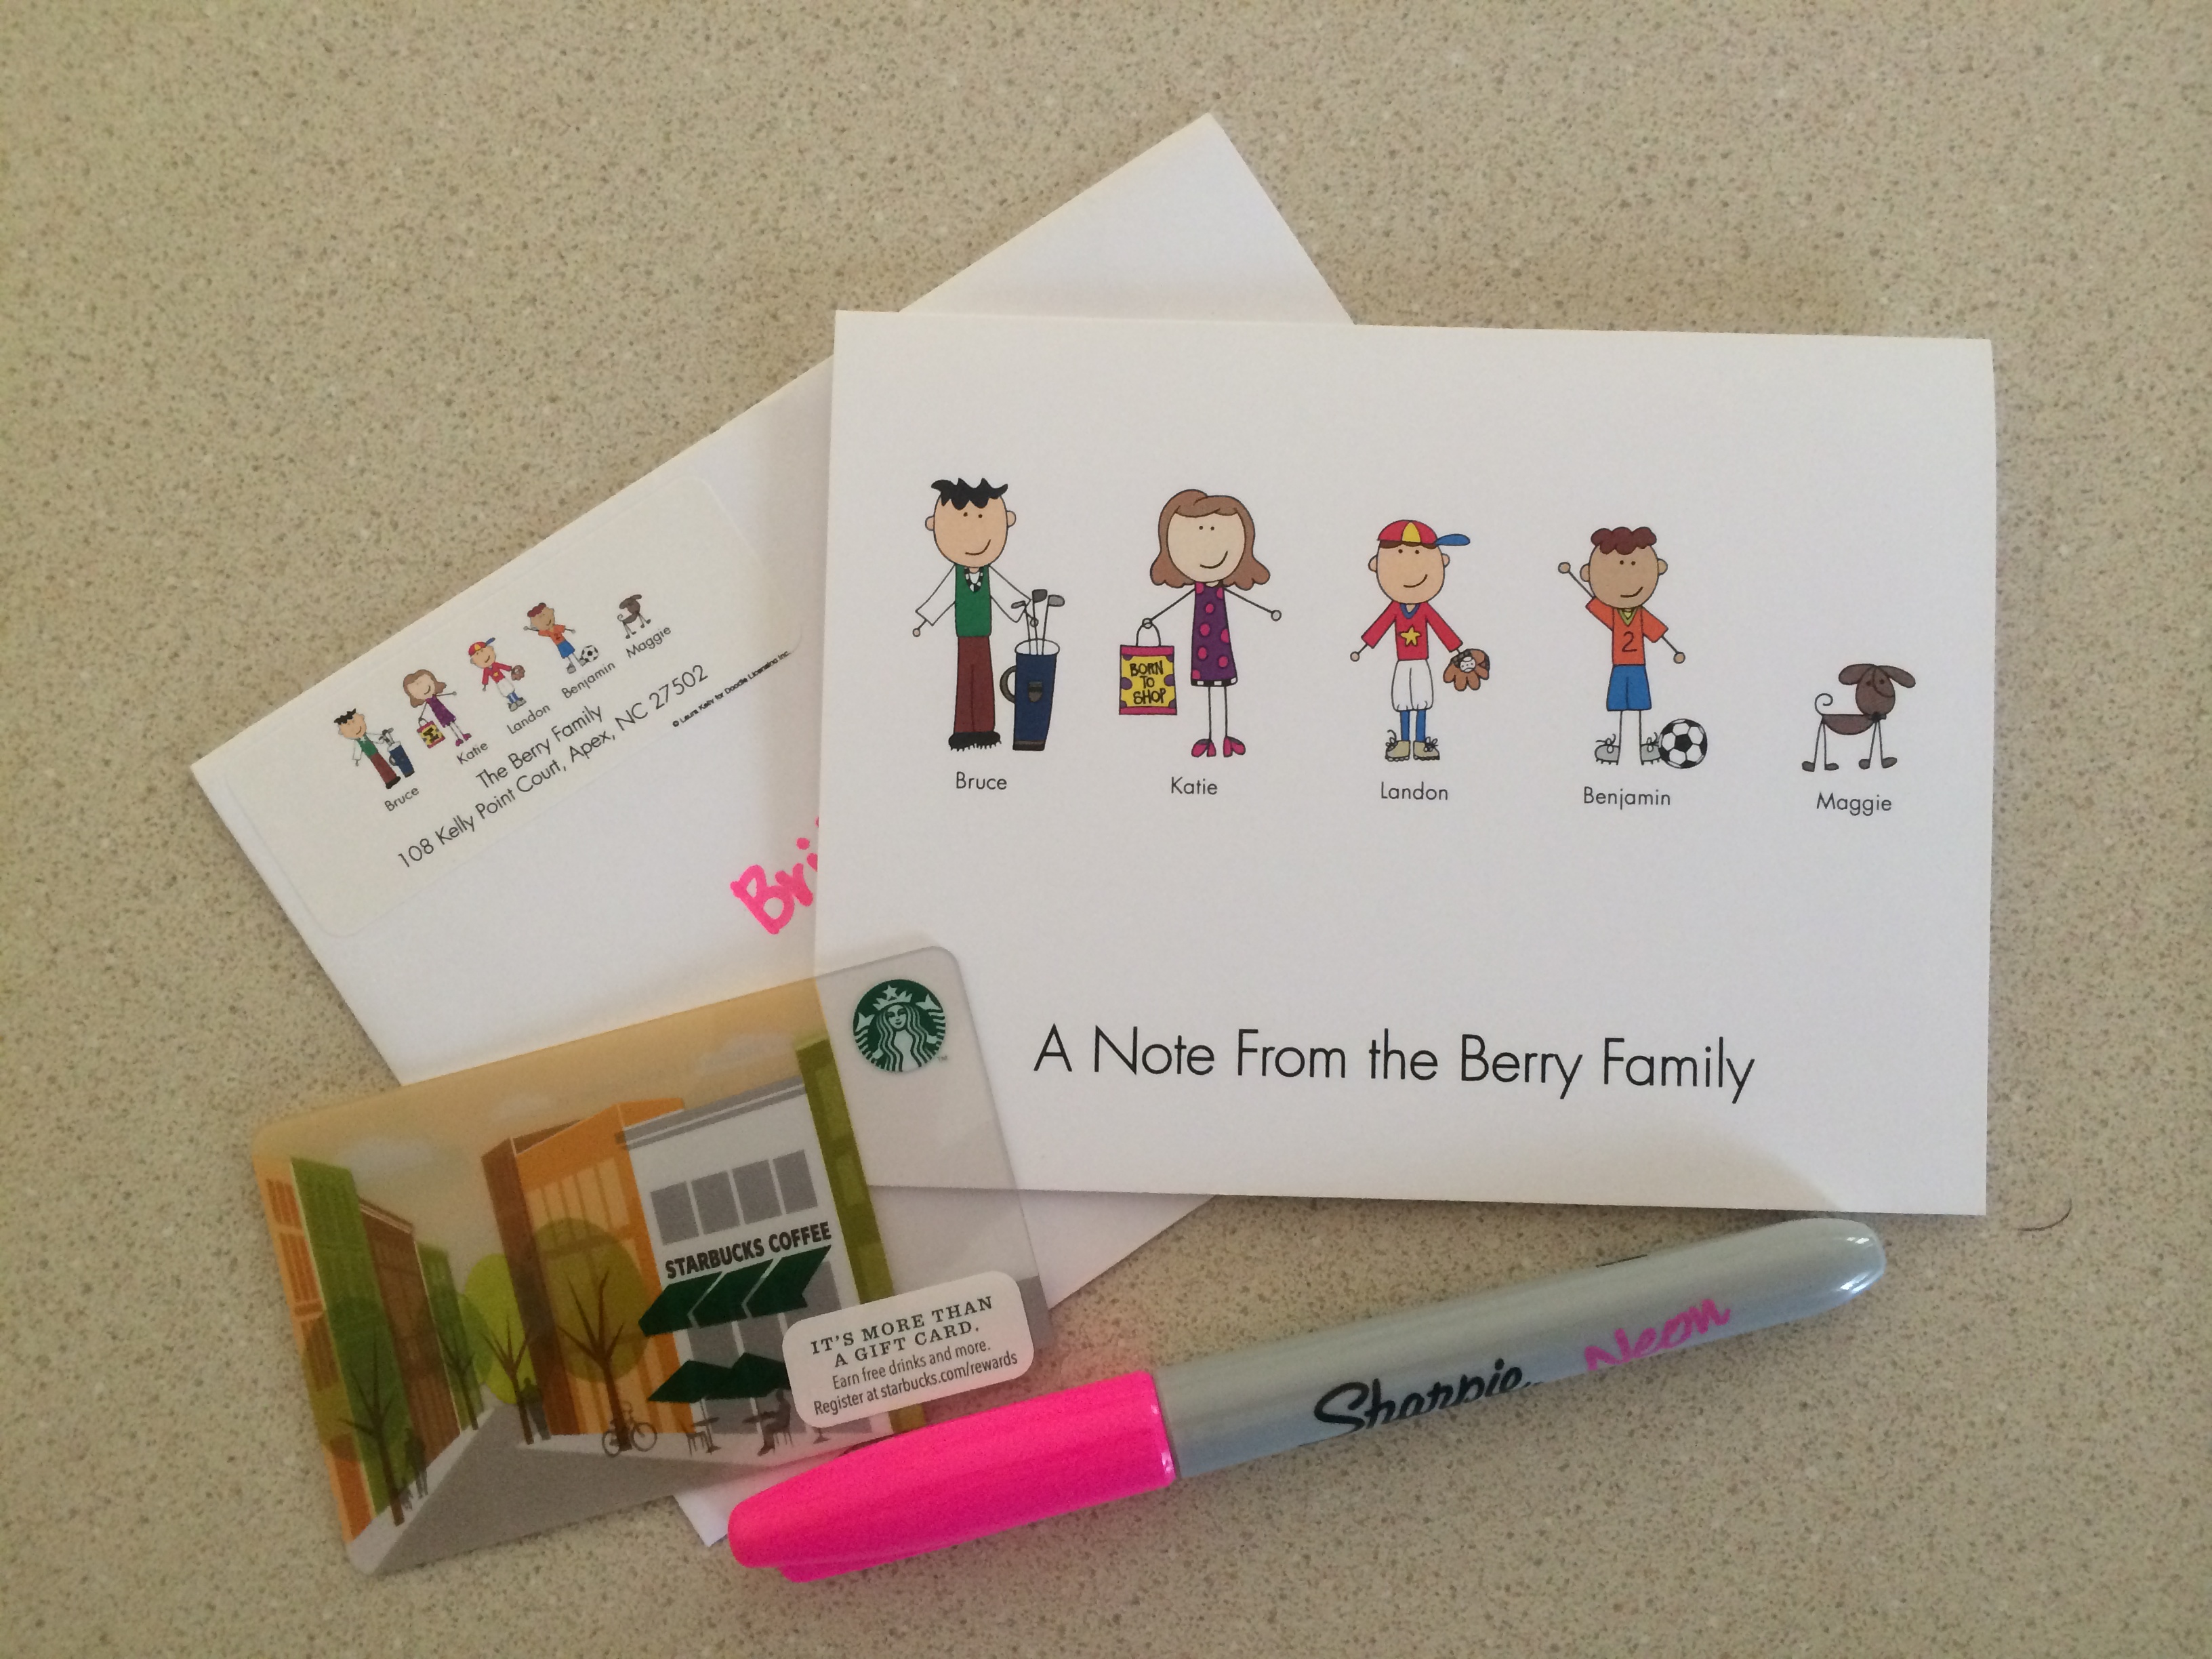
Our family notecards, notepads and address labels were customized using Laura Kelly’s collection of Me & My Peeps. And it fits us perfectly, all the way to our brown dog!! Our dog sitter is getting your very first one, along with a Starbucks gift card as a thank you for watching our sweet Maggie while we were at the beach! And I almost always use Sharpie’s to write my notes!
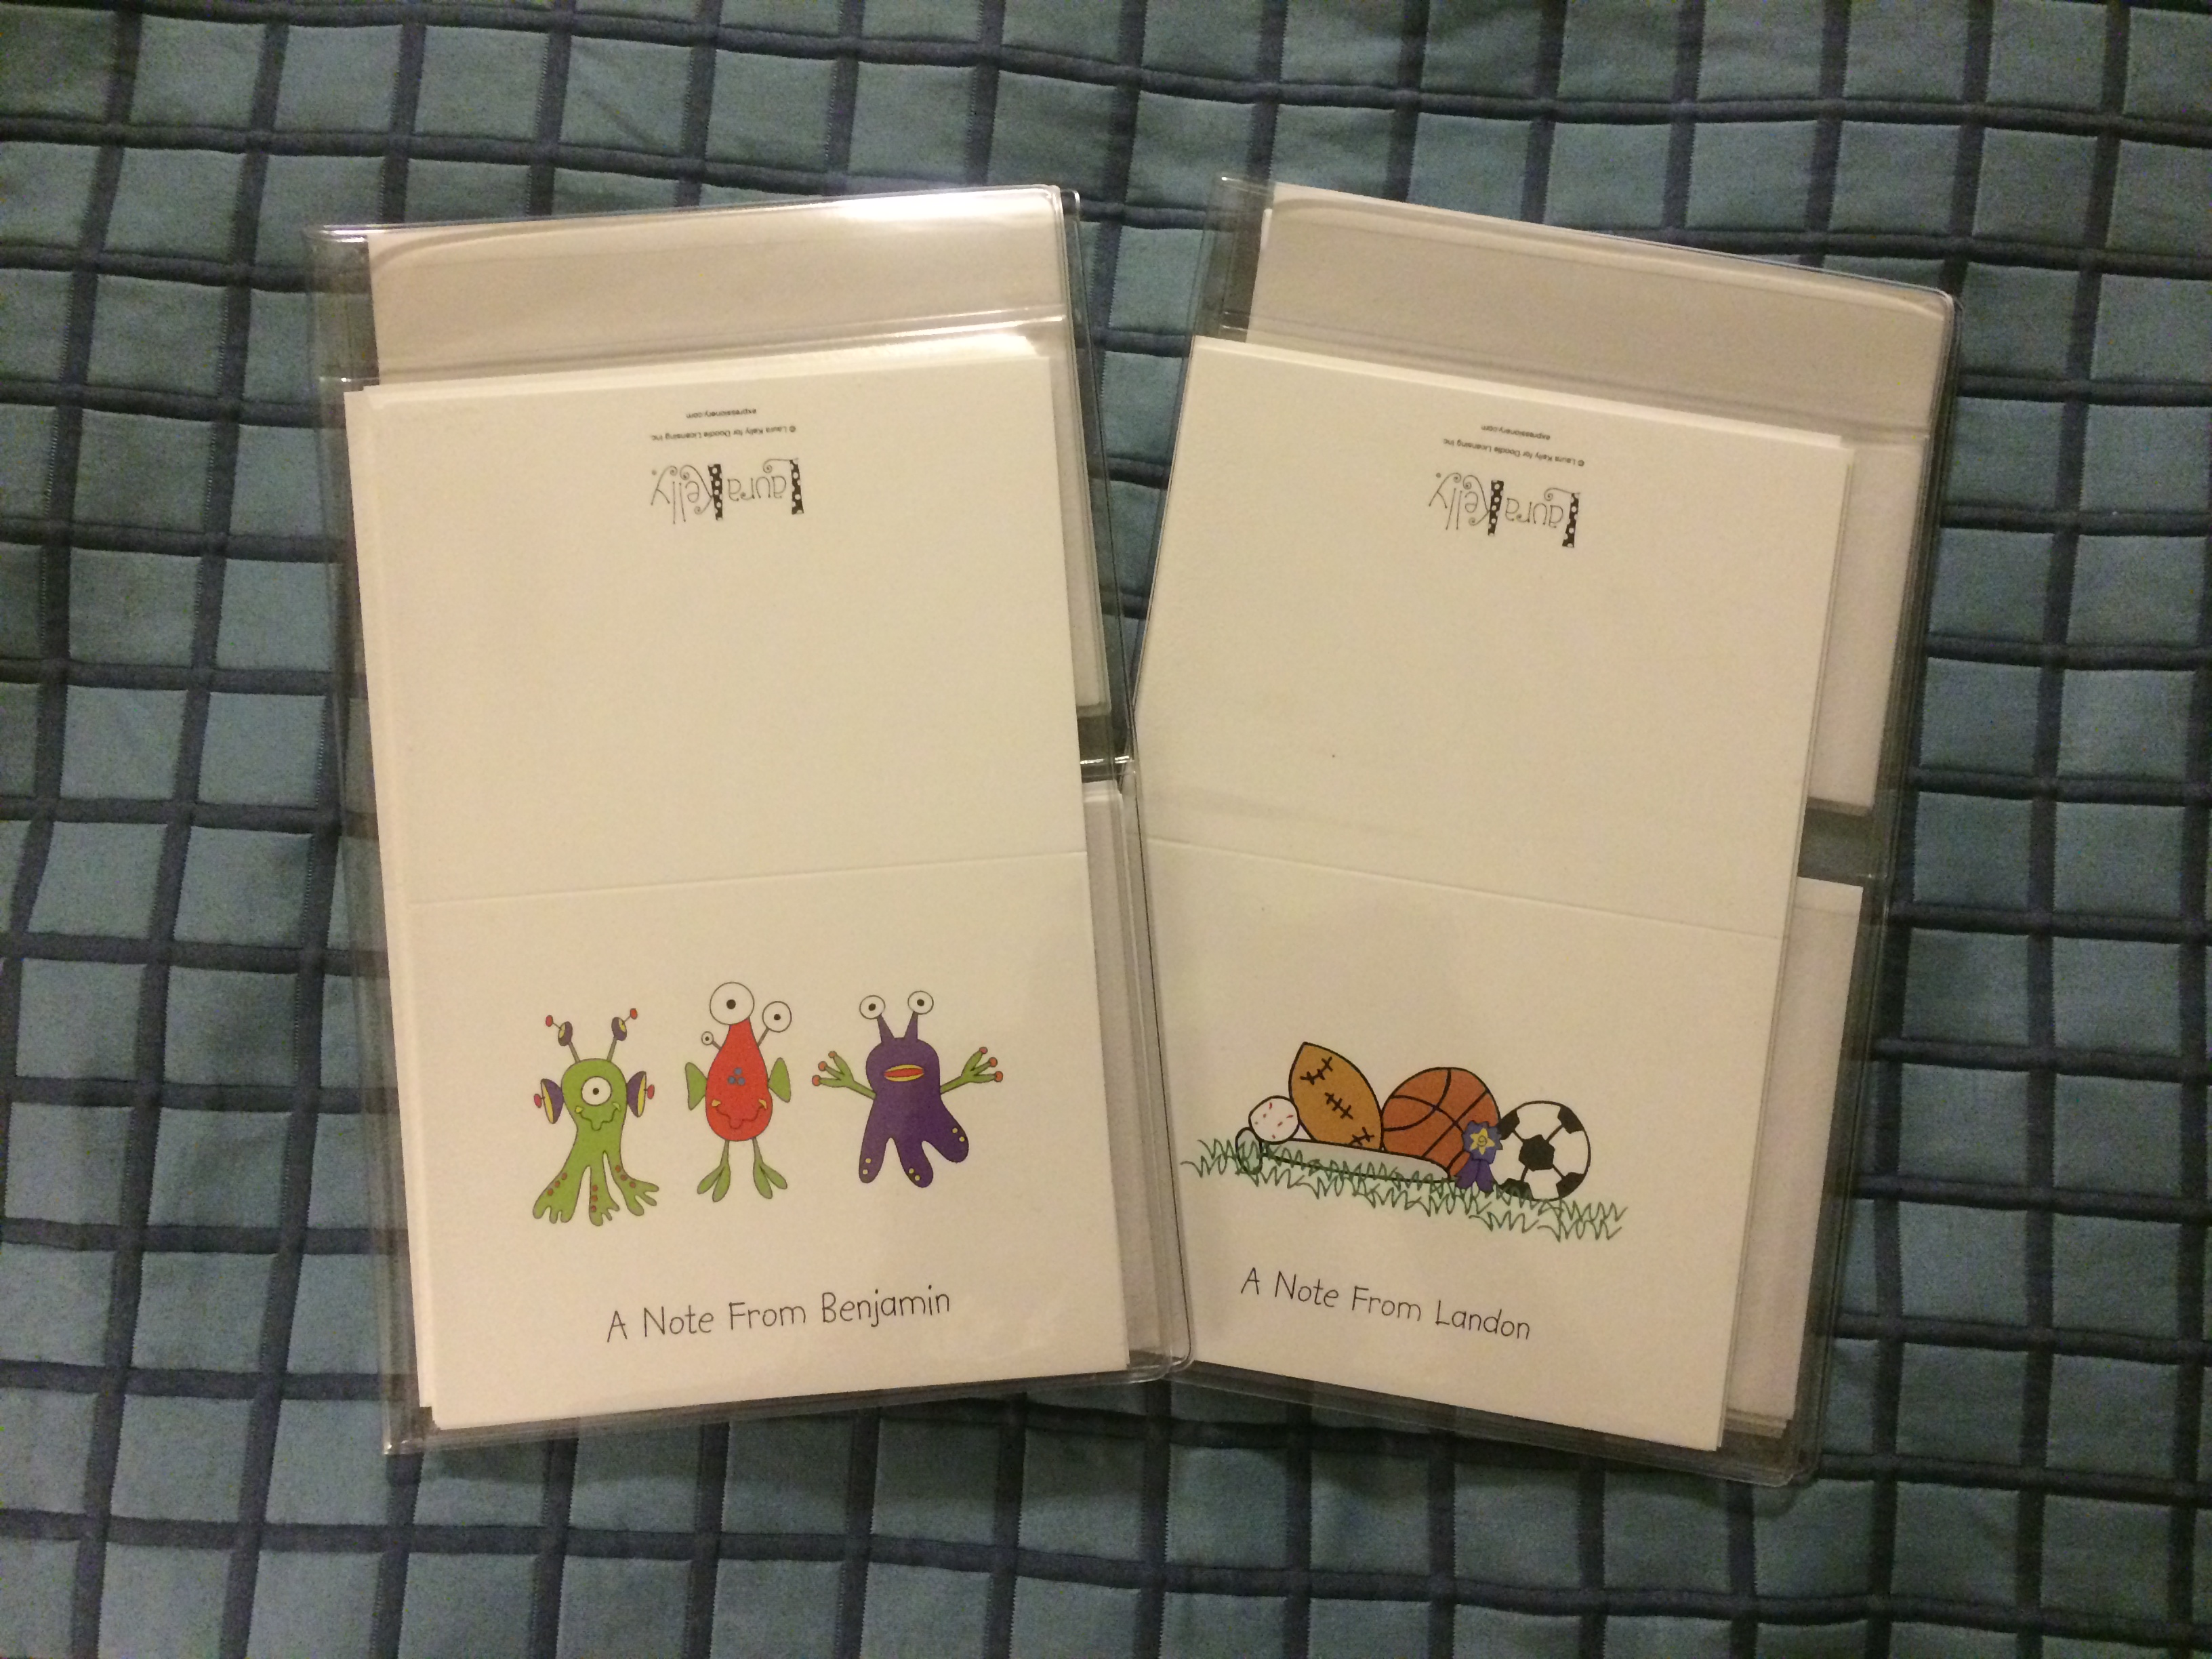
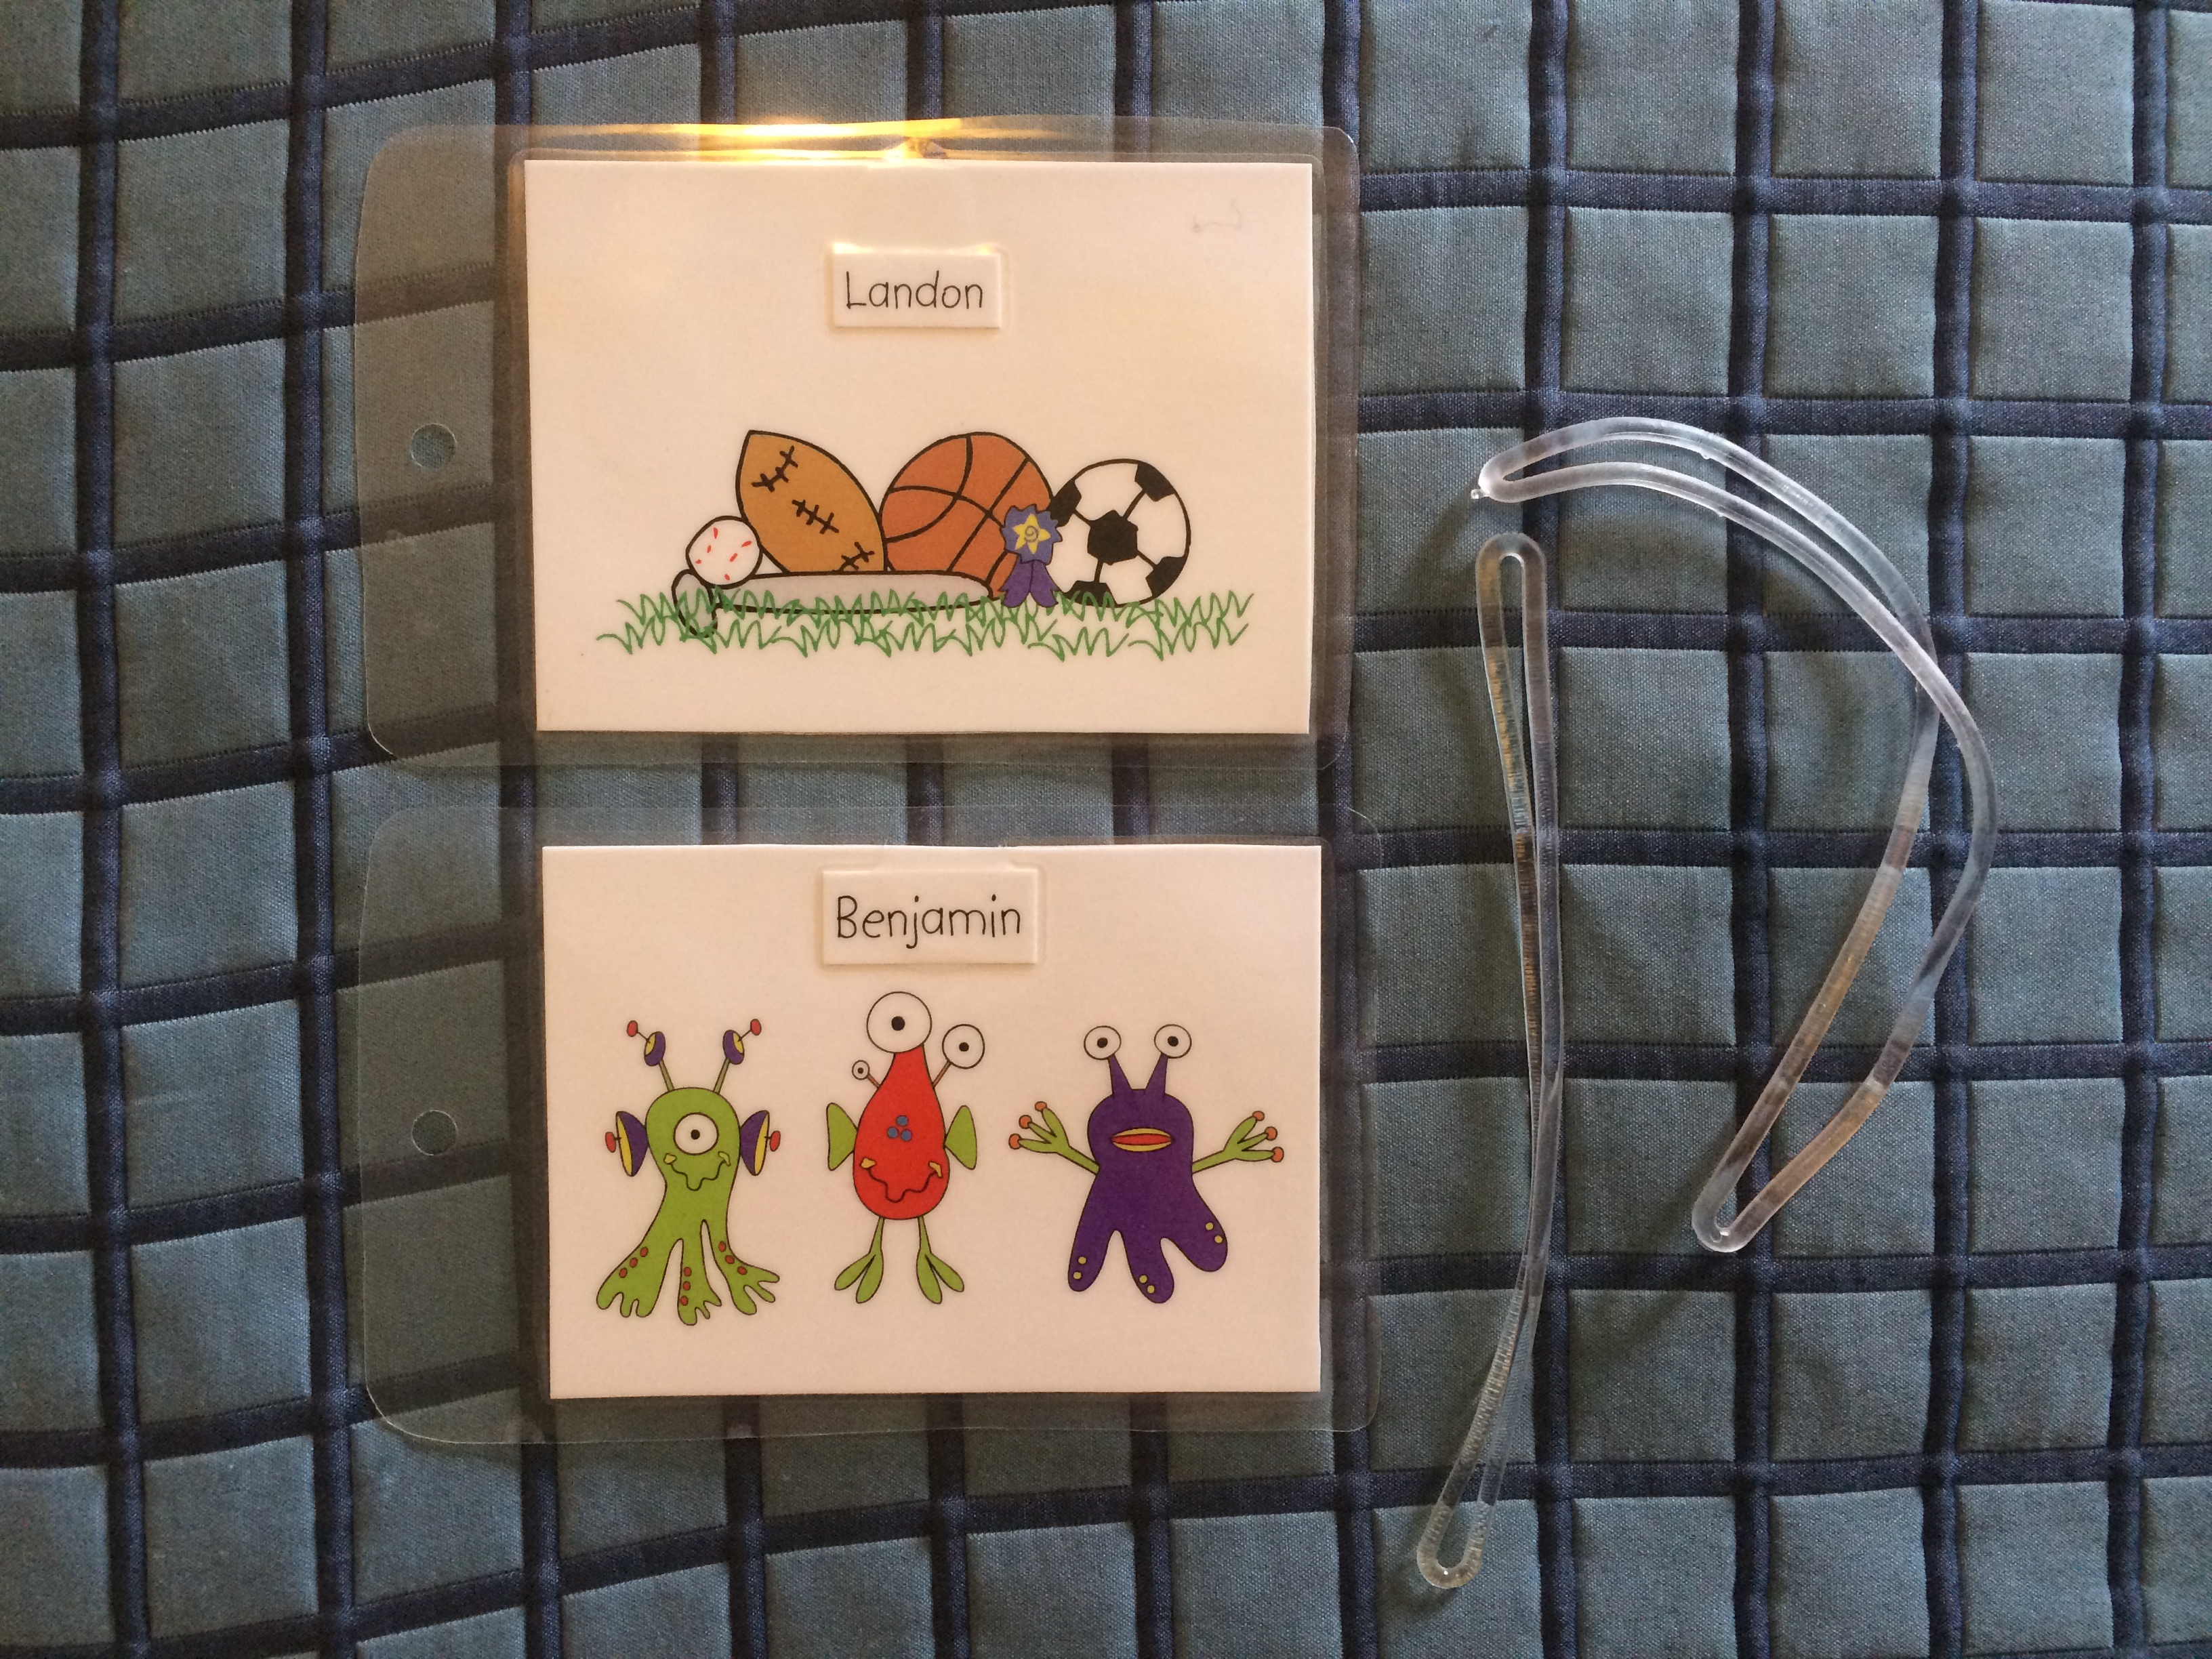
The boys notecards are Laura’s designs, Superstar and Alien Invasion! They boys love theirs. Landon is using his to write thank you notes from his birthday party! Benjamin is using his to write notes to invite friends over for playdates!
A Re-Purposing Project
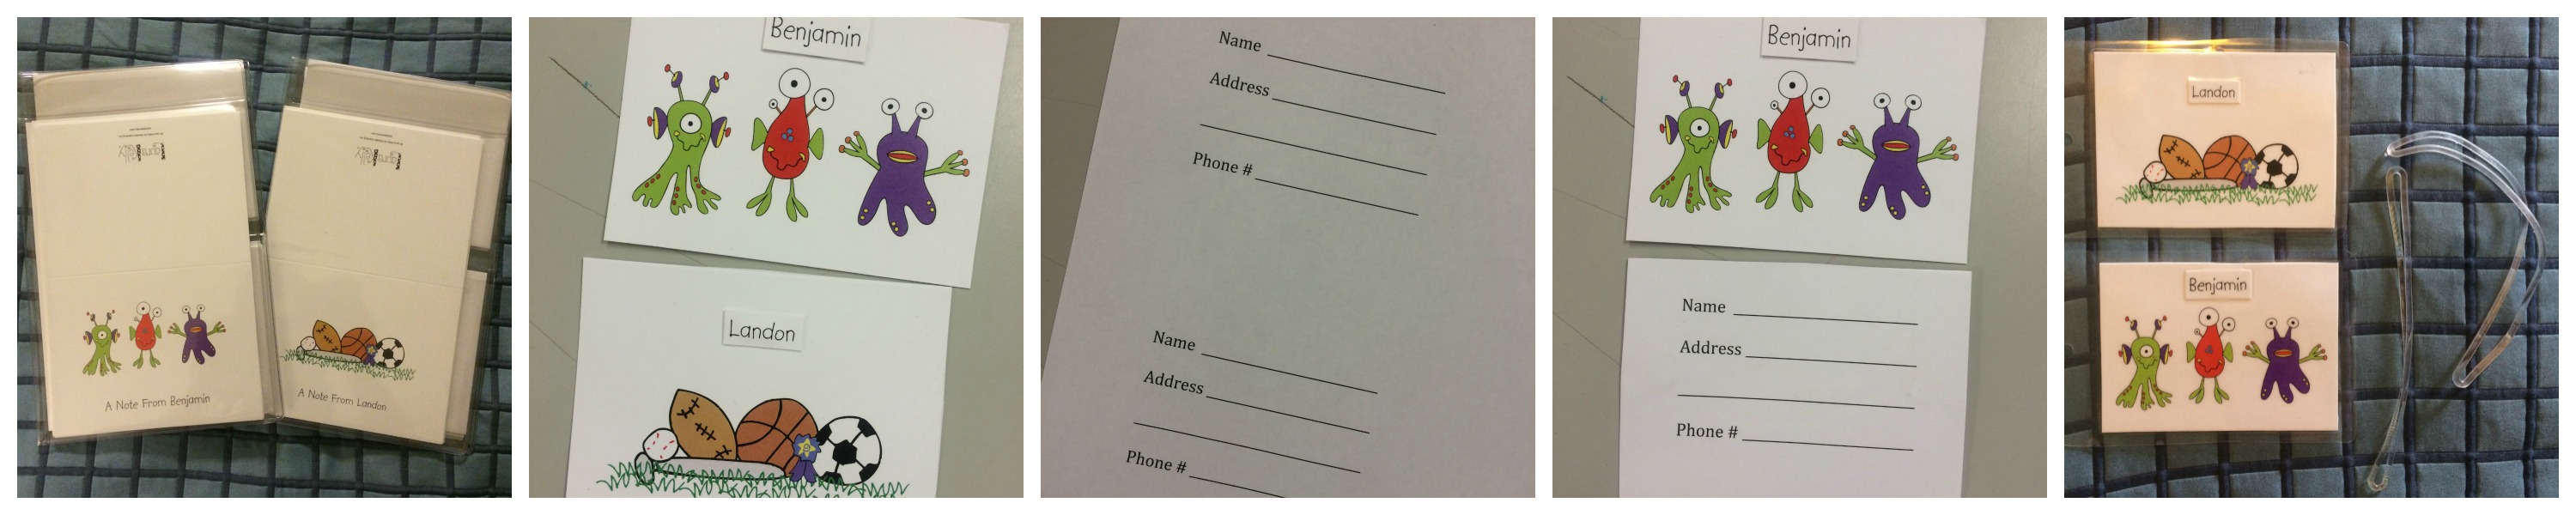
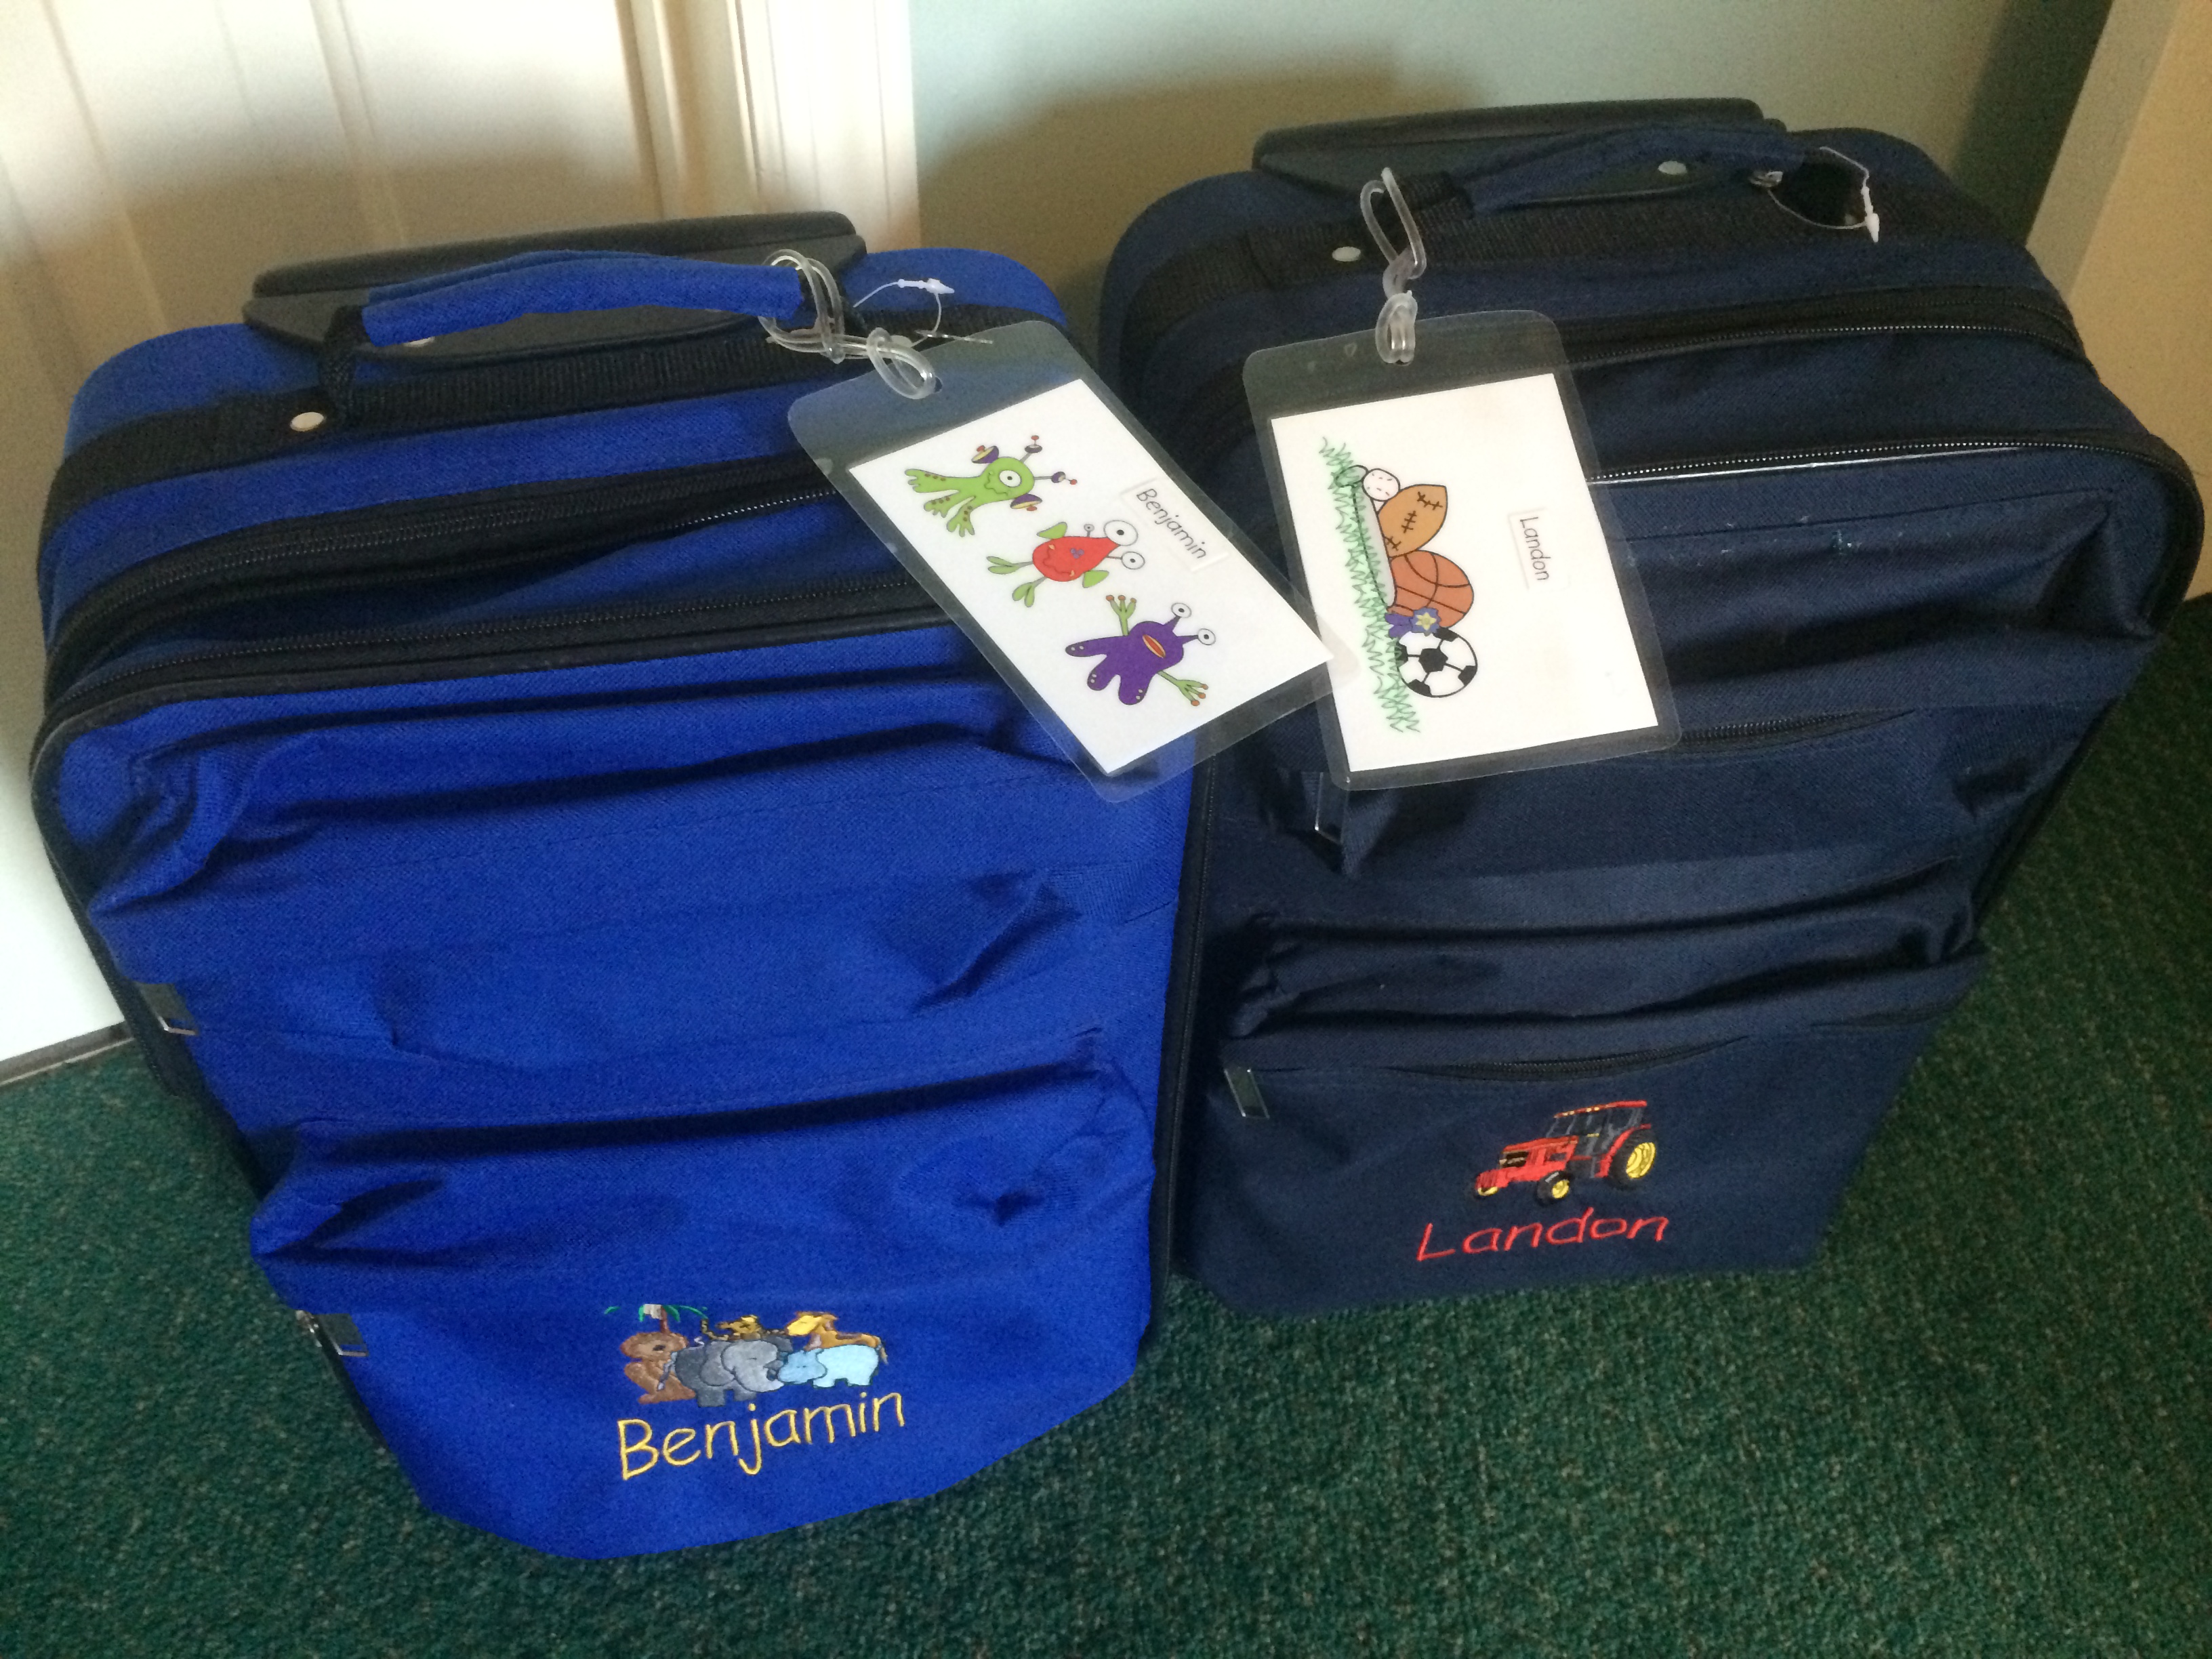
I love the idea of using this custom stationary for a repurposing project, so I did just that! We were due to leave a week after receiving our Expressionery package, to head to the beach. I decided to make the kids luggage tags for their suitcases using a notecard from each of their sets. I cut the cards up, also cutting away their name from the bottom. I glued their name to the top of the cutout. Using my computer, I typed up the back of the label with Name, Address, and Phone number. After printing it, I glued it to the back of the notecard, lamenated it, punched a hole in it and using the Plastic Worm Loops, I attached it to their luggage.
Leave a comment for a chance to wine a $20 Giftcard to Expressionery.com!!!!
Hop on over to some fellow bloggers participating in this blog hop!!!
Enter for a chance to win a $200 Amazon gift card and an Expressionery.com gift set!!!! a Rafflecopter giveaway

)

)
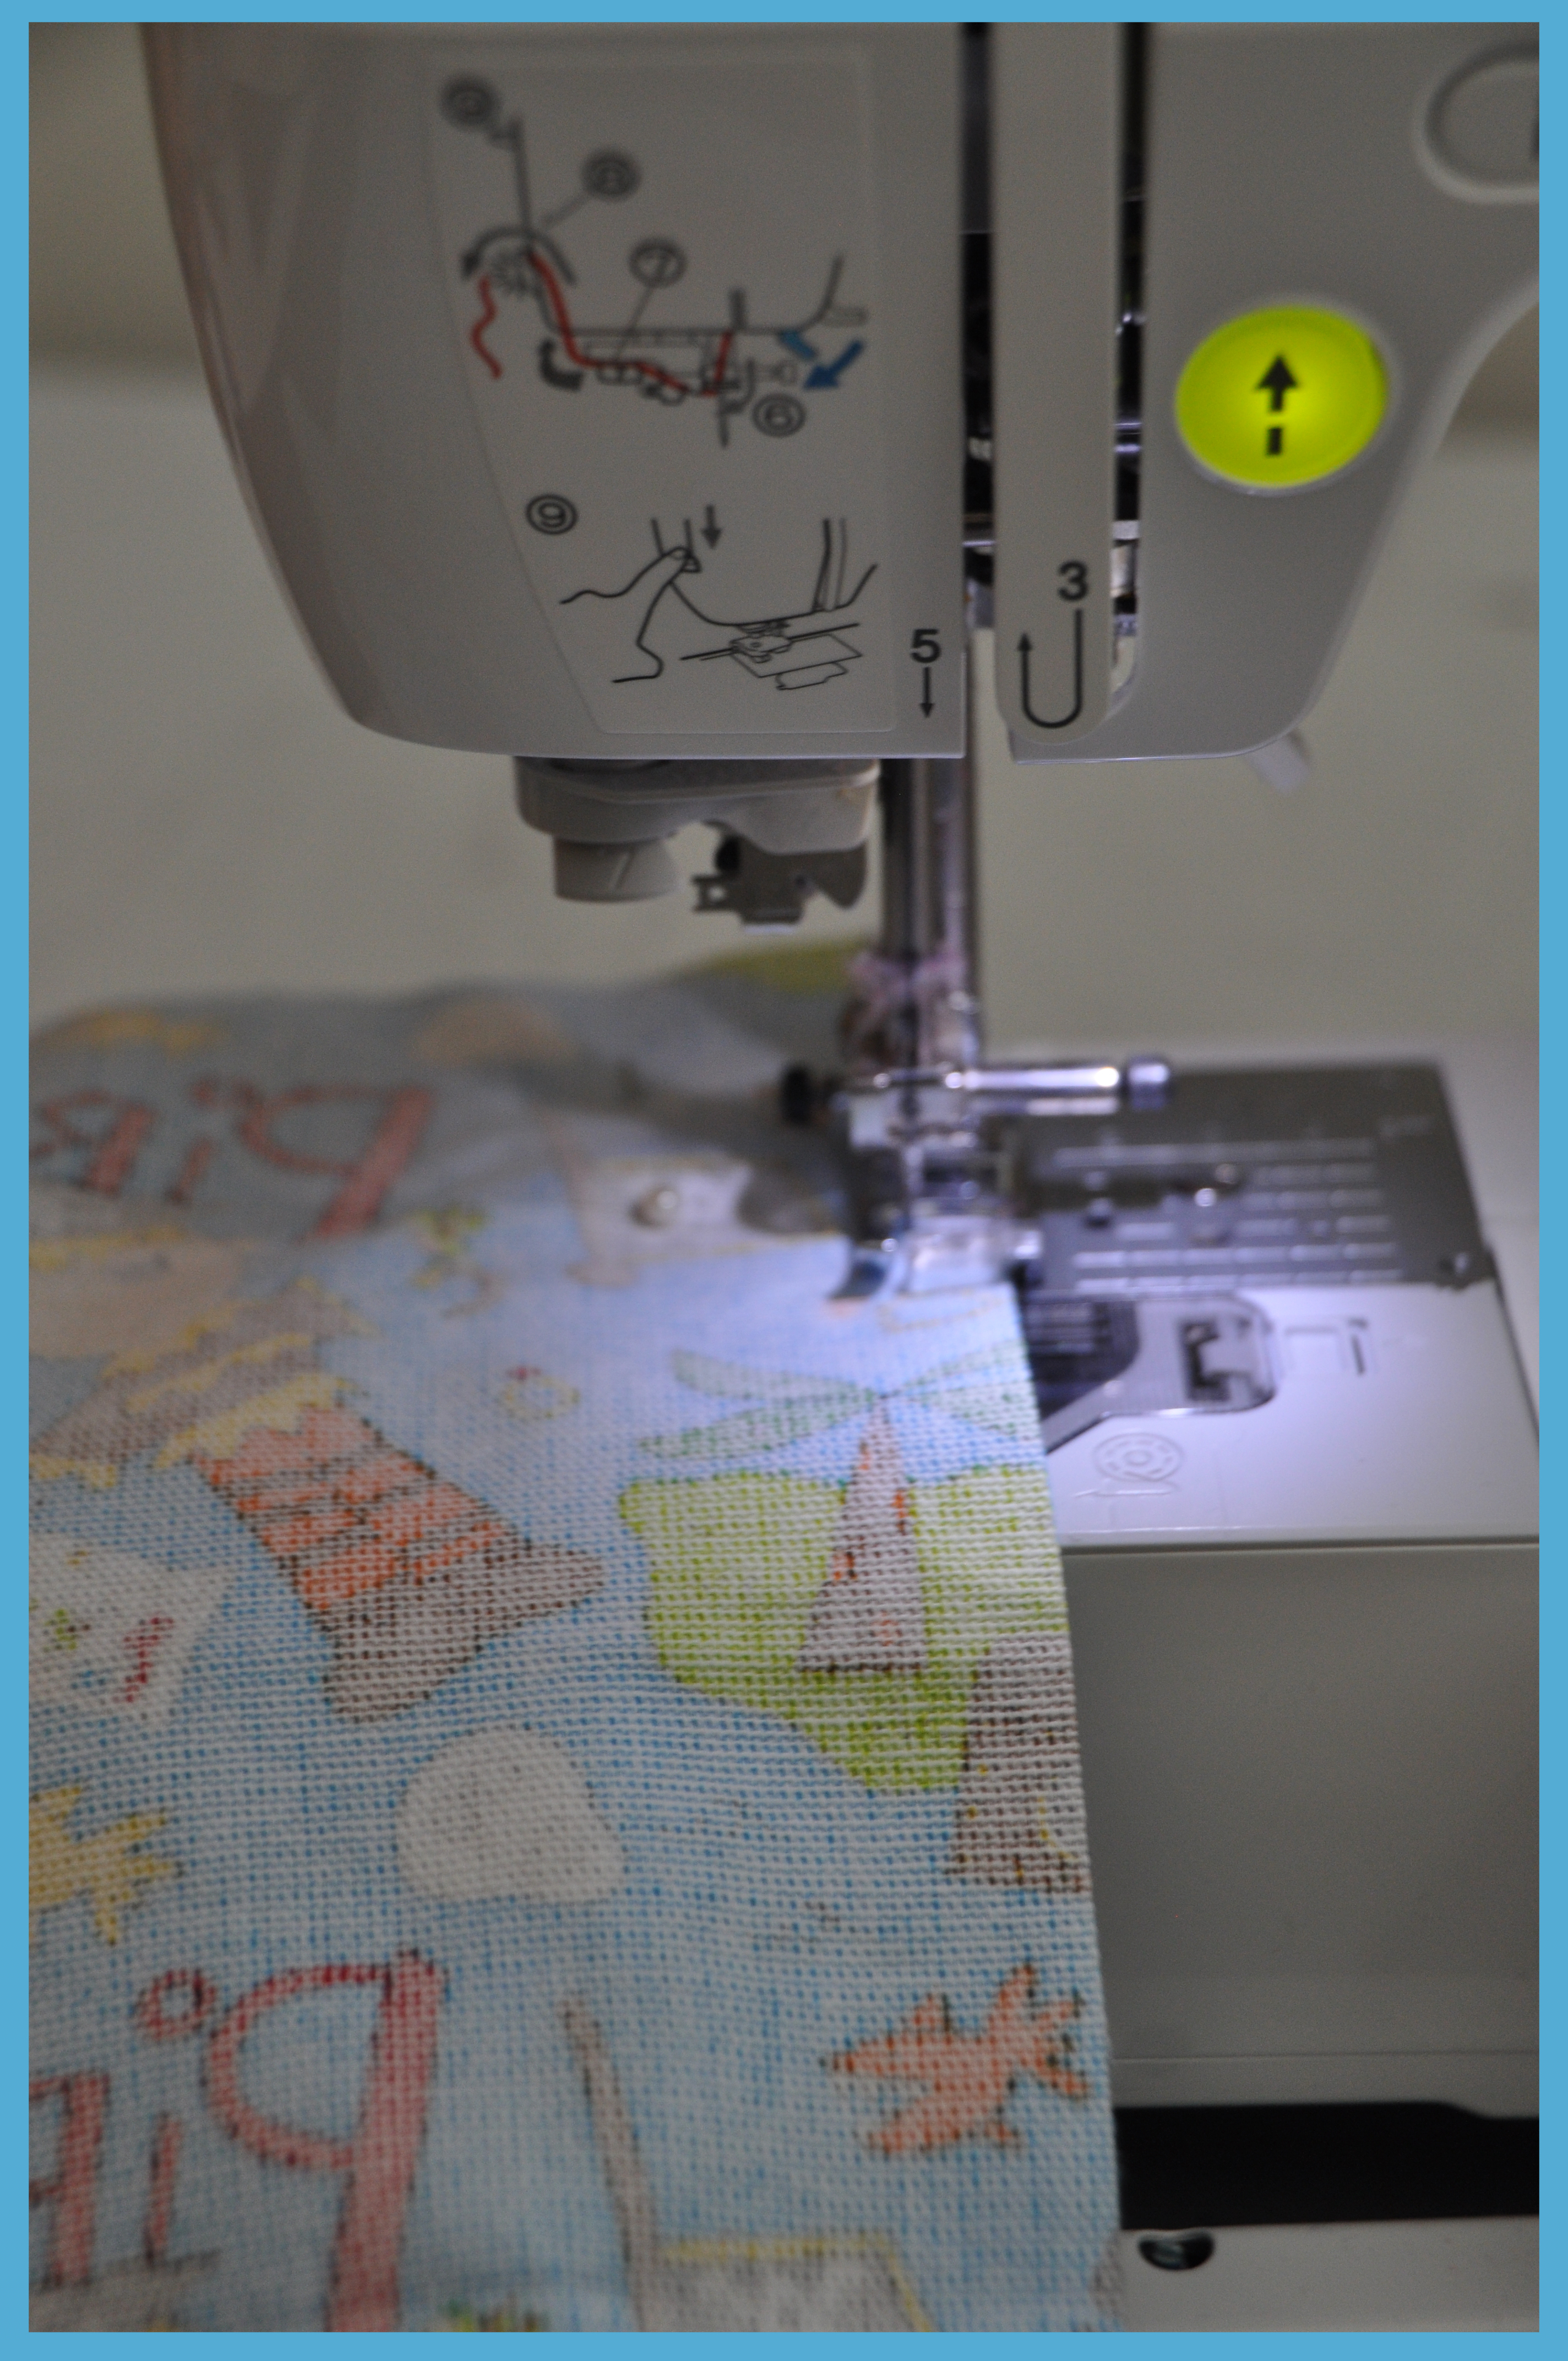
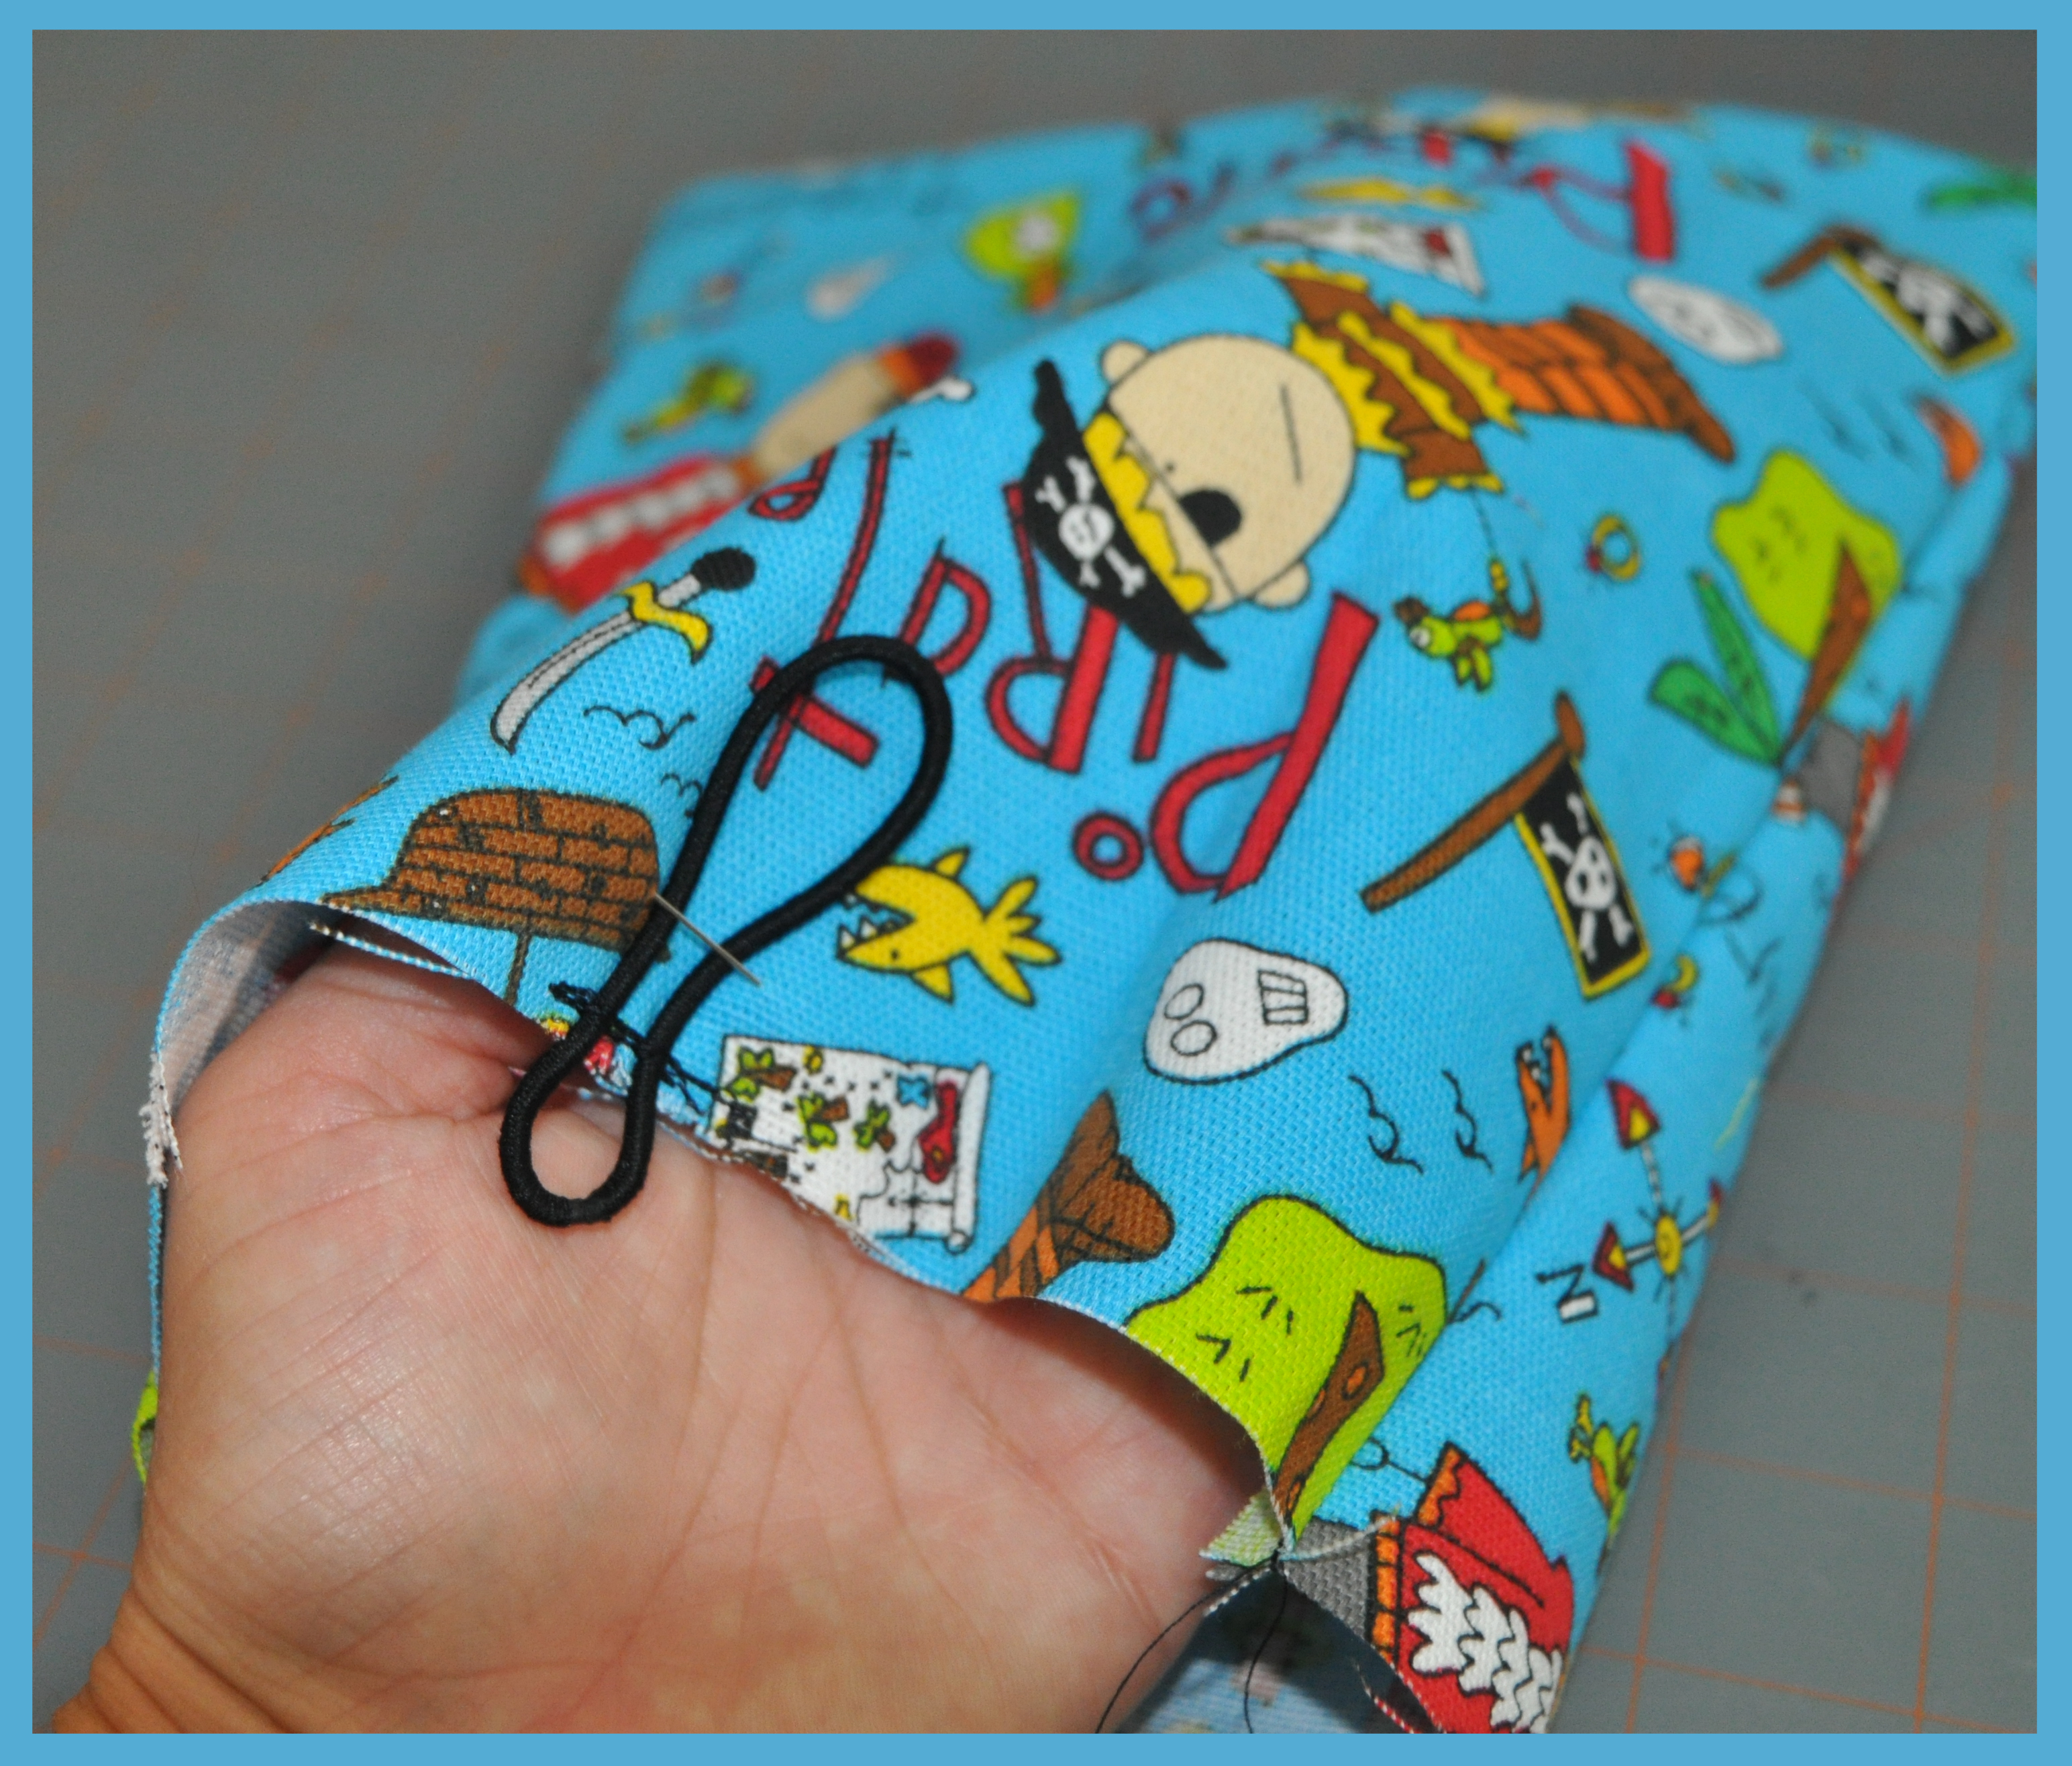
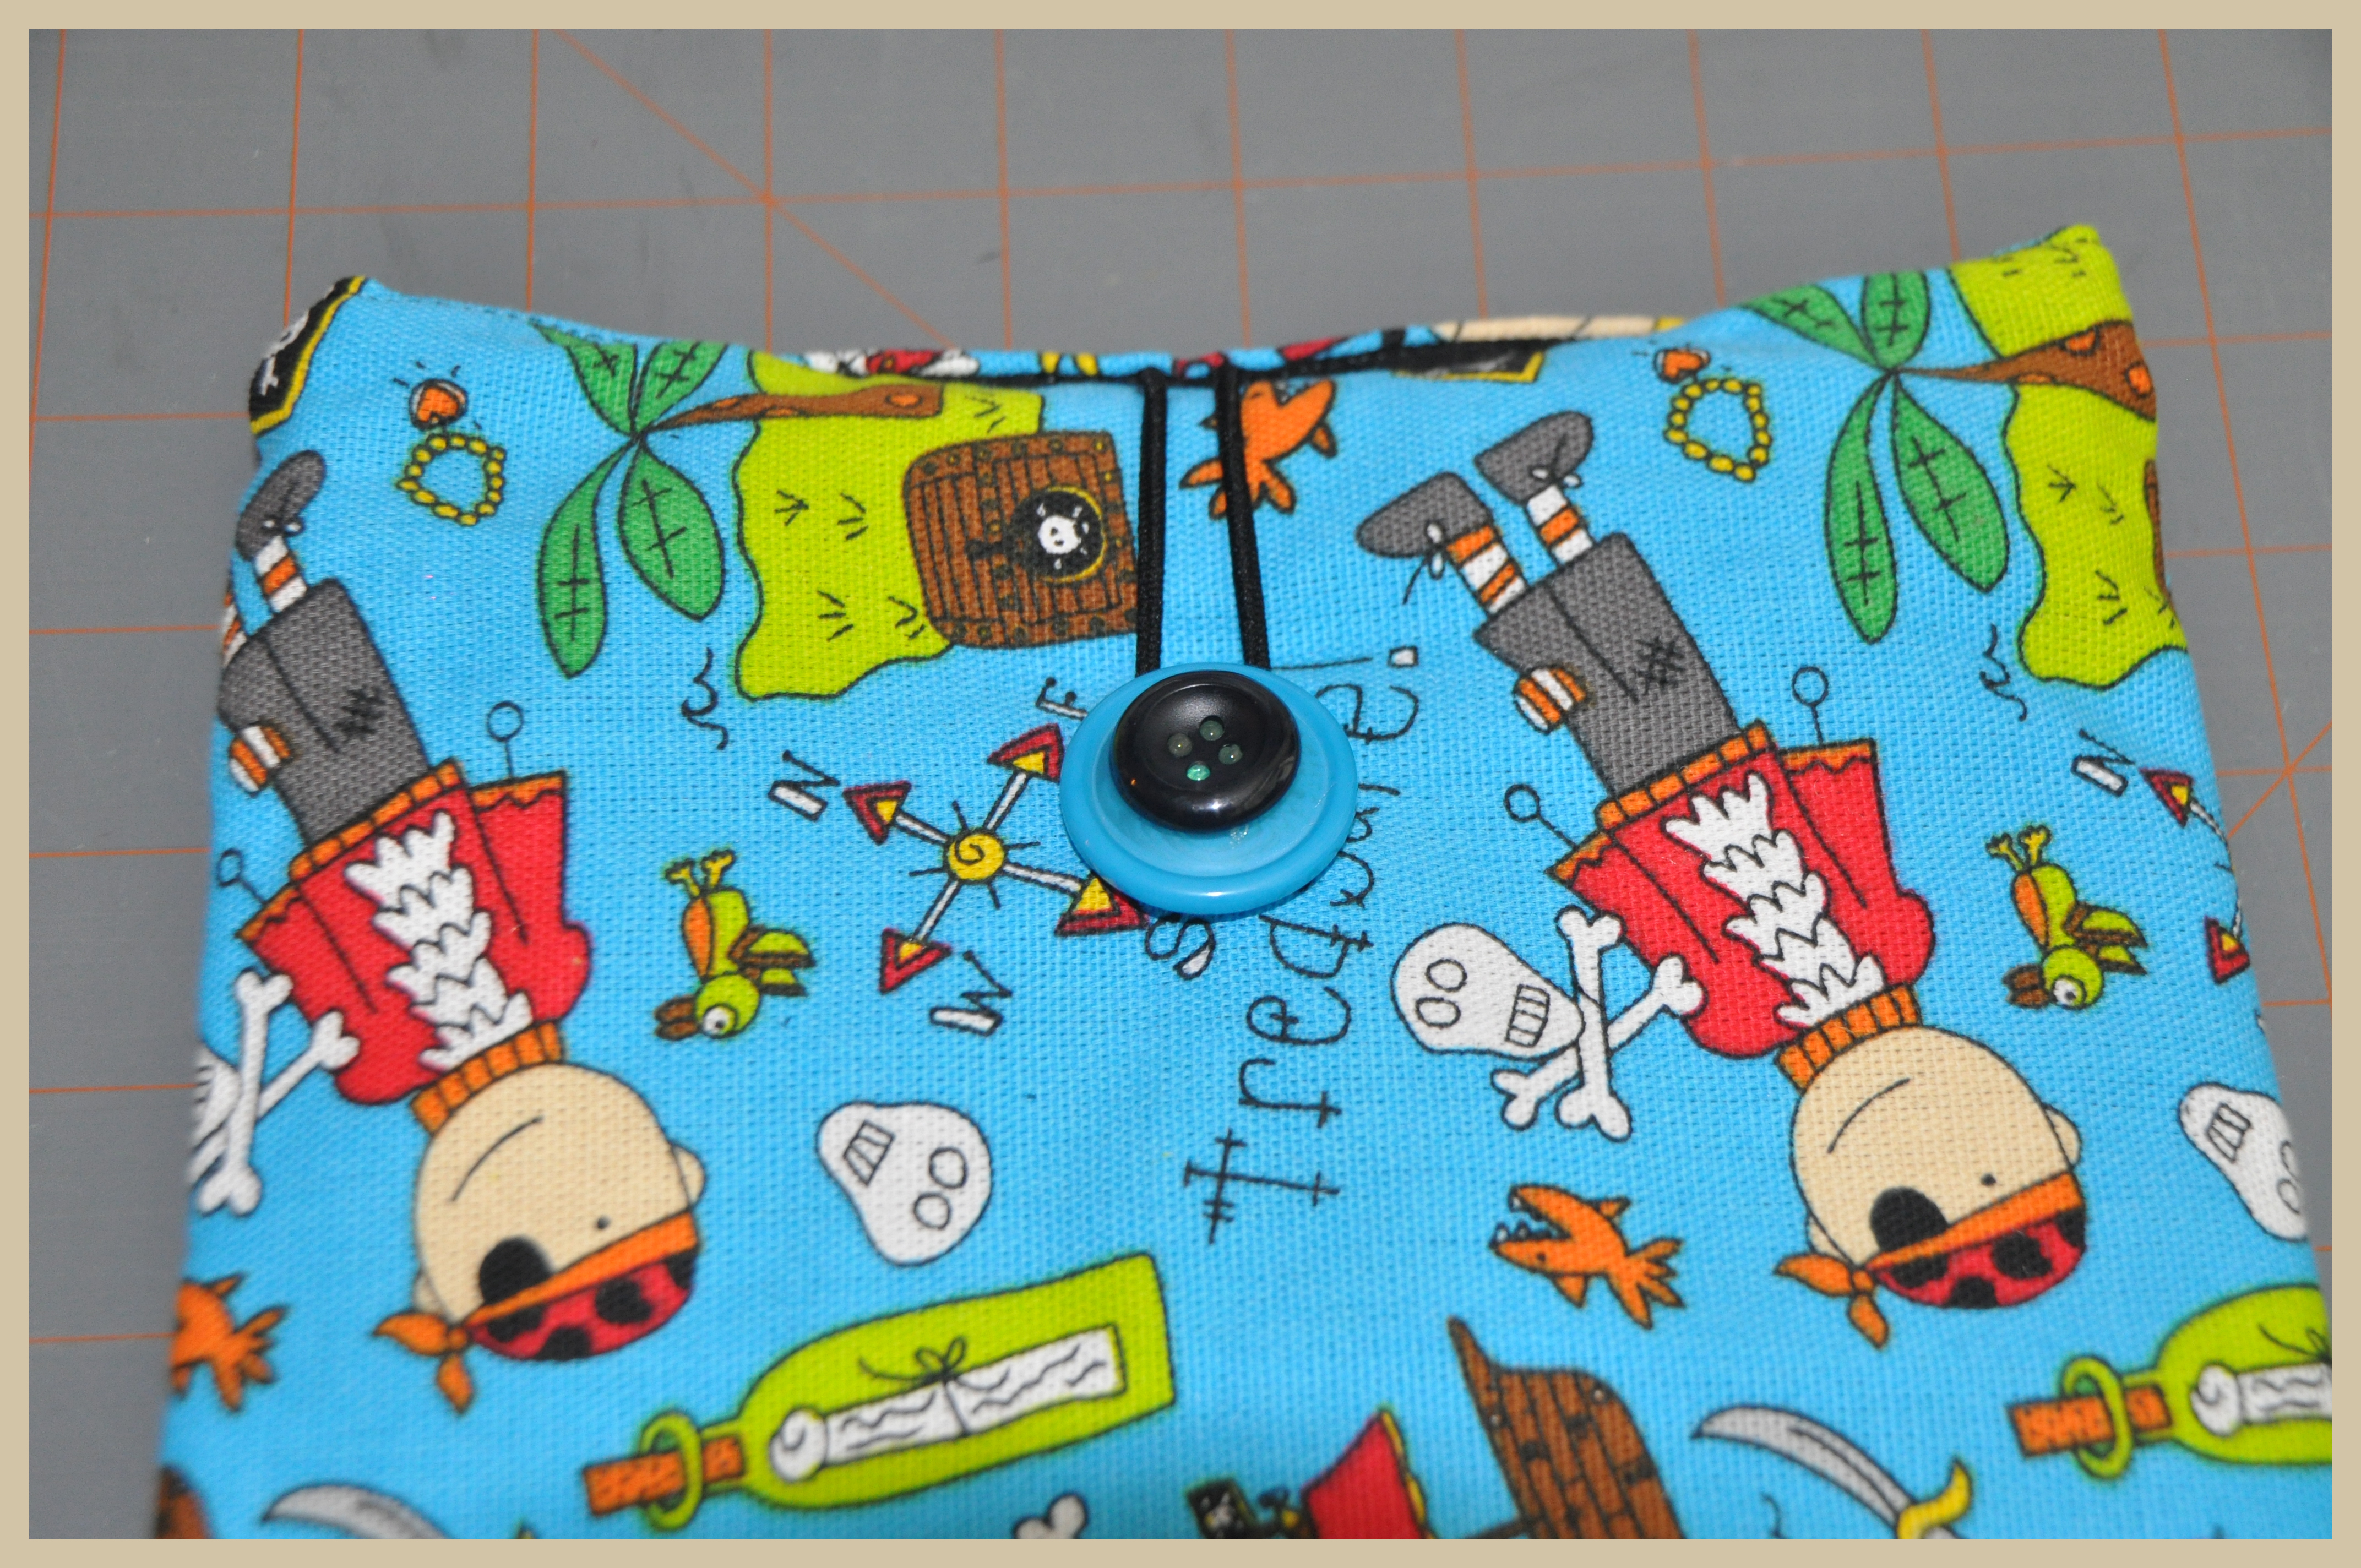
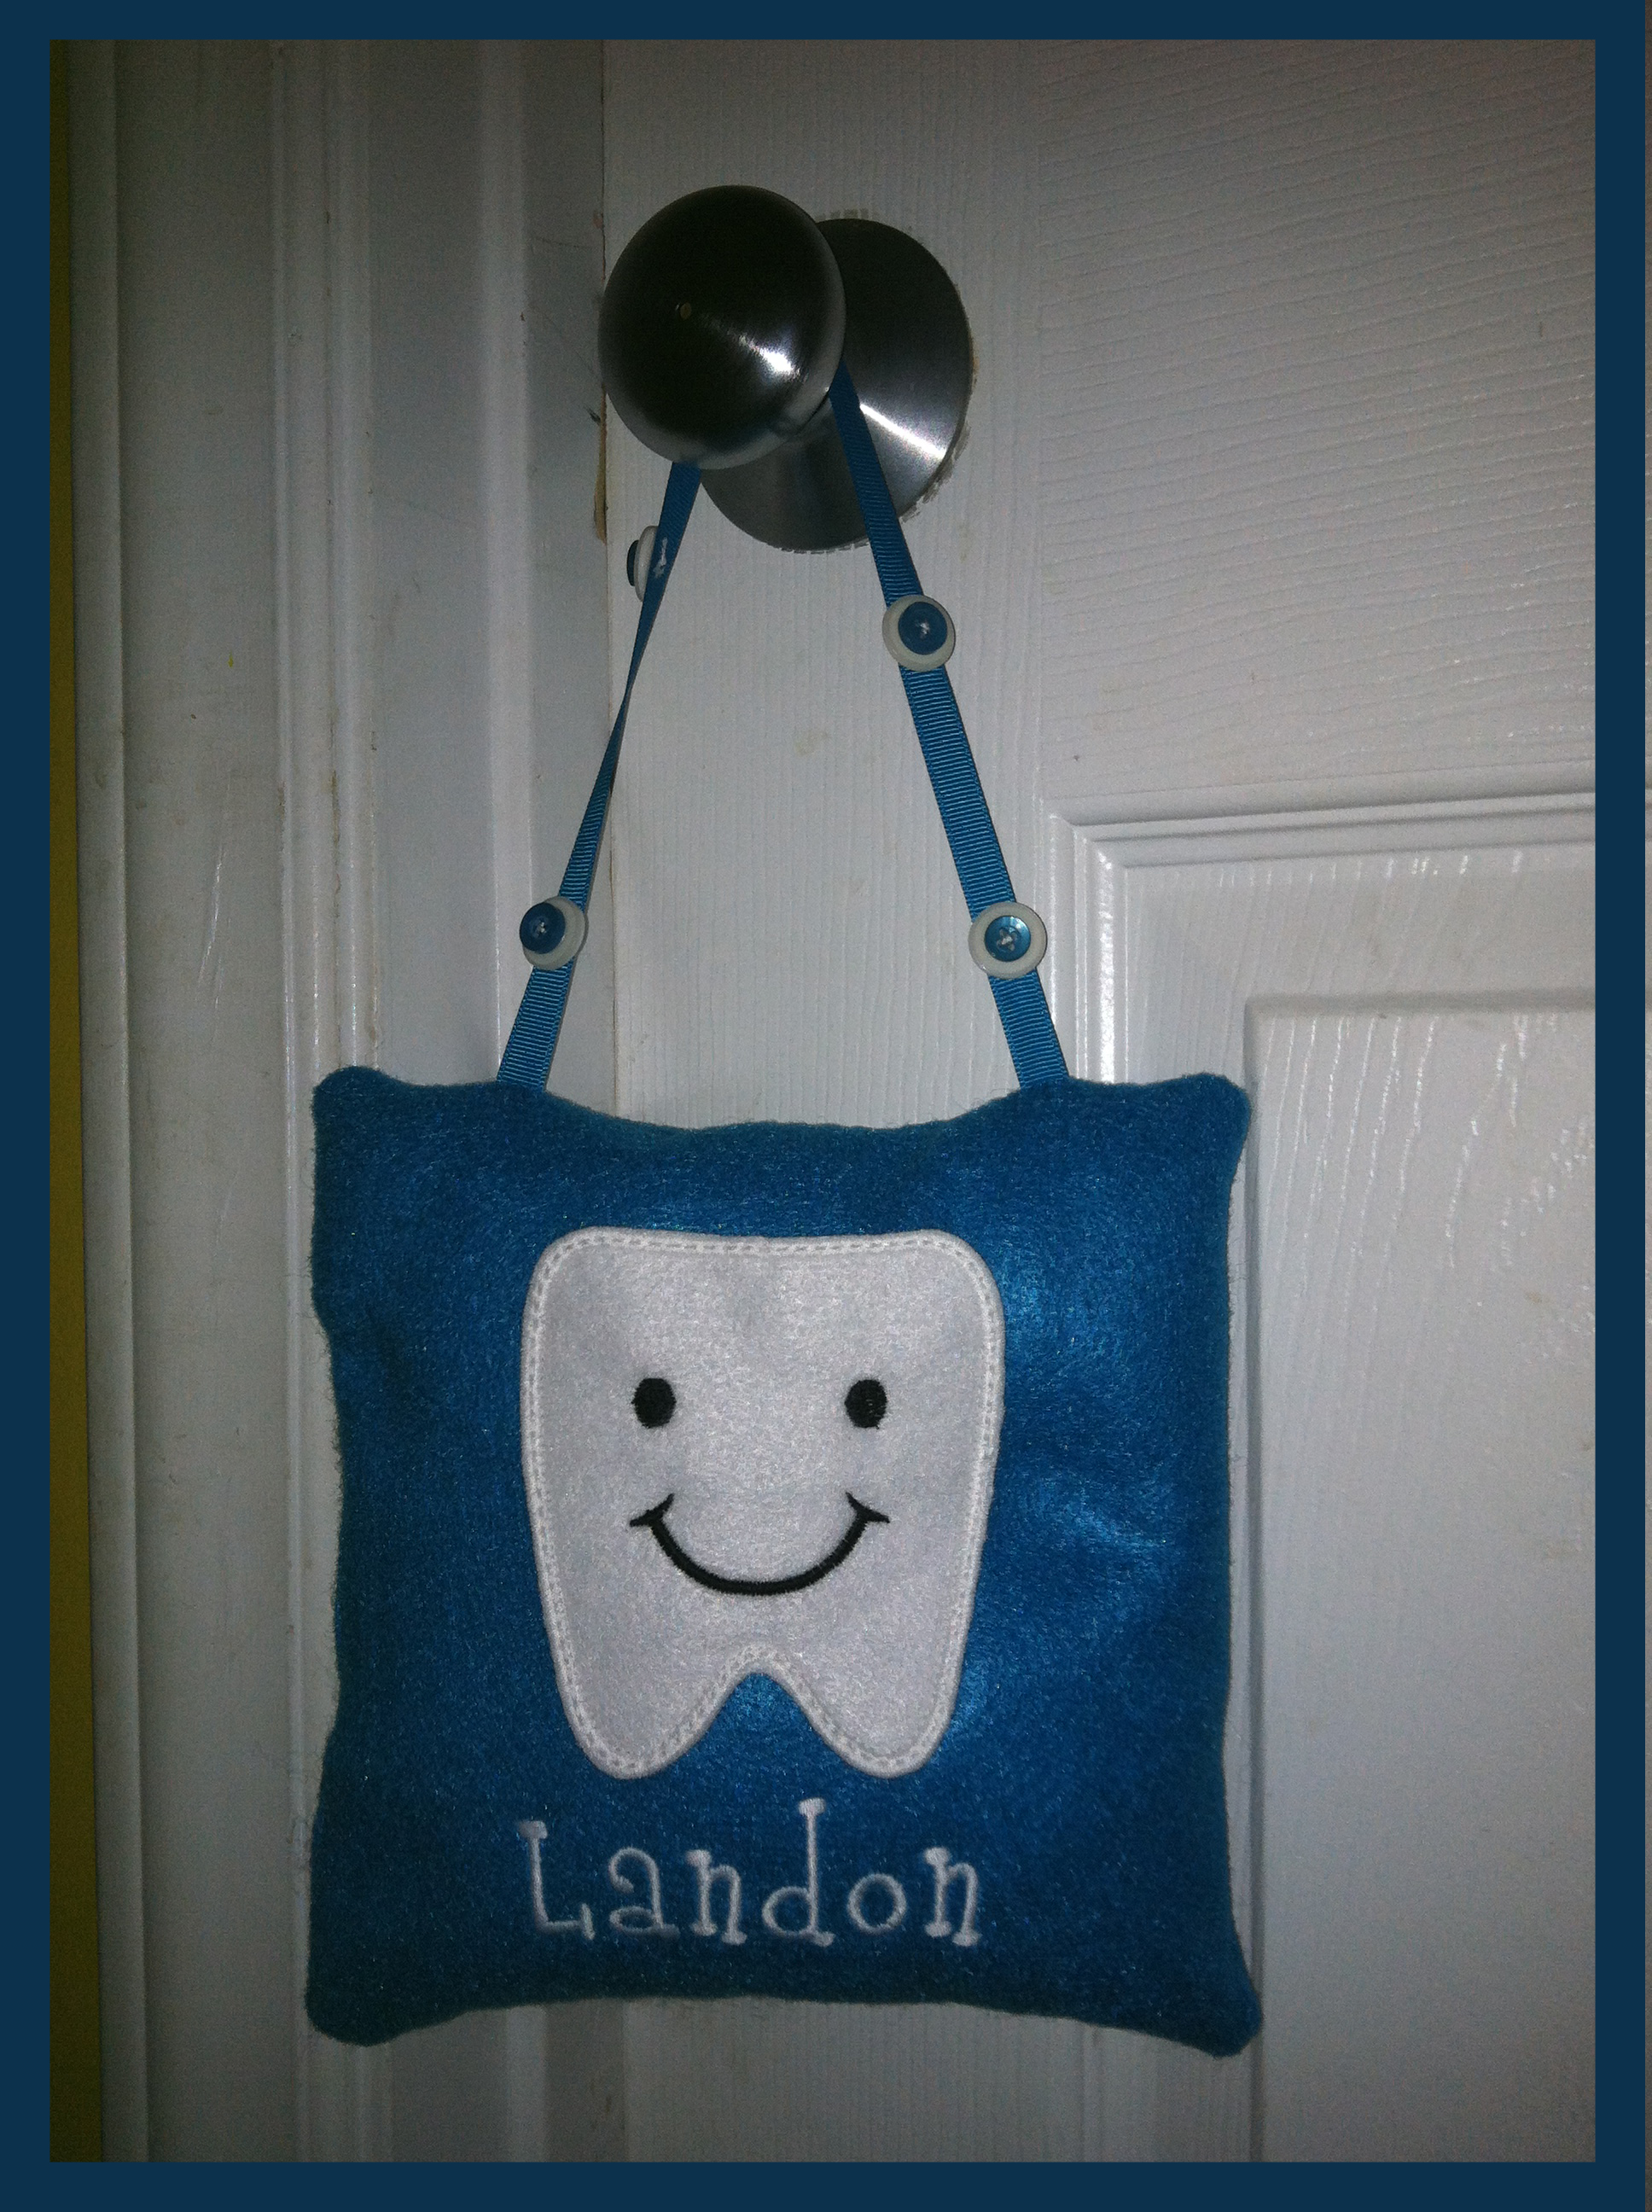
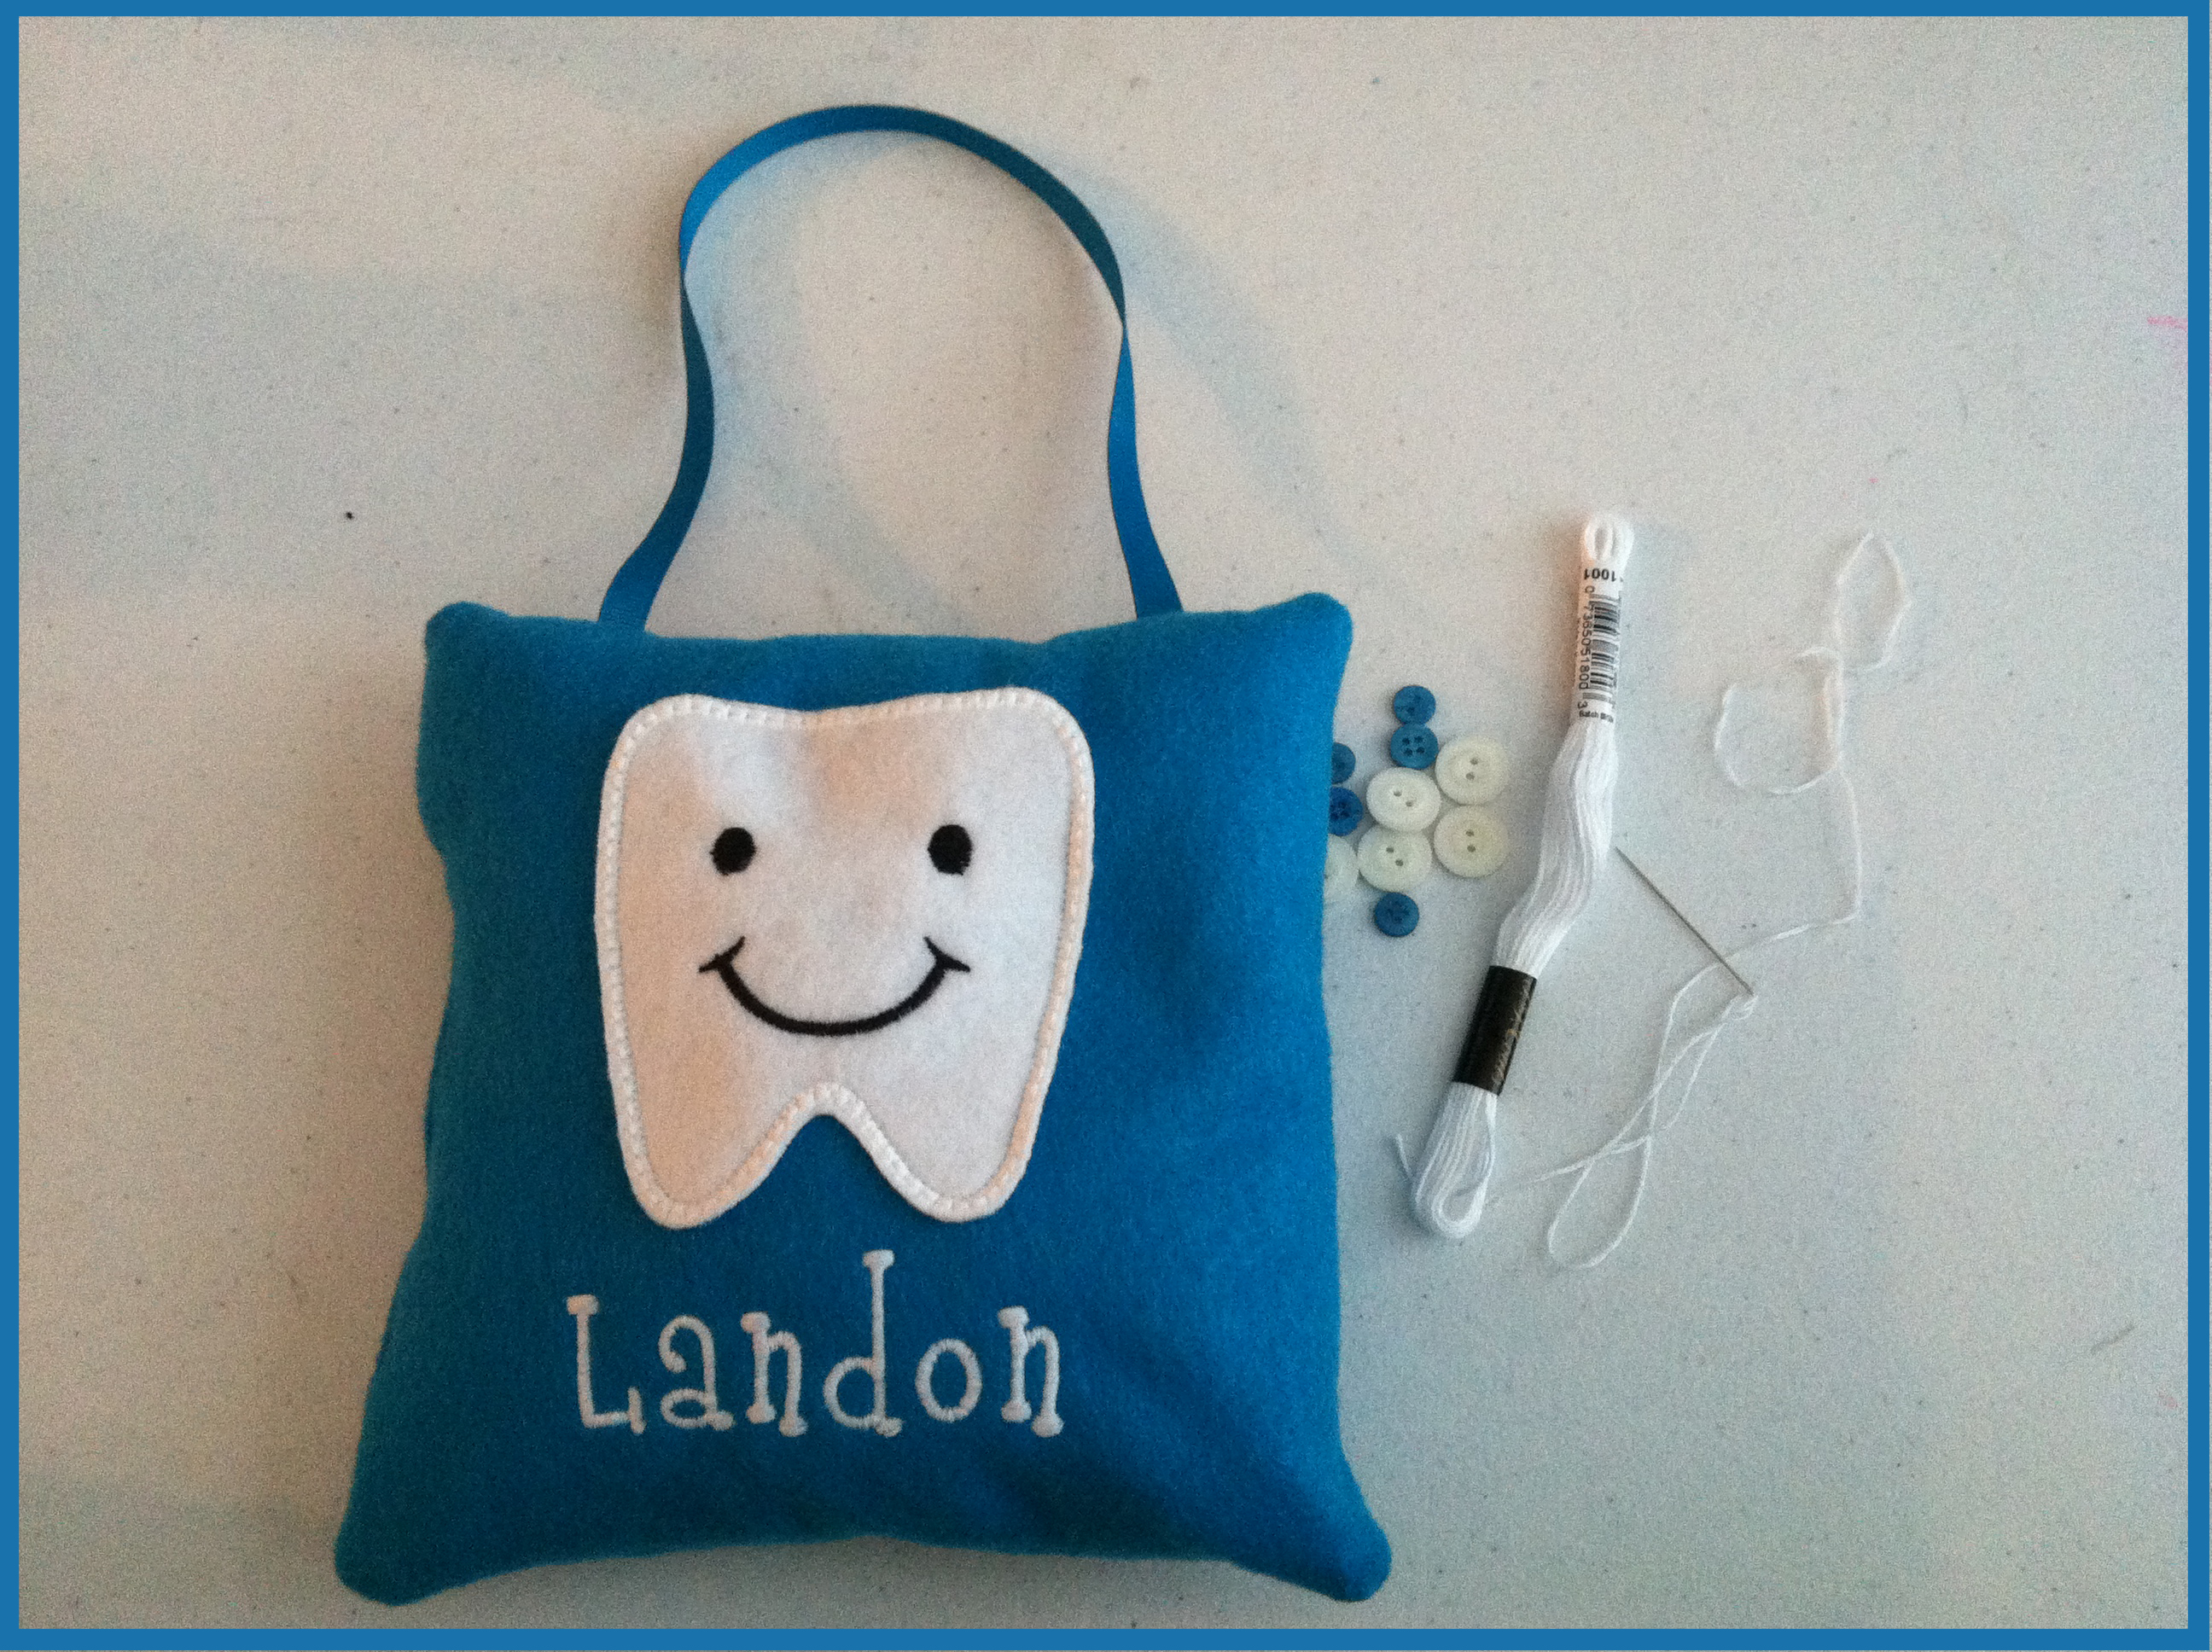
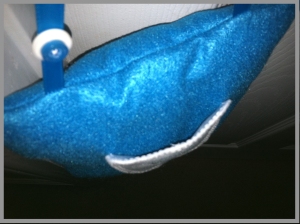
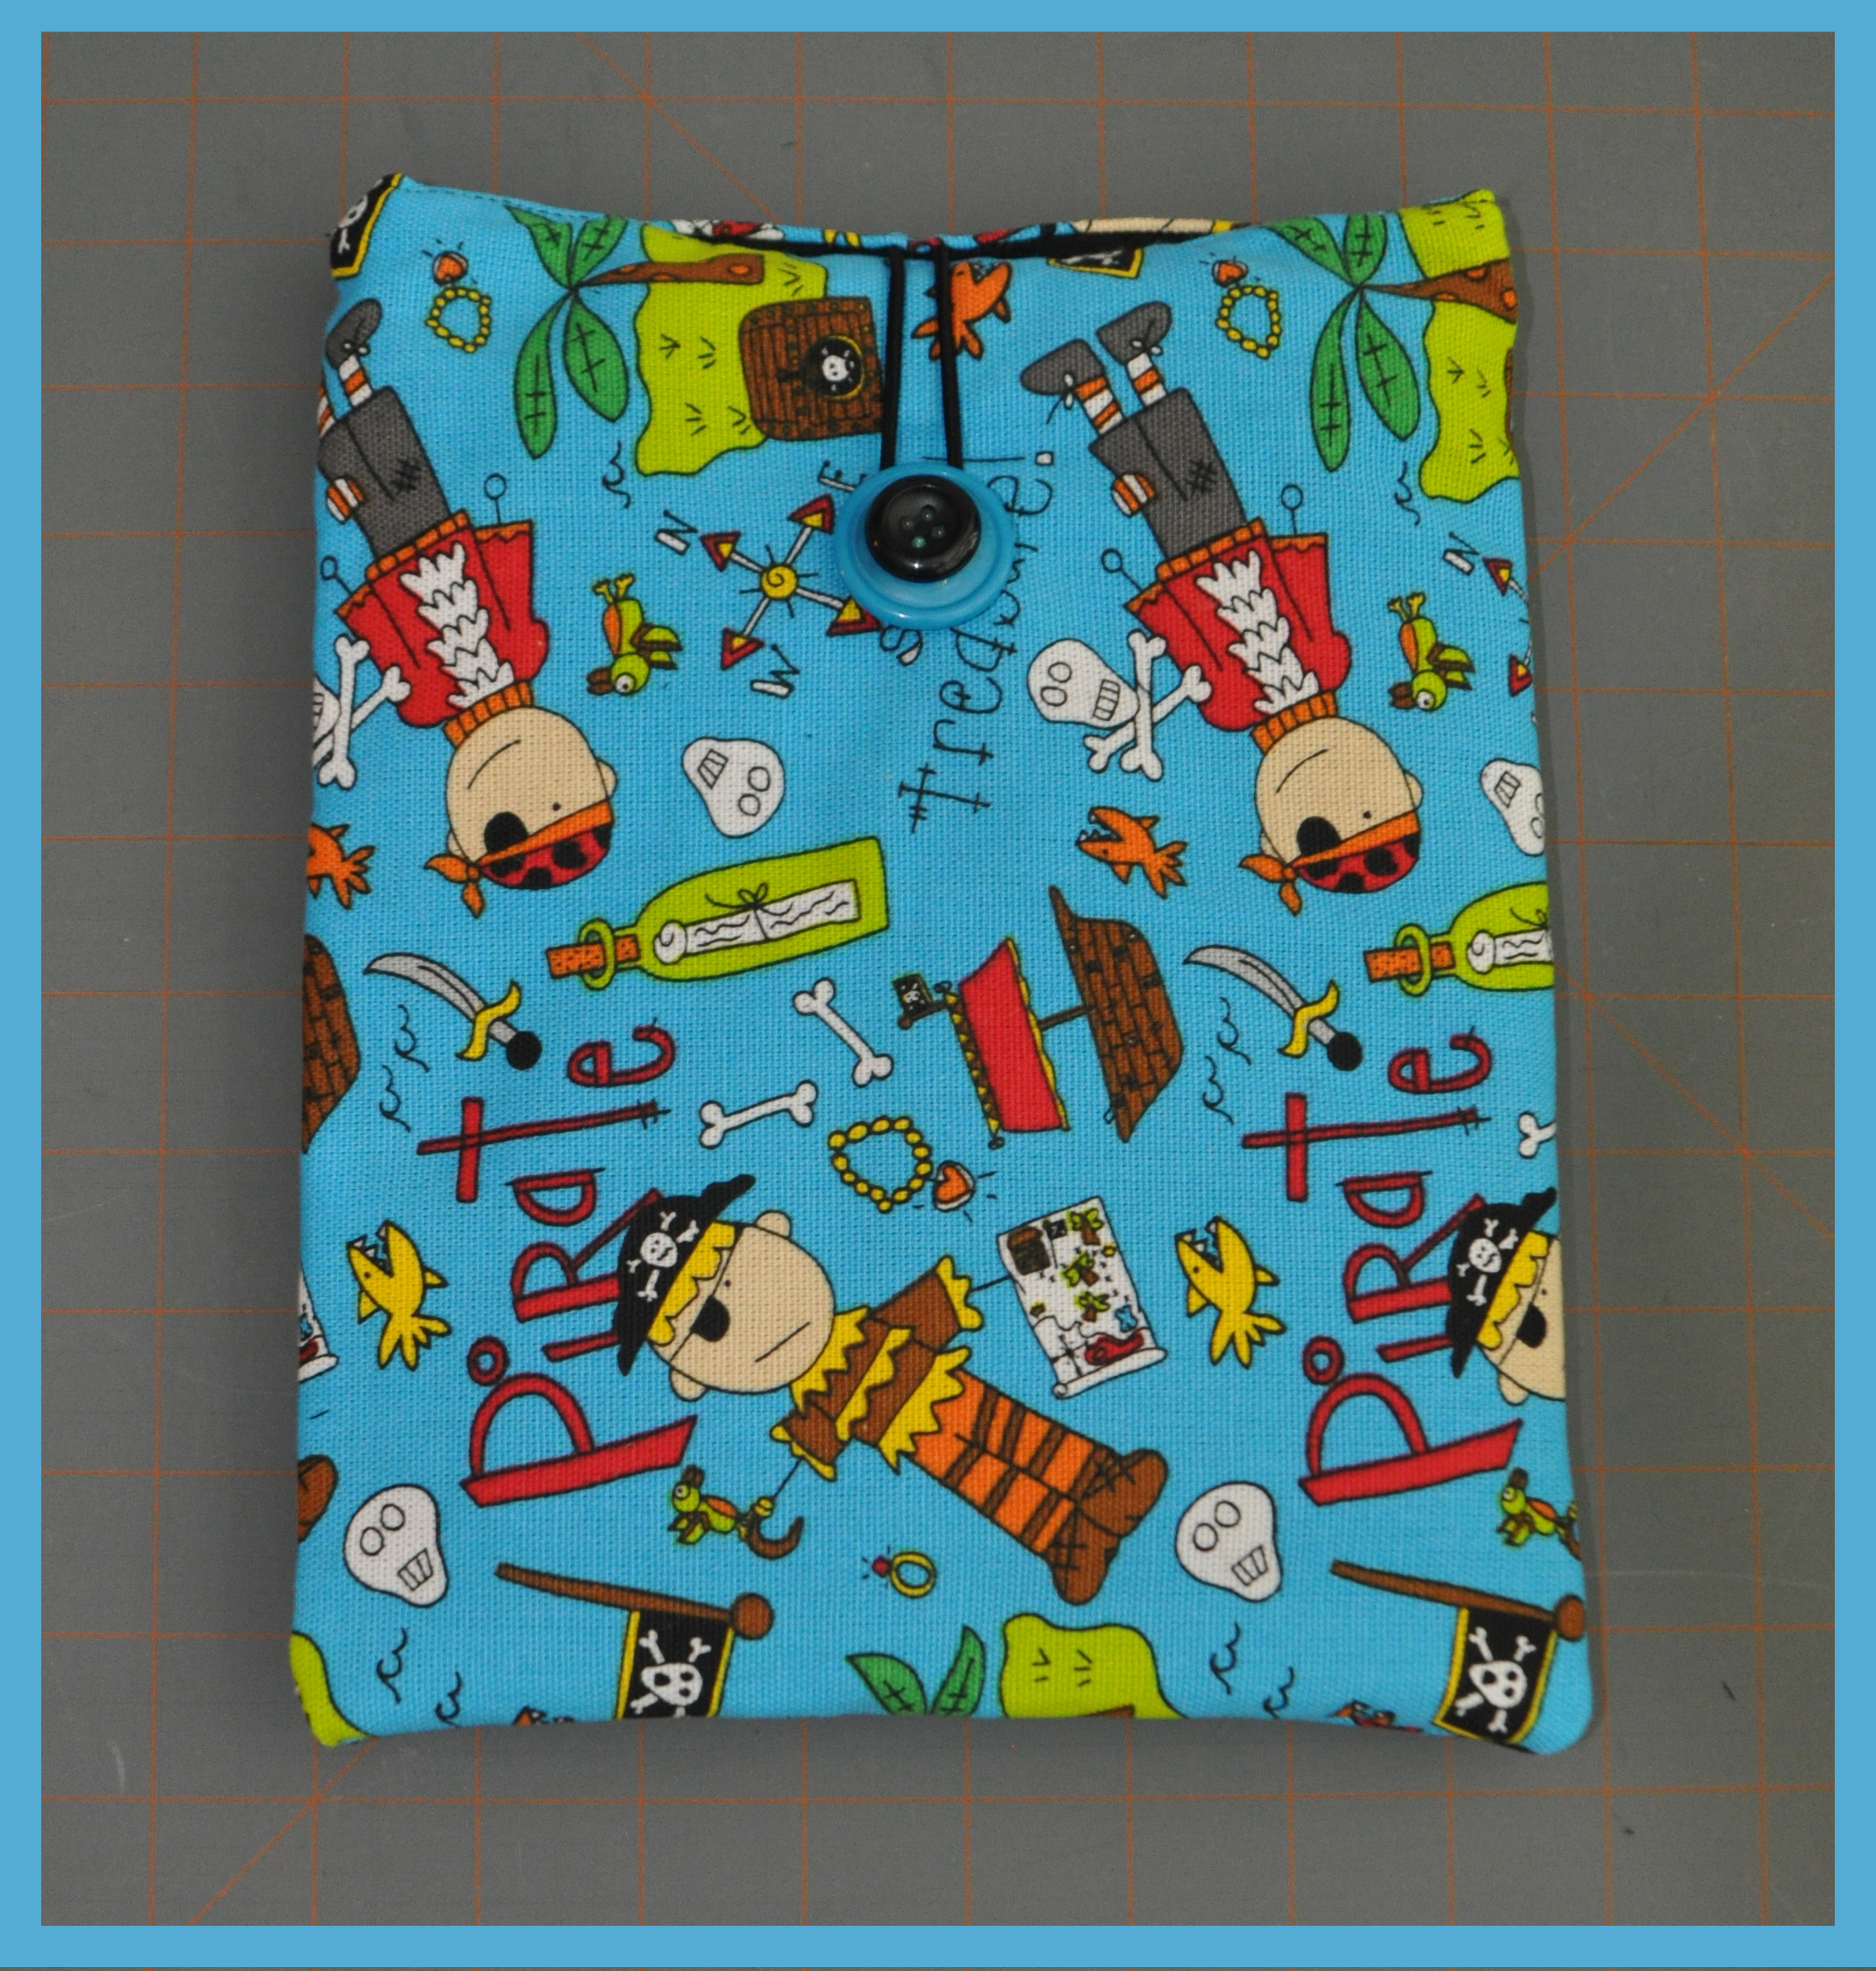
 I used ribbon to hang it, so I pinned the ribbon to the right side of the pillow and stitched it back and forth a couple of times at the top of the pillow so that it would stay in place once I began to sew it.
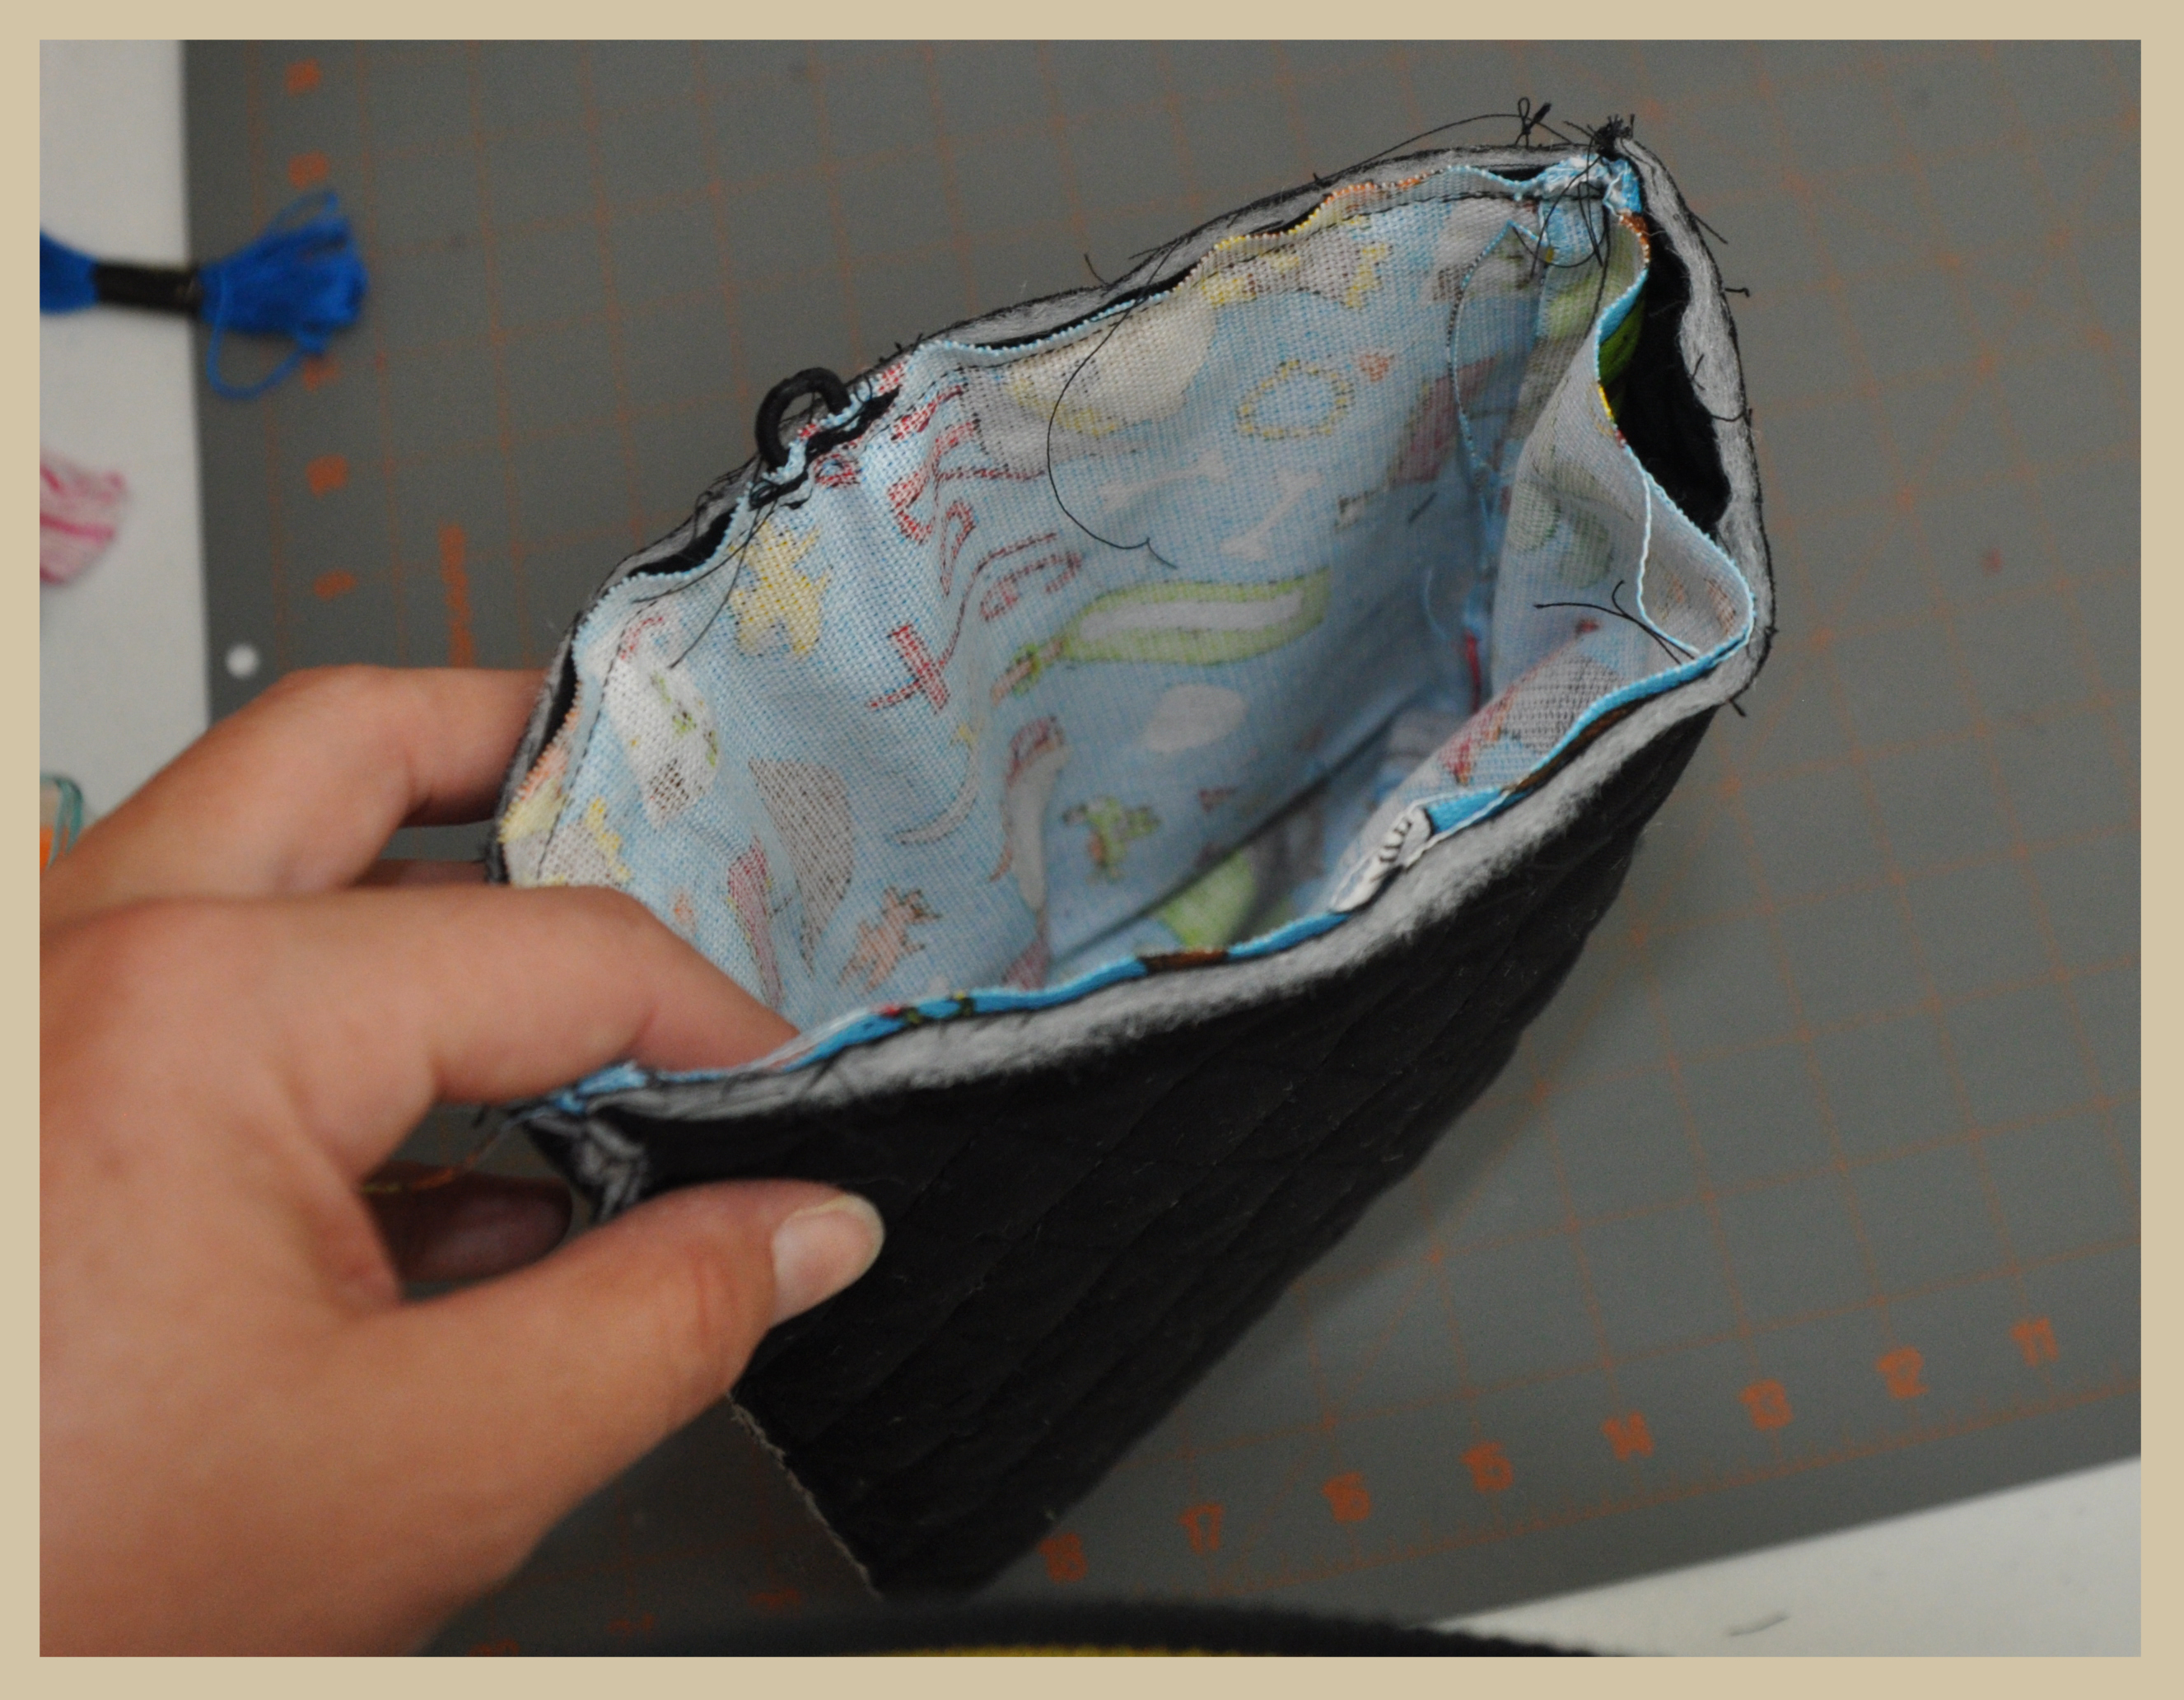
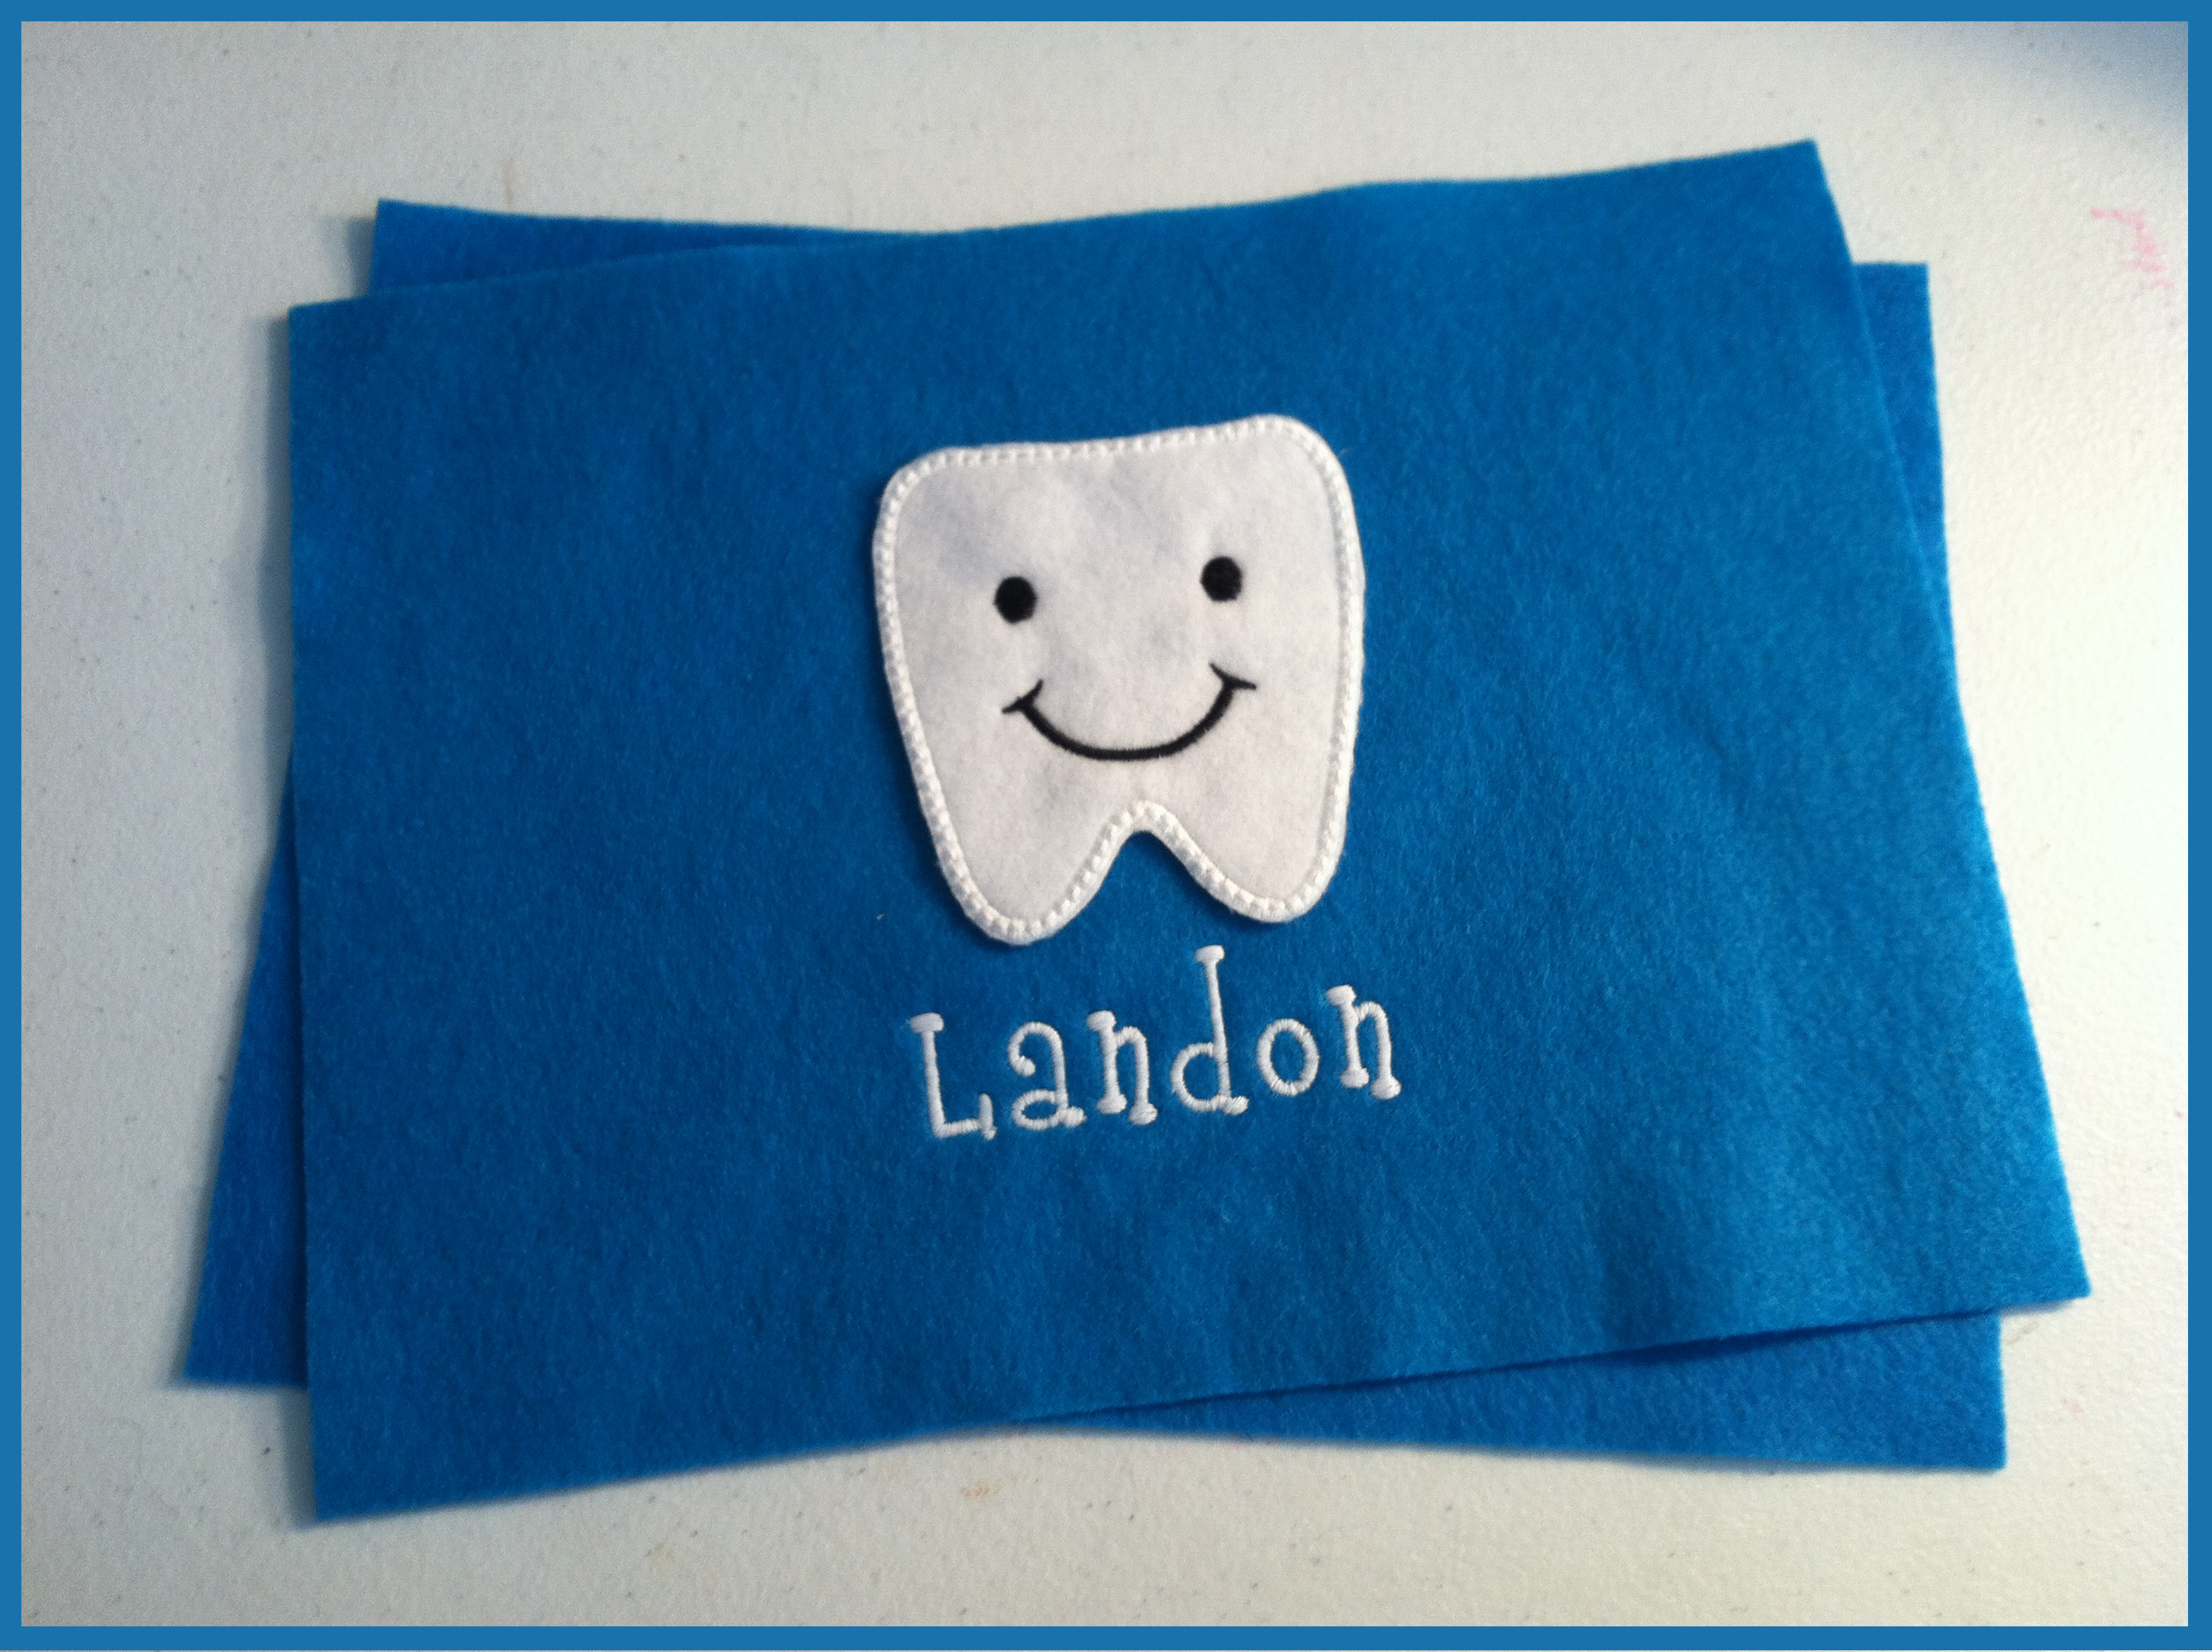
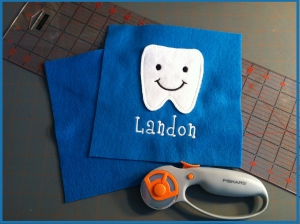
 Then, I sewed the edges together leaving about a 2 inch opening on the side, so that I could flip it right side out and stuff it.
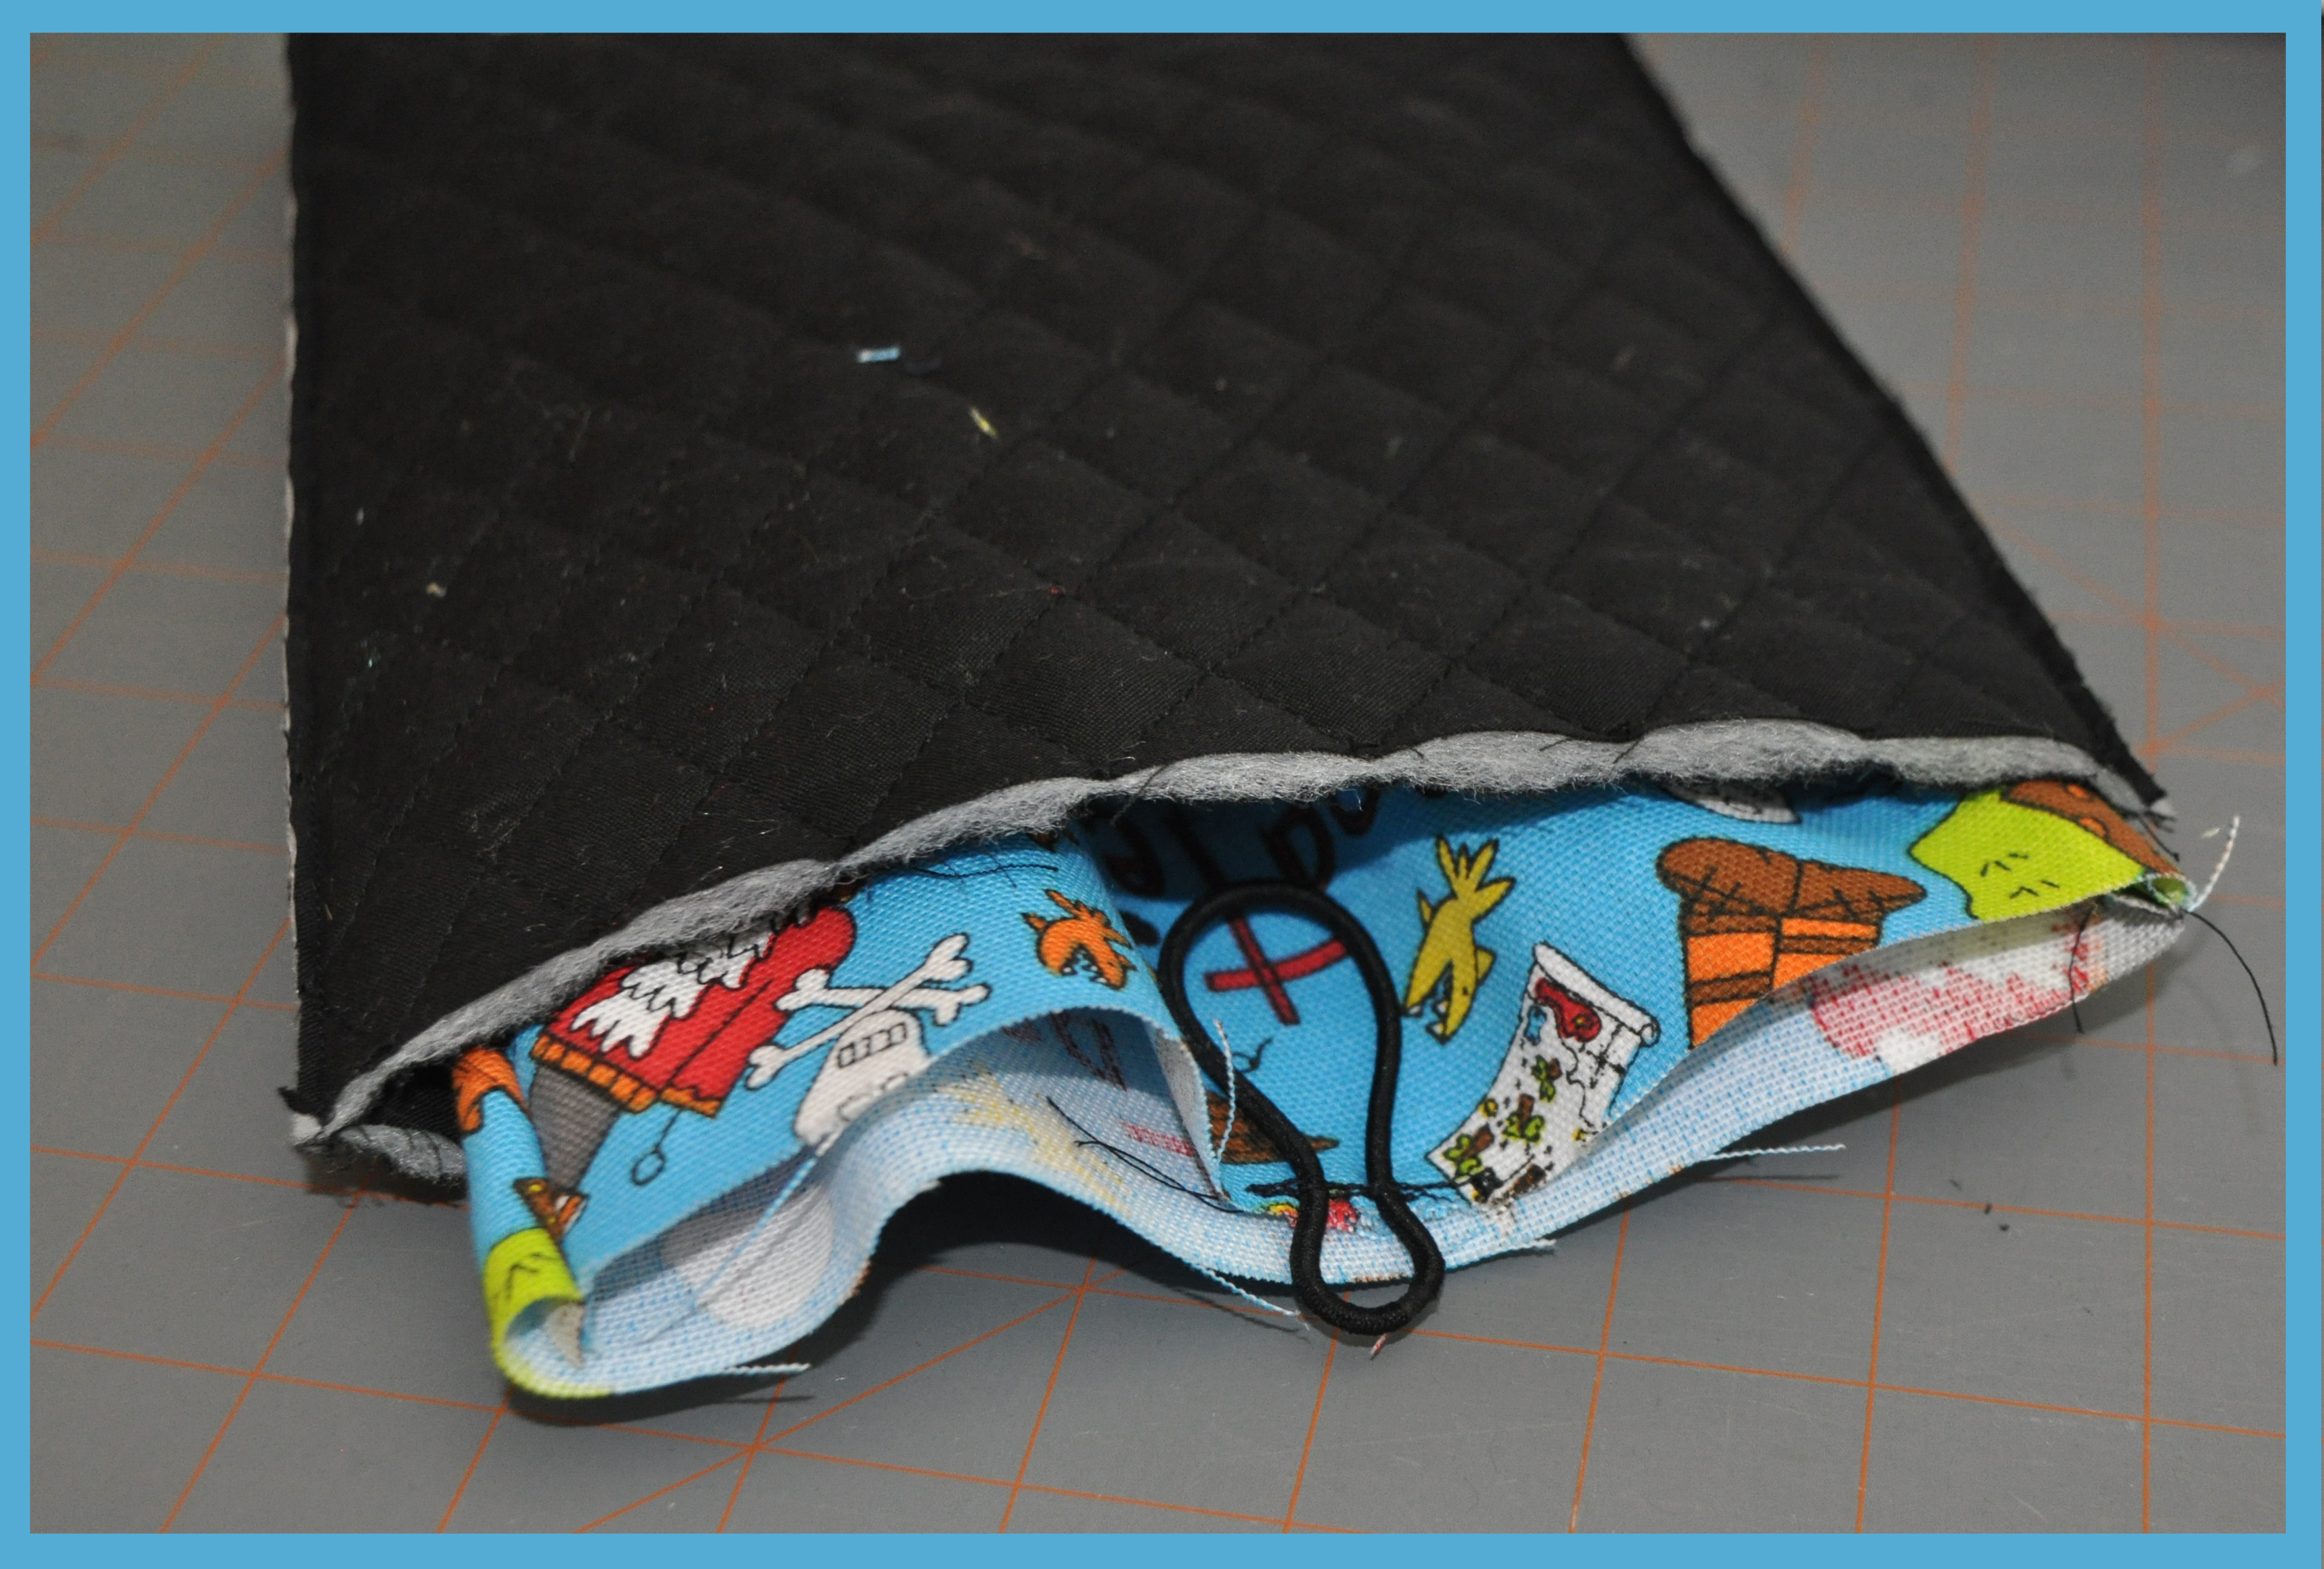
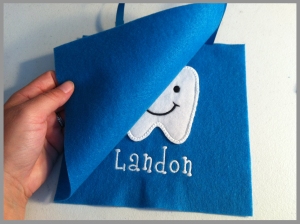
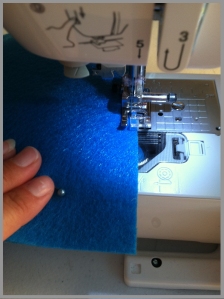 Once it was flipped right side out, it was ready for some stuffing!
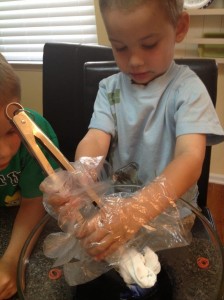
 I used Poly-fil, which you can get from any fabric store, even Wal-mart carries it.
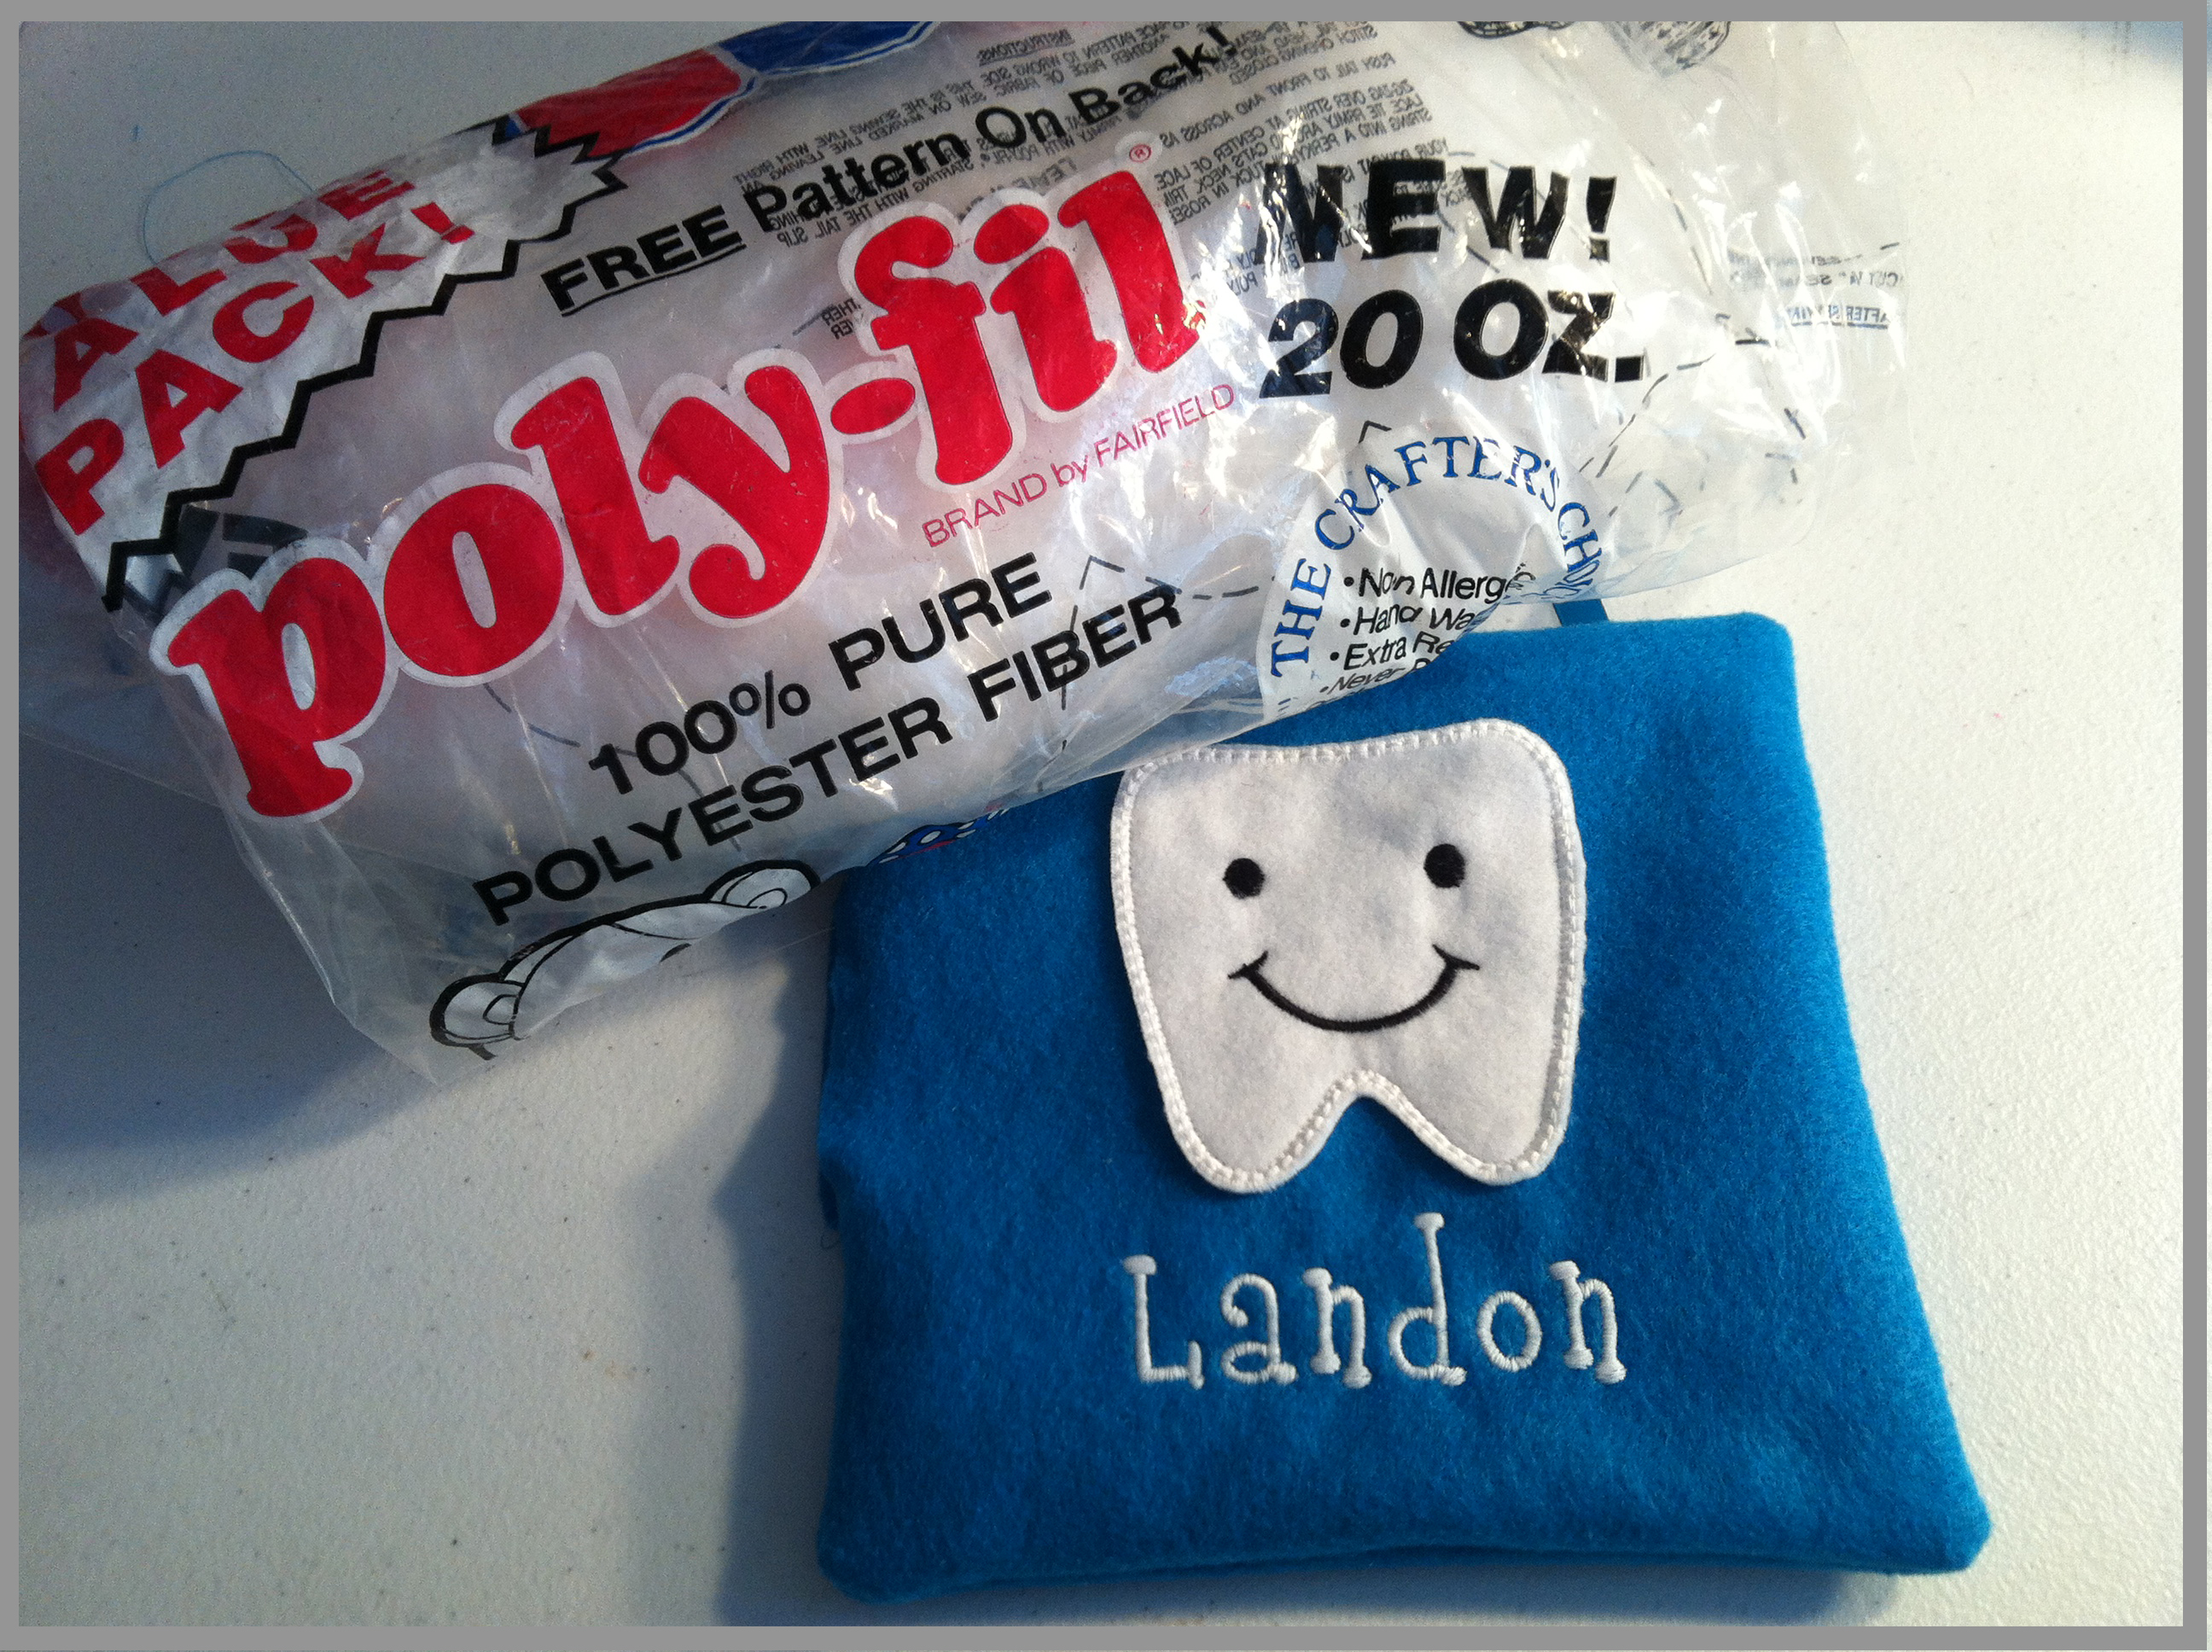
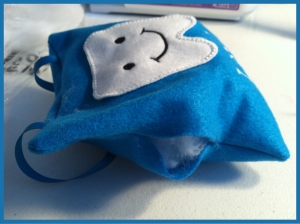

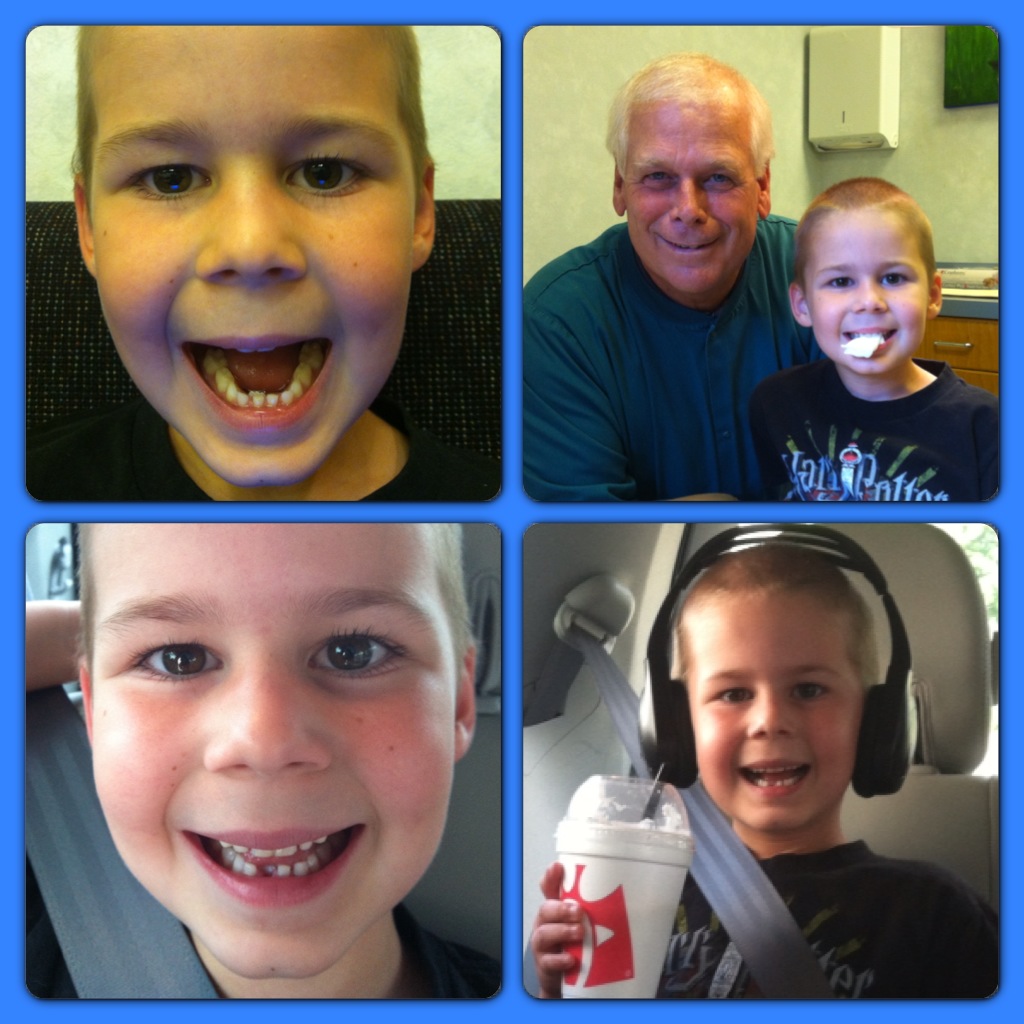
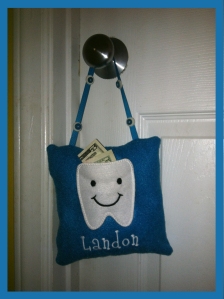
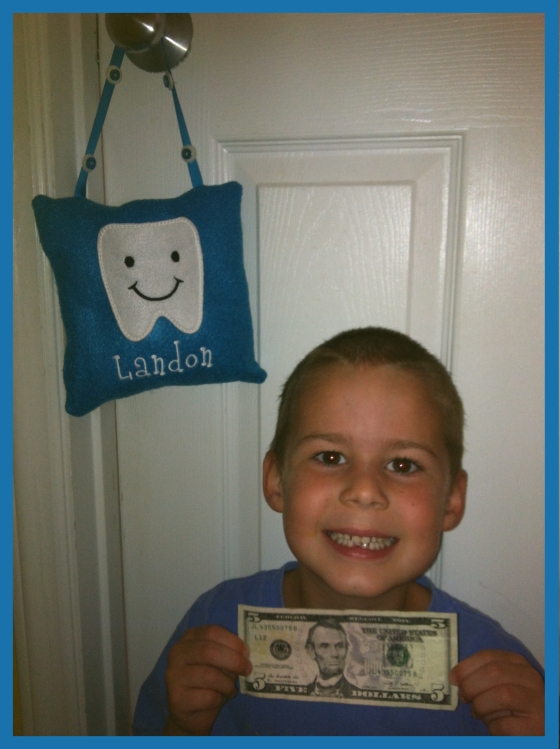
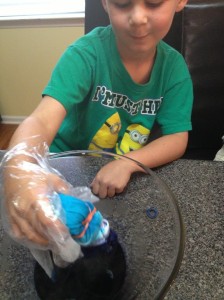
 In went the tooth in a little baggie that the dentist put it in.


)