Category Archives: Felt

National Watermelon Day 2015

National Watermelon Day is here!  I love that Watermelon has its own special day of celebration each year!   We will be celebrating at our house!
square final photo
My friend Laura Kelly is an amazing artist and has designed these awesome Wacky Watermelon Printables with some of her adorable watermelon art.  I cut them up and used them to decorate my party table! Laura Kelly Wacky Watermelon
While I was at the store today, I saw that Pillsbury now has a Funfetti Gluten Free Sugar Cookie mix!   OMG, they are delicious!   How cute are these watermelon cookies?!  I baked them, cut the tops off of some to make them look like a watermelon half, and then cut two sides off to make angles for a wedge!   Not realizing it, I picked up the Pillbury Sugar Free Vanilla frosting!   The kids had no clue and there were no complaints!!!  I love how they came out! cookies
Using Kunin felts, I made this adorable Watermelon Banner!  Click the photo below to see how I made it! watermelon banner
Did you see those adorable lollipops in the photo?  Those are from Lollipics, with Laura Kelly designs on them.  You can get your own with custom designs!  They are great for parties , weddings, or gifts! Lollipics
Hope you like what we have in store for National Watermelon Day!   And I hope you have a wonderful Yummy Watermelon filled day!

Until next time….

Kunin Felt Watermelon Banner

In honor of National Watermelon Day on Monday, August 3rd, I made this adorable Watermelon Banner with Kunin Felt! watermelon banner
Using eCals2, I designed a half and a wedge watermelon slice.  I made three different layers, one for the rind, one for the white part and one for the red part.   Using my Sizzix Eclips2, I cut the pieces out to use as a template.   felt cutting
Instead of sewing my watermelons together, I used Aleene’s Fabric Fusion.  Super and easy and quick. fabric fusion
Once all of my watermelons were glued together and dried, I used mini clothes pins and red baker twine to hang the watermelon pieces. melons and twine
The watermelon banner is perfect for a watermelon party for any summer fun get together!  My boys will be celebrating National Watermelon Day 2015 with some yummy watermelon, Watermelon Sugar Cookies, Laura Kelly’s Wacky Watermelon Printables and some awesome Lollipops from Lollipics!  Click on the photo below to learn about these goodies!
square final photo Hope you like my Kunin Felt Watermelon Banner!   And Happy National Watermelon Day!

Until next time…..


Personalized Felt Coasters with Kunin Felt

I love coasters, especially personalized ones.   And Kunin Felt is the perfect way to make your own personalized coasters!   Check out these Letter B coasters I made using KuninGroups gray and white chevron felt and a traditional white felt. Coasters
First, I cut eight 4 inch by 4 inch squares using my Fiskars rotary cutter, mat and ruler. cutting
Then, using the eCal2 software, I cut out the letter “B” using my Sizzix Eclips2 and cardstock.  Once my cardstock “B” was cut out, I pinned it to my white felt and then cut out four felt B’s. Letter B
I pinned the felt B’s to four of the felt squares and sewed them on. letters on
Once my letters were sewn on, I placed a second piece of felt the same size to the back and sewed it together to make it a little thicker! flip it over Hope you like my personalized felt coasters!

Until next time…..

Shop Laura Kelly – Button and Felt Heart Garland

ShopLauraKelly.com has some of the cutest craft kits put together by one of my best friends, Laura Kelly!  One of my favorite kits in the collection is the Button and Felt Heart Garland! banner
Laura is very creative and has licenses with several companies!  The kits that she has put together come with everything you need to put your projects together! kit
This particular kit includes felt hearts, ribbon, colorful embroidery floss, buttons and a needle. supplies
Instead of using my ribbon to hold the hearts for the banner, I decided to cut the ribbon into 4 inch strips and glued them together to make a little loop using Aleene’s Fast Grab Tacky Glue.  I then glued them to the backs of my hearts.  ribbon hooks
Once they were dried, I turned the hearts over and glued a coordinating color button to the front.
adding buttons
Then, I slid them onto my embroidery floss that I left together to look like a rainbow!
banner
It also makes a great necklace!  I love it!  So, go on over to ShopLauraKelly.com and check out Laura’s cute little craft kits!
necklace

Be sure to click through other great ShopLauraKelly project ideas below:


And enter to win!
a Rafflecopter giveaway

Until next time…….

Kunin Felt Easter Egg Bunting

Easter is right around the corner!   Why not brighten up your decor with this adorable KuninGroup Felt Easter Egg Bunting!   It was super easy and super fun! Final
I love using my Sizzix Eclips2 to cut out patterns for fabric or felt!   cutting
Once my patterns were cut out, I pinned them to my KuninGroup felt and then went to cutting!  I used pinking shears to give the eggs zigzag edges! cutting out felt
Then, it was time to sew them!  I decided to stuff them while they were still under the sewing foot.   I sewed all but about 2 inches, stuffed them, realigned my edges and finished sewing! sewing
Once they were all sewn, I used Tulip Fabric Paint to add decorations to them!   I think they turned out egg-tastic!  🙂 tulip fabric paint
Using bright pink baker’s twine and a big needle, I threaded the twine through the top part of the egg, making sure to go between the felt and stitches. twine
And then, it was complete!!!  It is absolutely adorable!   Final
Hope you like my Kunin Felt Easter Egg Bunting!

Until next time…..

Kunin Chevron Felt Hanging Letter

I love Kunin Group’s Chevron Felt!  The pattern is already on the felt, so all you have to do is create something Felt-tastic.   I love having something decorative hanging on my front door.  Driving by one of my neighbors houses the other day, I noticed that they had a wooden initial on their front door, so I thought……why not do something similar with felt!   While at the Craft and Hobby Associations Mega Show in January, the lovely ladies at the Kunin Group Felt booth gave me this lovely Pink Chevron Felt.   And I love how it turned out!

Hung up _ Inside_Final

So, I am totally obsessed with the Sizzix eclips2!  It does amazing things.  I use it all of the time to cut out patterns for sewing.  Using the eCal2 software, I decided upon this big B.  I used the eclips2 to cut it out and tada….a big B pattern!

Cutting of Letter

Once my B was cut out of card stock, I pinned it to the felt and then cut it out, making sure that the top and bottoms were both facing with the pattern outward.

Pinning and Cutting

Using my sewing machine, I began sewing at about 1/4 of an inch from the edge.  I started with the insides.   For the outside of the letter, I started on the serifs, leaving an opening on the left of the “B” so that I could stuff it.  I used Poly-fil to stuff it.  Once it was stuffed, I pinned my open edge and sewed it shut!

sewing and stuffing

Using a thicker type wire, I inserted it in two places into the back side of my “B” at the top.  I meant to leave about 3 inches that I wound around a marker so give it curls.

Wiring

Then it was ready to hang!  

  Hung up _ Inside_Final

I love it and it is just perfect for the Spring time hanging on my front door!

Fun Fact:  Kunin Fabrics are made from Eco-fi, 100% Post Consumer recycled plastic bottles and made in the USA!

Until next time……

Quick and Easy Felt St. Patrick’s Day Jewelry

Worried about getting pinched on St. Patrick’s Day?  This quick and easy felt jewelry can help keep you from getting that unfriendly pinch! Felt Jewelry
Using my Sizzix Eclips2 and a free shamrock template included in the software, I cut different size shamrocks for templates.  Once they were cut, I pinned them to my green felt and then cut them out.   eclips2
Using Tulip Slick Fabric Paint, I drew along the edges of the shamrocks just give it a little something extra!
tulip
Once the fabric paint was dried, I glued some of Laura Kelly’s green buttons from Buttons Galore & More to the middles using Aleene’s Tacky Glue. buttons and tacky glue
I knew that I wanted to make a necklace, a hair clip, a broach type pin and some earrings, so I gathered the materials needed for those pieces. pieces
Using a jump ring, I opened it and stuck it through the top of my largest shamrock.   I used pliers to close the jump ring and then threaded the necklace through. necklace
Using hot glue, I attached the alligator clip to the back of one of the middle sized shamrocks. hairbow
And I did the same with the pin back…. pin
Using earrings that I had in my jewelry making stash, I poked a hole through the felt with the end.  No jump rings necessary! earrings  Now, I know that I won’t be pinched on St. Patty’s Day!   Hope you like my quick and easy St. Patrick’s Day Jewelry!

Until next time…..

To Talk or To Not Talk

Do you have little ones that love to talk and not eat when it comes to meal time?  Mine love to talk and not eat and we sometimes find ourselves still sitting at the table an hour later because the children aren’t done.

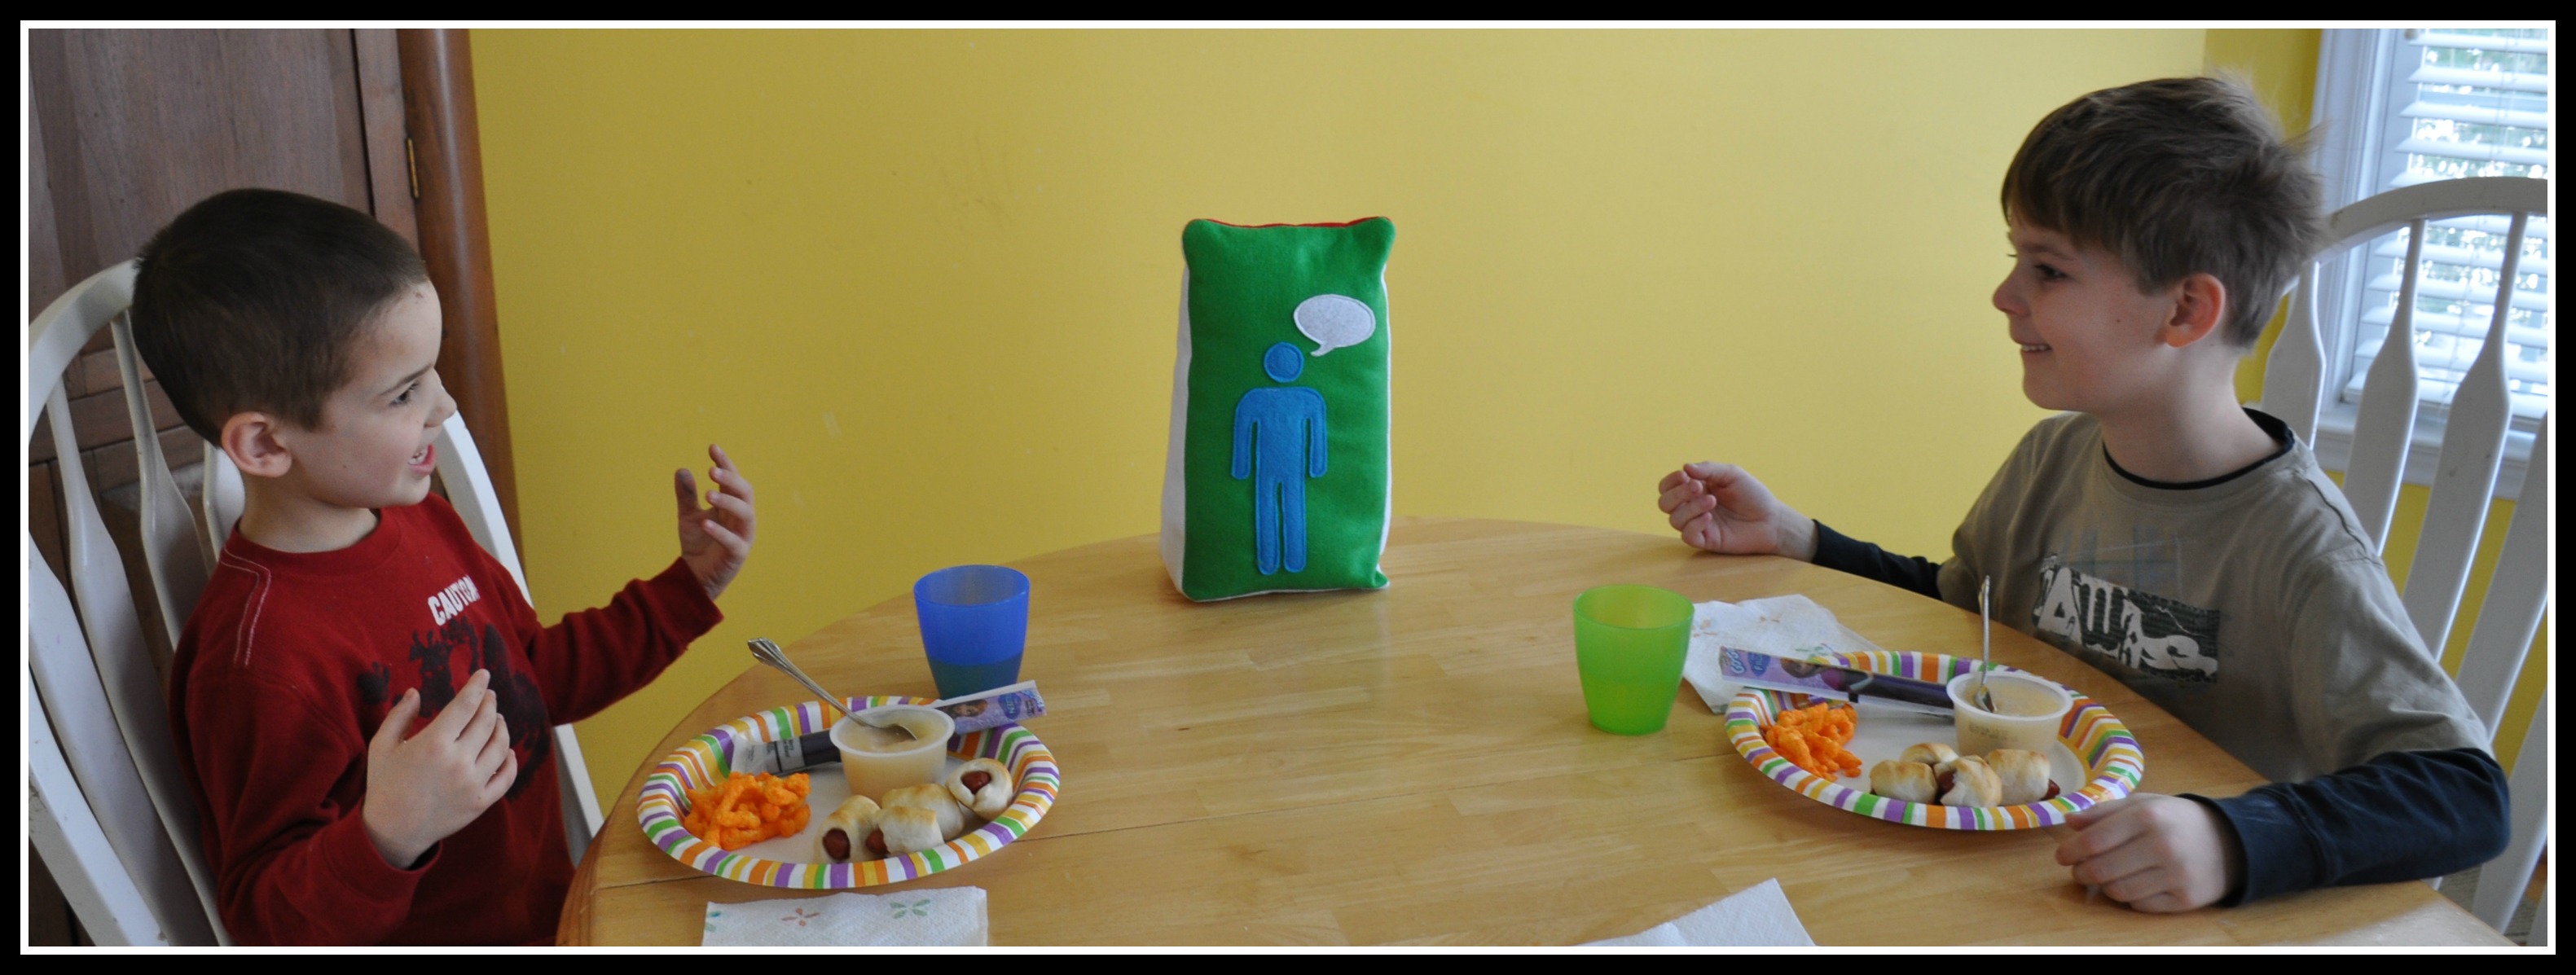
My oldest is in elementary school.  I’ve noticed that when I go there to have lunch with him, that they have a period of time at the beginning of lunch that they can not talk.  At the end of the table is a little stand that has a green side and a red side.  When the red side is facing them, they can’t talk and must eat.  When it gets turned to the green side facing them, they can talk quietly with their friends.   And it’s never quiet in the cafeteria when it’s time to talk!

So, since we have a hard time getting our food eaten within an hour, my husband suggested that we make a very similar stand for our table!  I decided to make mine with Kunin Felt!

Talking Side

Both Sides

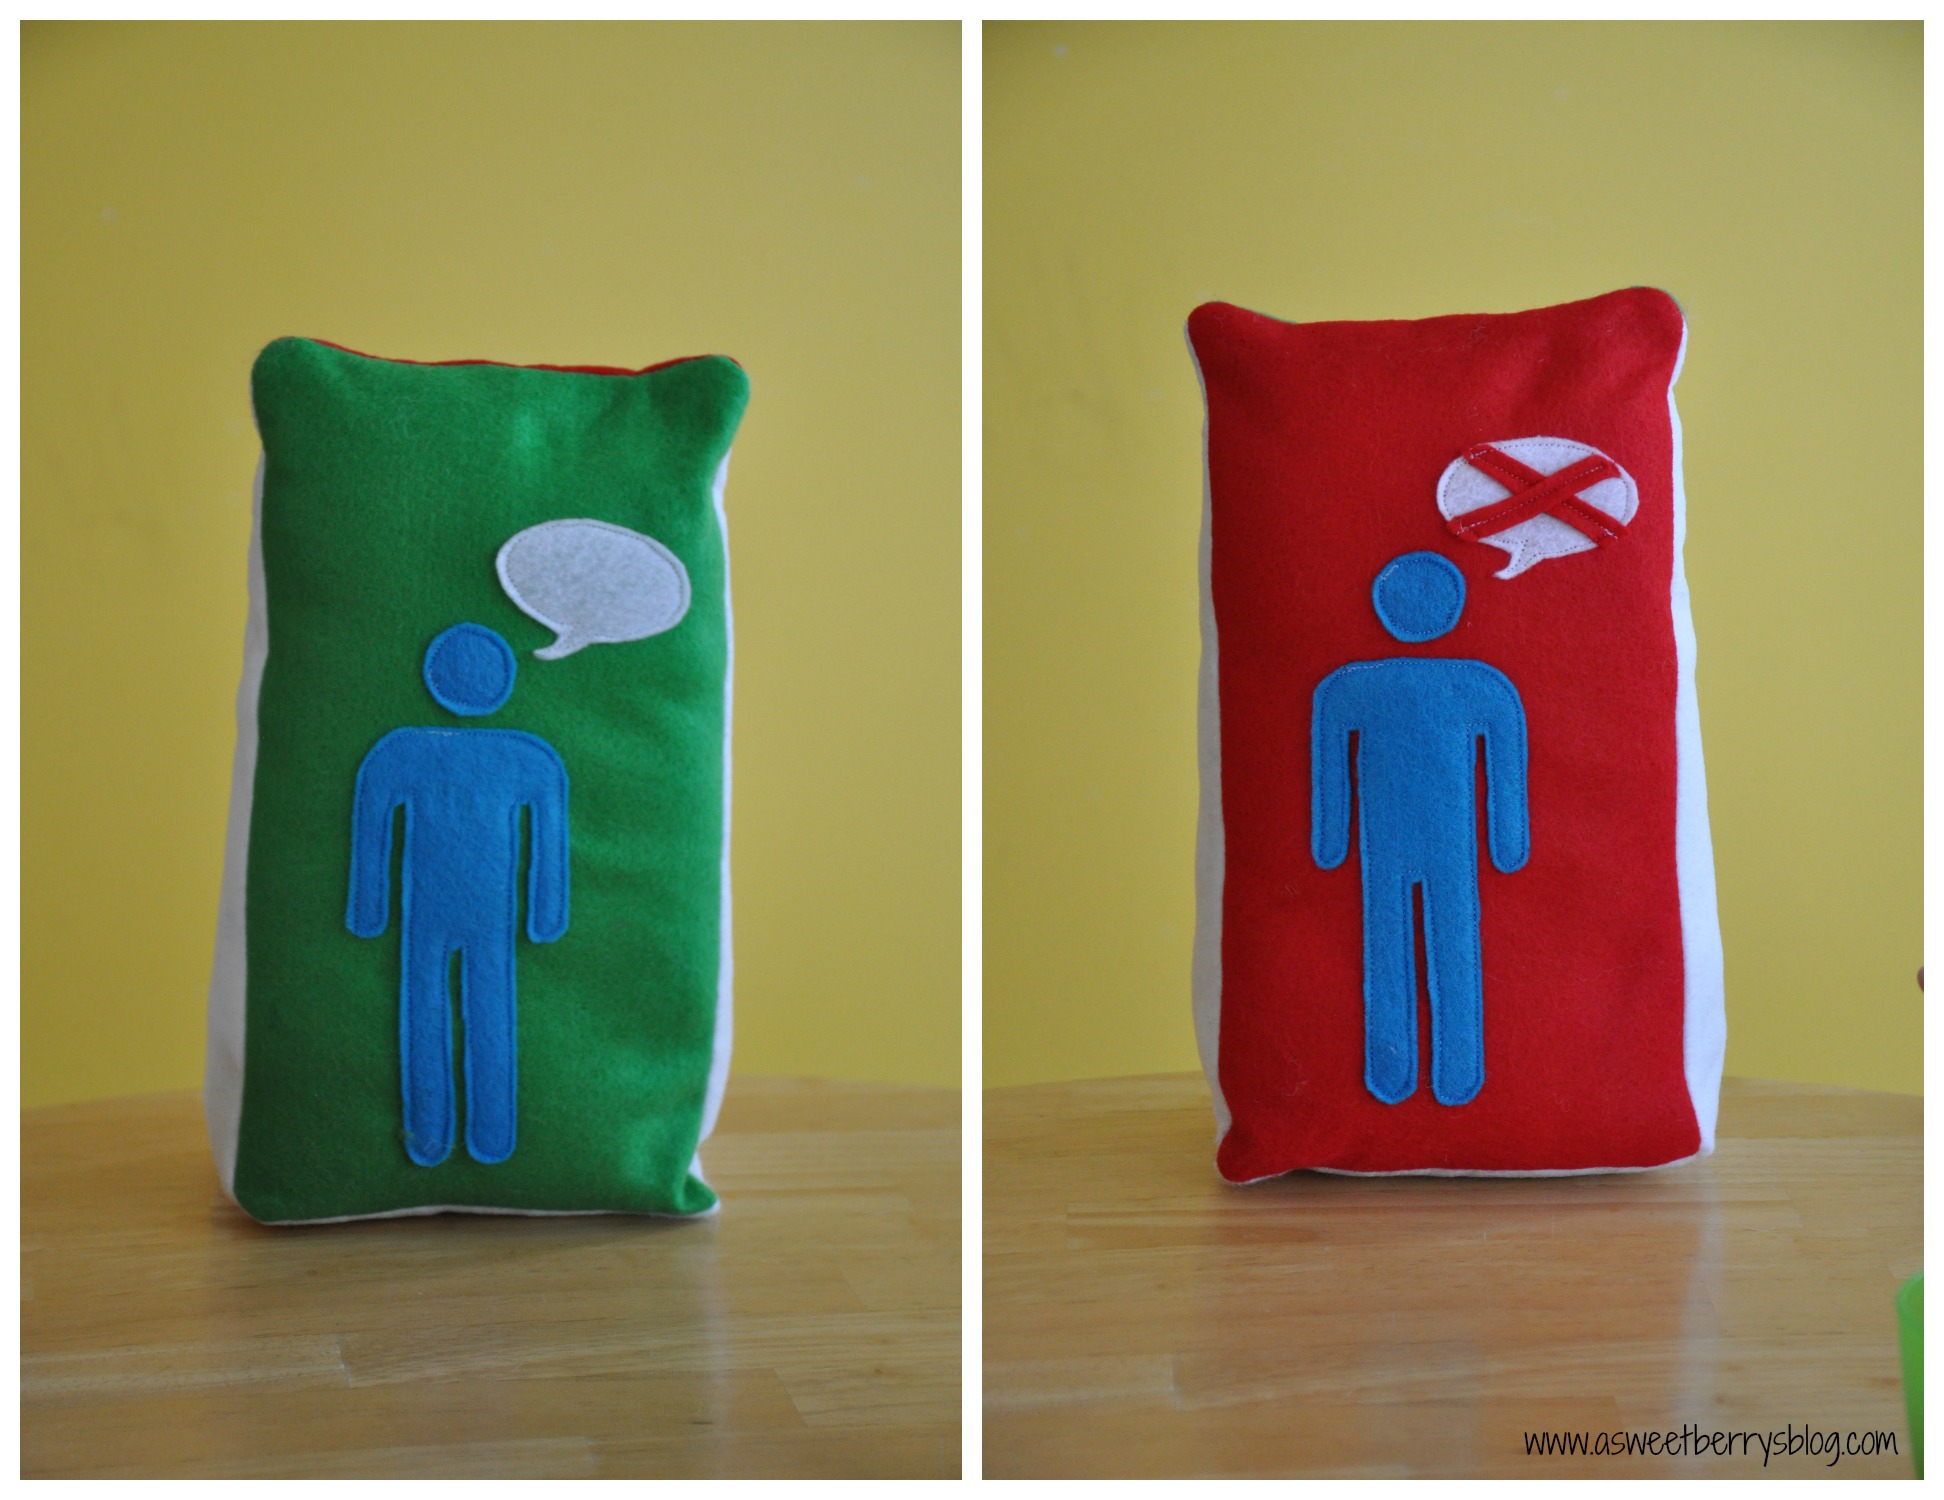
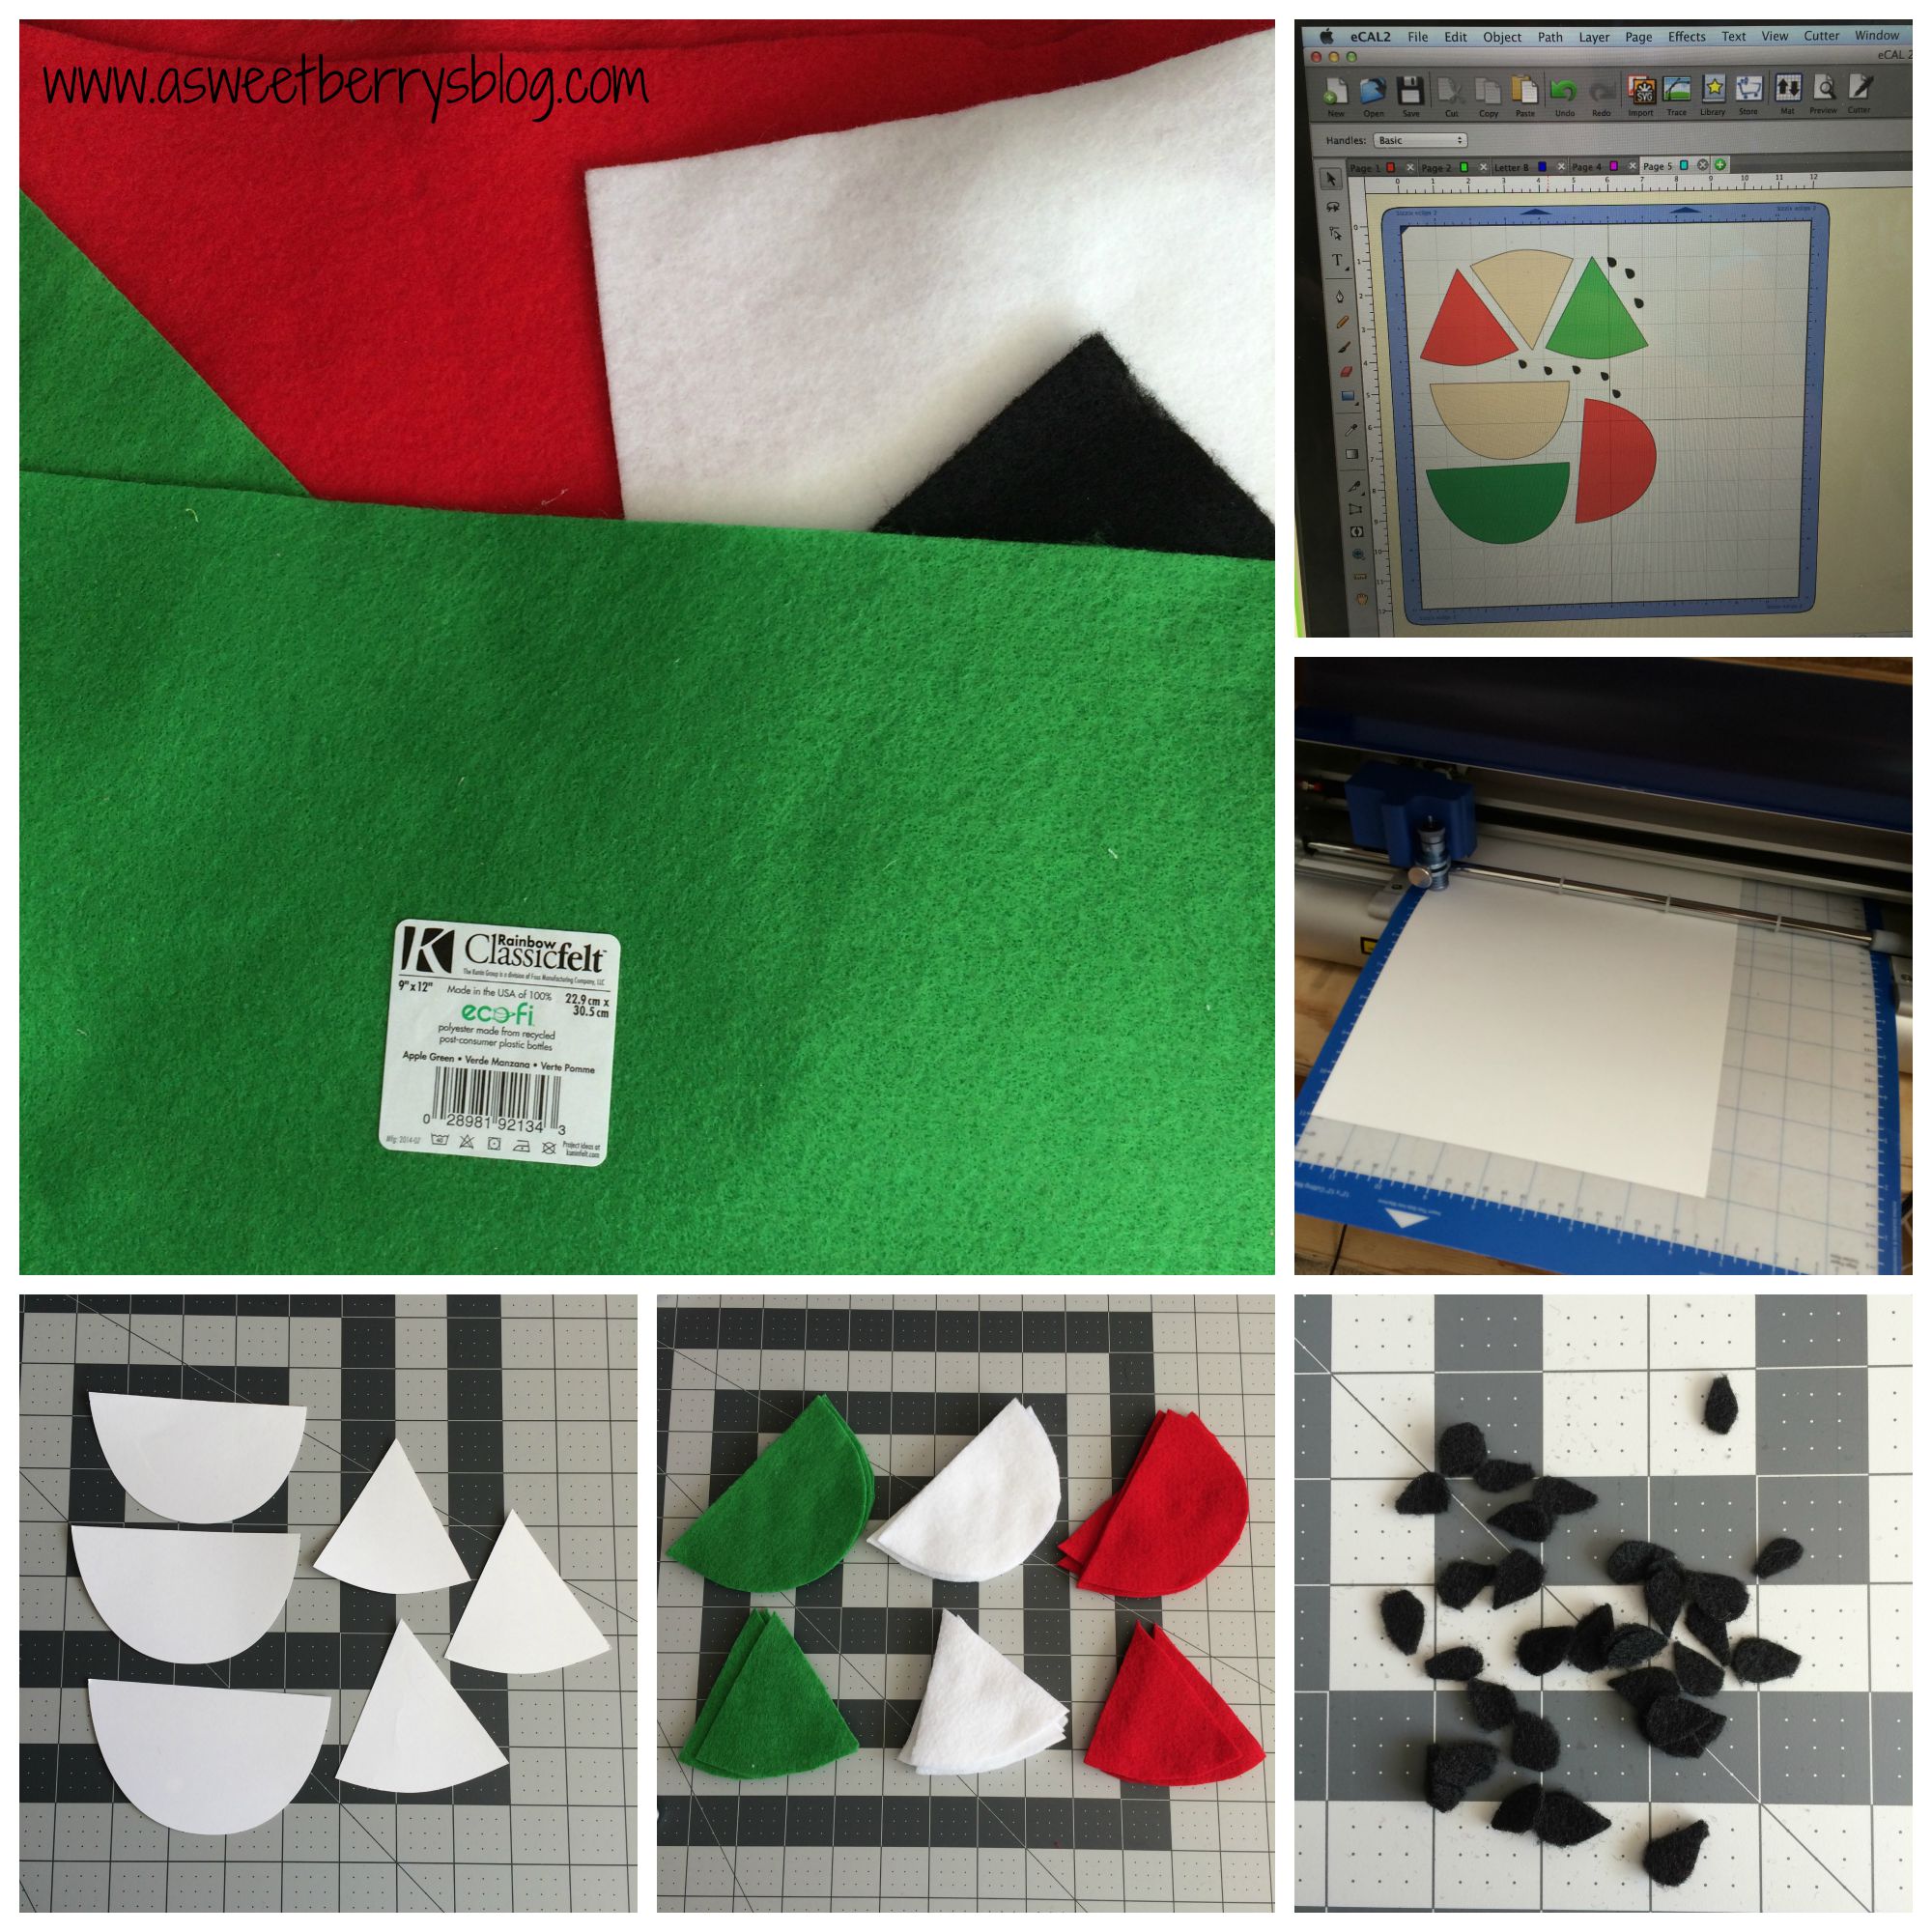
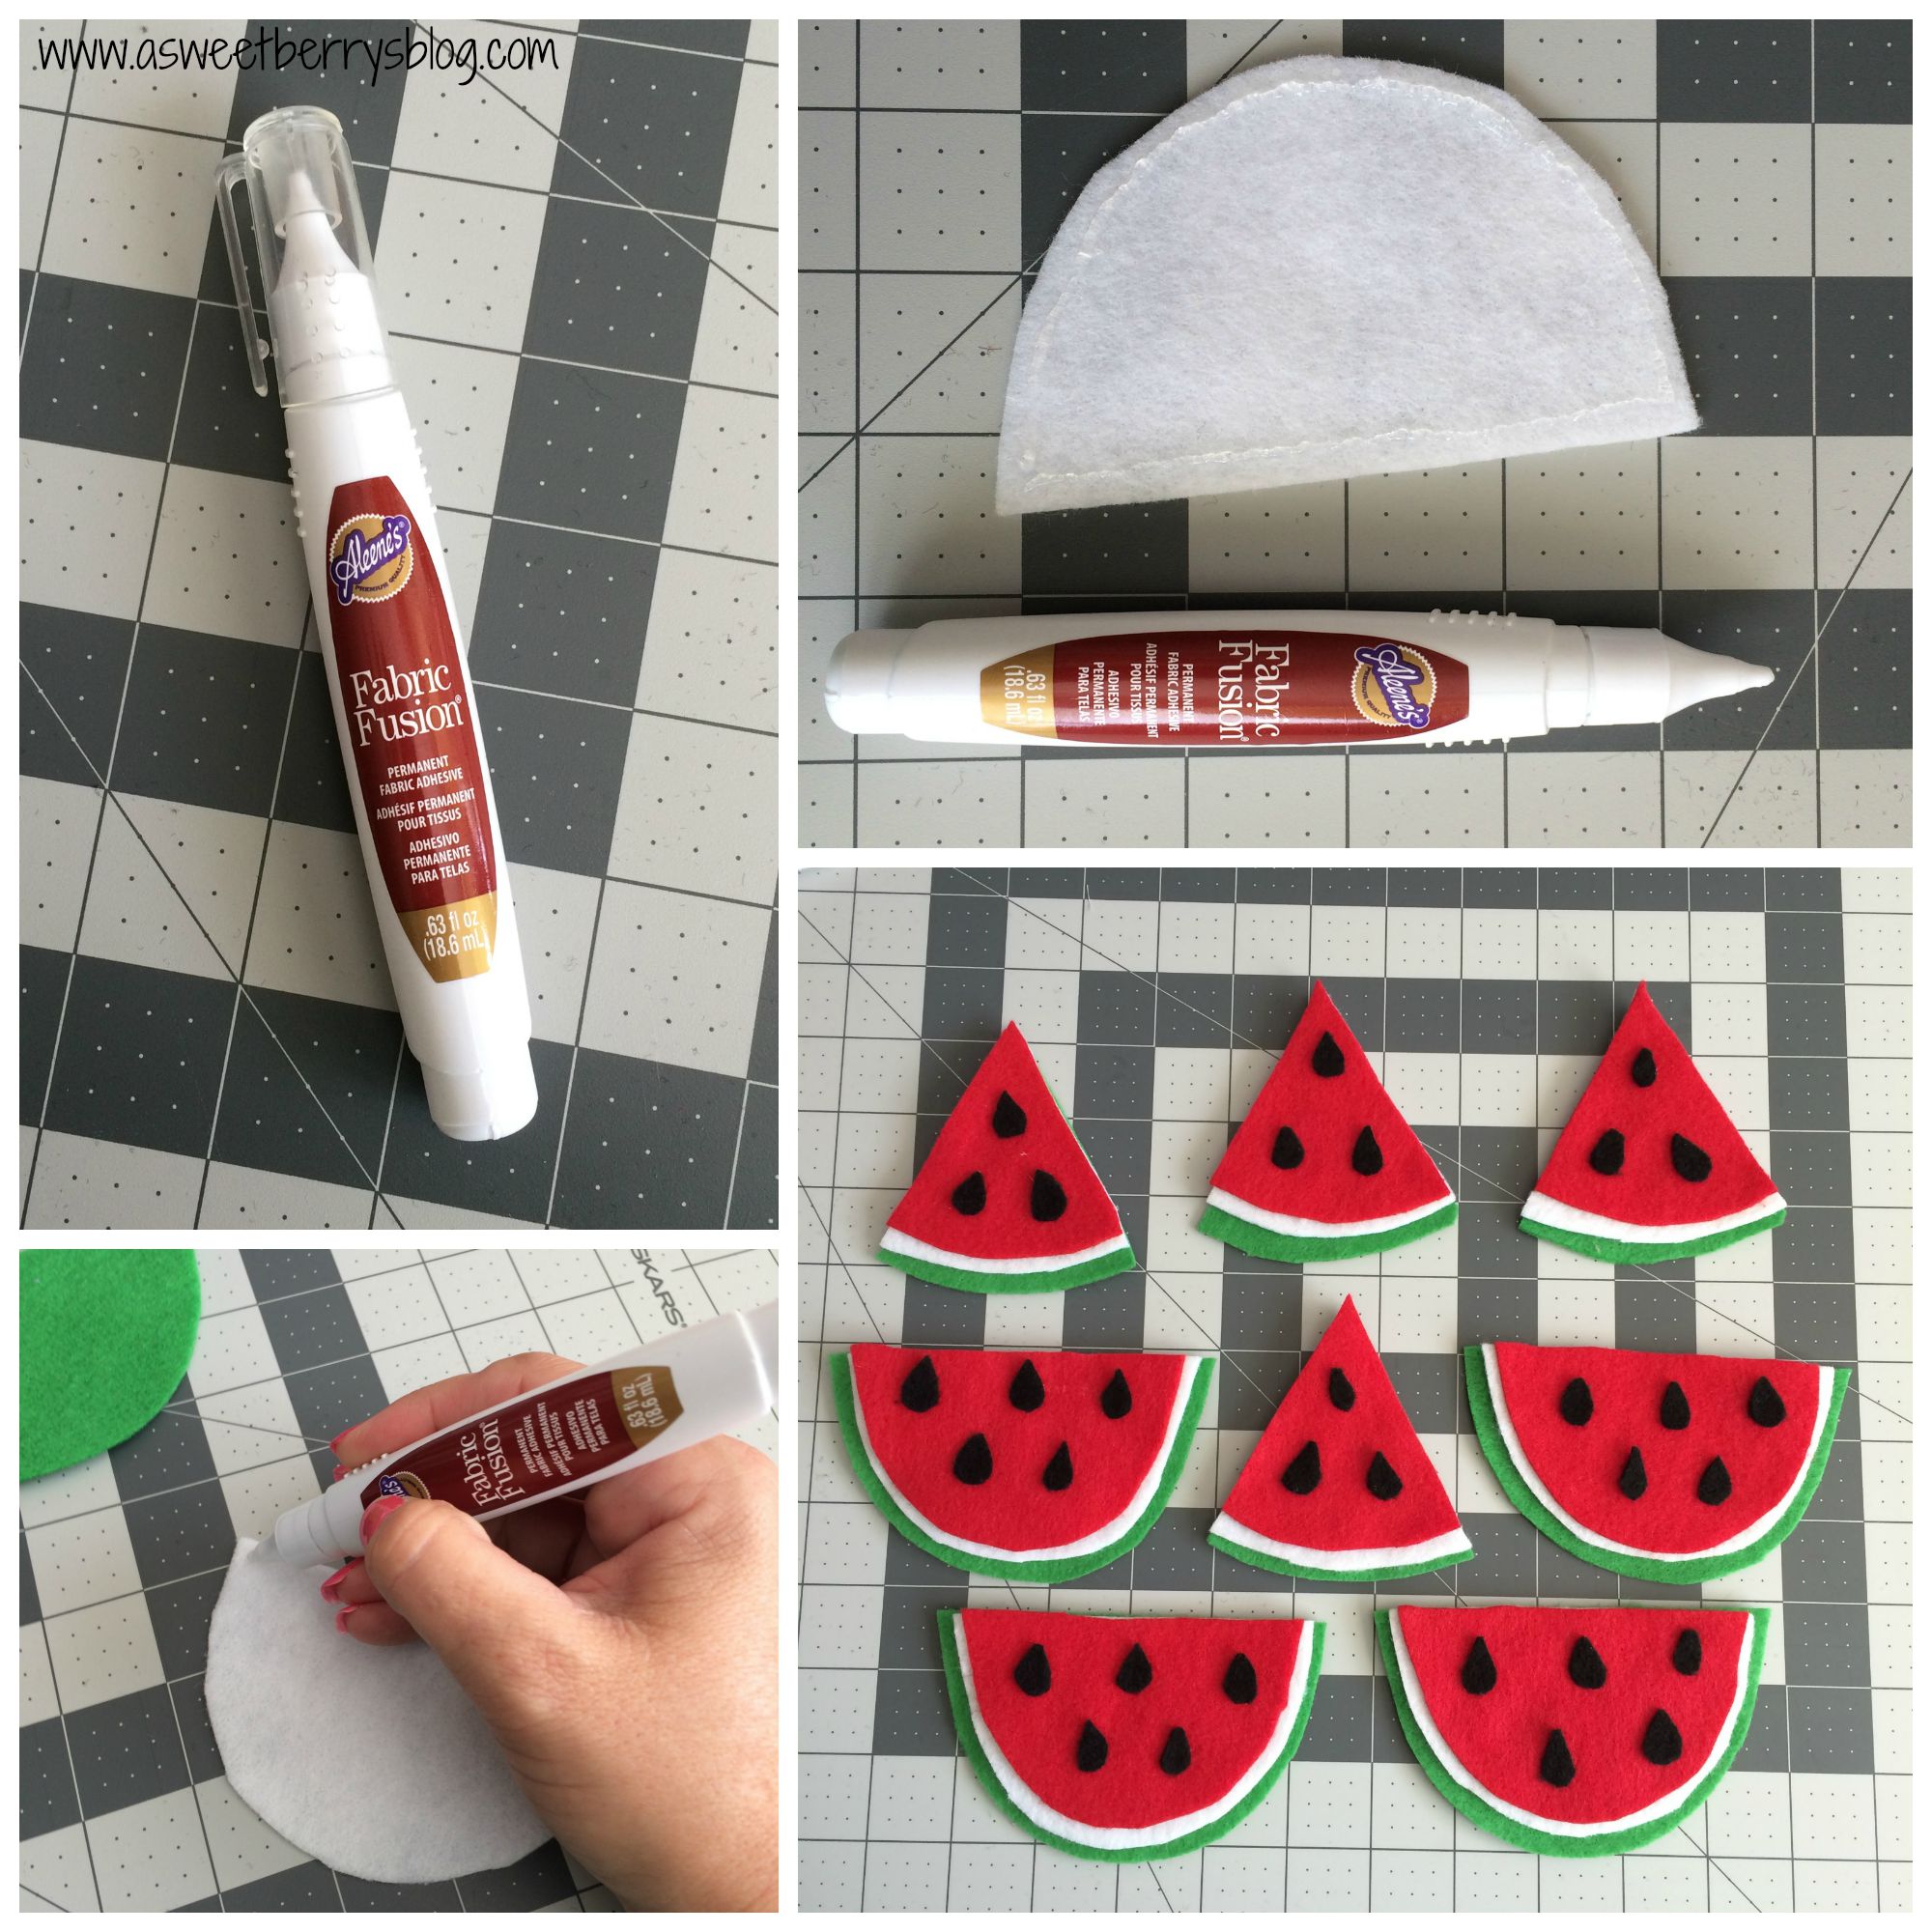
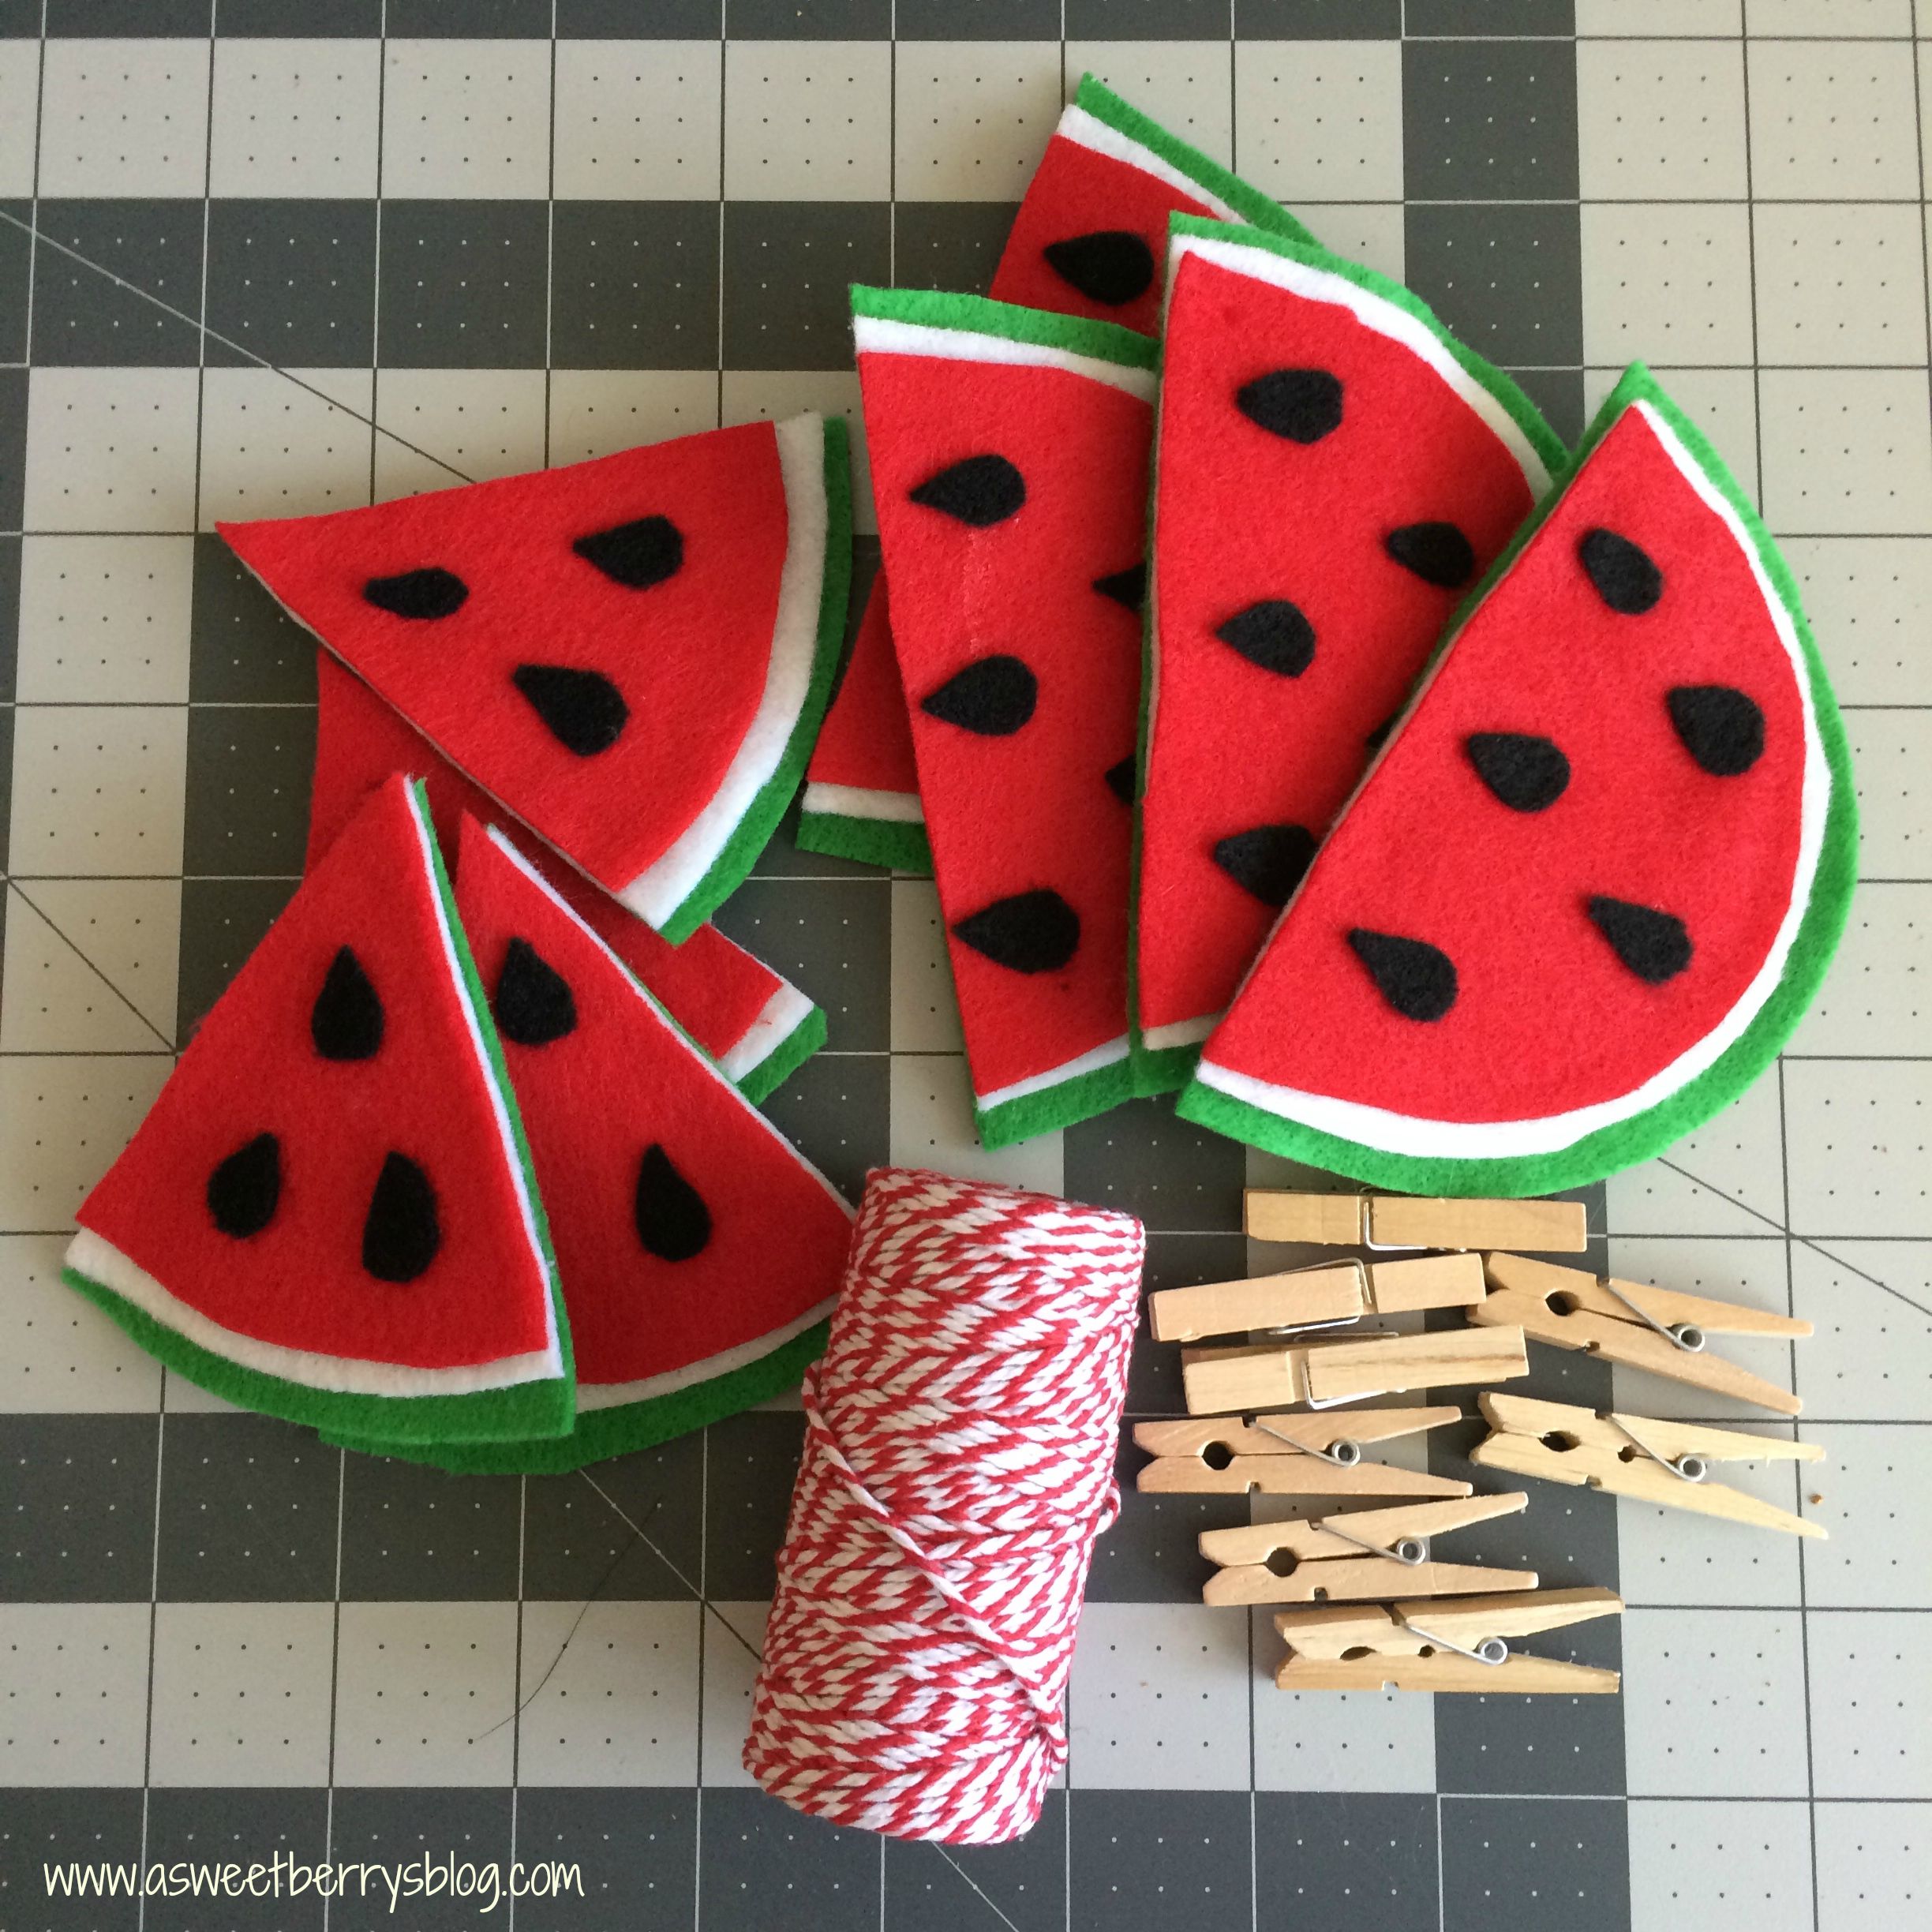
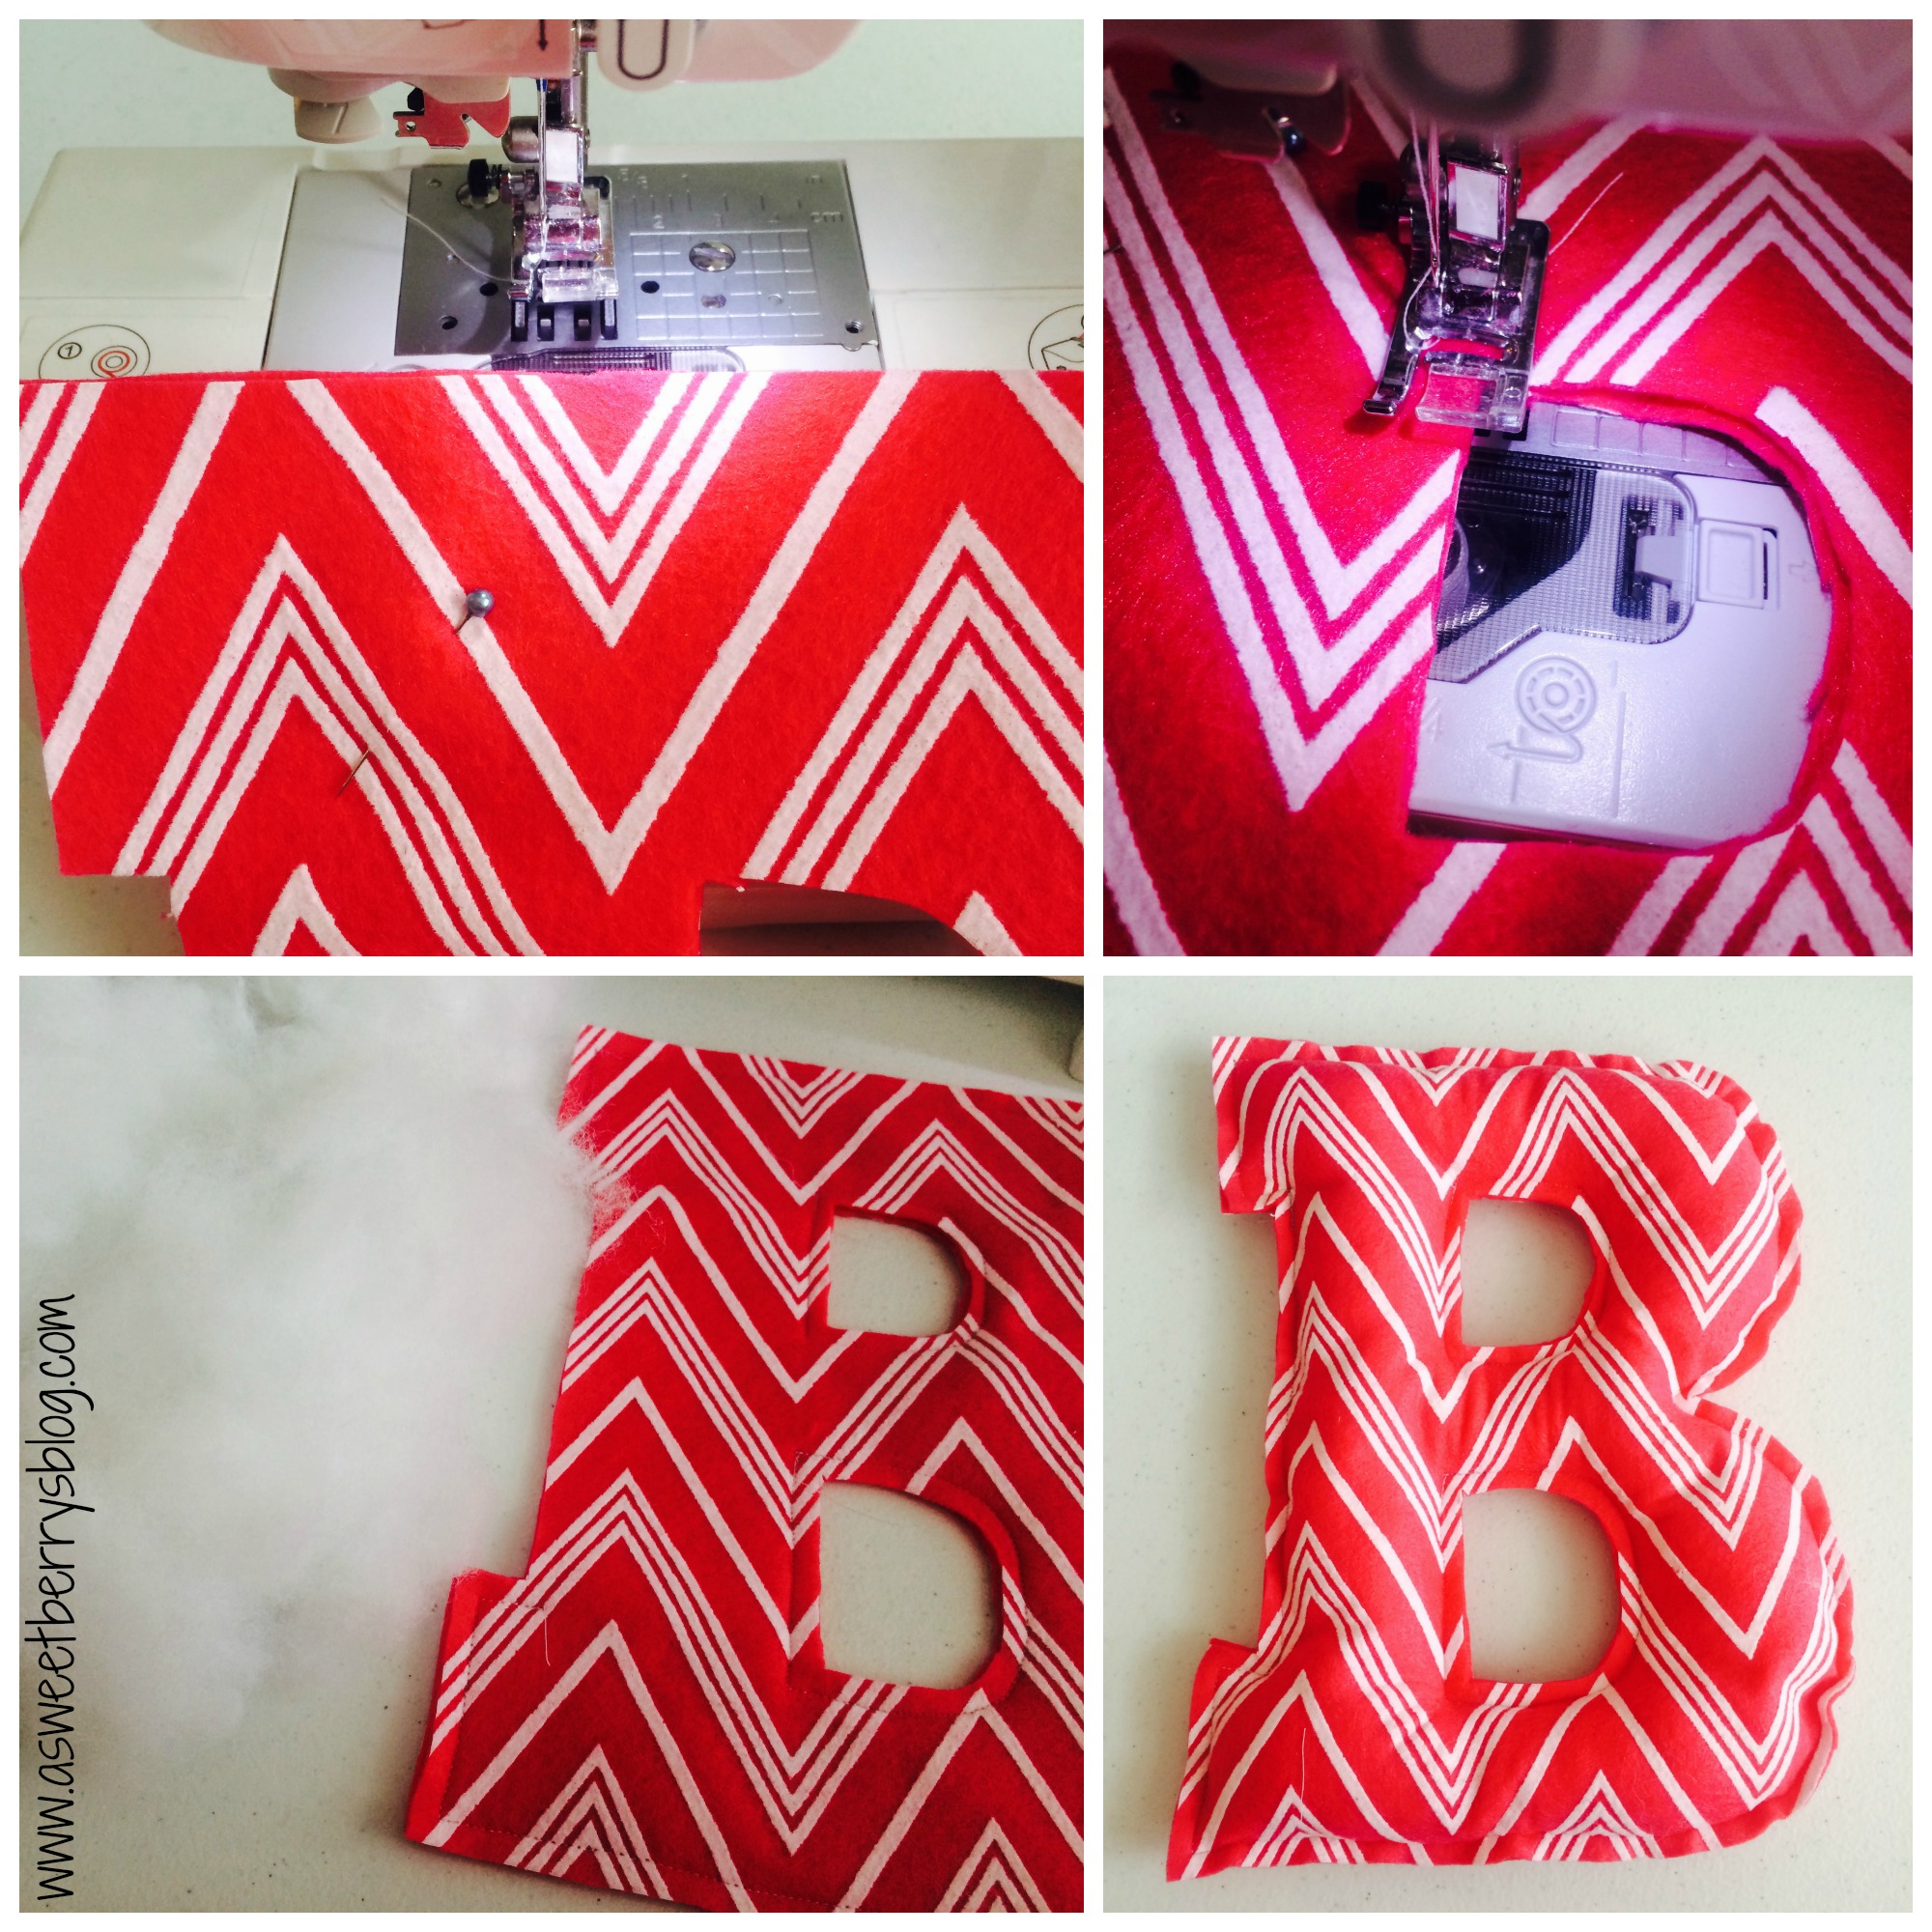
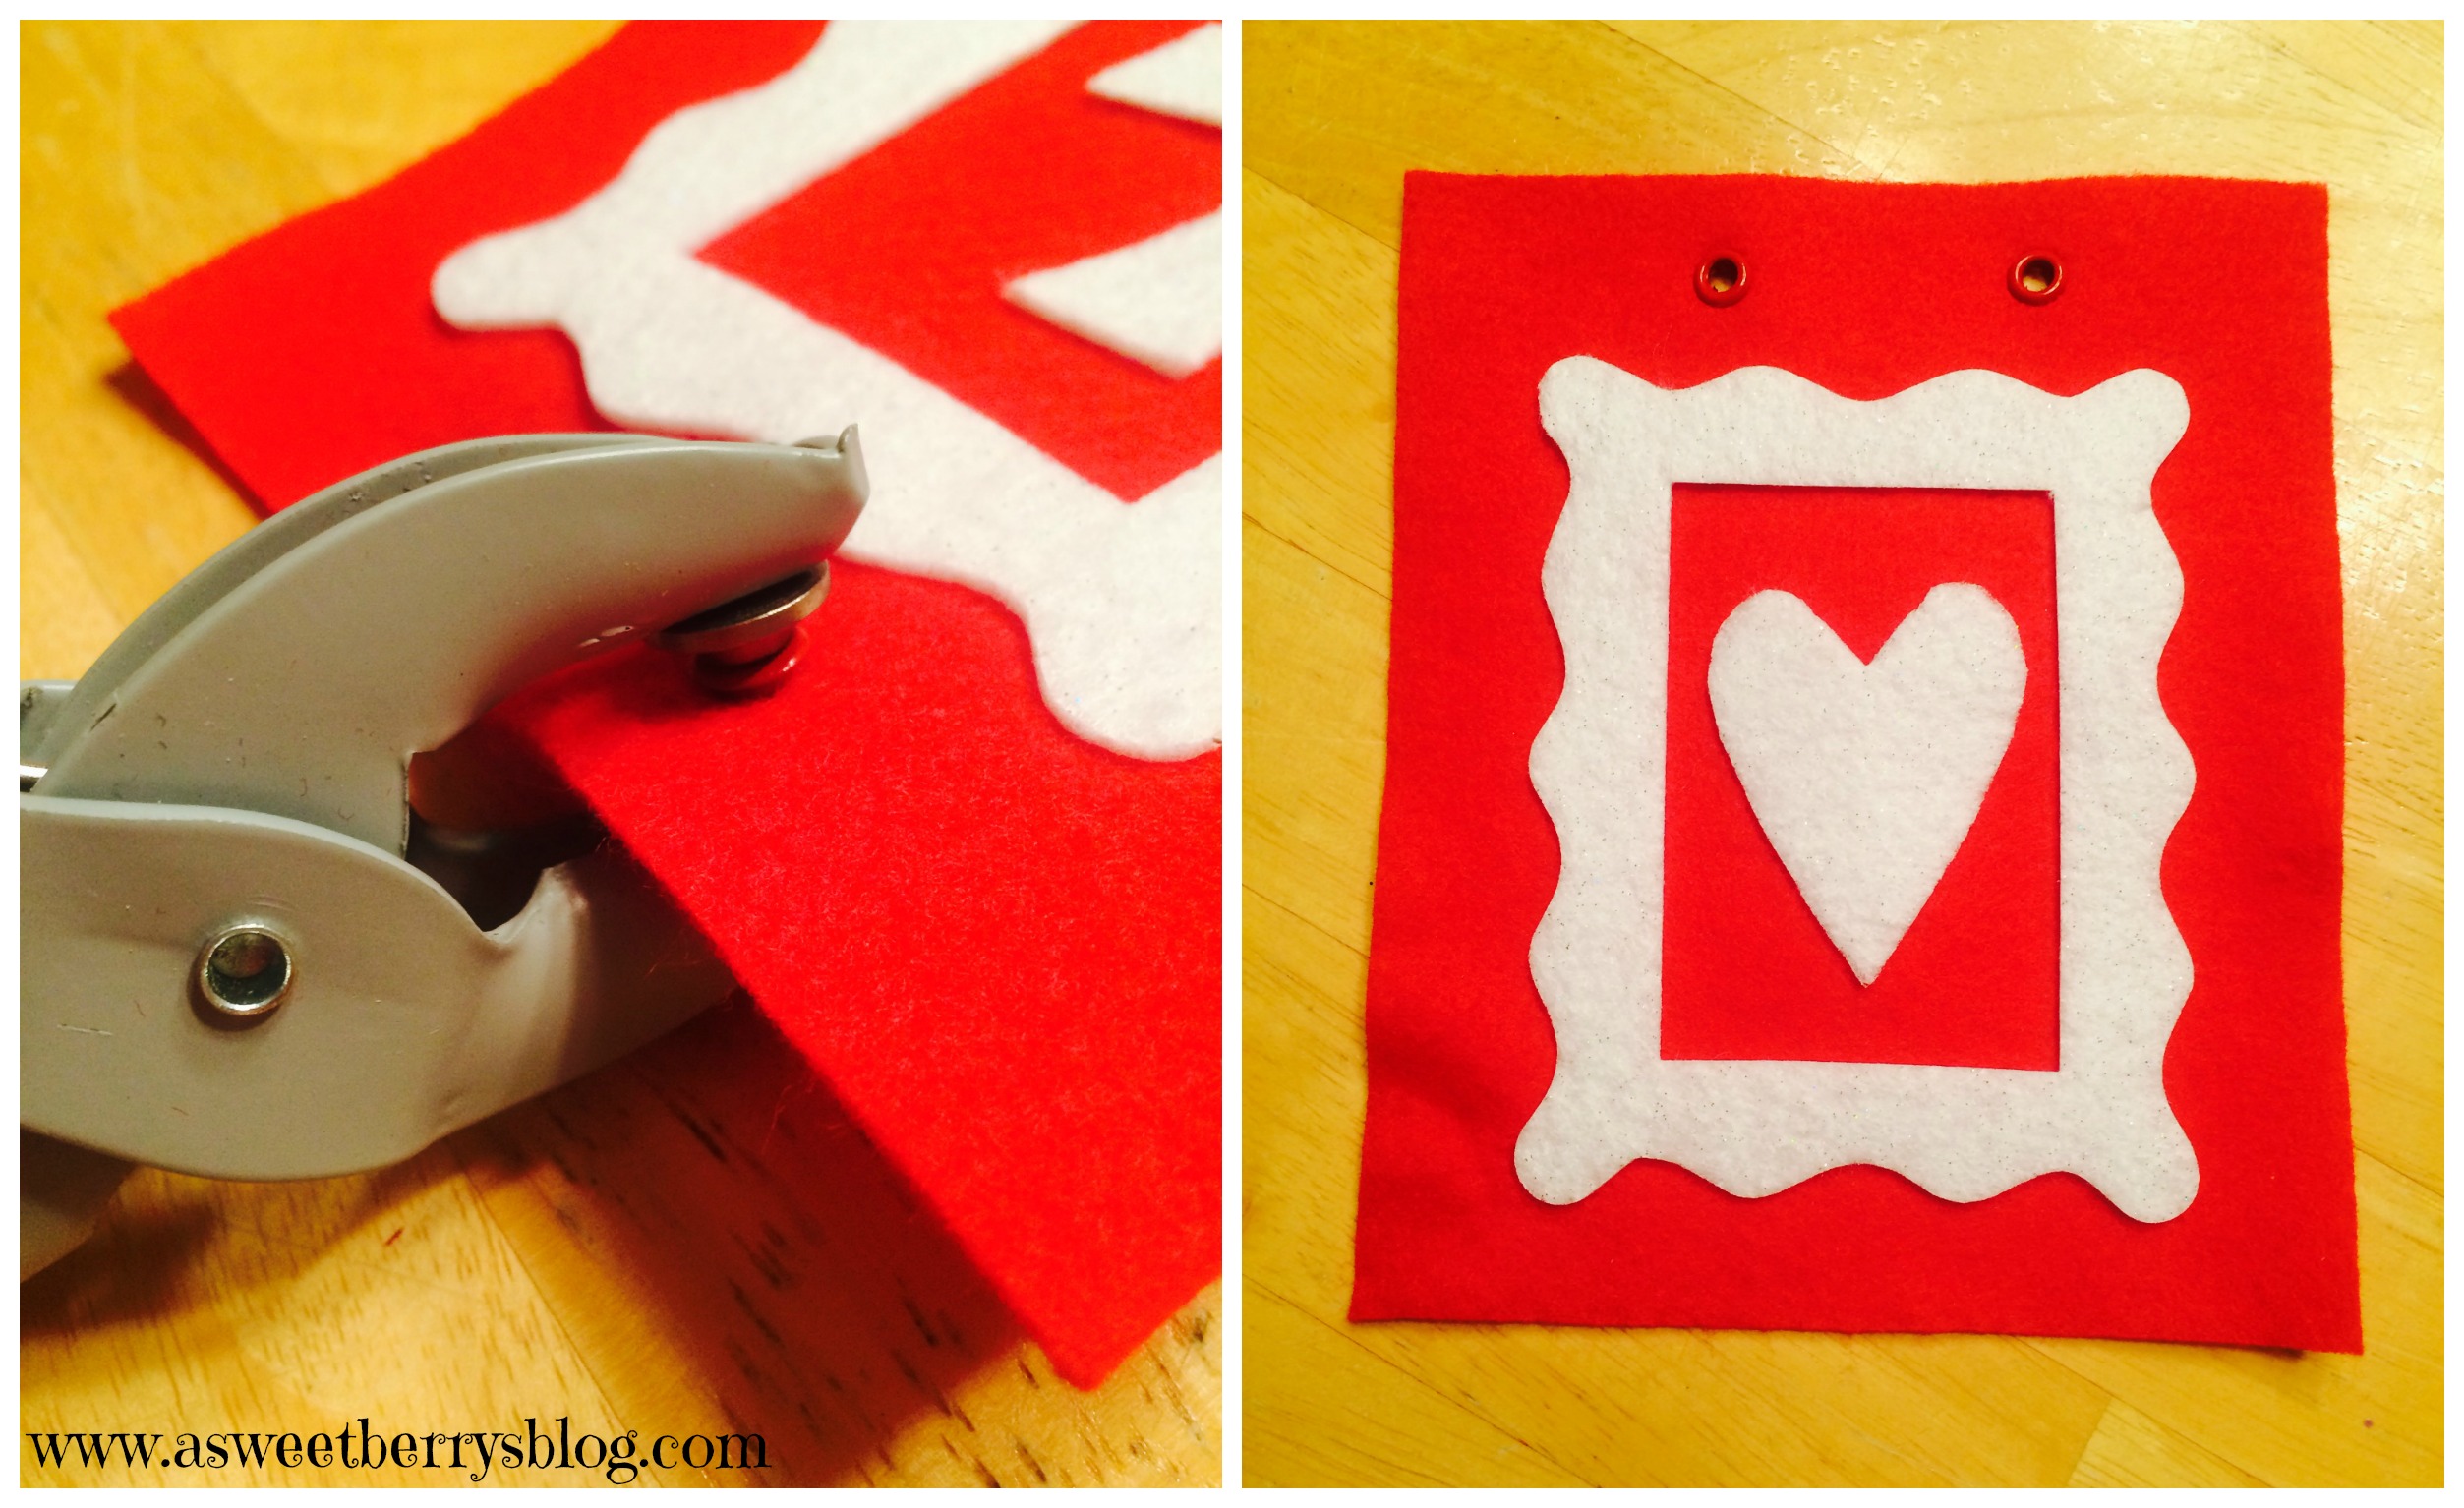
Using my Sizzix Eclips2, I cut out a person and a talk bubble out of cardstock.  These two items were included in the Sure Cuts A Lot software that is used for the Eclips2.  Then, I used pins to attached the patterns to the felt and cut out two of each!  I ended up cutting out two small strips of red to put into one of my talk bubbles to symbolize “no talking”.  I then cut out a red and green rectangle, probably 6×10 inches.  Using my sewing machine, I sewed the people and bubbles onto the rectangle pieces. FeltCutSew

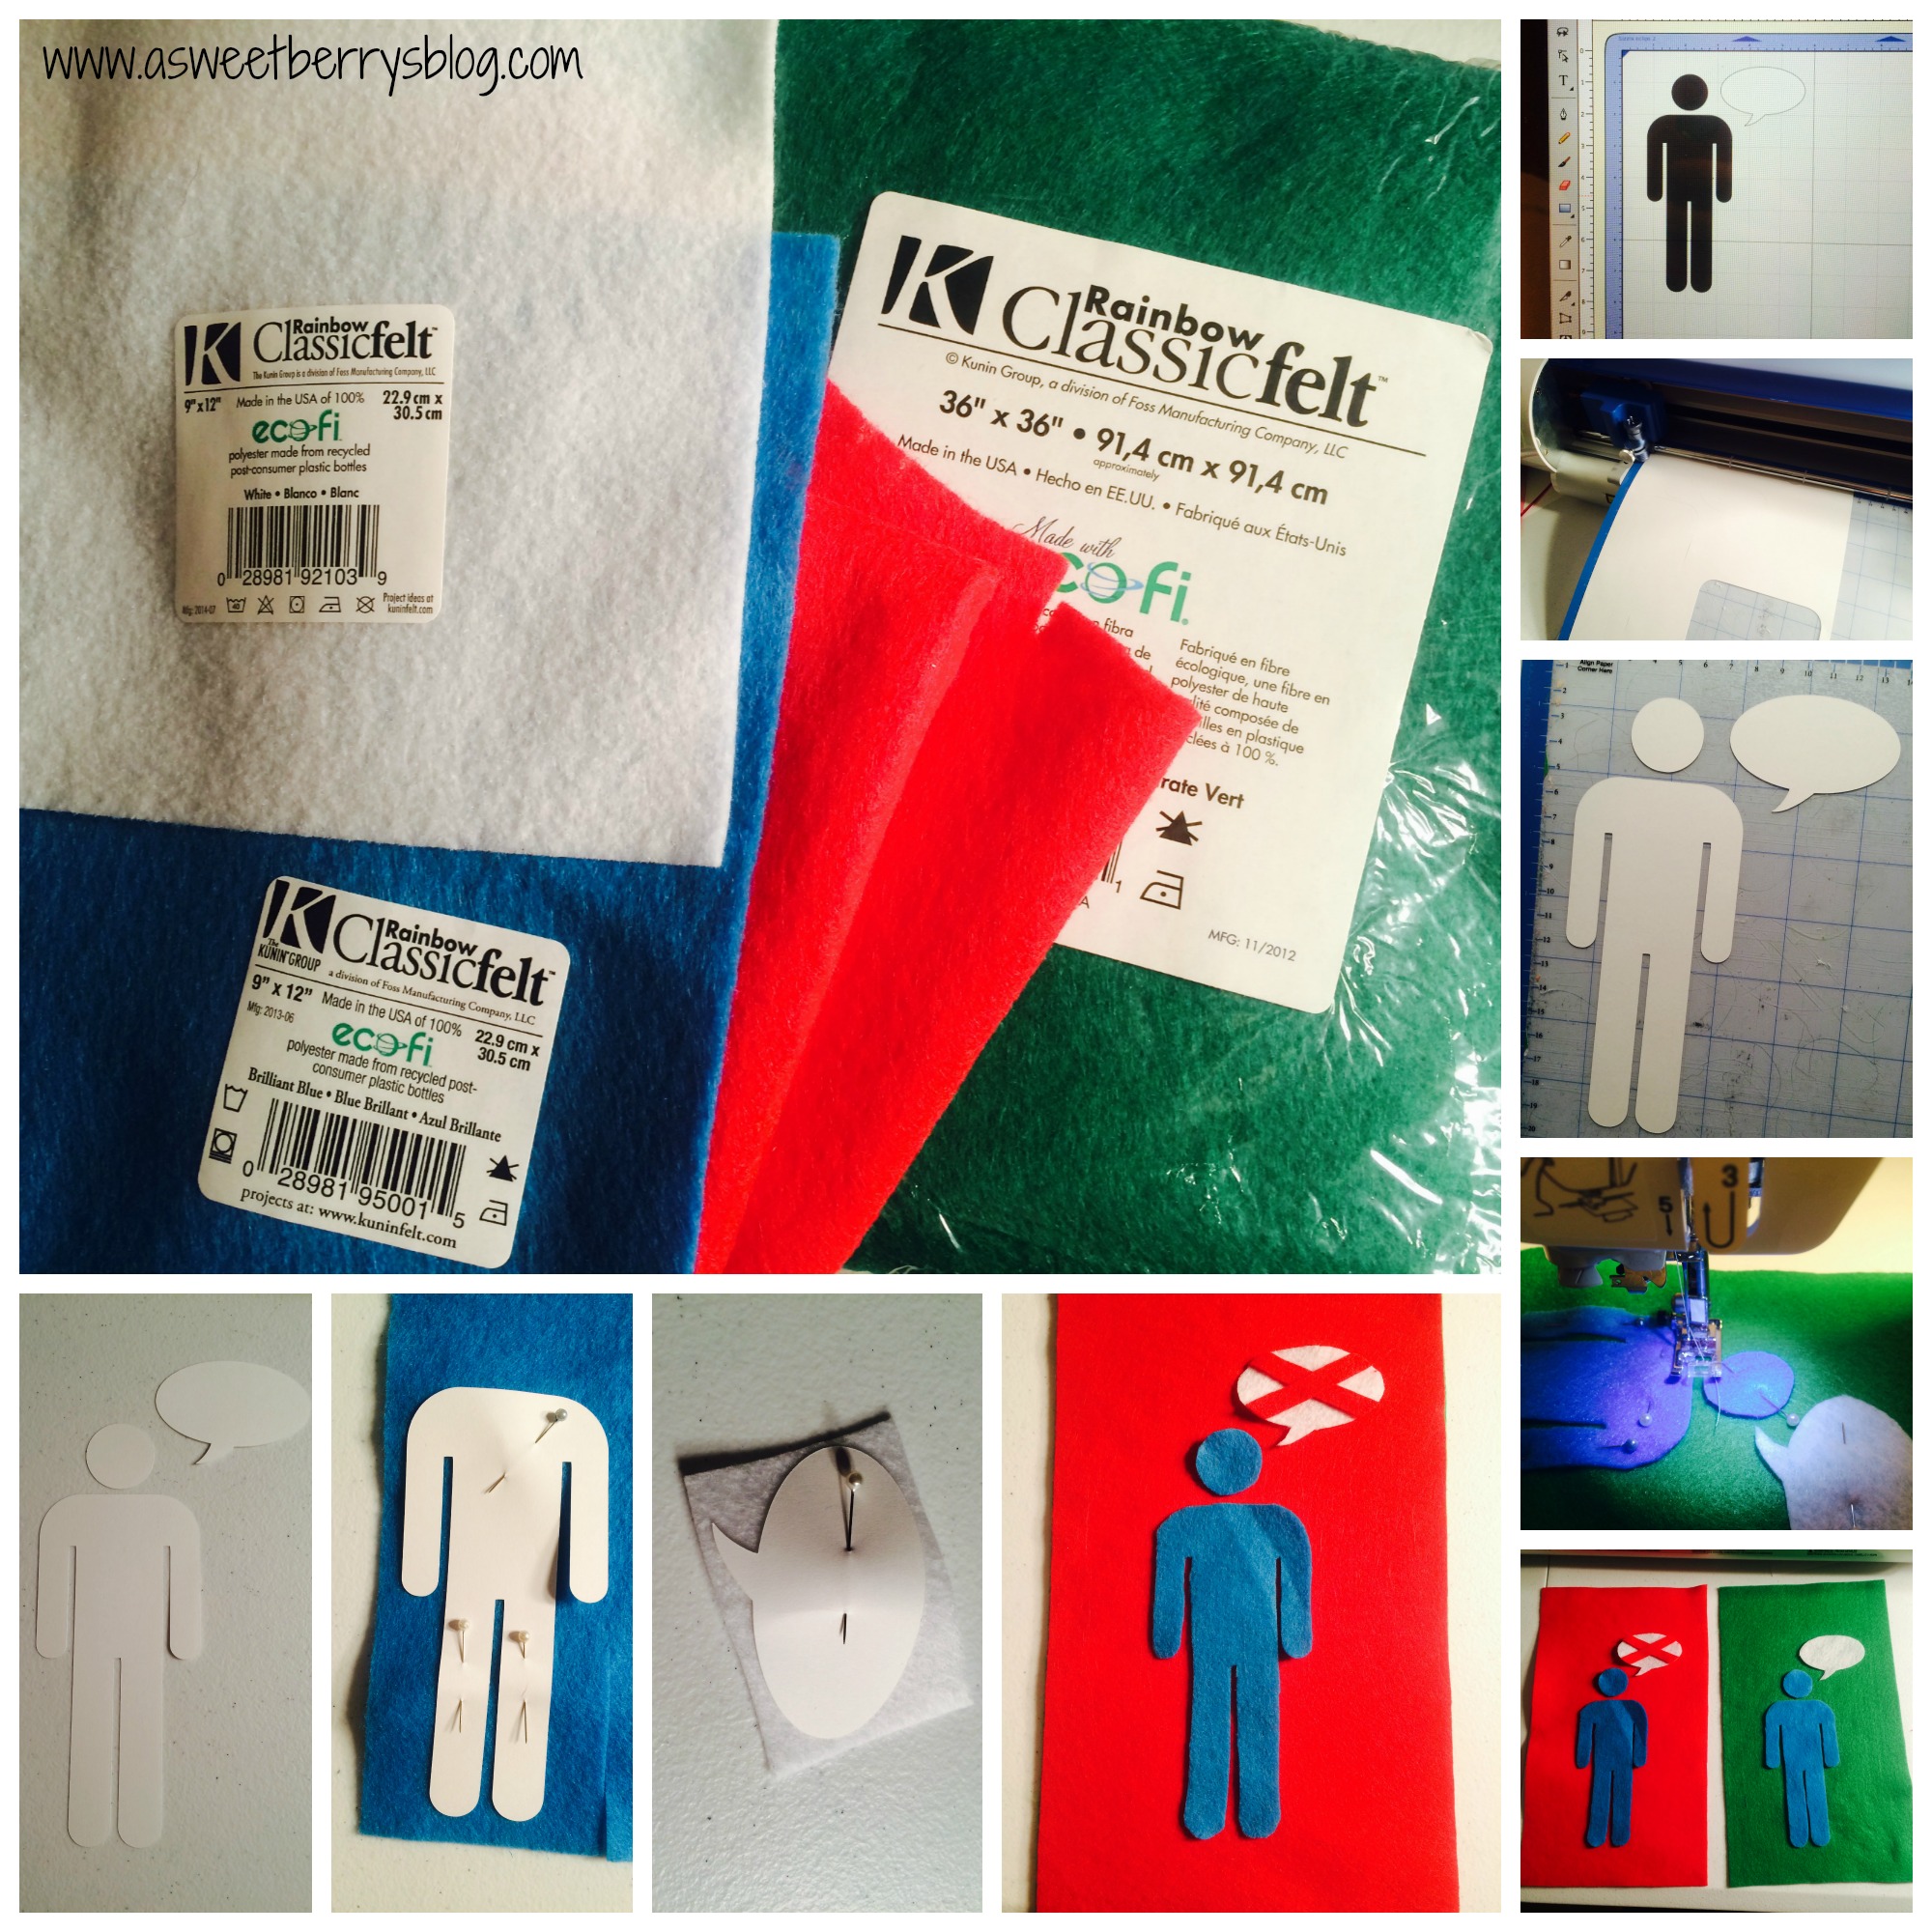
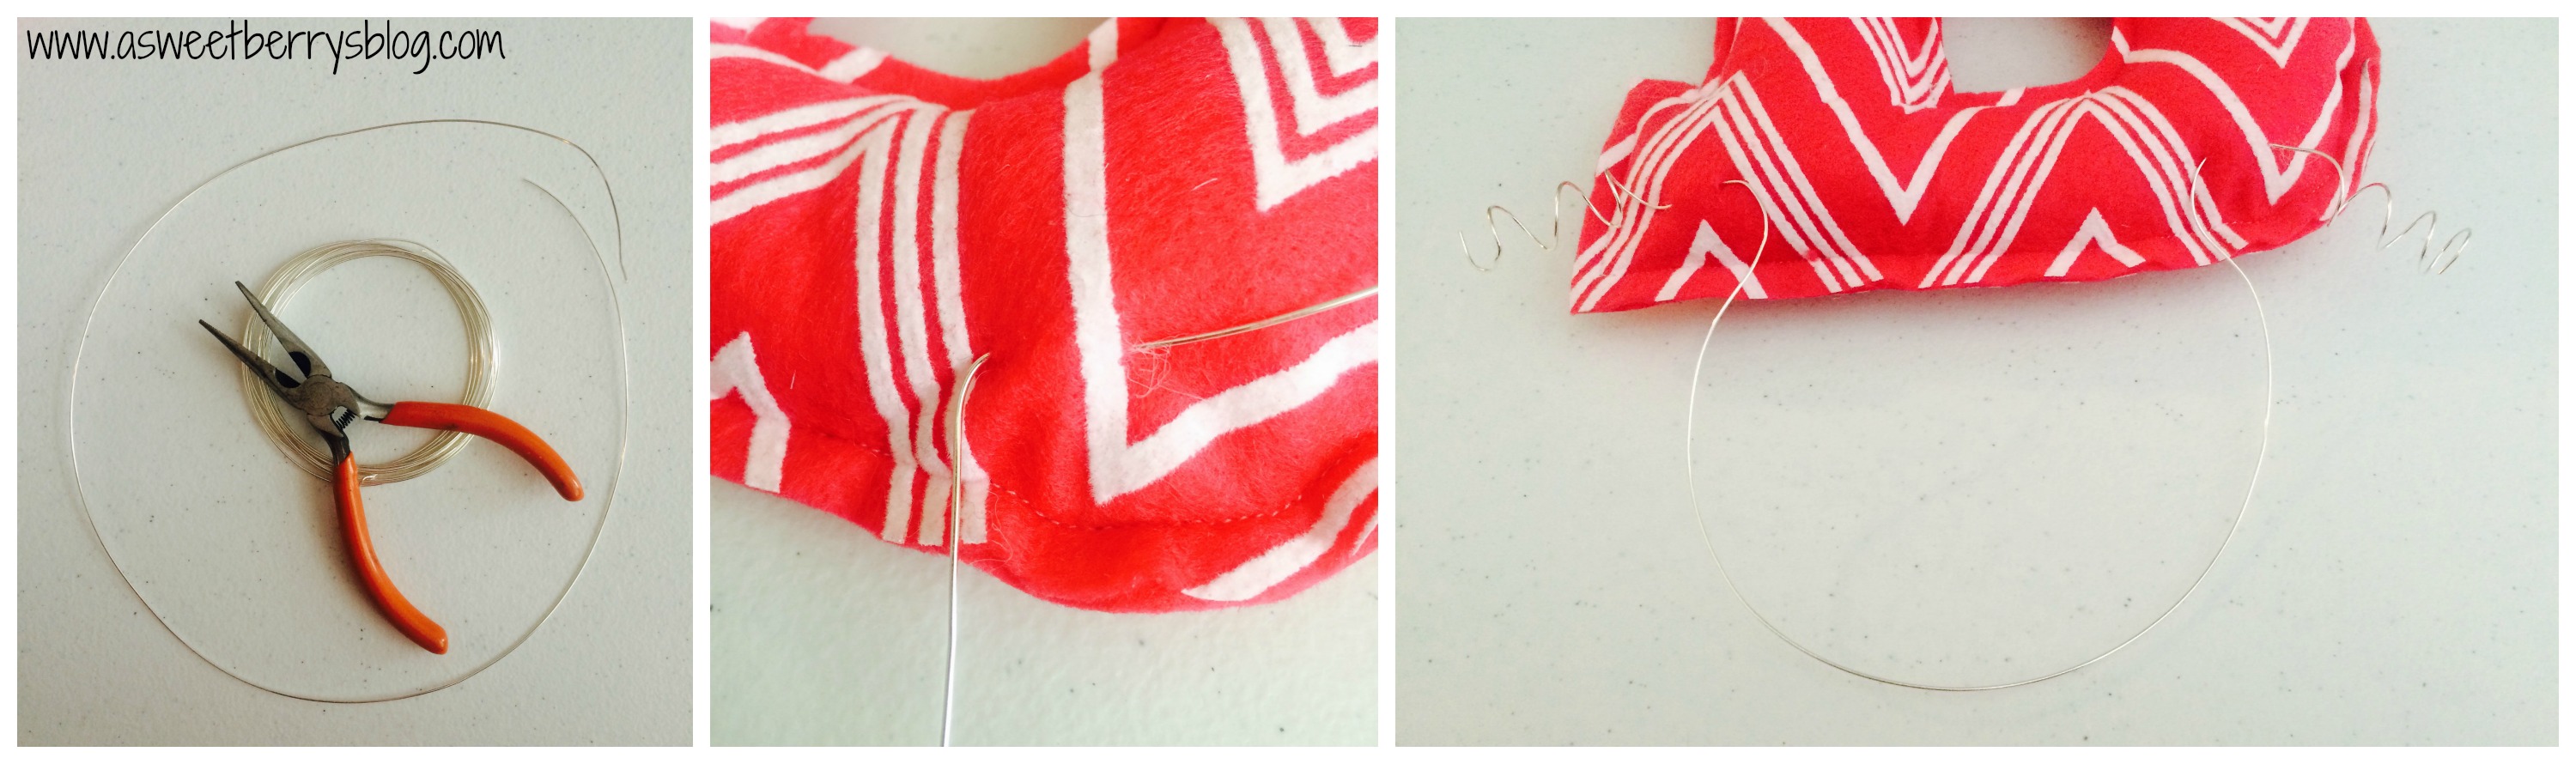
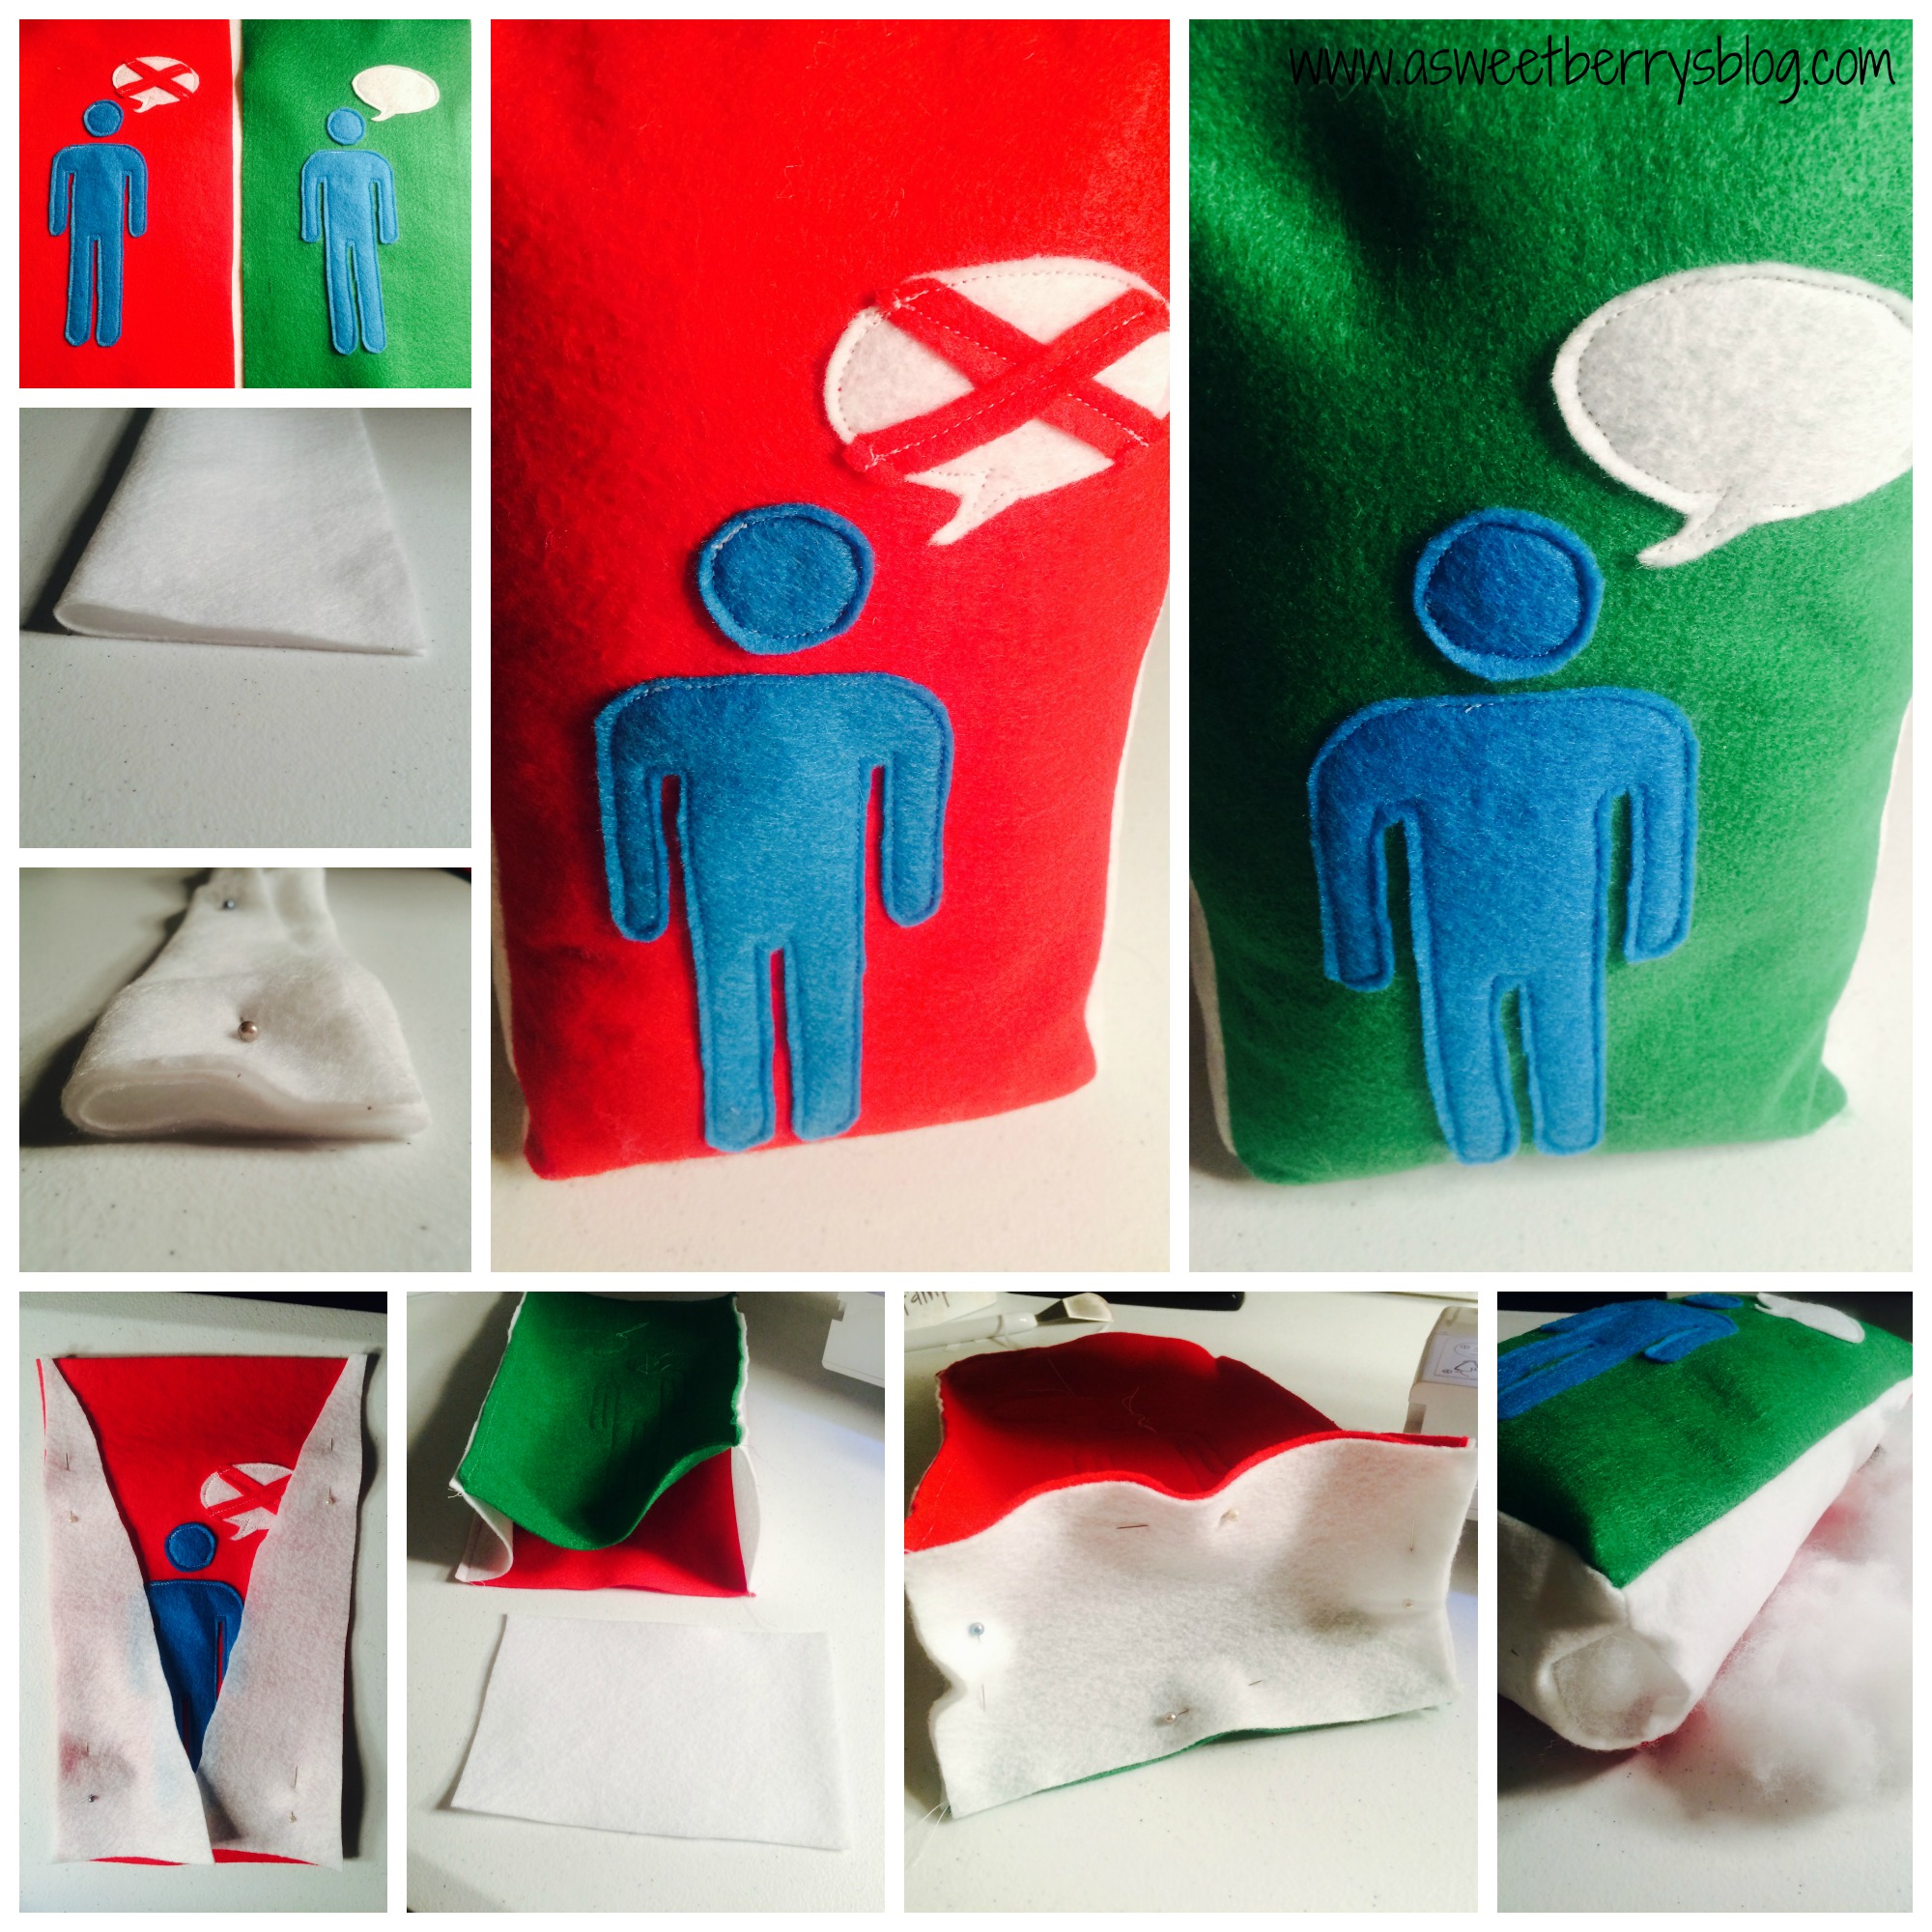
Using a strip of white felt (3×10 inches), I folded it into half and then in half again.  Using scissors, I cut a right triangle, so that when it was unfolded it was a triangle.  I pinned it to one of my rectangles with the right side up.  I sewed them to the rectangle and repeated with the other rectangle.  I then cut out a 3×6 inch rectangle from white for the base of my stand.  I pinned it and sewed it to the top part of my felt stand, leaving a 2 inch opening for turning it inside out and stuffing it.  Once it was stuffed, I sewed it up from the outside using my sewing machine.  You could also hand stitch. sewingandstuffing

One of my kids thought it was cool and one wasn’t so happy about it, well until it was turned to the talking side!   Usually we start our meal by saying a blessing and talking about what we are thankful for that day.  Now, we say our blessing, set the timer for our 10 minutes of no talking, and then we can talk about what we are thankful for that day. meal time

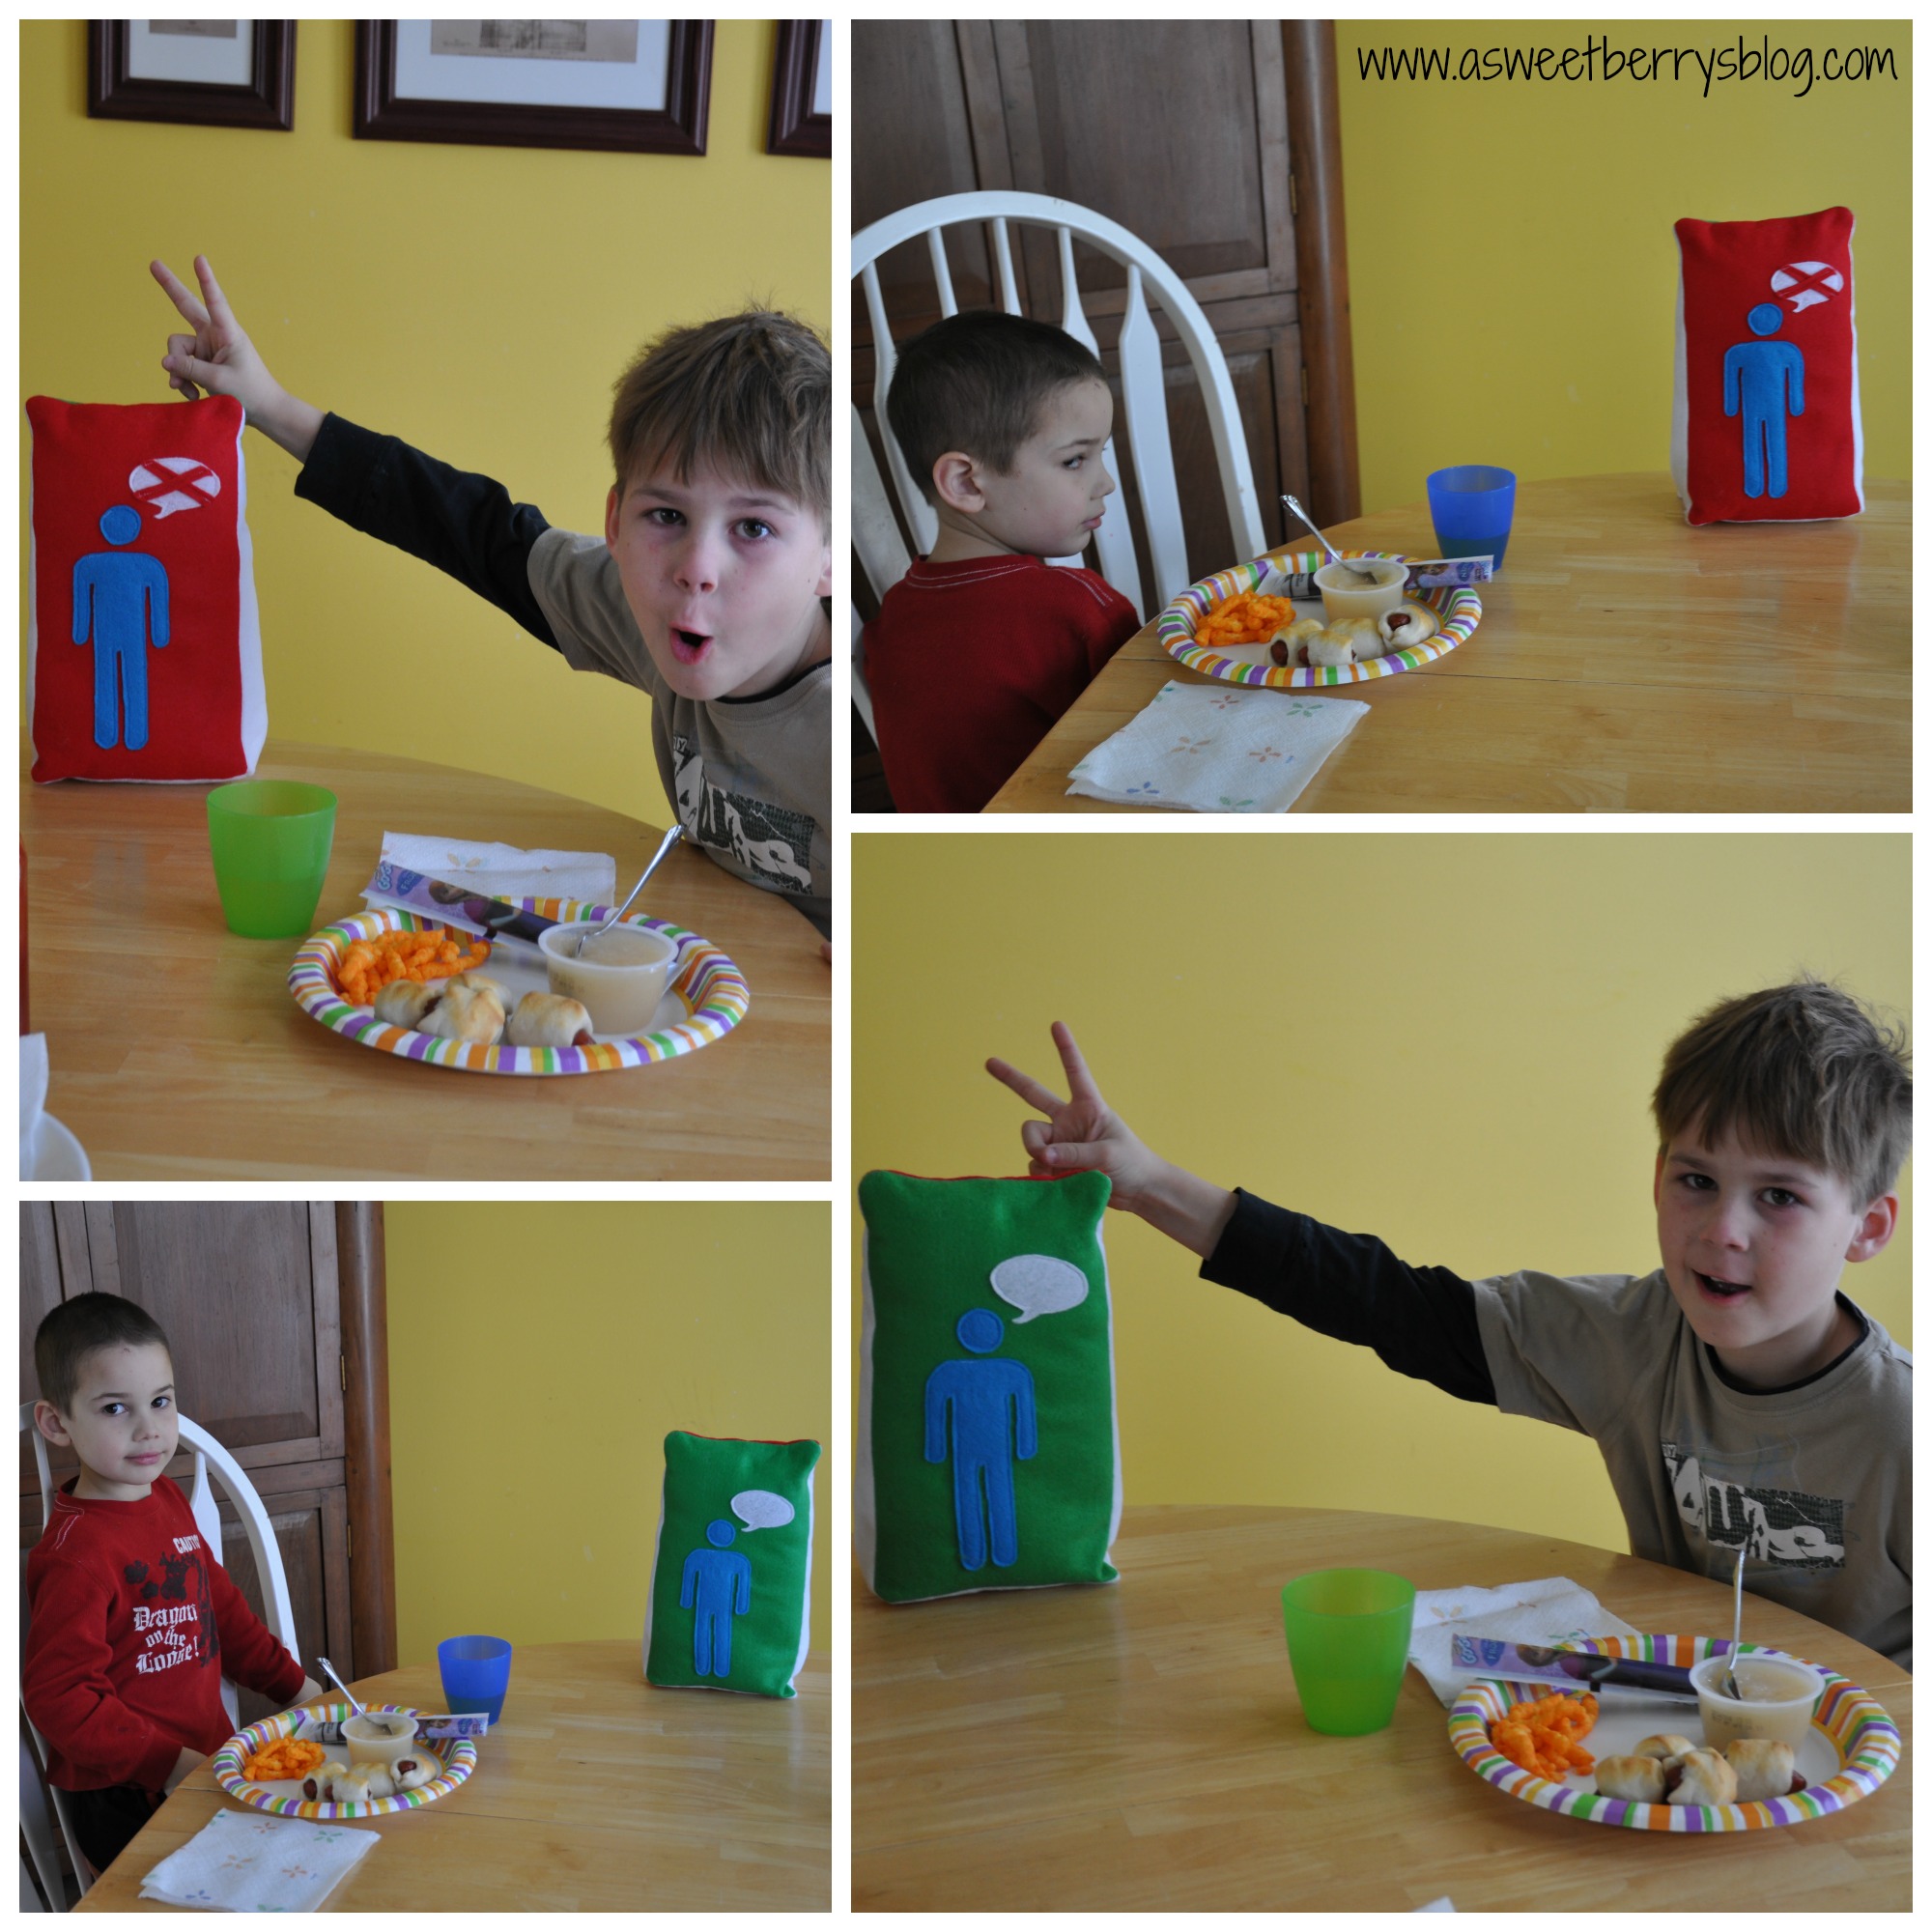
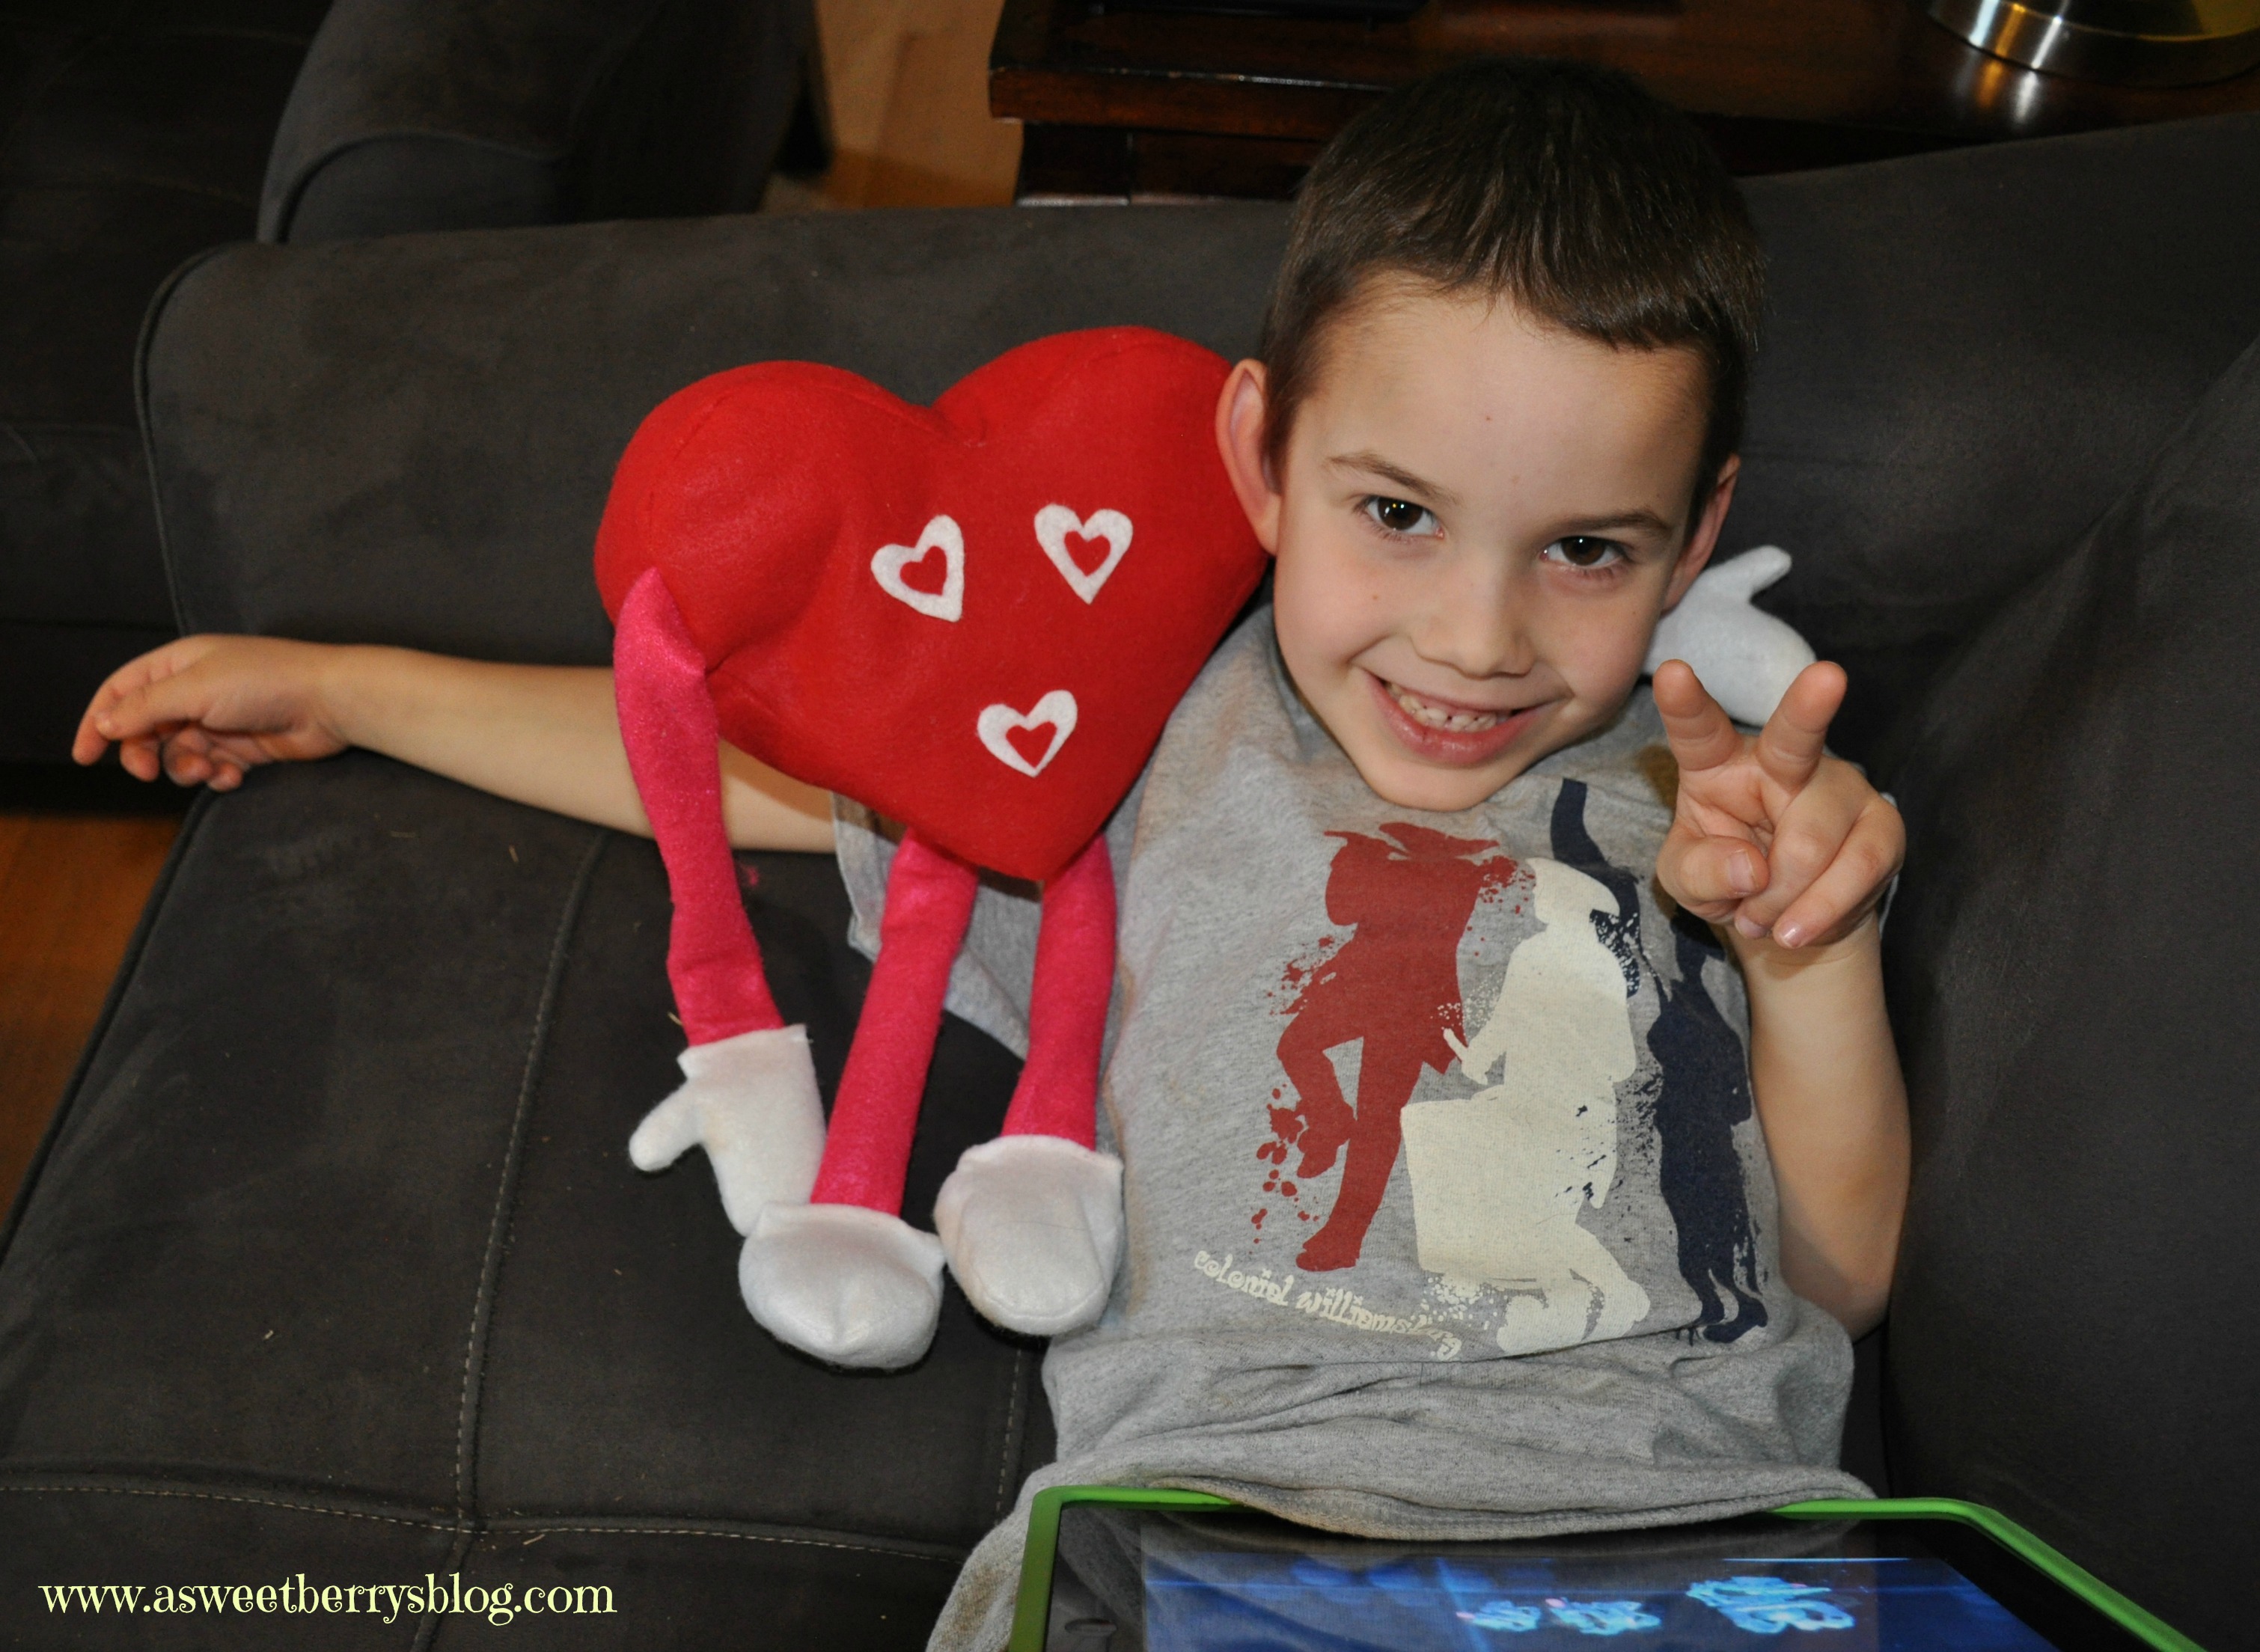
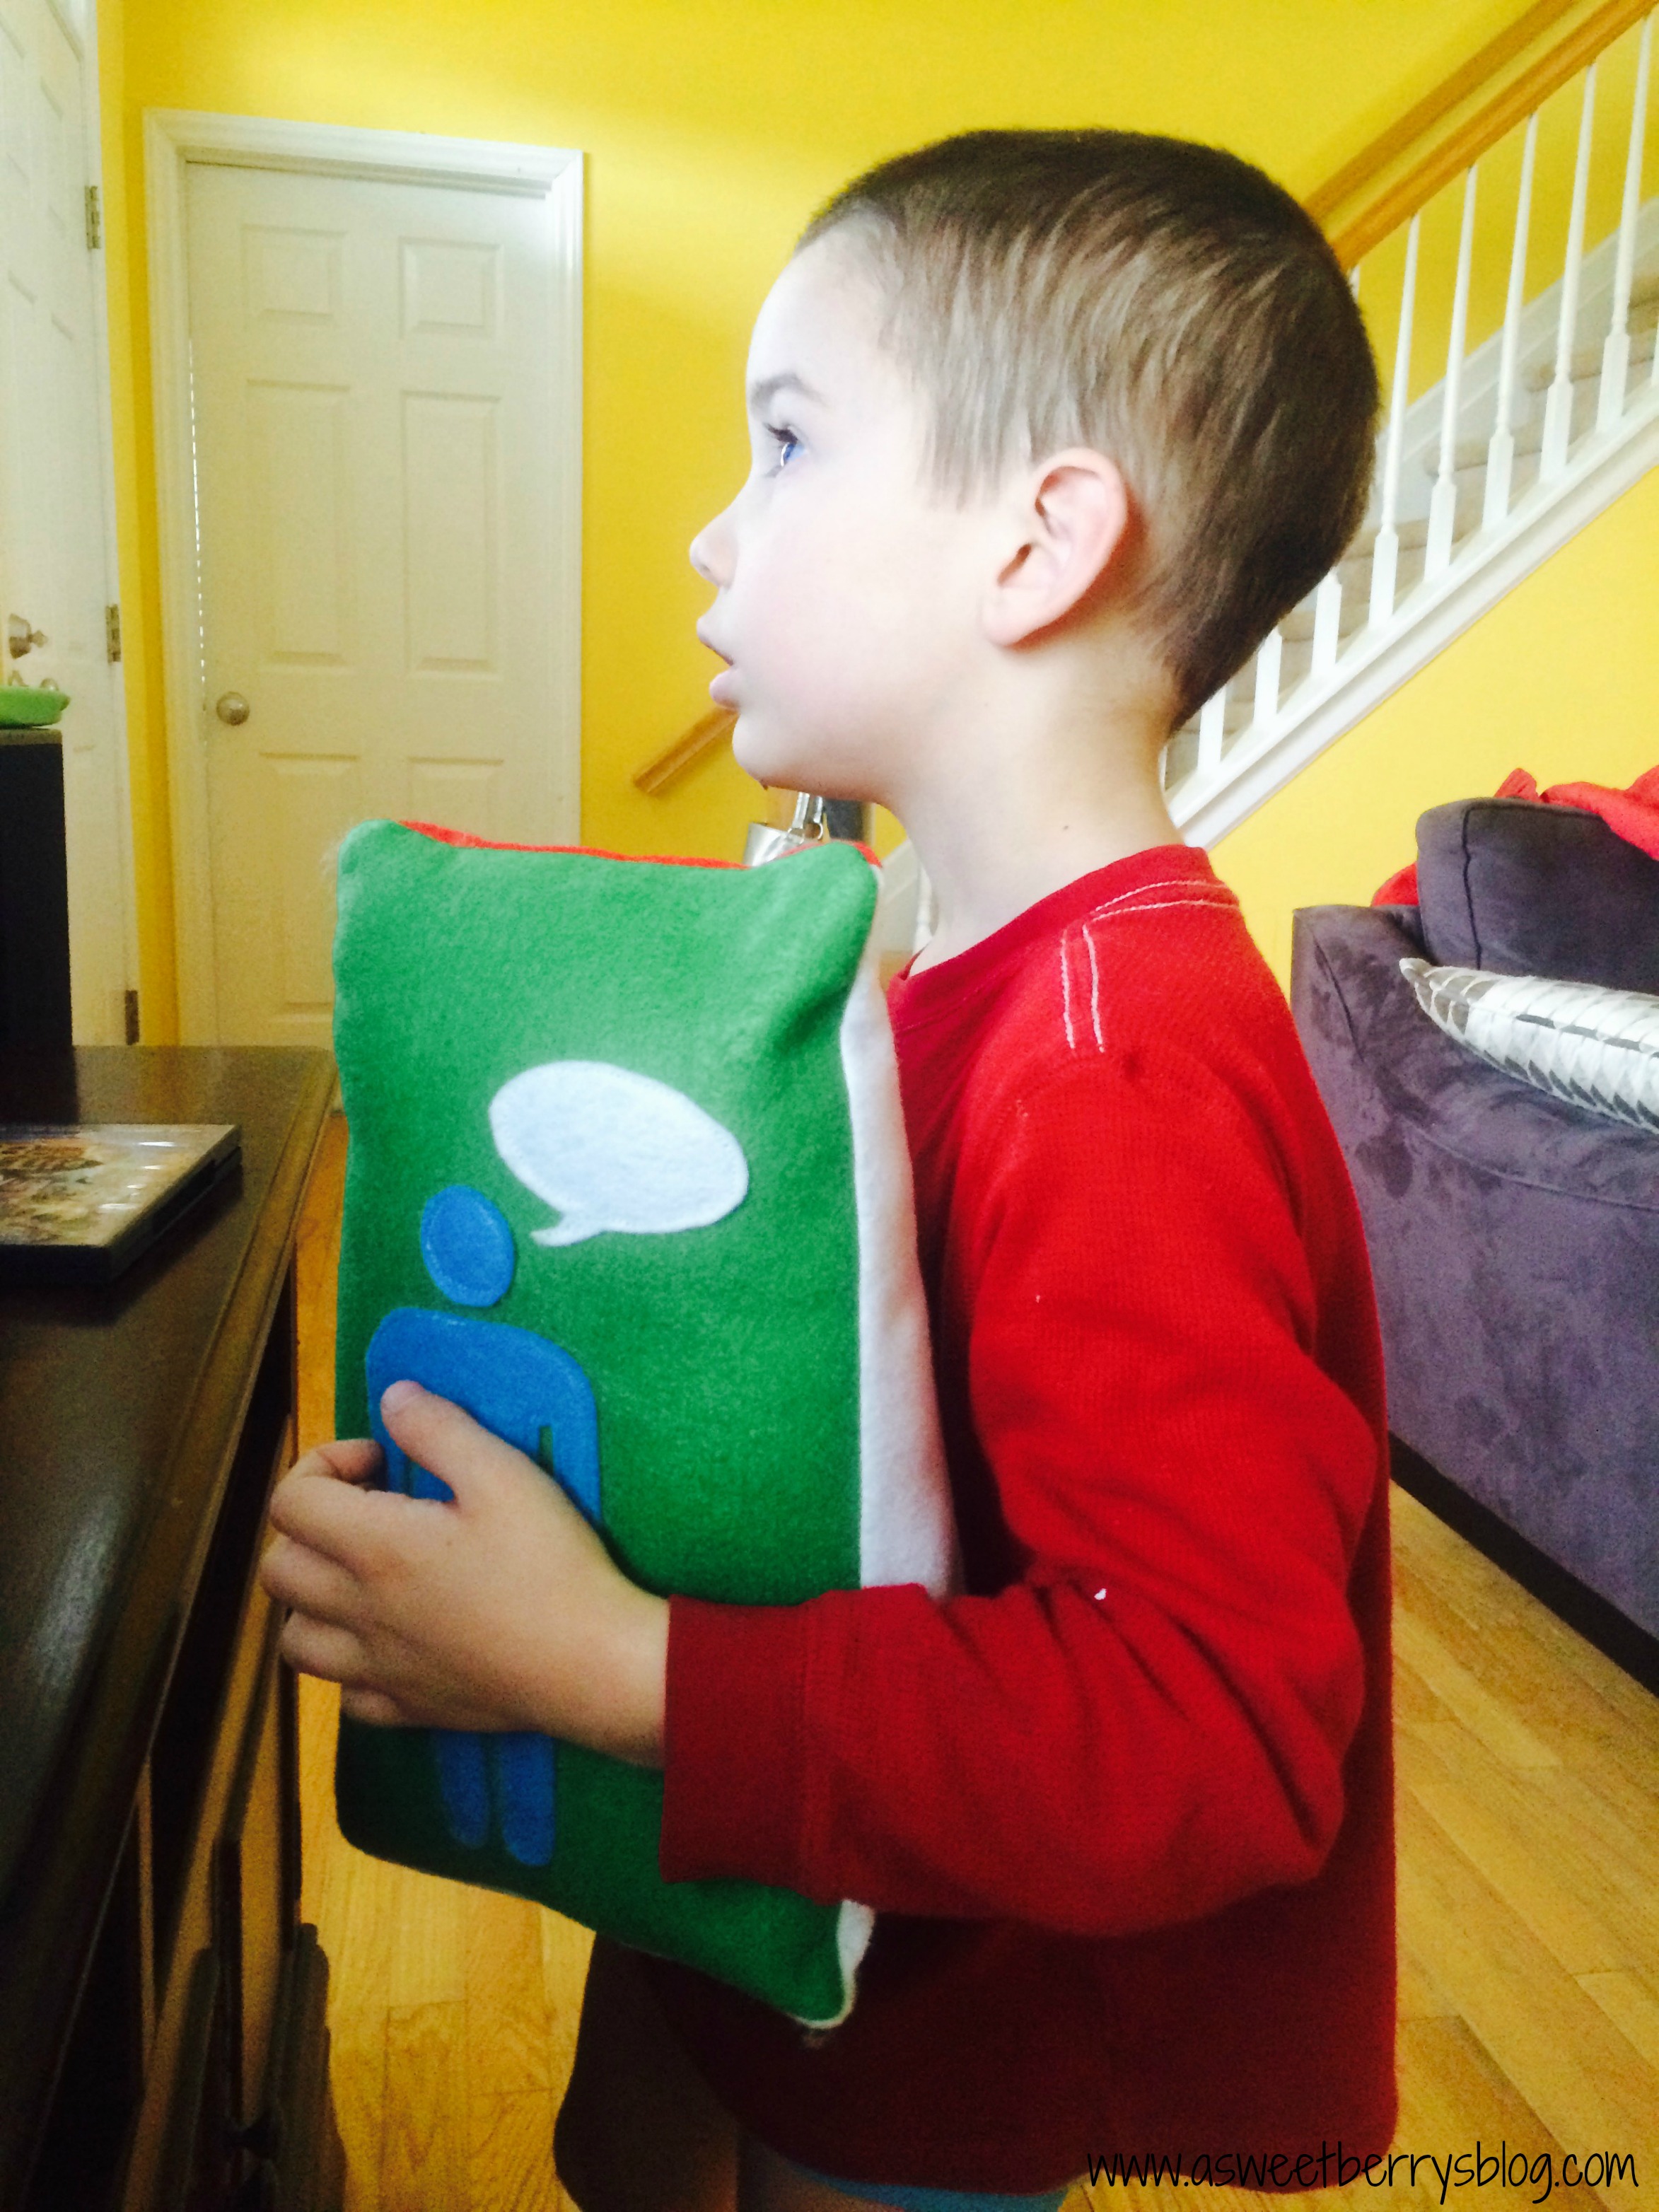
Benjamin actually ended up like the talking/no talking stand.  He wanted to snuggle and sleep with it!  He carried it around for a little while before it went back to the table. Benjamin Now, just so you know……we aren’t doing this to be mean.   We just have an every day issue with a little too much talking at the table and very little eating.  And after trying it, it has actually helped!  Benjamin will be going to Kindergarten in July, so this also helps get him ready for what lunch time will be like for him at the elementary school!

Hope you like my Talking/No Talking Felt Stand!

Until next time………..

Kunin Felt Love Banner

I love a cute felt banner, and I love making them using Kunin Felt!   Isn’t this Love Banner super adorable!   And it was super simple! Final Banner
The materials that I used to make this banner were:
Kunin Red Felt
Kunin Glitter Felt
Aleene’s Fabric Fusion Permanent Fabric Adhesive Sheets
A Sizzix Frame Die (I used a wavy frame)
Sizzix Big Shot
Offray red with white polka dot ribbon
Eyelet Pliers and red eyelets
Rotary Cutter, Cutting Ruler and Cutting Mat materials
First, I applied the Aleene’s fabric fusion sheets to the back of my Kunin Glitter Felt and then cut it into smaller pieces.  I got 5 pieces out of one sheet.  I made sure that they were big enough to fit onto the die. fabric fusion
Using the Sizzix Wavy Frame Die, I placed it on my cutting pads.  Then, I placed my felt on the die making sure that I completely covered the frame cutout.  Next, I placed the top cutting pad over it and then ran it through the big shot die cutting machine.    frames
Using the middle pieces of the frame, I cut out two hearts and the letters L, O, V, E by hand. Love Letters

Using my rotary cutter, cutting mat and ruler, I cut out 5″ x 6″ rectangles. blocks
Once I had everything cut out, I peeled the paper off the back of the frames and stuck them on my red rectangle pieces, placing it closer to the bottom so that I had space to add my eyelets at the top. putting it together
Using my eyelet pliers, I placed two eyelets at the top of my red felt rectangles.  Once I had two eyelets on each piece, I ran my red and white polkadot ribbon through front the backs. eyelet punch

And it made this super cute and super easy banner!   Final Banner If you don’t have die cuts or die cut machines, you can still create this banner, making your own frames by hand.  The Aleene’s Fabric Fusion Permanent Sheets make it a sewing free project!  And, you don’t necessarily have to put eyelets on the pieces.  You could just cut small holes to thread your ribbon through!

I hope you like my Love banner as much as I do!

Until next time……

XOXO


Huggable Felt Heart Softie

This Huggable Felt Heart Softie made with Kunin felt is super cute and super snuggly! Felt Heart Softie
The materials that I used for this Huggable Felt Heart Softie:
Kunin Felt : Red, White and Pink
Thread and my sewing machine
Scissors
Aleene’s Fabric Fusion
Poly-fil quilt batting

Click the link for the pattern and instructions on how I made my Huggable Felt Heart Softie:    Pillow Pattern
As you can see from the picture below, Benjamin is already snuggling up to it!
Benjamin
Hope you like my Huggable Felt Heart Softie!  I love working with Kunin felt!

Until next time…..